May 13, 2018
9 Steps to Create a Magic Fold-Up Card Album!

Looking for a unique card for someone? We’ve got the perfect thing for you, and you’ve probably never seen anything like it before – a magic fold-up card album! Sound intriguing? Let’s check it out!
What You’ll Need:
- 4 Sheets of Cardstock
- 3 Sheets of Designer Paper
- Punches & Tools for Decorating
- 12-inch Trimmer
- Tape Runner
- Multi-Purpose Tool
- Ribbon or Twine
Take a look as Creative Memories Independent Advisor Belinda Bowen demonstrates how to make this card in the video above or follow along with the step-by-step instructions!

Step 1: Begin with a 12″ sheet of Cardstock and score to create 4 even quadrants. Tip: You can use your 12-inch Trimmer and/or Multi-Purpose Tool to help you score.

Step 2: Place the folded piece of Cardstock into the trimmer and cut along one score line from the edge of the paper up to the center of the paper at about the 6″ mark.


Step 3: Fold the section you just cut and fold upward along the upper left quadrant outward (ONLY fold this quadrant). Repeat these steps 3 times for each piece of Cardstock to create 4 folded, trimmed sheets.


Step 4: Cut your designer paper to measure 5-1/2″ x 5-1/2″. For triangles, cut the 5-1/2″ square diagonally. You will need at least 12 squares for this project.
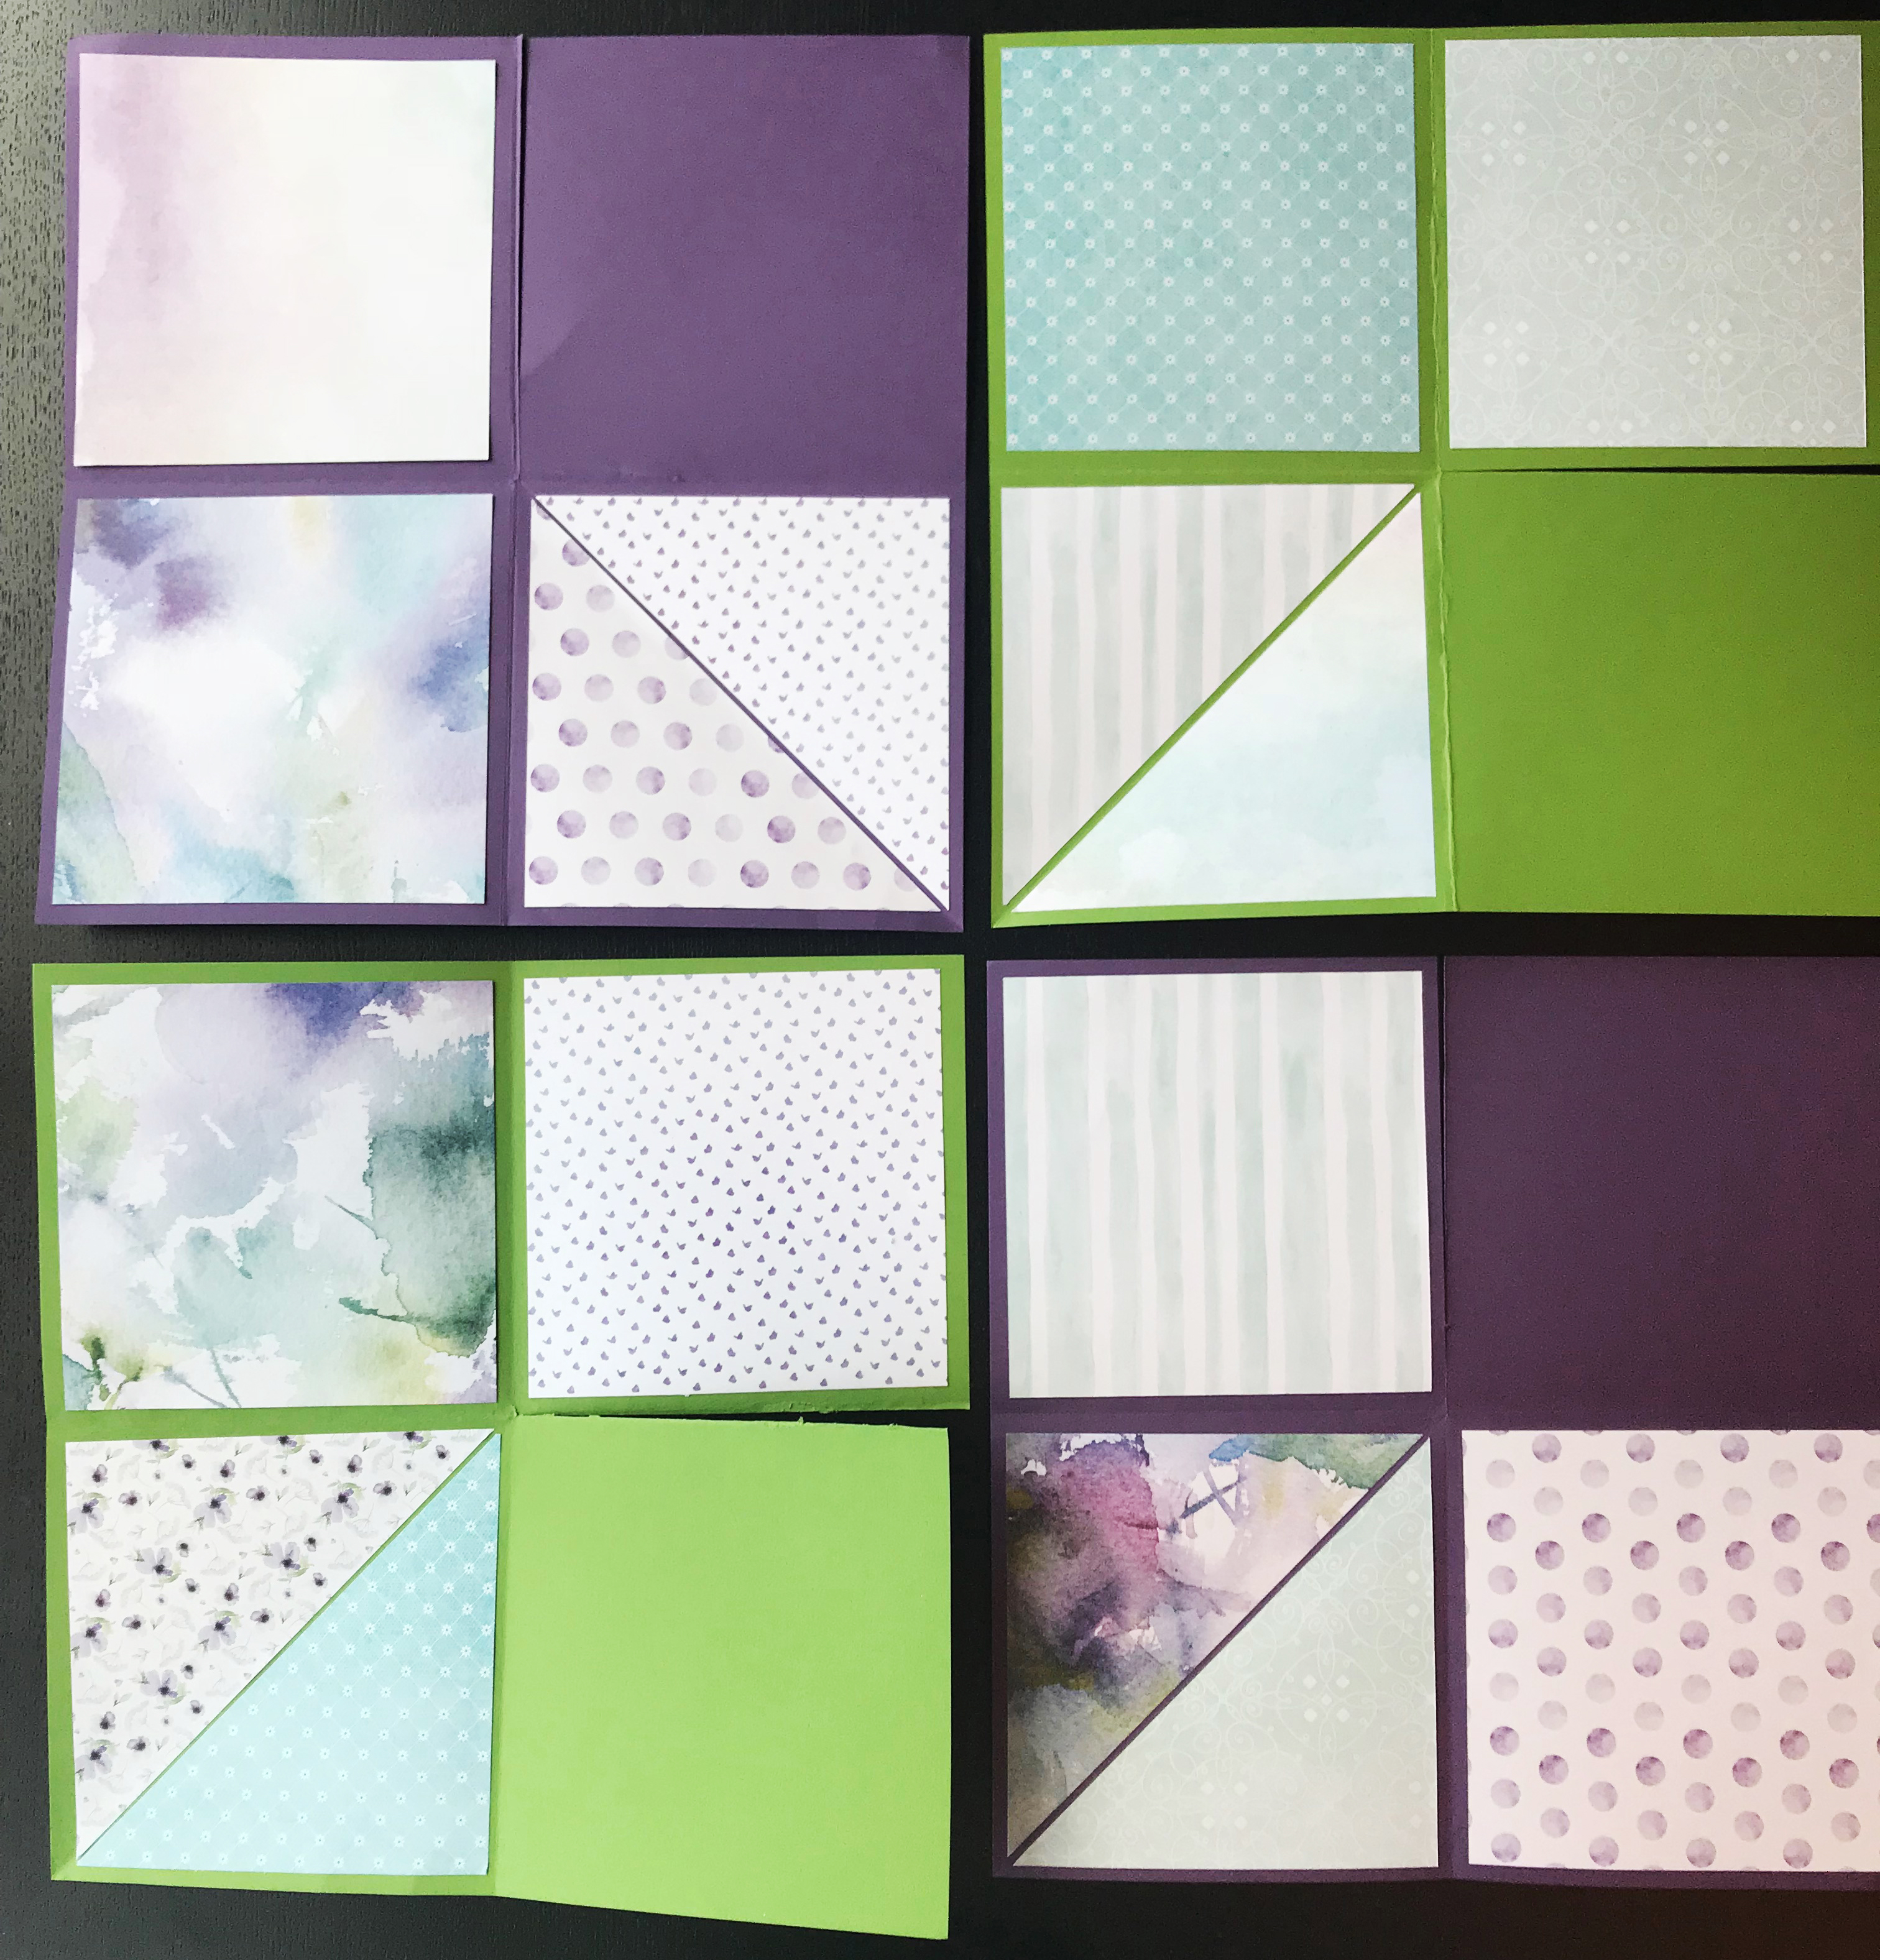
Step 5: Next, adhere 3 of the squares to 3 of the sections on each piece of Cardstock. Do not cover the section to the LEFT of the cut; this will be where you fold your album. You may choose to decorate your album with embellishments and photos before or after you assemble.


Step 6: Use your Tape Runner to put tape on the section to the left of the cut and fold it under the top right corner. Repeat for other sections of the album.


Step 7: Begin assembly by standing up all pages next to each other, then adhere all individually decorated sheets together, leaving the last two edges un-adhered. Make sure you are attaching all of your sections the same way.


Step 8: Cut a piece of ribbon or twine to measure approximately 22″. Close the book flat and apply adhesive to the front cover. Lay your ribbon across the tape and press to secure. Repeat on the back cover, wrapping the ribbon across the spine.


Step 9: Cut pieces of paper to adhere to the front and back covers to cover the ribbon. Decorate the album as desired. Use the ribbon to tie the album open or closed.
So, what do you think of this magic mini card album? Comment below and let us know if you are going to give this a try!

Love this! Everyone will enjoy opening this card. So easy to dress it up for any occasion.
I made this for my daughter for Mother’s Day and I put photos of her grand-daughter in it. She loved it.
Thank you for the step by step instructions. A super fun project!
How long did it take to make it?
It was pretty quick. I did not time myself..but figure an hour. I did mess up on my first fold..so wasted a piece of my cardstock.
Absolutely gorgeous. Love it!!!
Thank you so much for the video and instructions, Love this and will share at a Breast Cancer Survivors Scrapbook workshop I have coming up!! They will enjoy creating it!
Where do you put the pictures?
Hi there –
You can put your photos on any of the sections and journal and decorate the rest!
I want to try making this card, how many pictures does it hold. it would be for my daughter.
Muy bonita idea, gracias
Awesome idea. I also made these for my mom and sister for Mother’s Day. Very easy to do.
Just remember that you can’t put whole photos on the bottom 4 sections if you plan to fold it up again! I cut some photos on the diagonal, and then was able to use two photos per bottom section.
I just completed it!!! So awesome ?
Very easy.