June 25, 2019
Tell Tales of Your Journeys with These Travel Scrapbook Border Ideas

The U.S. is jam-packed with sights to be seen. From its iconic coasts to stirring national monuments, these must-see spots make for perfect spreads with the Scenic Route collection. Whether it’s the U.S. or any other country, Scenic Route helps you create travel scrapbook layouts of road trips and vast landscapes with detail worthy of your destinations. And no layout is complete with the finishing touch only a scrapbook border can offer! Check out blog contributor Krislyn’s ideas for how you can use Scenic Route to create awe-inspiring travel scrapbook borders.
Krislyn’s Inspiration
Wherever your travels take you in the great U.S., the Scenic Route collection will help you tell the stories of those epic adventures. From sea to shining sea, there’s a paper perfect for it!
There’s so much to see in this beautiful country! I’ve been all over, from the beaches of California and Florida to the deserts of the Southwest, the Colorado Rockies and beyond. But the place I love the most is my home state of Minnesota. So, of course, I had to give a shout-out to my Minnesota peeps with a border all our own… scroll to the bottom to see it!
To create these borders, you’ll need:
- Scenic Route Paper Pack or (Shop Canada | Shop Australia)
- Scenic Route Laser Cut Border Embellishments or (Shop Canada | Shop Australia)
- Explorer Paper Pack or (Shop Canada | Shop Australia)
- Gray and Crimson Cardstock or (Shop Canada | Shop Australia)
- Original Border Maker System with Picket Fence, Heart Duet and Scallop Wave Border Maker Cartridges or (Shop Canada | Shop Australia)
- Cityscape and Majestic Mountains Border Punches or (Shop Canada | Shop Australia)
- Custom Cutting System with Circle Patterns or (Shop Canada | Shop Australia)
- 12-inch Trimmer or (Shop Canada | Shop Australia)
- All-Purpose Scissors or (Shop Canada | Shop Australia)
- Tape Runner or (Shop Canada | Shop Australia)
- Repositionable Tape Runner Refill or (Shop Canada | Shop Australia)
- Foam Squares or (Shop Canada | Shop Australia)
- Precision Point Adhesive Pen or (Shop Canada | Shop Australia)
NYC Scrapbook Border
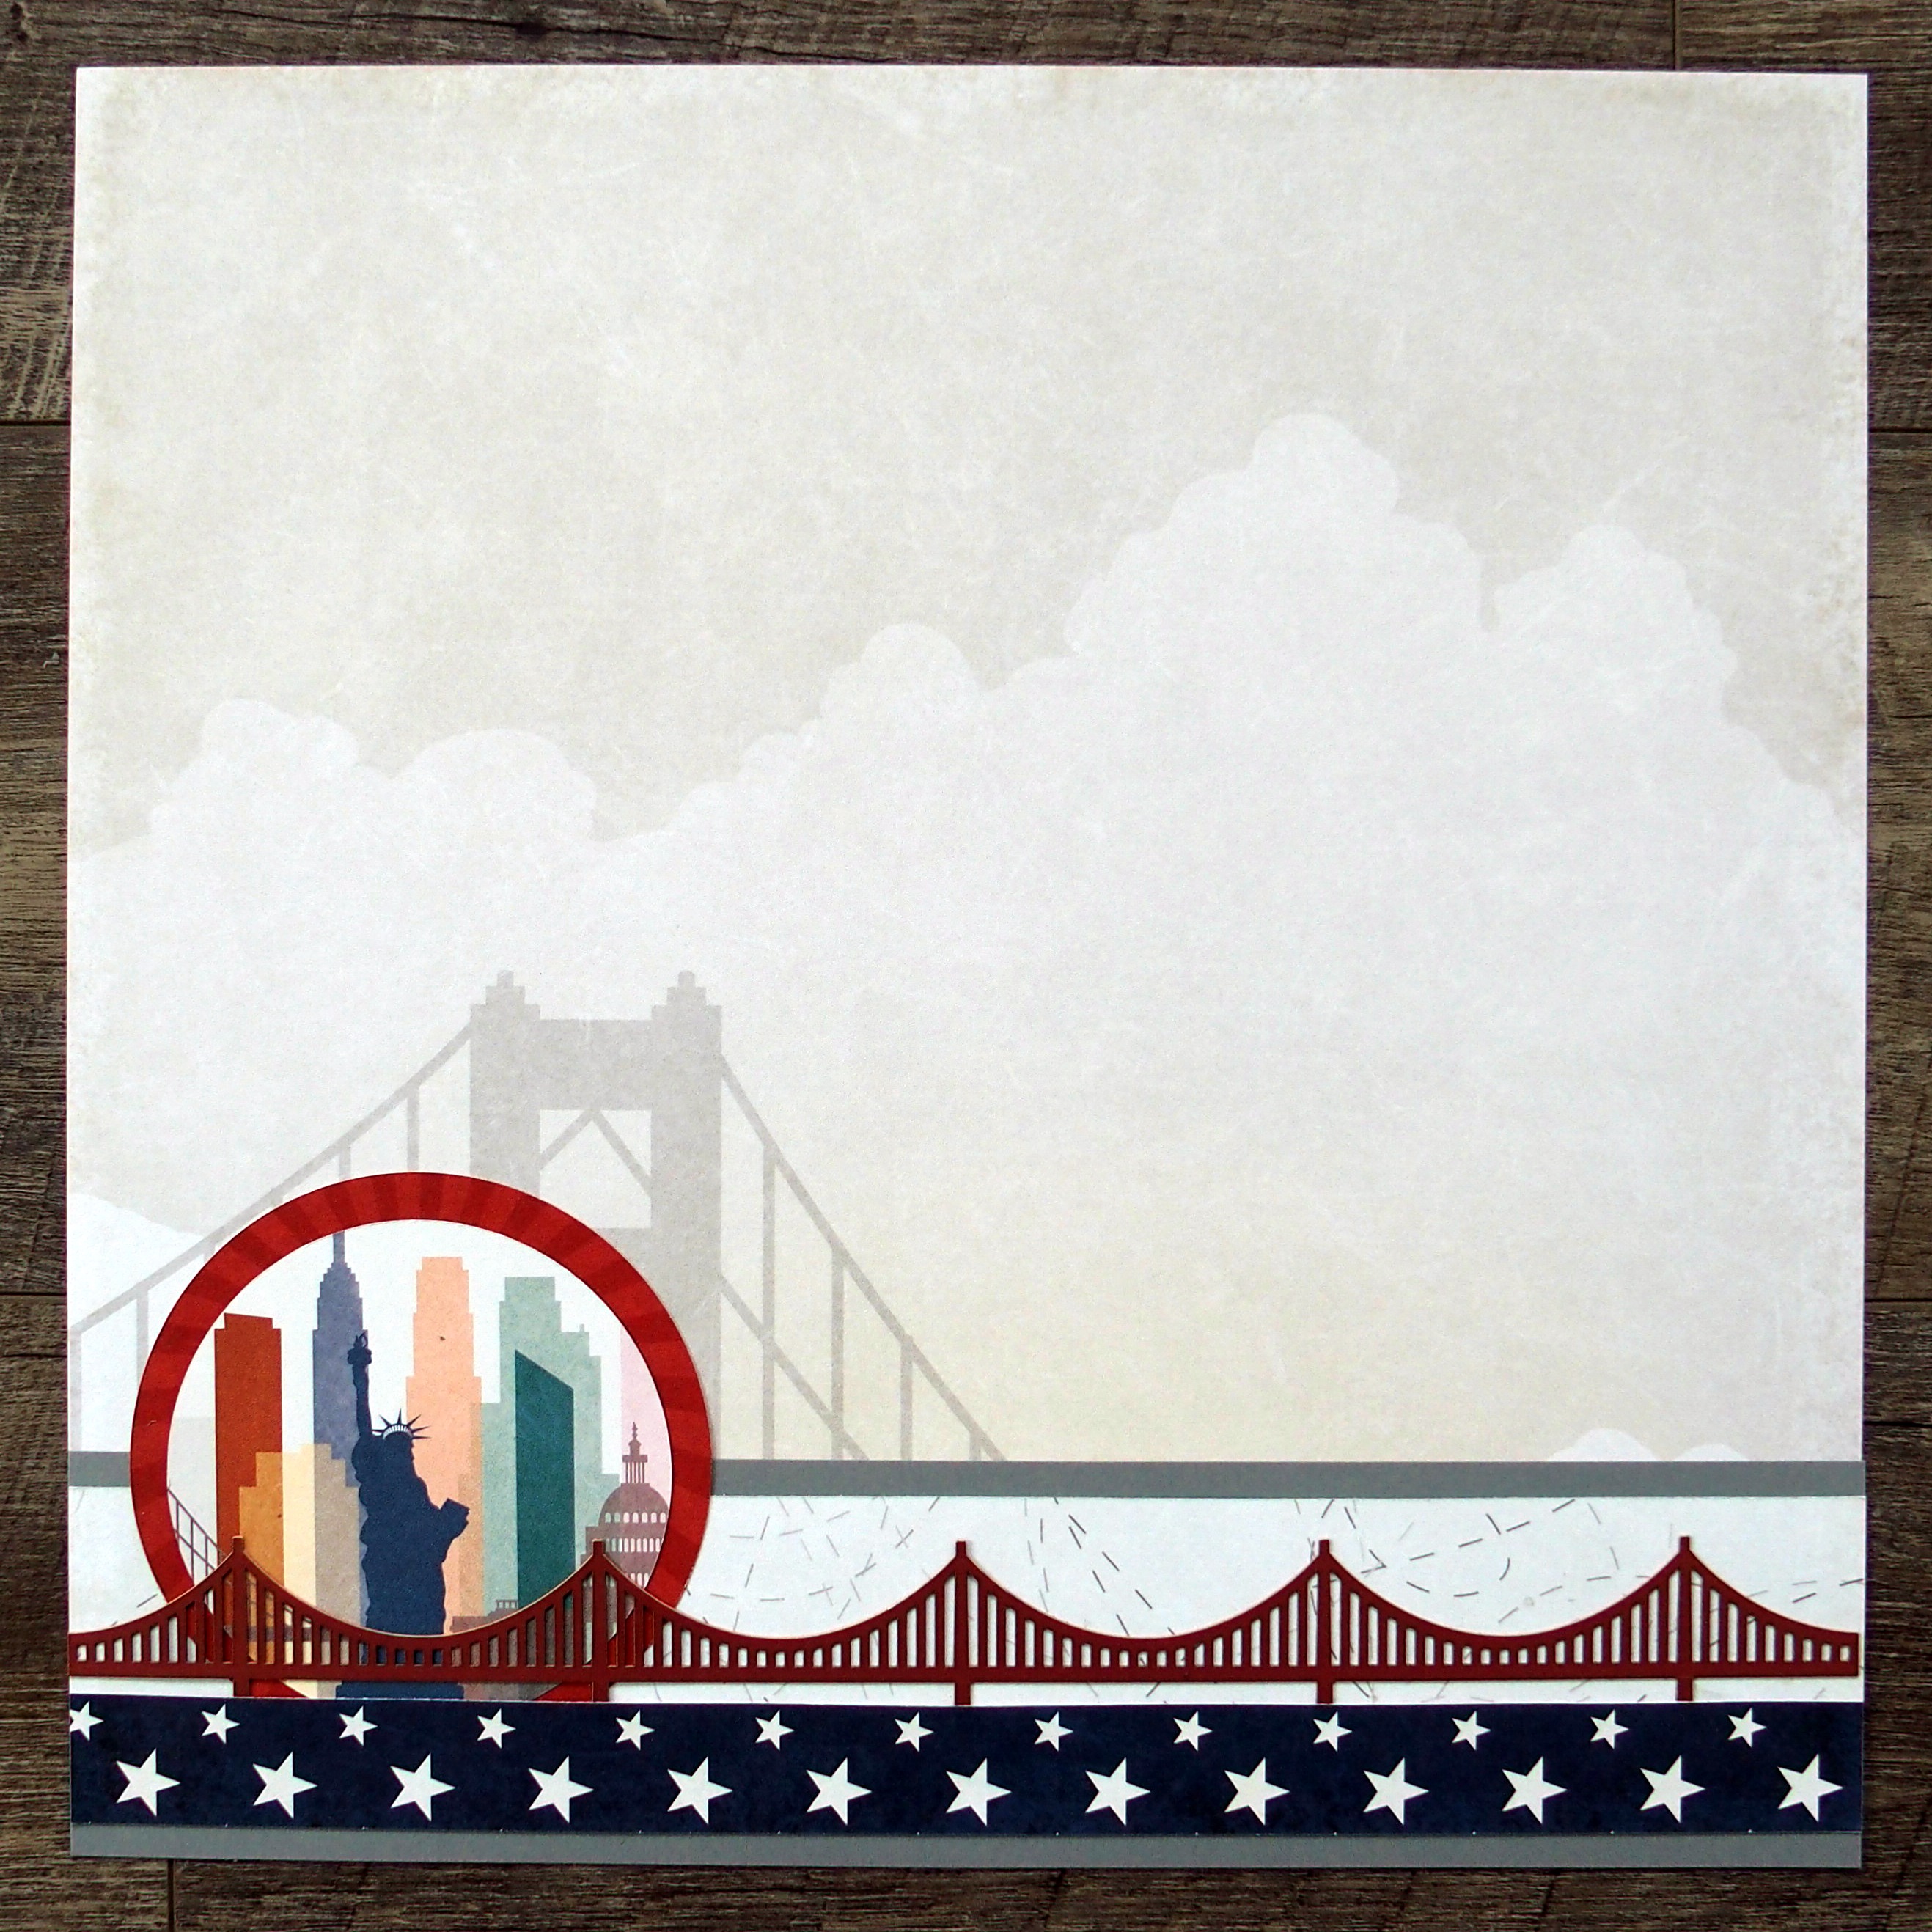

Step 1: Cut a 2-3/4″ x 12″ strip of Gray Cardstock for the base. Cut a 2-1/4″ x 12″ strip of white dash patterned paper and adhere it to the base.
Step 2: Using the outside of the smallest Custom Cutting System Circle Pattern and the Red Blade, cut a circle with the red patterned paper. Using the inside of the largest Custom Cutting System Circle Pattern and the Red Blade, cut a circle from the NYC mat, capturing the Statue of Liberty in the middle. Mount this piece on the red patterned paper circle and adhere it to the left side of the border.
Step 3: Cut a 7/8″ x 12″ strip from the star patterned paper and adhere it to the bottom of the white dash strip. Use the Precision Point Adhesive Pen to adhere the bridge laser cut border to the border, tucking it slightly underneath the stars strip as shown.
Cameras Scrapbook Border
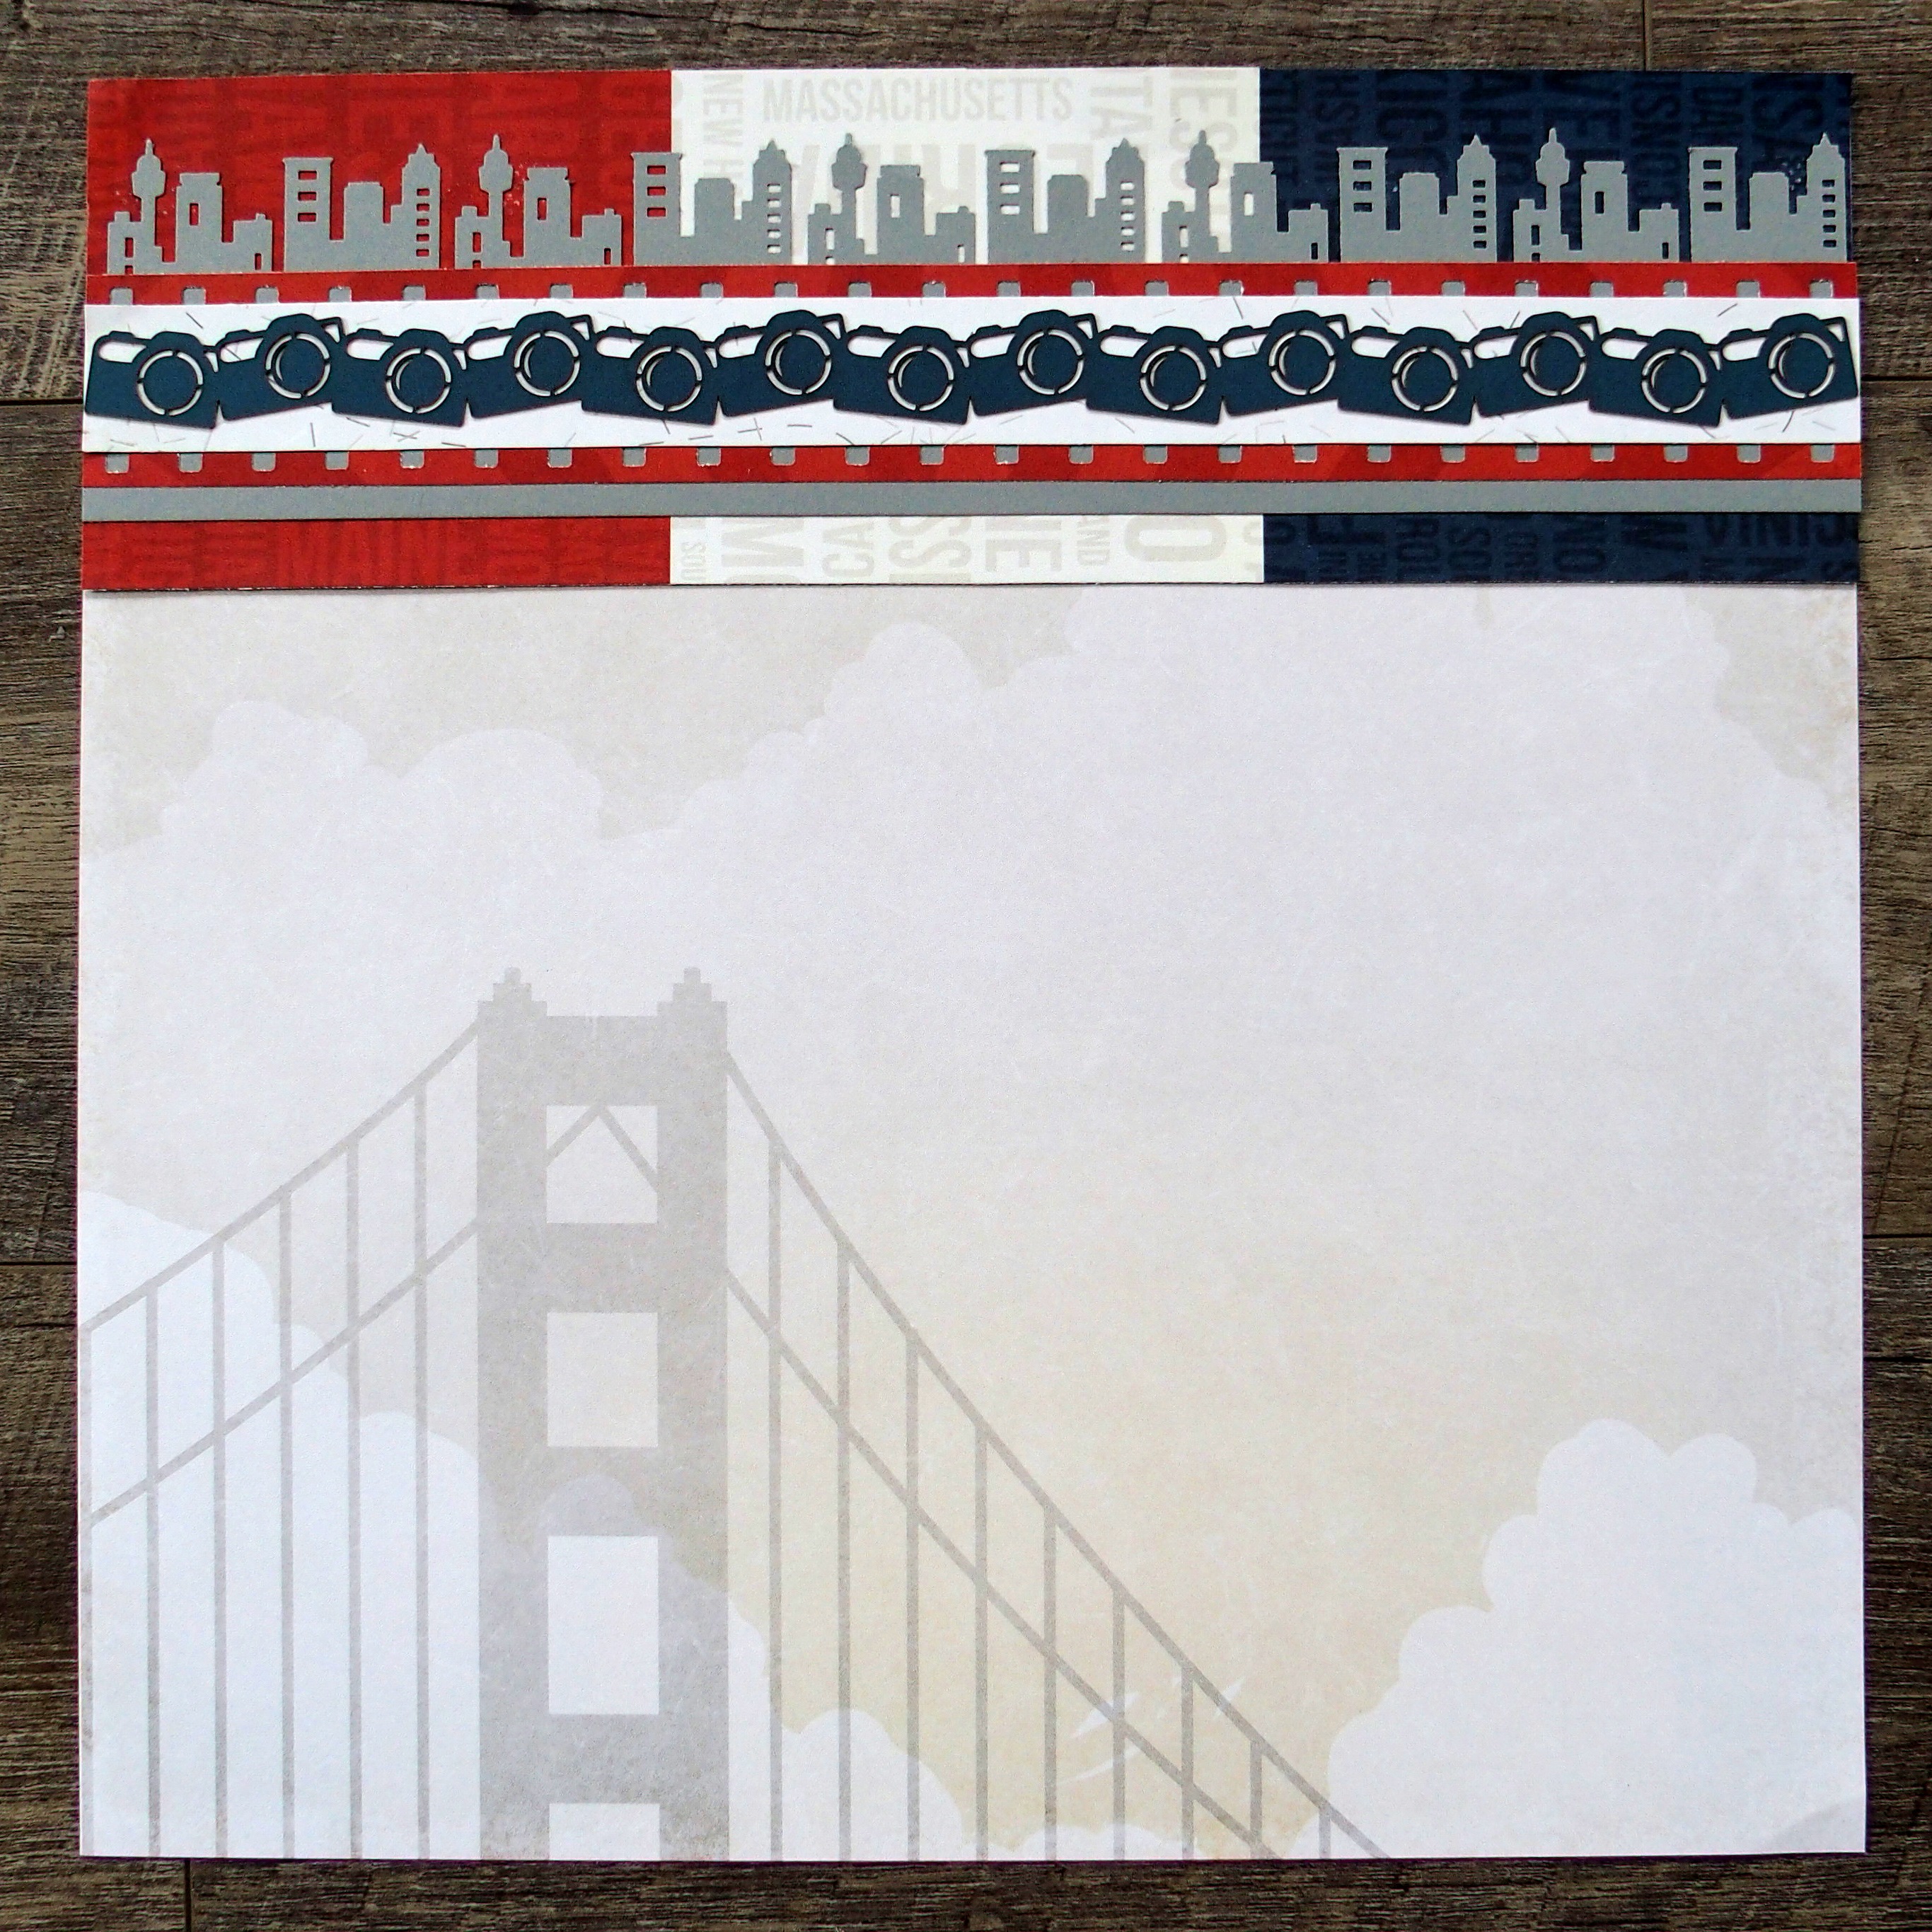
Step 1: Cut a 3-1/2″ x 12″ strip of red, white and blue patterned paper for the base.

Step 2: Punch a border using the Cityscape Border Punch with Gray Cardstock, trimming it to measure 2-5/8″ x 12″. Adhere it to the base.
Step 3: Using the Picket Fence Border Maker Cartridge, punch two borders with the red patterned paper, trimming each one to measure 1″ wide. Cut a 1″ x 12″ strip of white dash patterned paper. Turning the picket fence points inward, mount the white dash strip on top so that just little squares show through as shown. Mount the piece on the gray cityscape strip. Top it with the cameras laser cut border.
Roadside Signs Scrapbook Border

Step 1: Cut a 3-1/4″ x 12″ strip of navy star patterned paper for the base, lining up the rows of stars.

Step 2: Cut a 2-3/8″ x 12″ strip of the scenic mat patterned paper, capturing the left edges of the NYC and desert cactus pieces. Cut a 2-3/8″ x 4-1/2″ piece of red patterned paper and adhere it to the middle of the strip as shown. Mount it on the base.
Step 3: Cut small light yellow and red scraps to place behind the “Scenic View,” “Open” and “Hotel” signs on the border embellishment. Mount it on the border.
Scenic Route Scrapbook Border
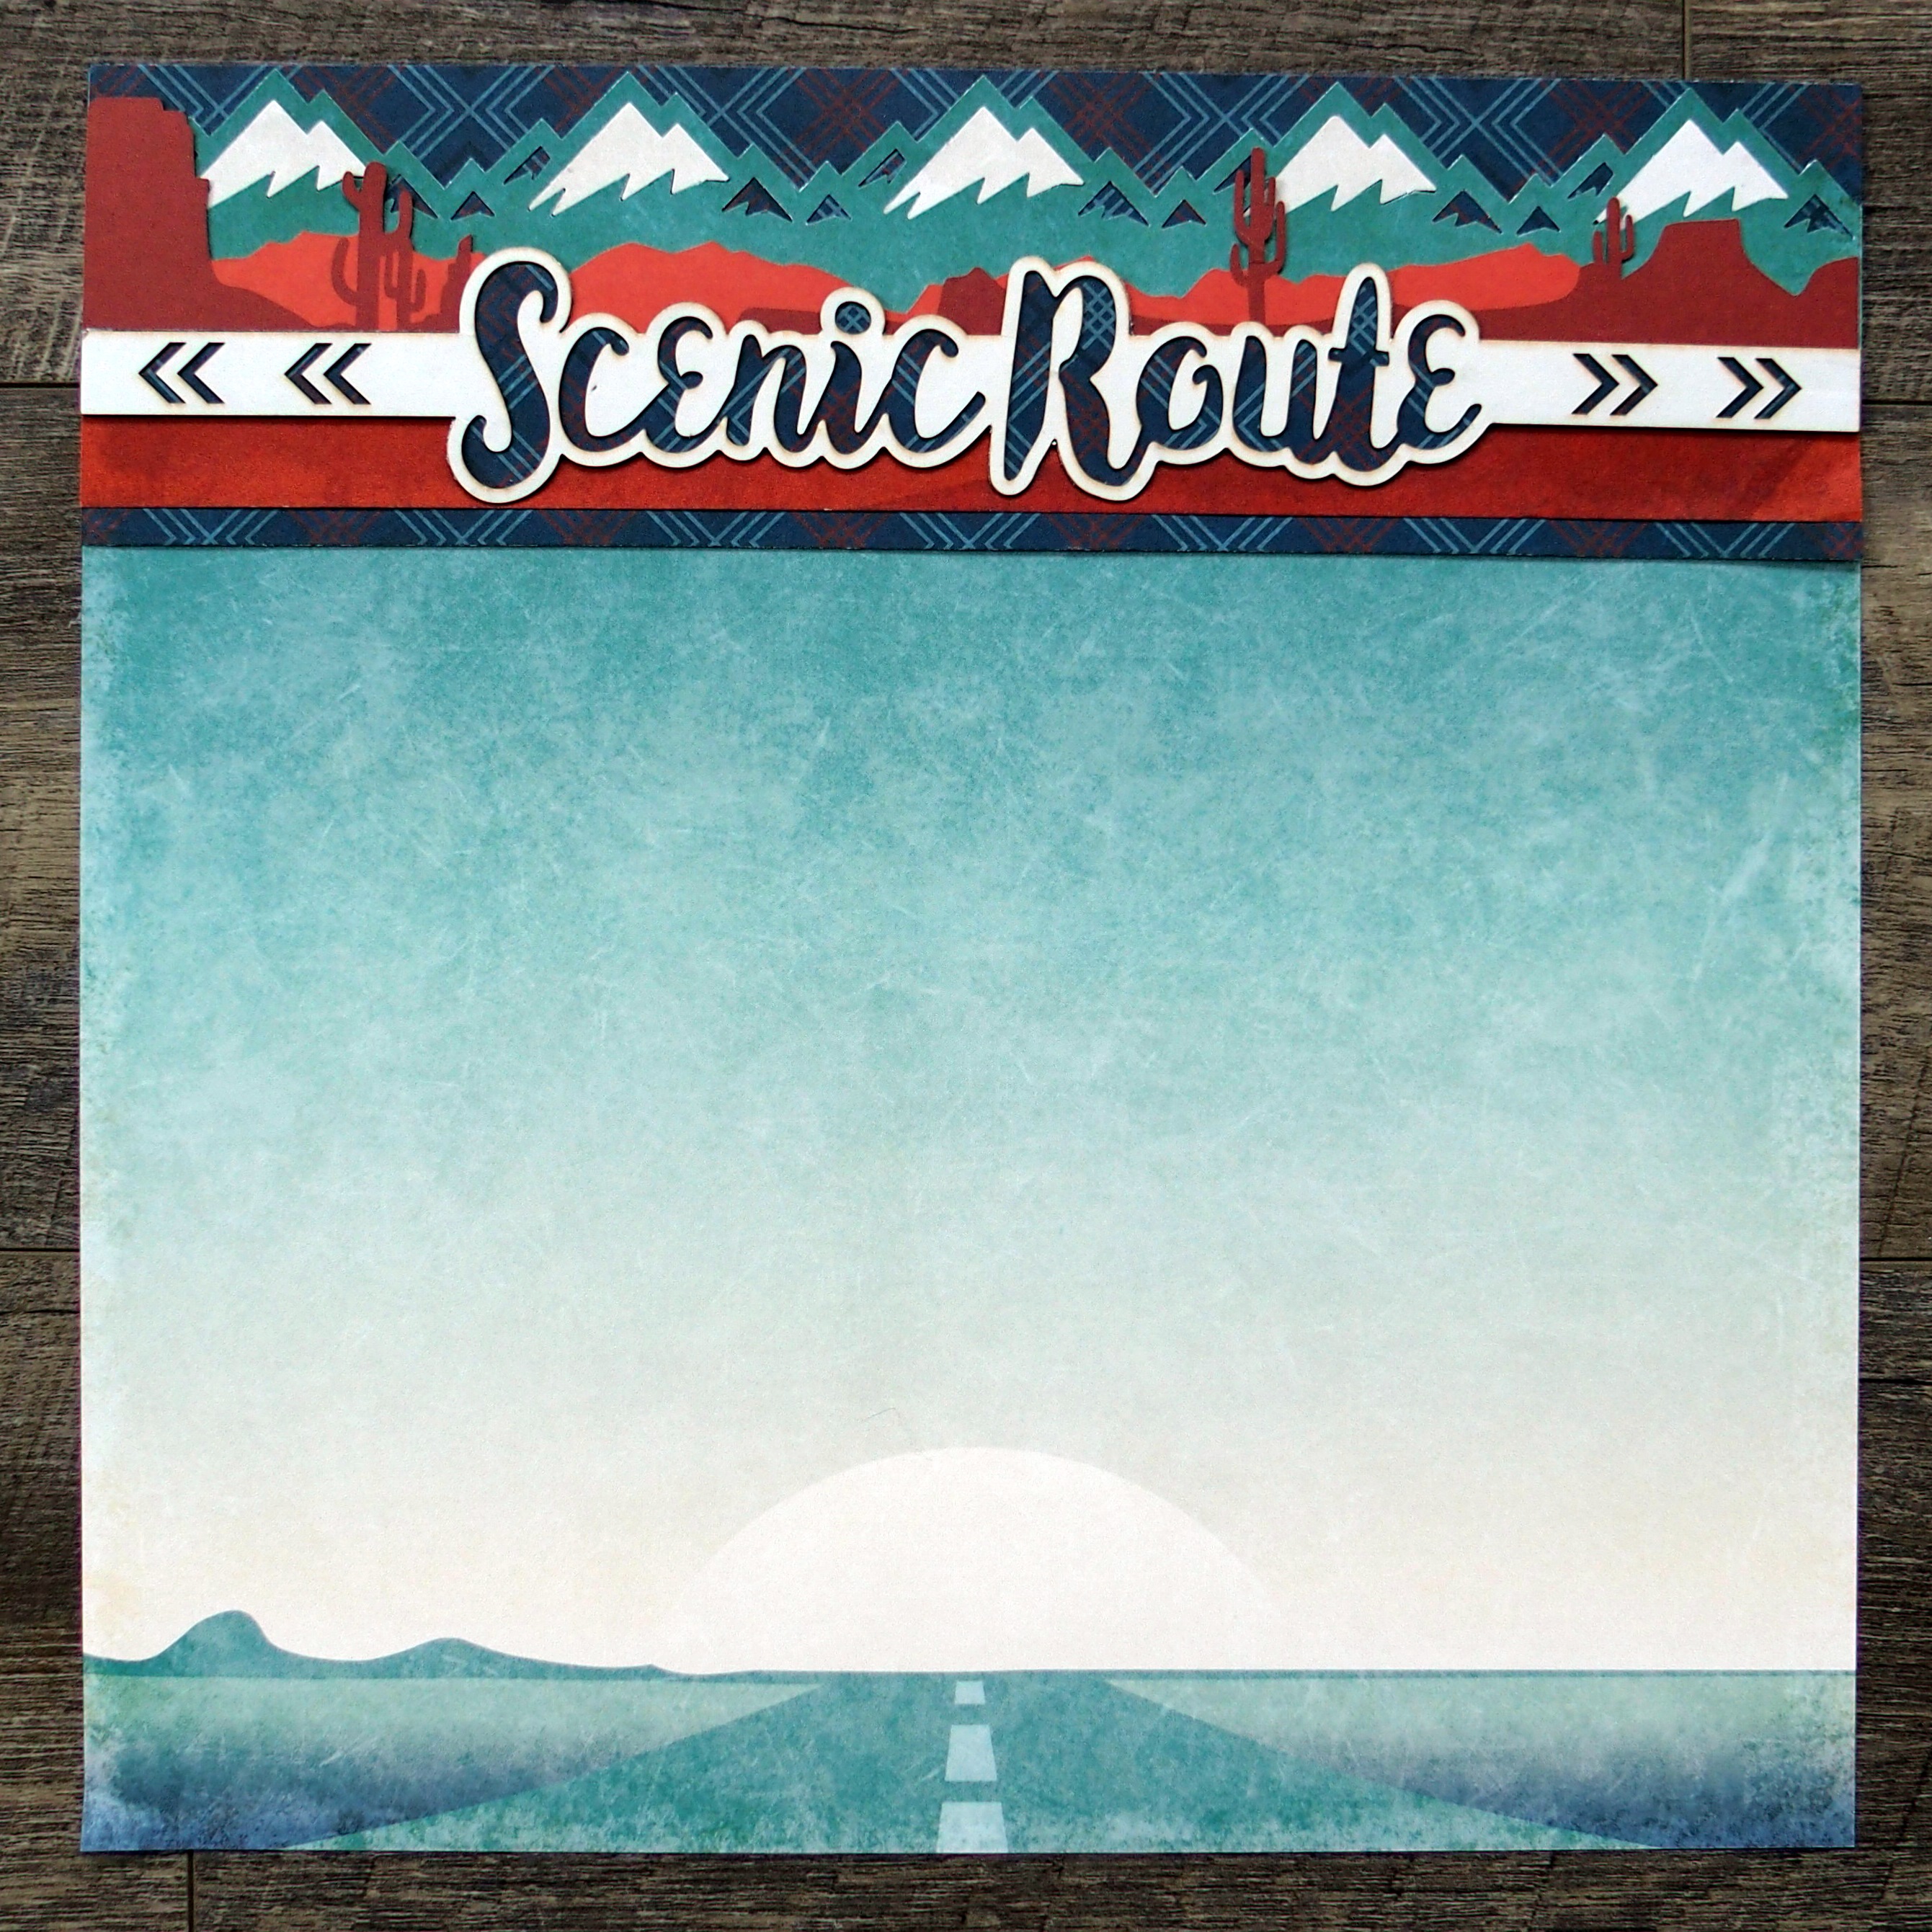
Step 1: Cut a 3-1/4″ x 12″ strip of navy patterned paper for the base.
Step 2: Punch a border with the Majestic Mountains Border Punch with green patterned paper. Trim it to measure 2-1/4″ x 12″ and adhere it to the base so the mountain tops meet the top of the border. If desired, punch another border with cream paper and use some of the punched-out pieces to create snow-covered mountains.
Step 3: Cut a 3/4″ x 12″ strip from the bottom of the desert scene patterned paper. Adhere this piece to the border about 1/4″ up from the bottom. Mount the desert laser cut border above this piece.
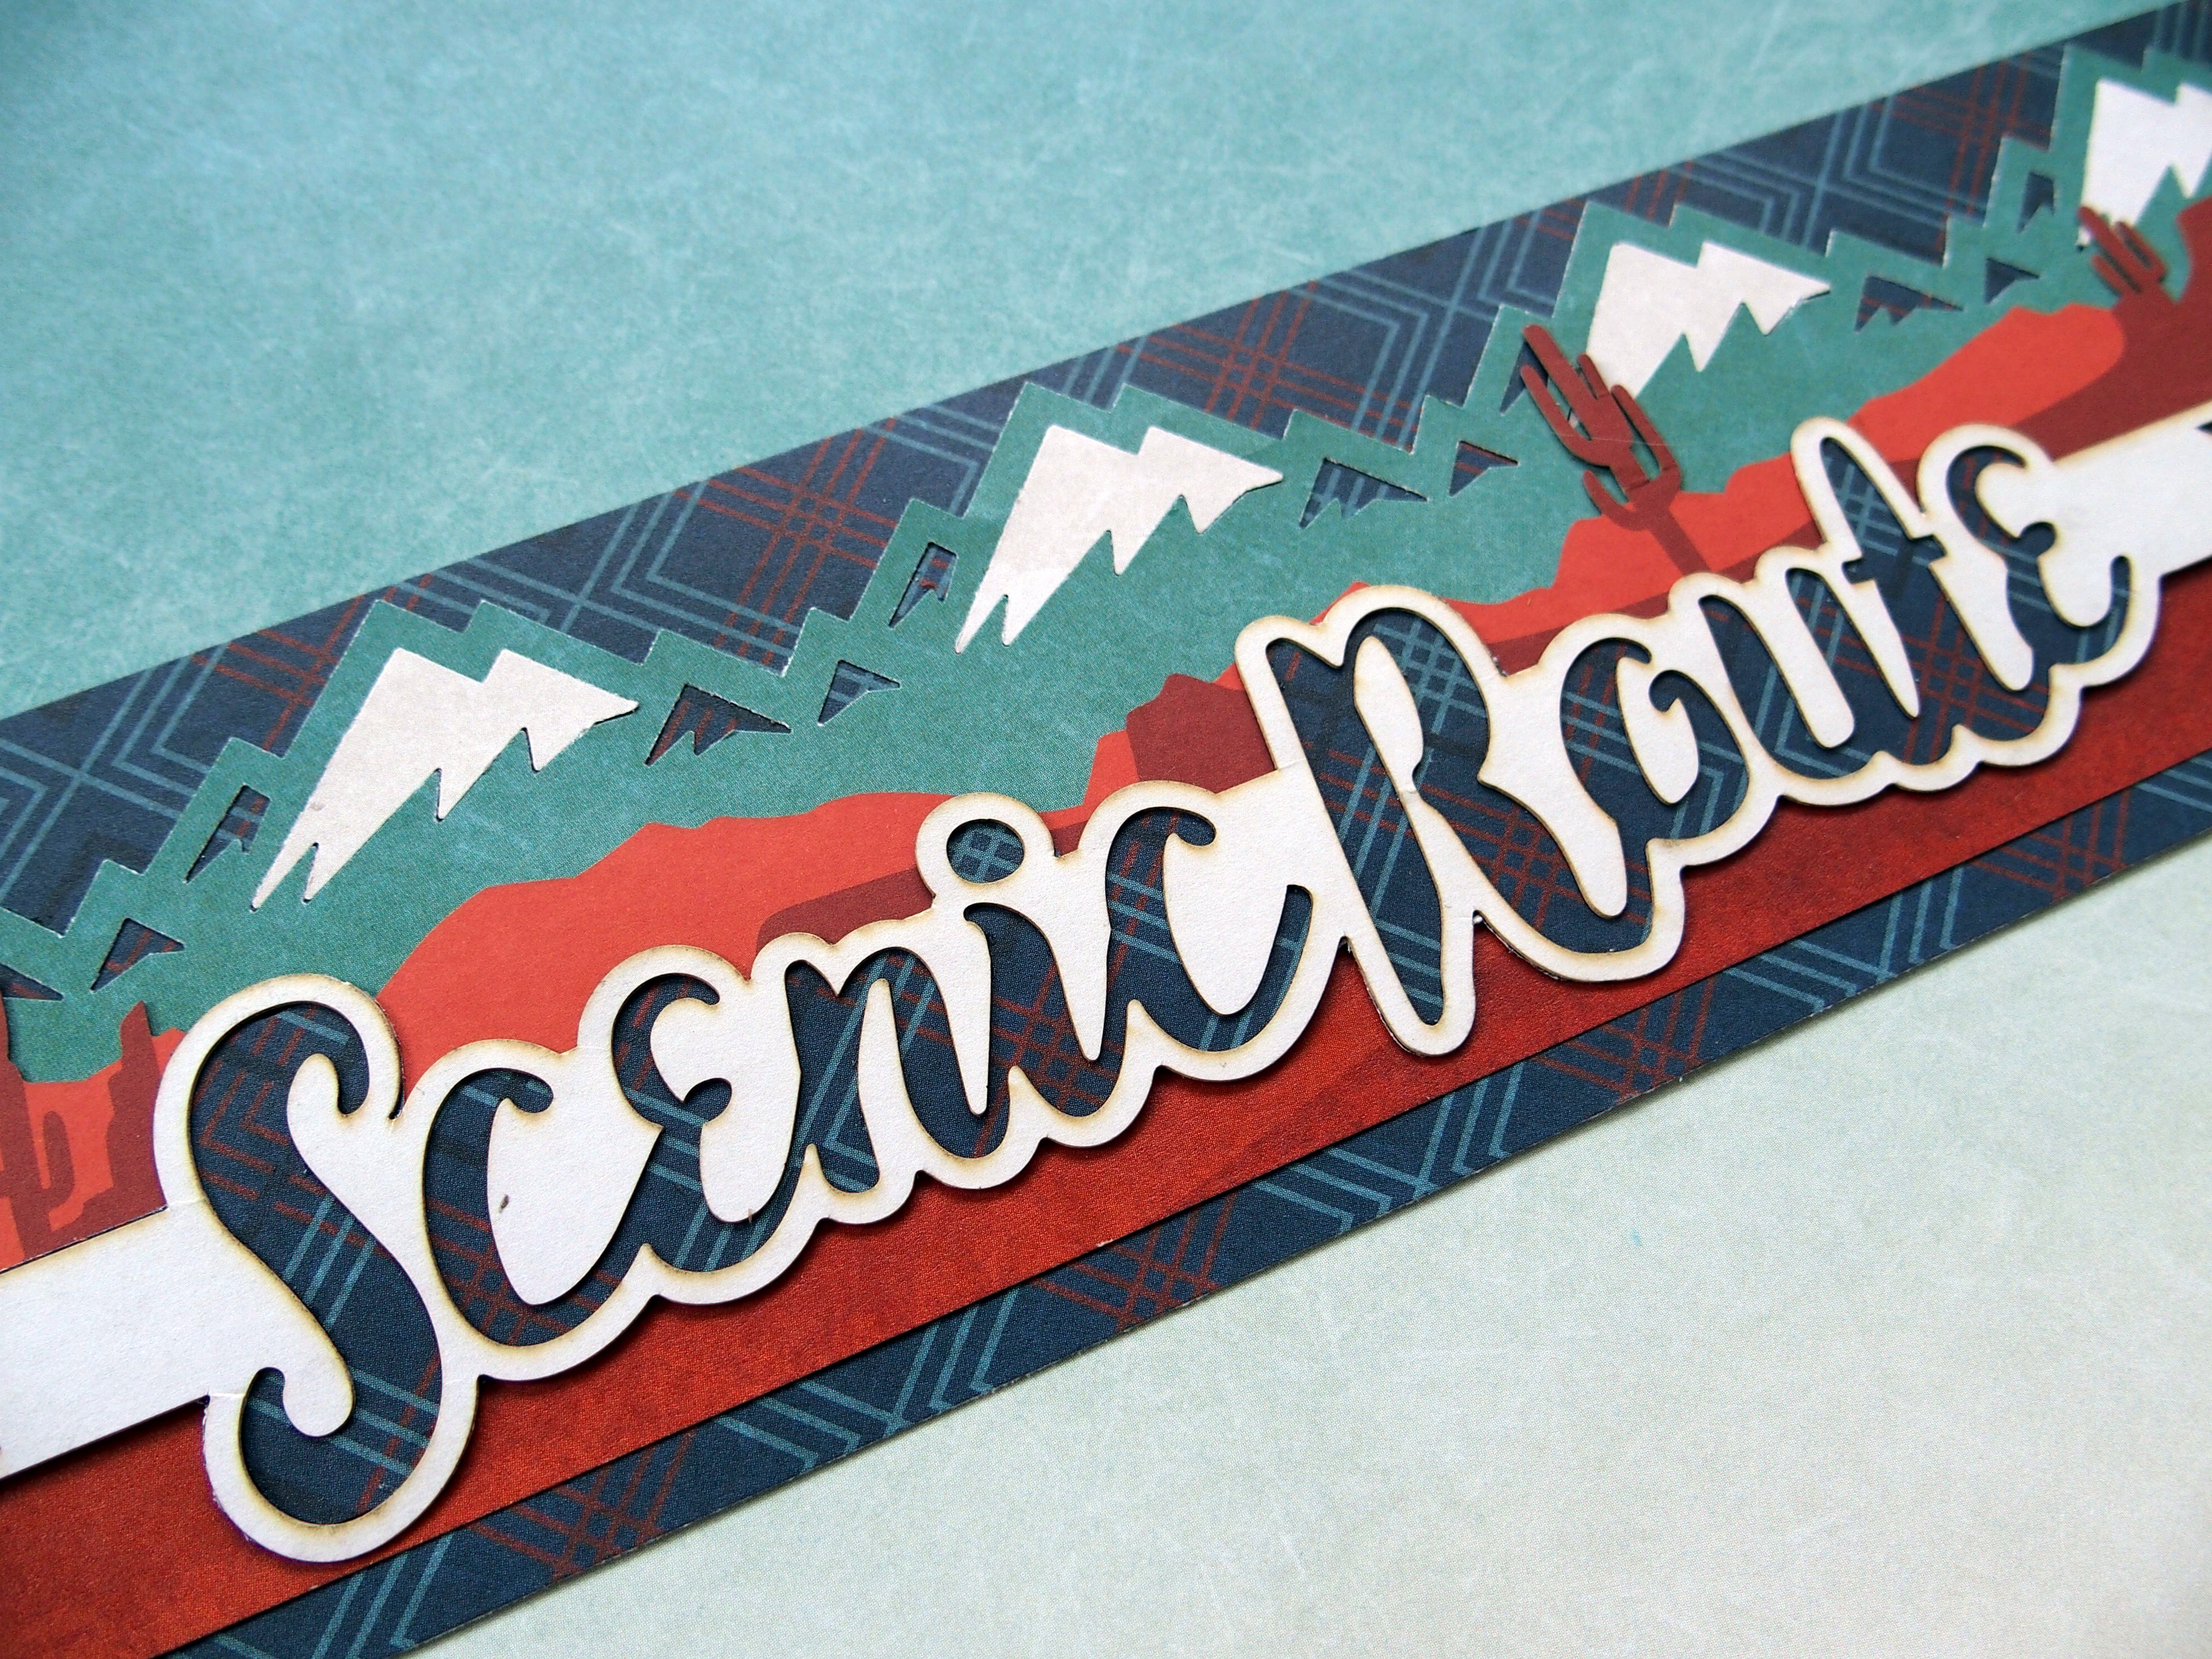
Step 4: Adhere the “Scenic Route” laser cut border to a piece of navy patterned paper. Using scissors, trim it all the way around. Mount it on the top of the border as shown.
Minnesota Lovers Scrapbook Border

Step 1: Using the Scallop Wave Border Maker Cartridge, punch a border with green patterned paper and trim it to measure 2″ x 12″ for the base. Punch another border with the blue water patterned paper (from the Explorer Paper Pack), trim it to measure 1-5/8″ x 12″ and mount it on top of the base. Top it with a 5/8″ x 12″ strip of brown and orange plaid paper (from the Explorer Paper Pack).
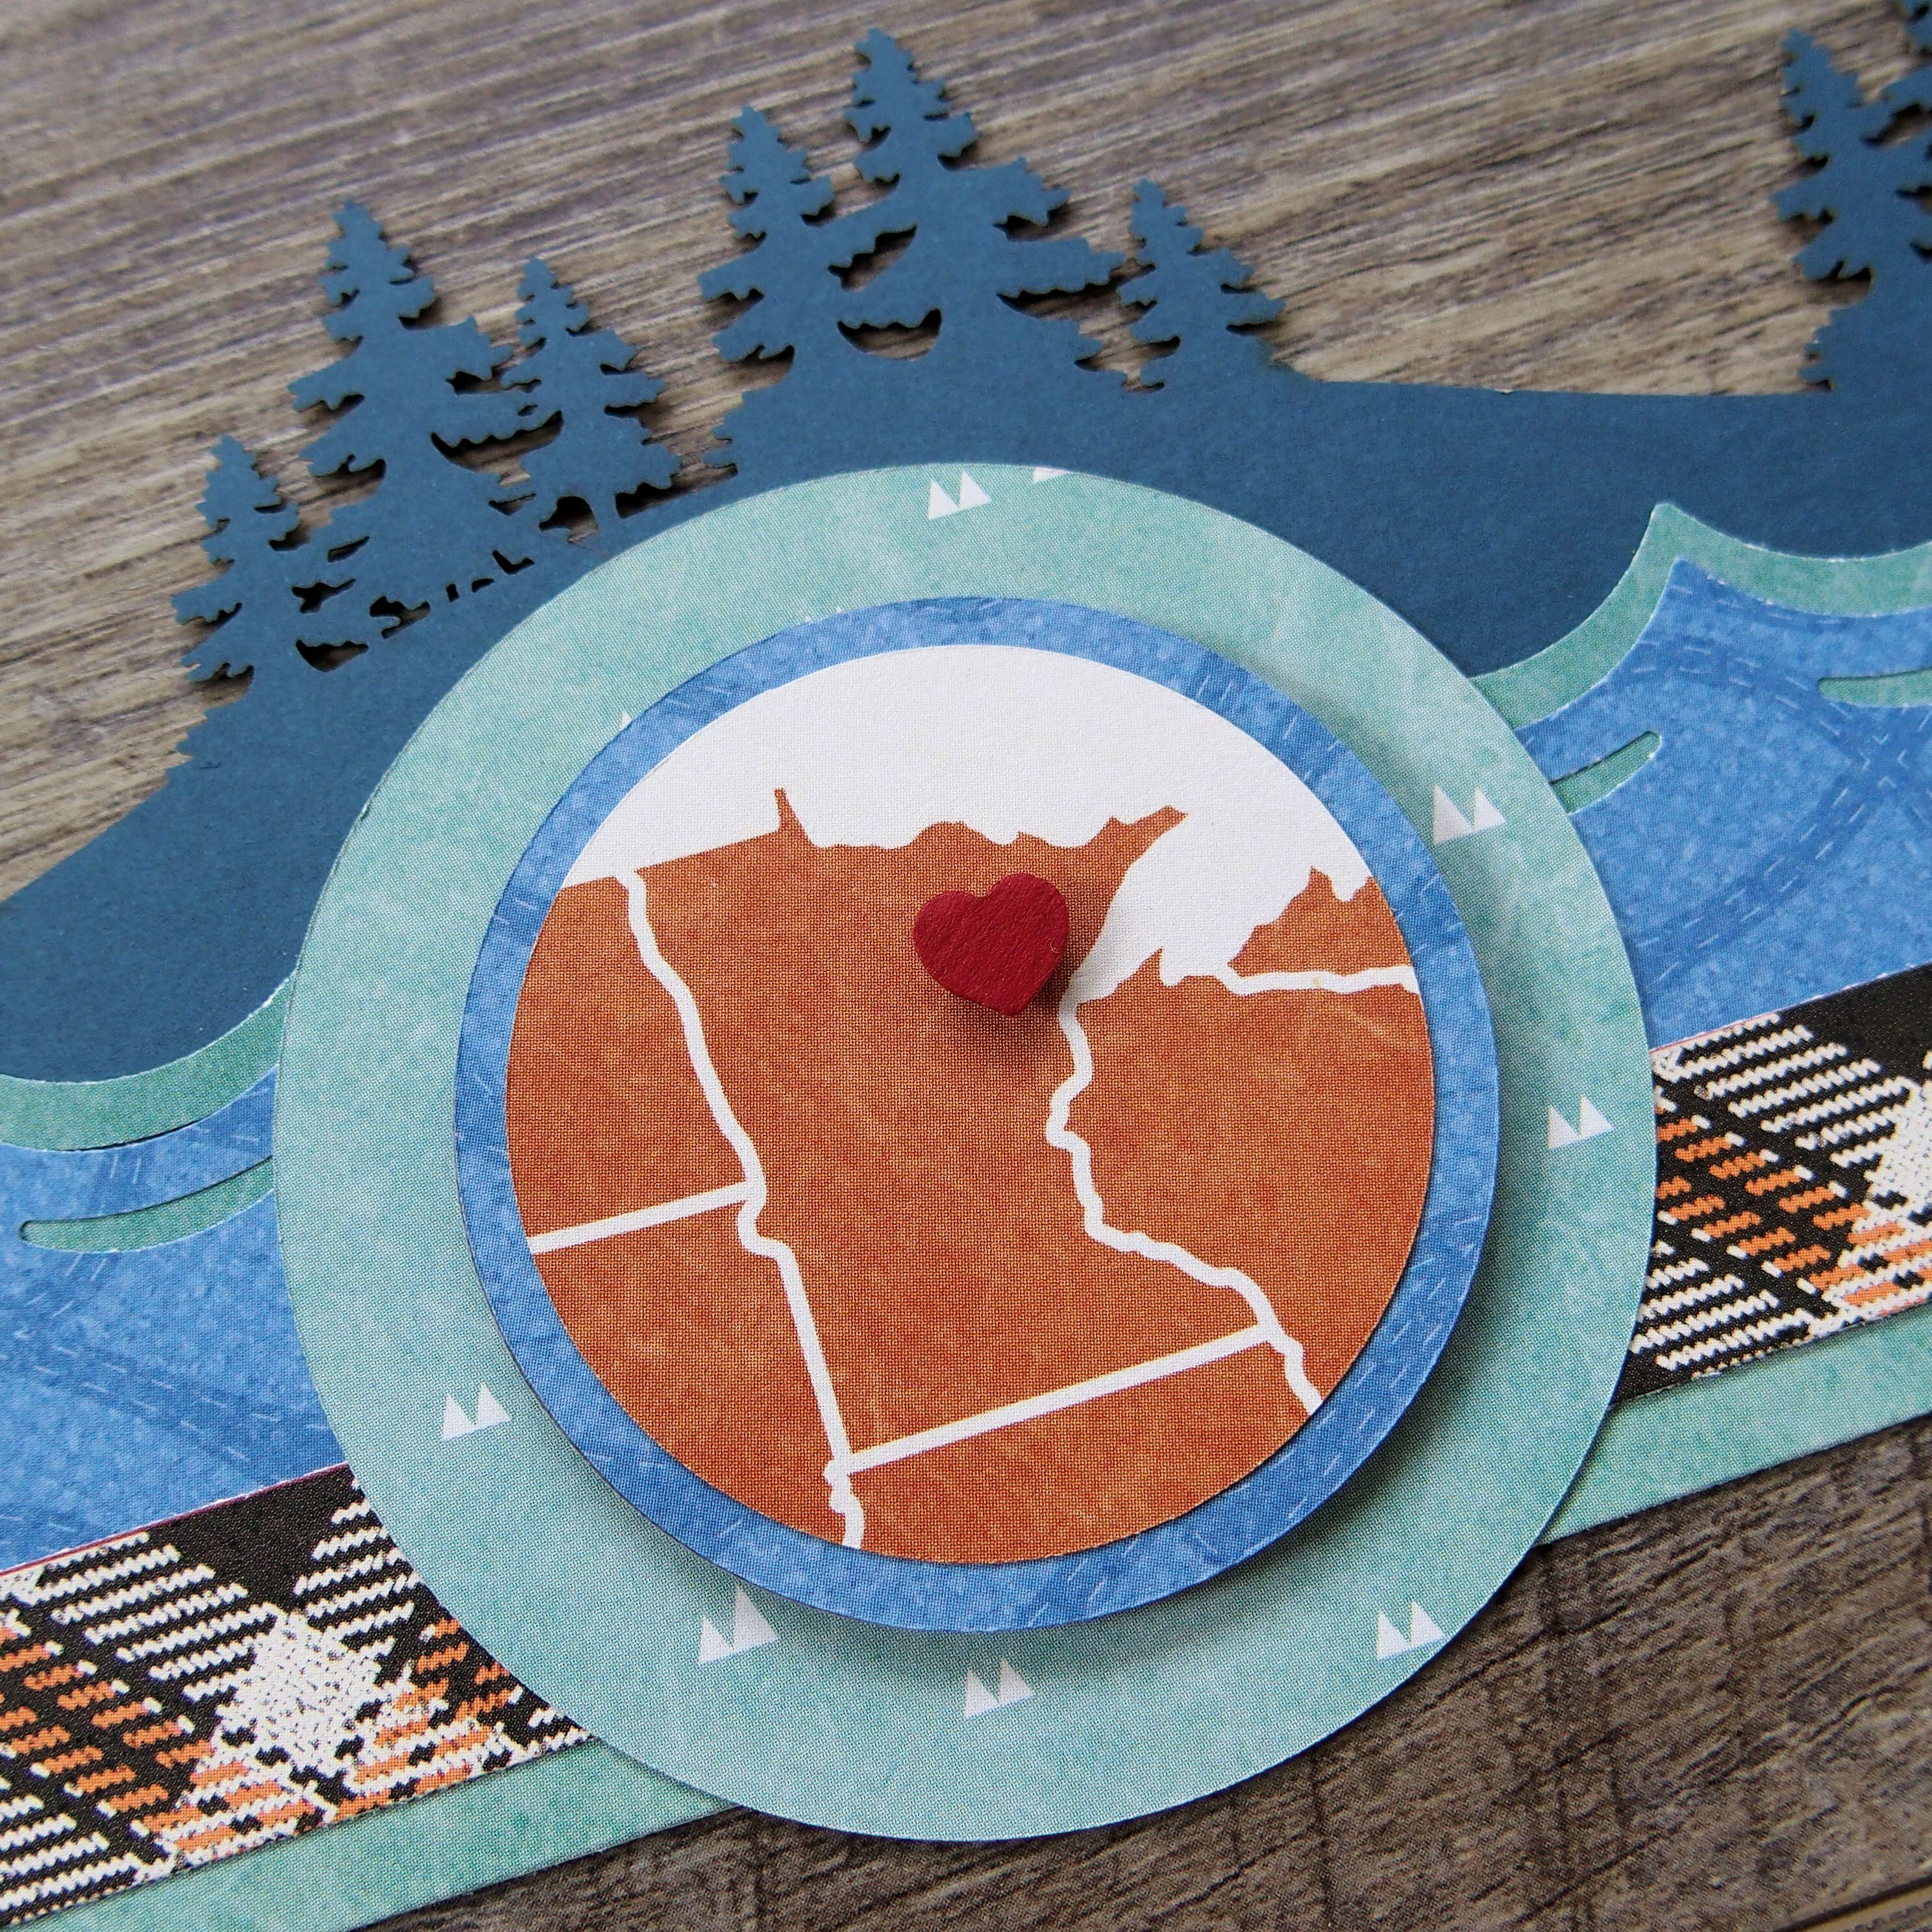
Step 2: Adhere the forest scene laser cut border just behind the waves as shown.
Step 3: Using the inside of the largest Custom Cutting System Circle Pattern and the Green Blade, cut a circle with green patterned paper. Using the inside of the medium Custom Cutting System Circle Pattern and the Red Blade, cut a circle with the blue water patterned paper (from the Explorer Paper Pack). With the Green Blade and the same medium Custom Cutting System Circle Pattern, cut a circle around Minnesota. Mount it to the border as shown. Top it with a small crimson heart punched with the Heart Duet Border Maker Cartridge and popped up with a Foam Square.

No matter where your journeys take you, these travel scrapbook border ideas will help you accent any layout of any adventure. Which one do you like most? Is there one you can’t wait to create? Let us know in the comments below!


PERFECT for all those travelin’ memories!! Thanks for the inspiration!!
These borders are GENIUS!!! You ever cease to amaze me!!!
Do you have a catalog ?
Here is a link to our online catalog: https://issuu.com/cmemories/docs/creativememoriescatalog_0419_us_sin
What a great display of ideas. You are wonderful to do this for us. I have the above products and I can’t wait to get started. Thanks.
that is so nice
A major love for these ideas – thanks!!
Love these borders, thanks for sharing.
Super cute, thanks for sharing!
LOVE border ideas, thank you!
Great additions to my 50-states travel album. thanks!
Wonderful borders and page ideas w/our new products. Thank you for sharing.
I love these borders! Thanks, Krislyn! I want to point out that the last one can be customized for any state.
Thanks Krislyn!
These a just beautiful and inspiring and versatile!