June 28, 2019
Every Day is a Beach Day with this Summer Scrapbook Layout

What is it that we love so much about the beach? The warm sand between our toes? The soothing sounds of rolling waves or the salty smell of the sea? No matter what it is, we all know the beach is a relaxing place to laze away our warm-weather days. Many of our best fun-in-the-sun memories are made on the beach, making it the perfect backdrop for a scrapbook layout showcasing that care-free state of mind. Life is a breeze with this summer scrapbook layout idea — get your sunglasses and check it out!
Nicole’s Inspiration
School just ended for this happy boy — Edward was so excited because that meant he would be going to the beach for a week with grandma. They left Saturday afternoon, and after they made the three-hour drive, wasted no time dipping their feet in the ocean at 9pm. Grandma has been taking Edward to the beach every summer for the past five years and he has a blast each time.
While they were gone for the week, my mom made sure to send me pictures every day. I’ve trained her well. :)
To create this layout, you’ll need:
- Citrus Summer Paper Pack or (Shop Canada | Shop Australia)
- Citrus Summer Stickers or (Shop Canada | Shop Australia)
- Citrus Summer Variety Mat Pack or (Shop Canada | Shop Australia)
- Citrus Summer Embellishments or (Shop Canada | Shop Australia)
- 12-inch Trimmer or (Shop Canada | Shop Australia)
- Tape Runner or (Shop Canada | Shop Australia)
- Foam Squares or (Shop Canada | Shop Australia)
- Black Dual-Tip Pen or (Shop Canada | Shop Australia)

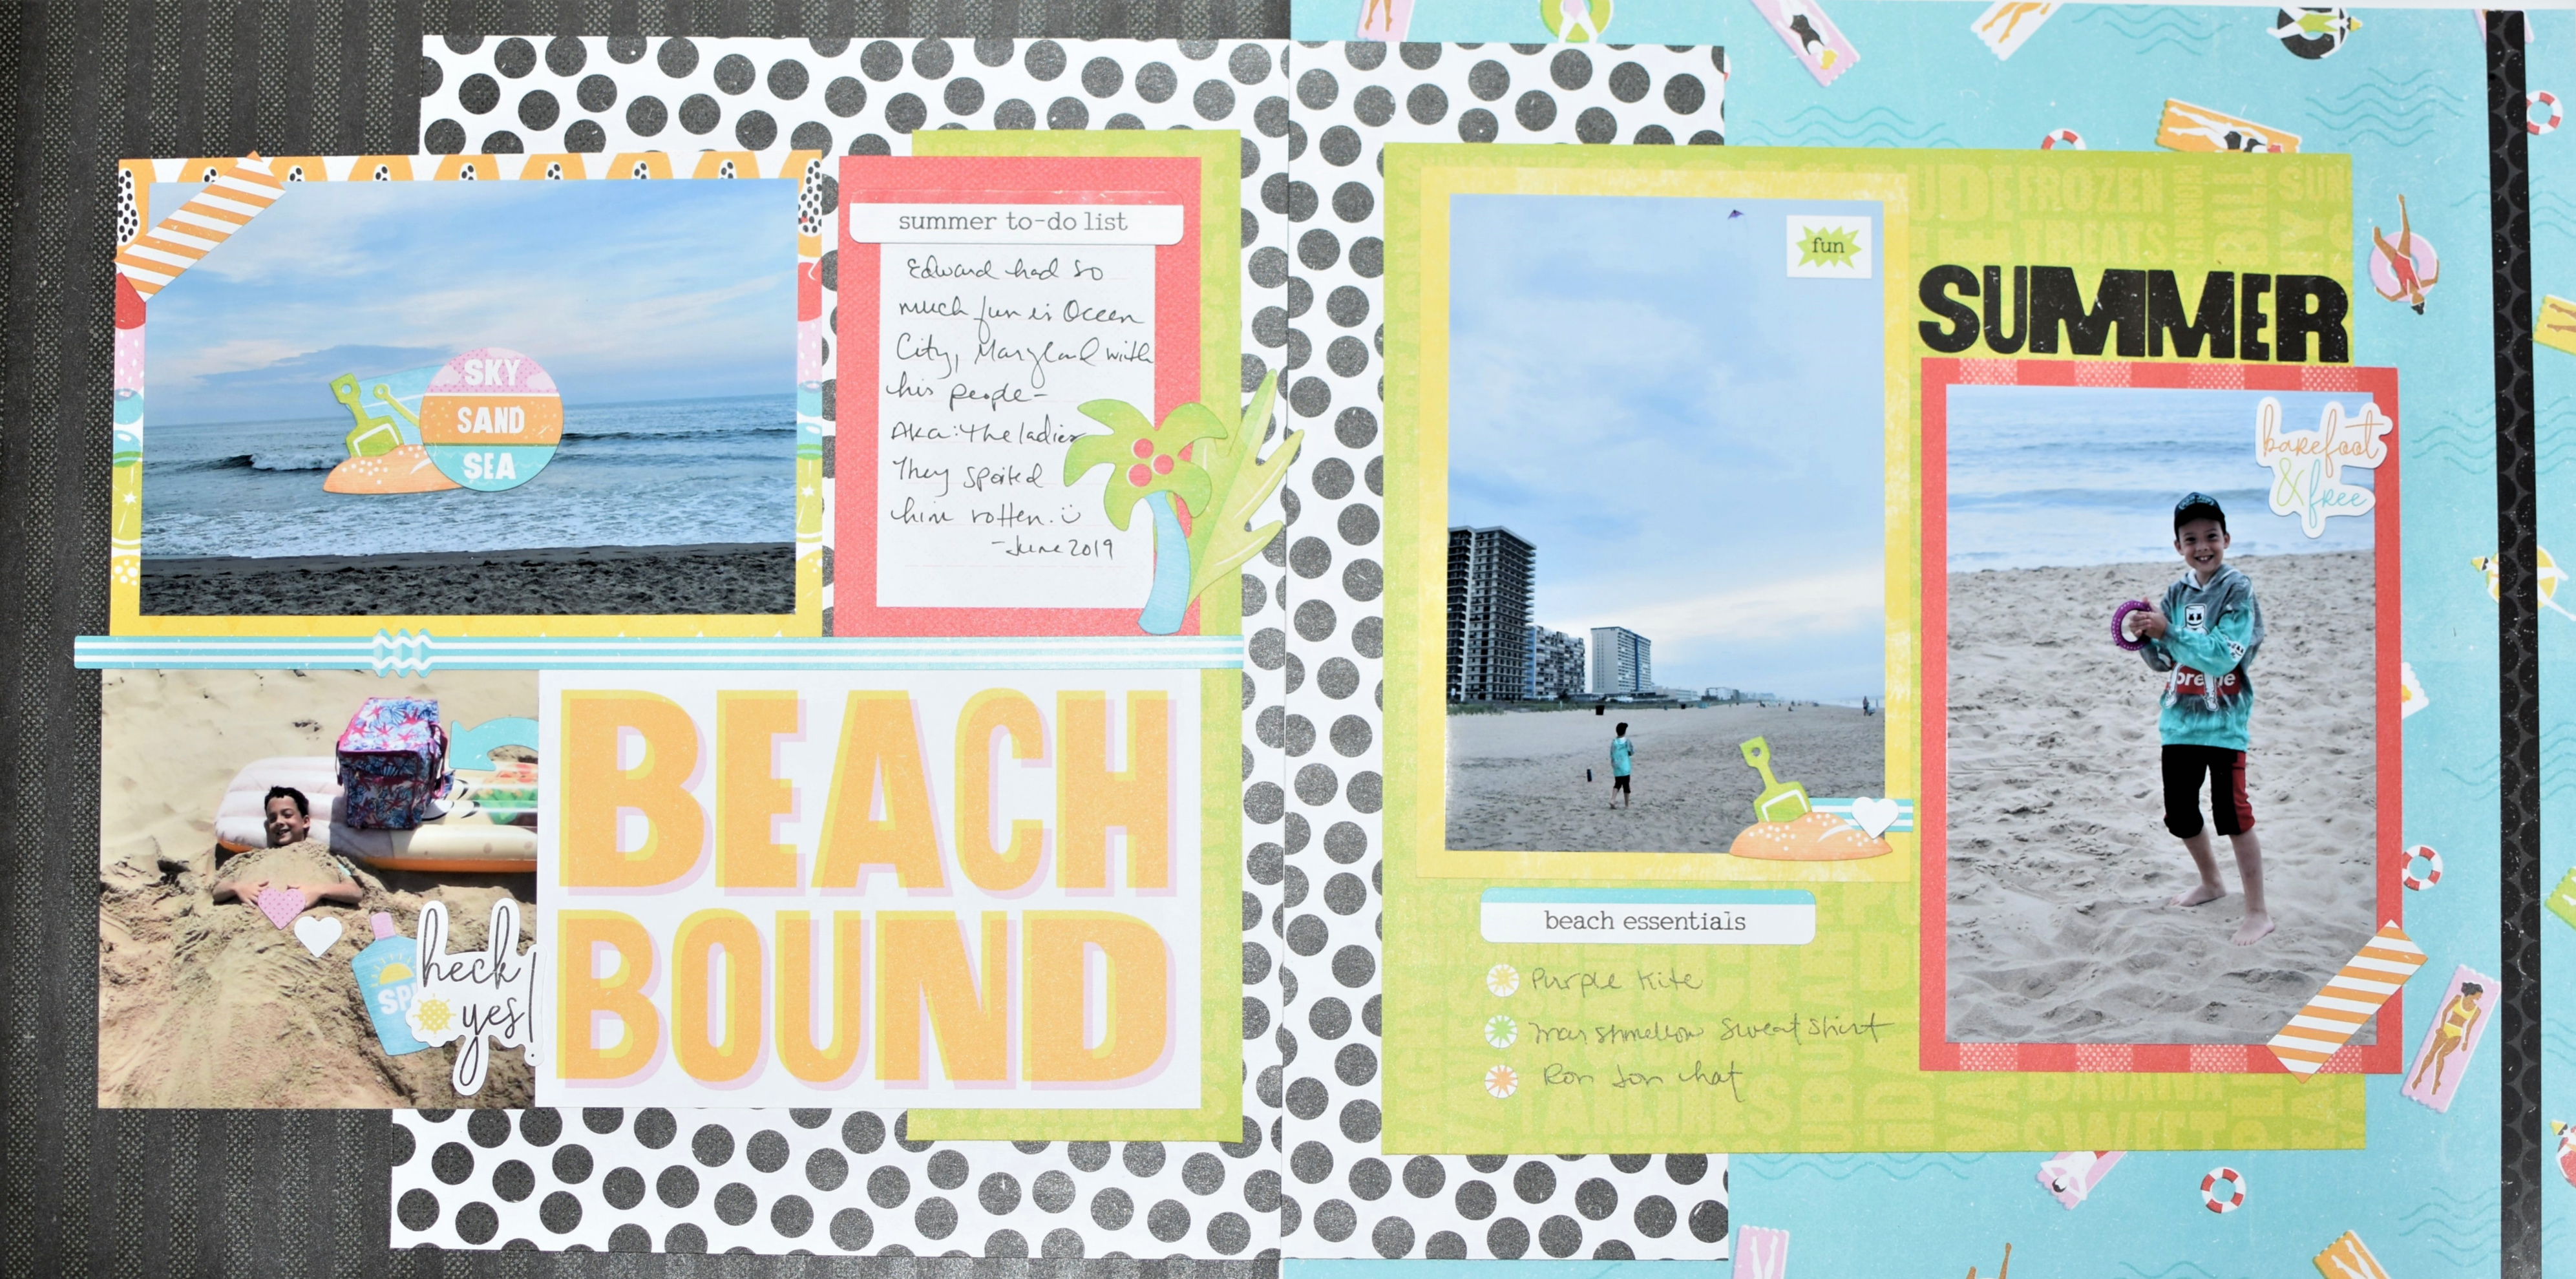
Step 1: Use a piece of black patterned paper and poolside patterned paper as the base for the layout.
Step 2: Cut the black-and-white polka dot patterned paper to measure 11″ x 11″. Then cut the square to measure 11″ x 8″ (the scrap piece should measure 11″ x 4″). Adhere both pieces to the base as shown, starting with the largest to the smallest. Place the largest piece approximately 1/2″ from the top and 4″ from the left side of the layout. Line up the base so the papers are perfectly flush side-by-side. Mount the other polka dot patterned strip on the second page, right next to the polka dot patterned piece on the first page.
Step 3: Cut the green patterned paper to measure 11″ x 9″. Cut 3″ off this piece so you have a scrap piece measuring 3″ x 9″. Adhere the smaller piece on the left side of the layout approximately 1″ from the top edge of the black-and-white polka dot patterned paper, leaving a 1/4″ space between the right side of the layout. Do the same with the larger piece on the right side of the layout, making sure it lines up with the left and leaving a 1″ space from the right side.
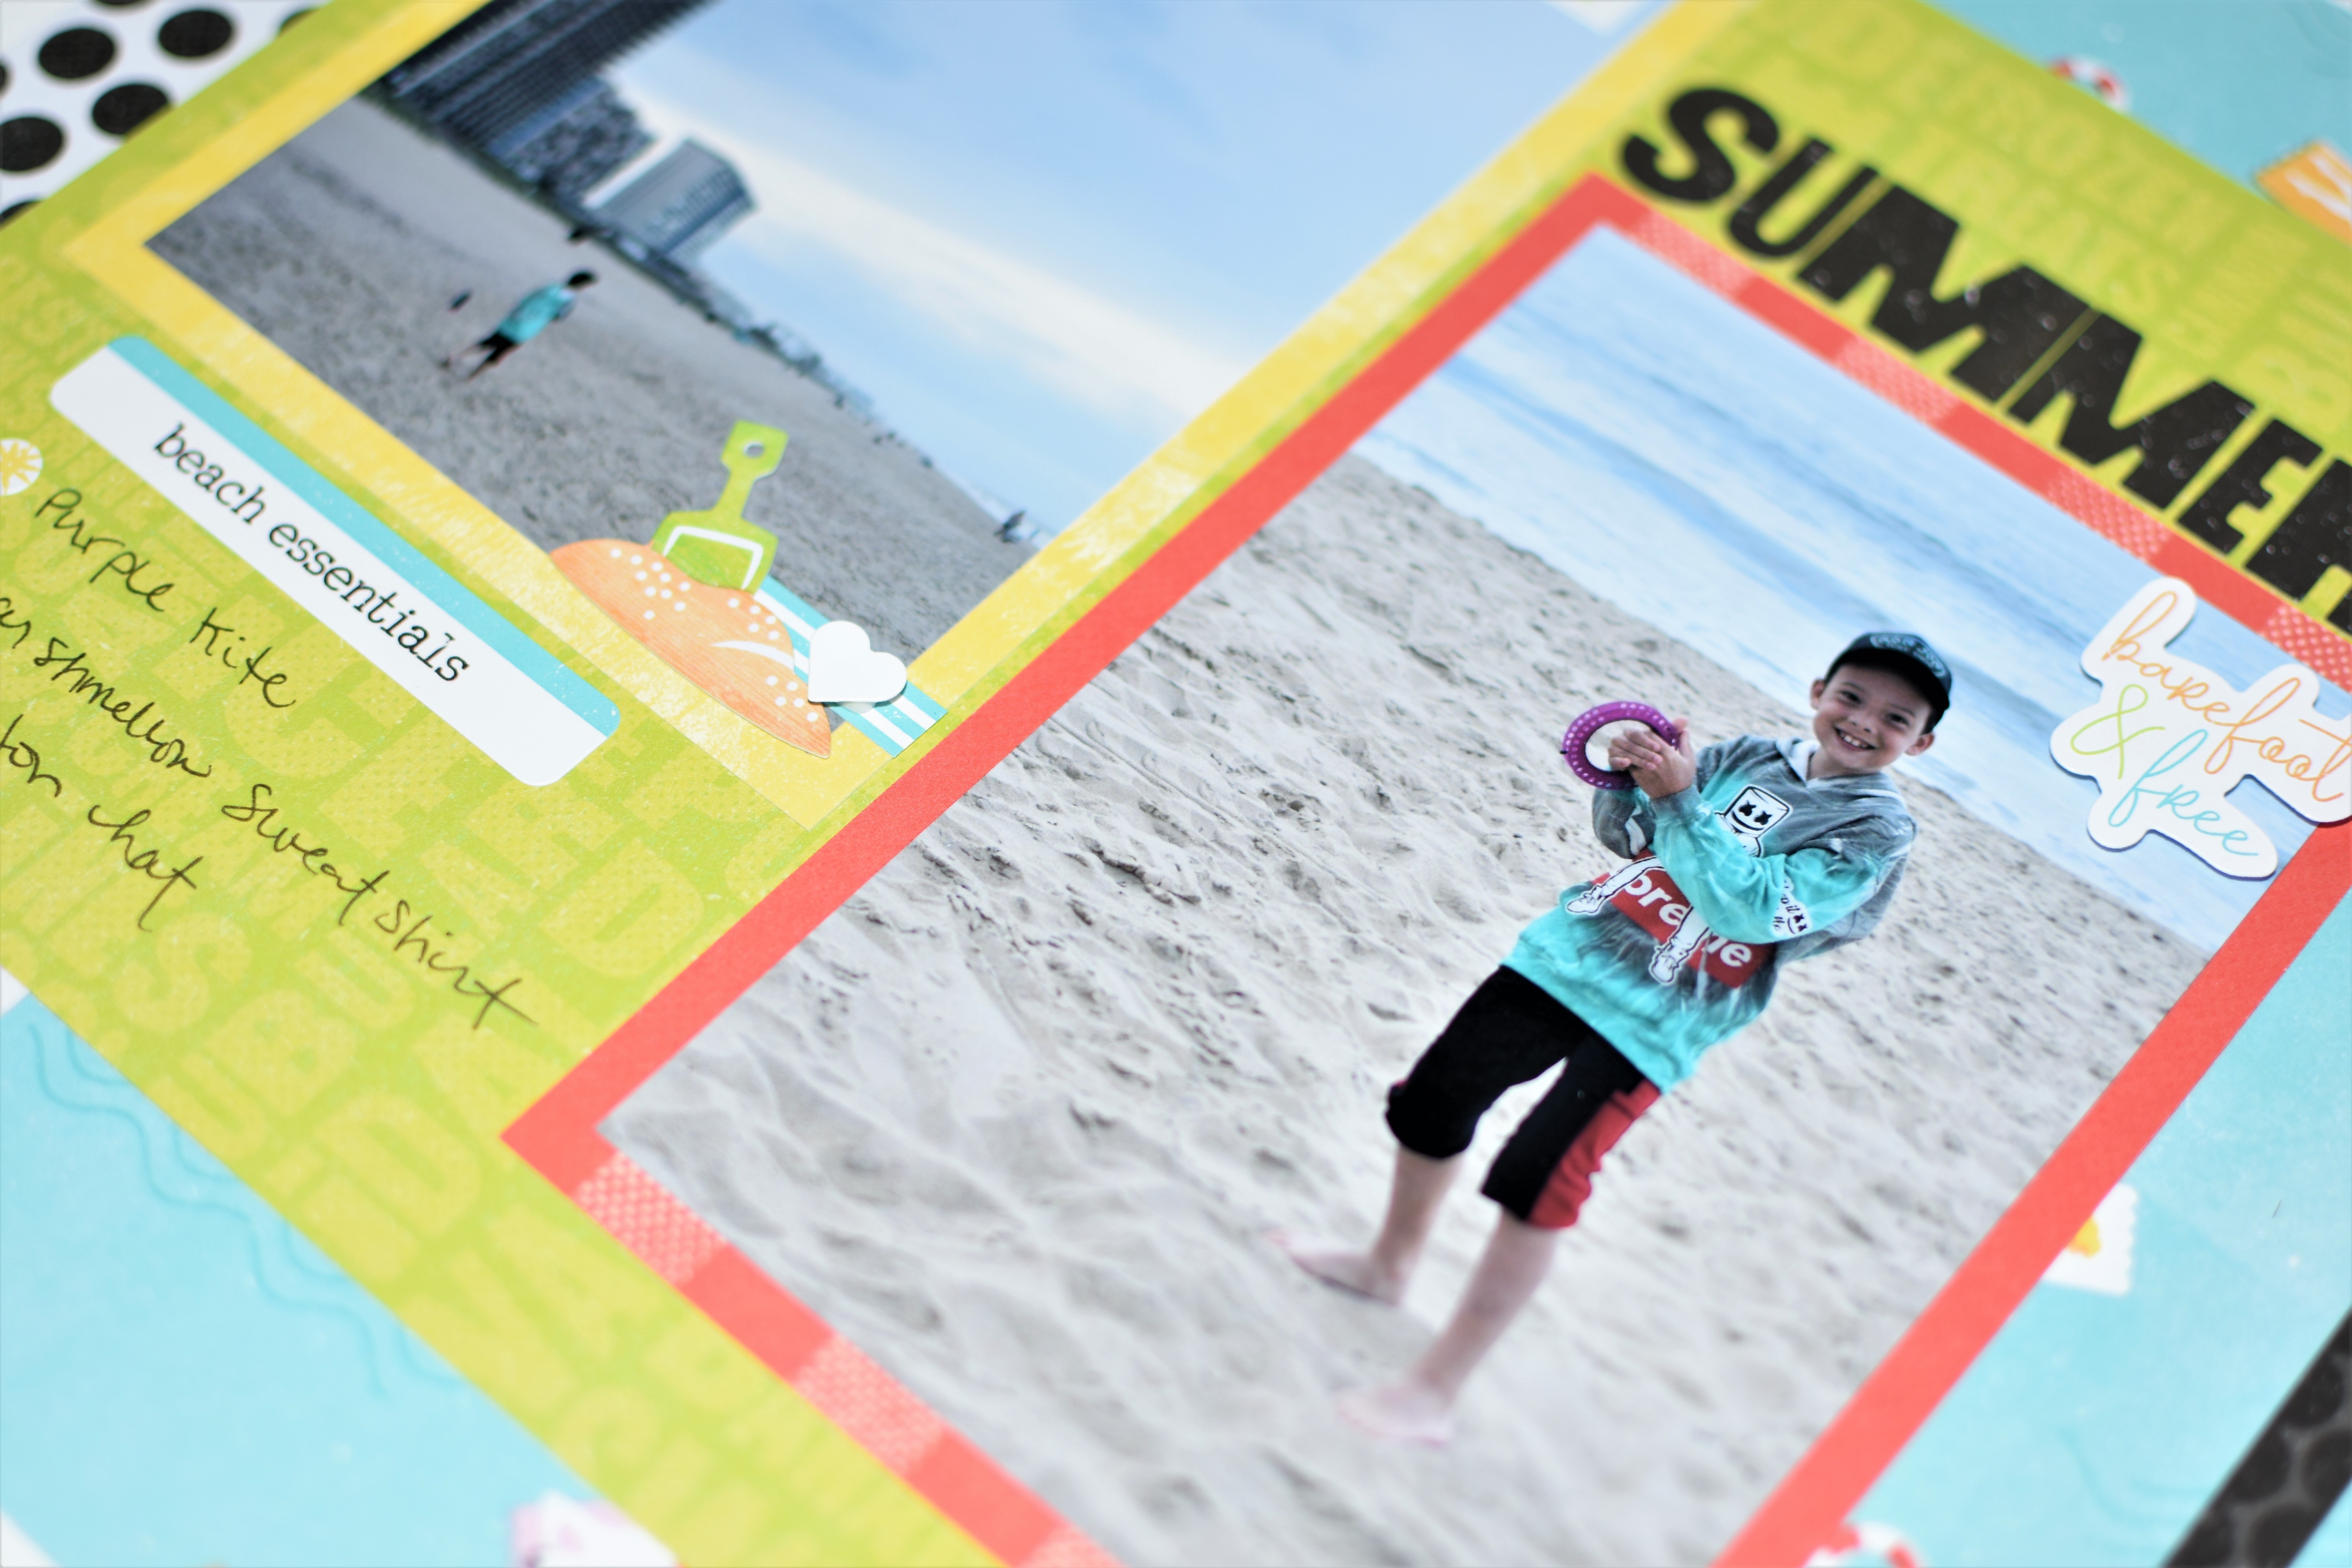
Step 4: Mount three 4″ x 6″ photos on three Citrus Summer mats using the Tape Runner. Cut the red double-journal mat in half to use as a journal block. Then cut a photo to measure 4″ x 4″. Adhere all mats as shown.
Step 5: Embellish the layout as desired using Foam Squares for added dimension.
Step 6: Use the Black Dual-Tip Pen to write your story on the journal mat.
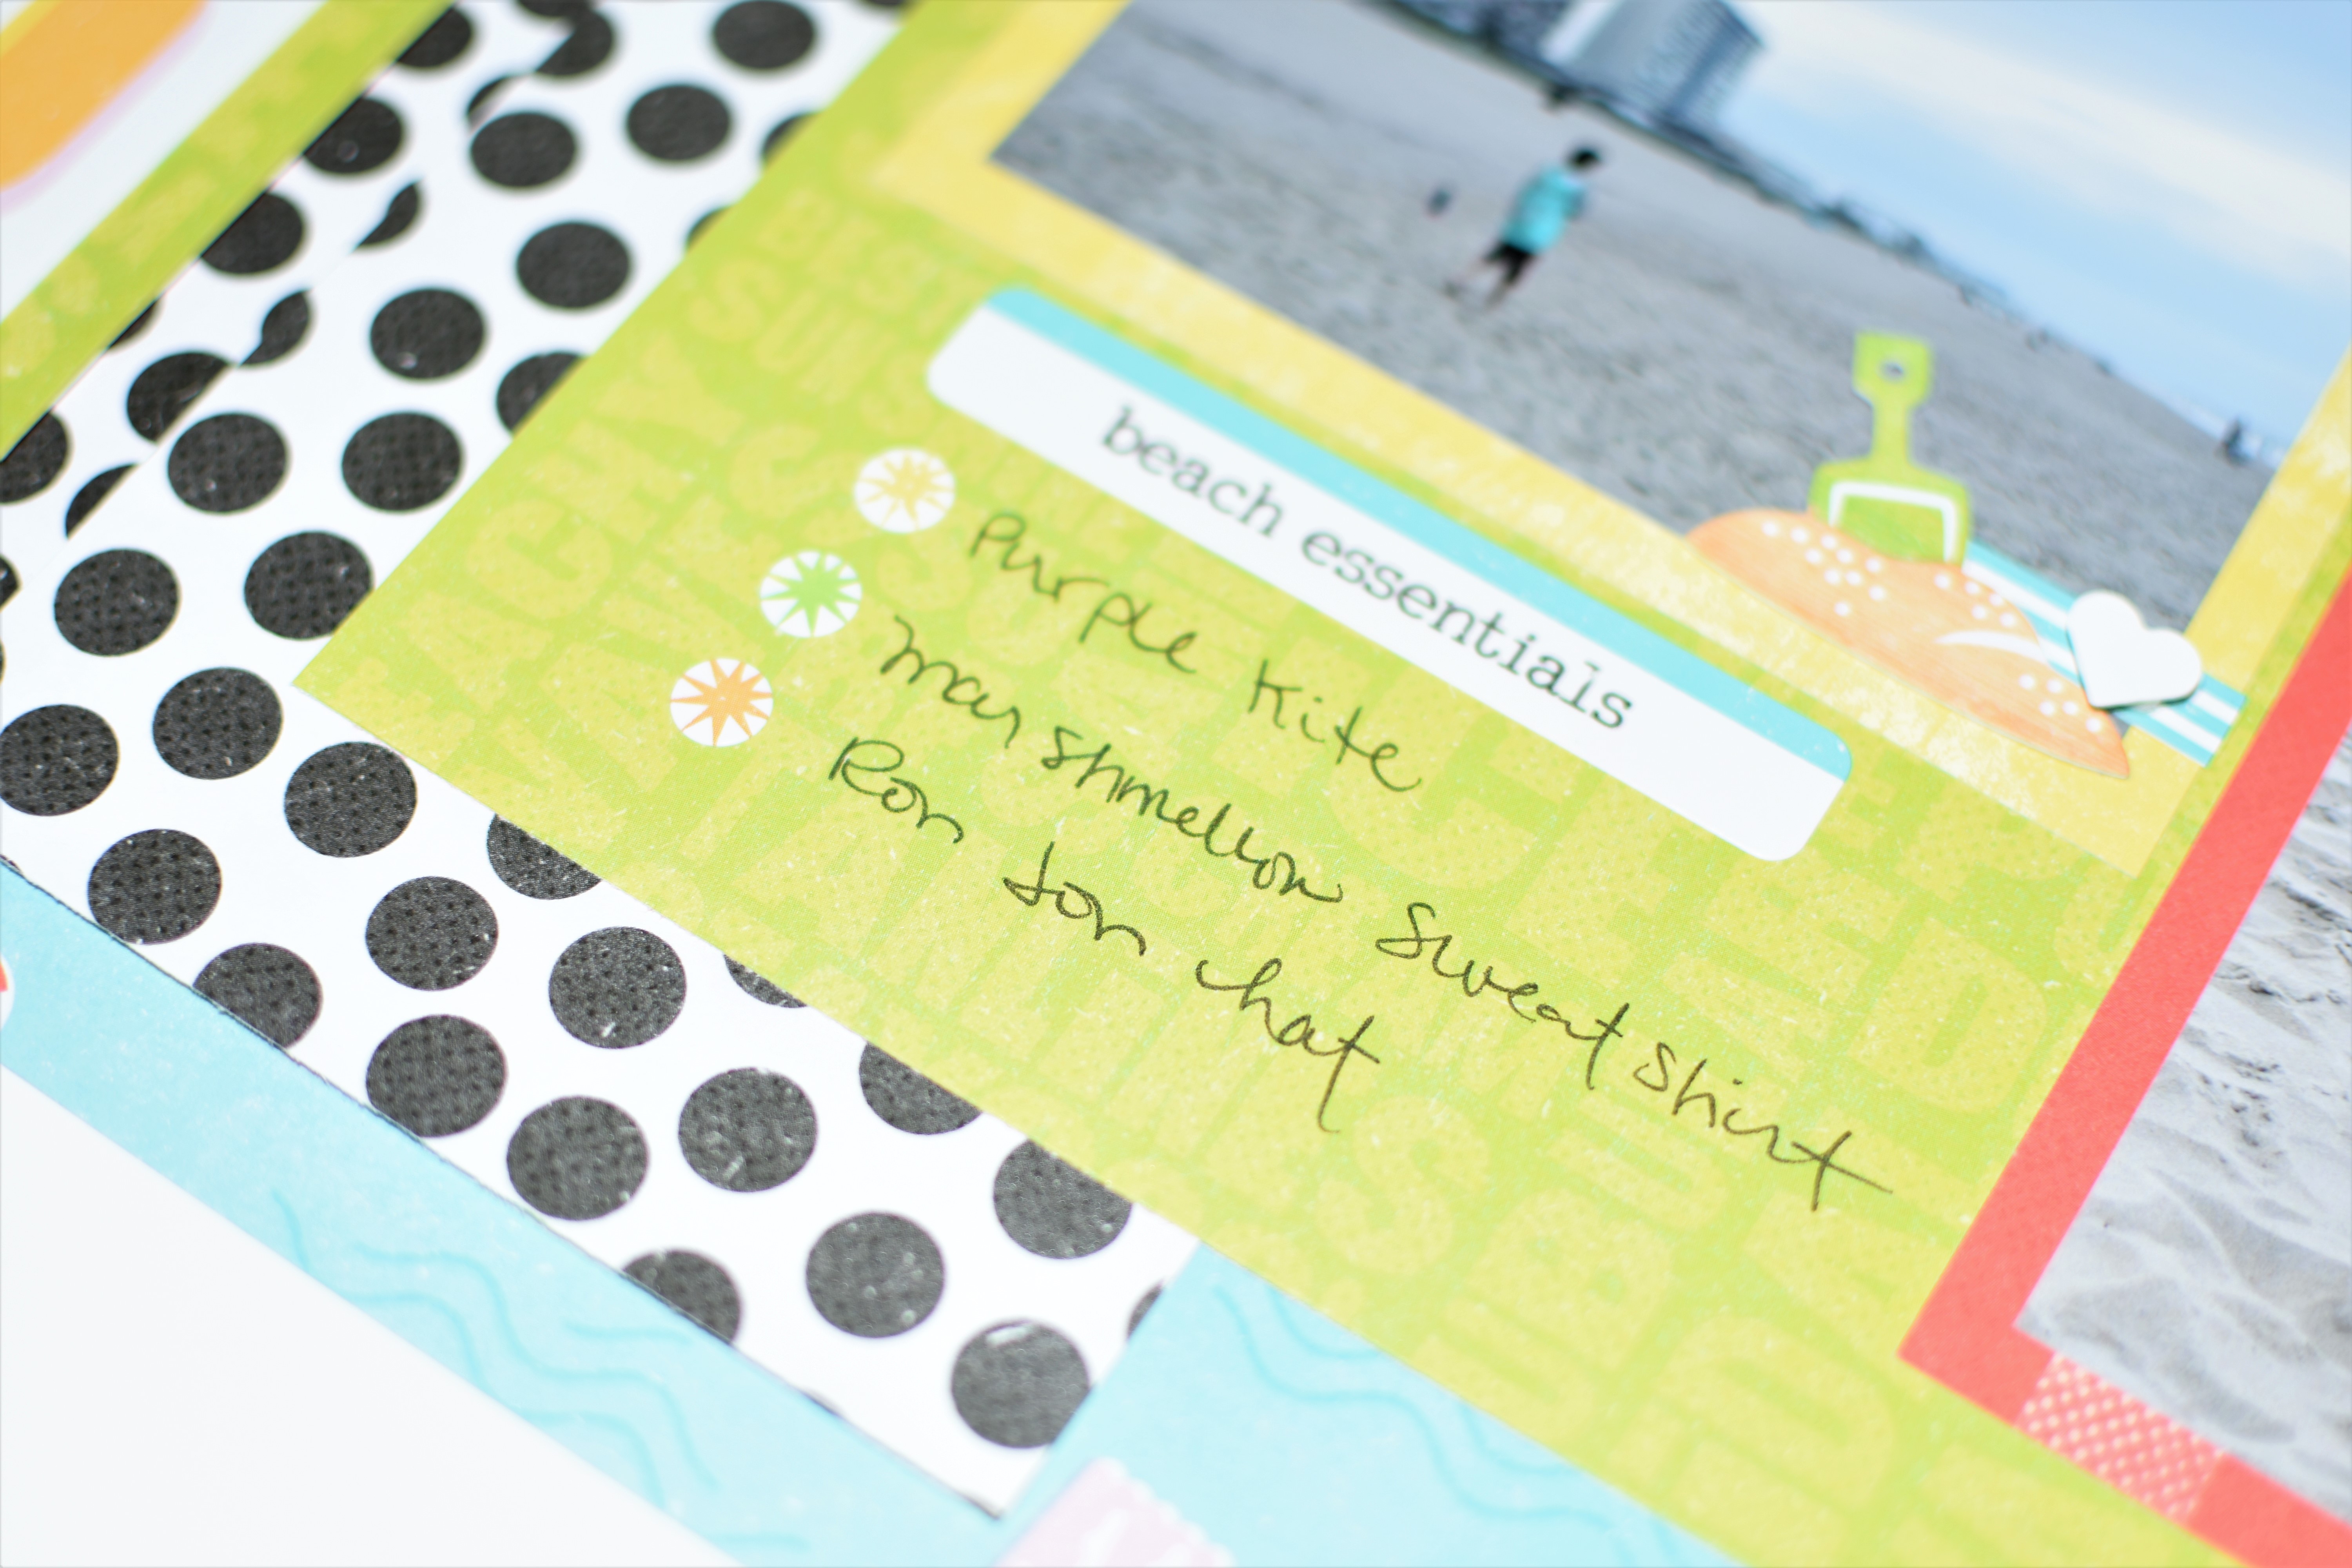
I tried thinking of a clever way to use the tiny sunshine stickers so I decided to use them for a bulleted list of Edward’s beach essentials.
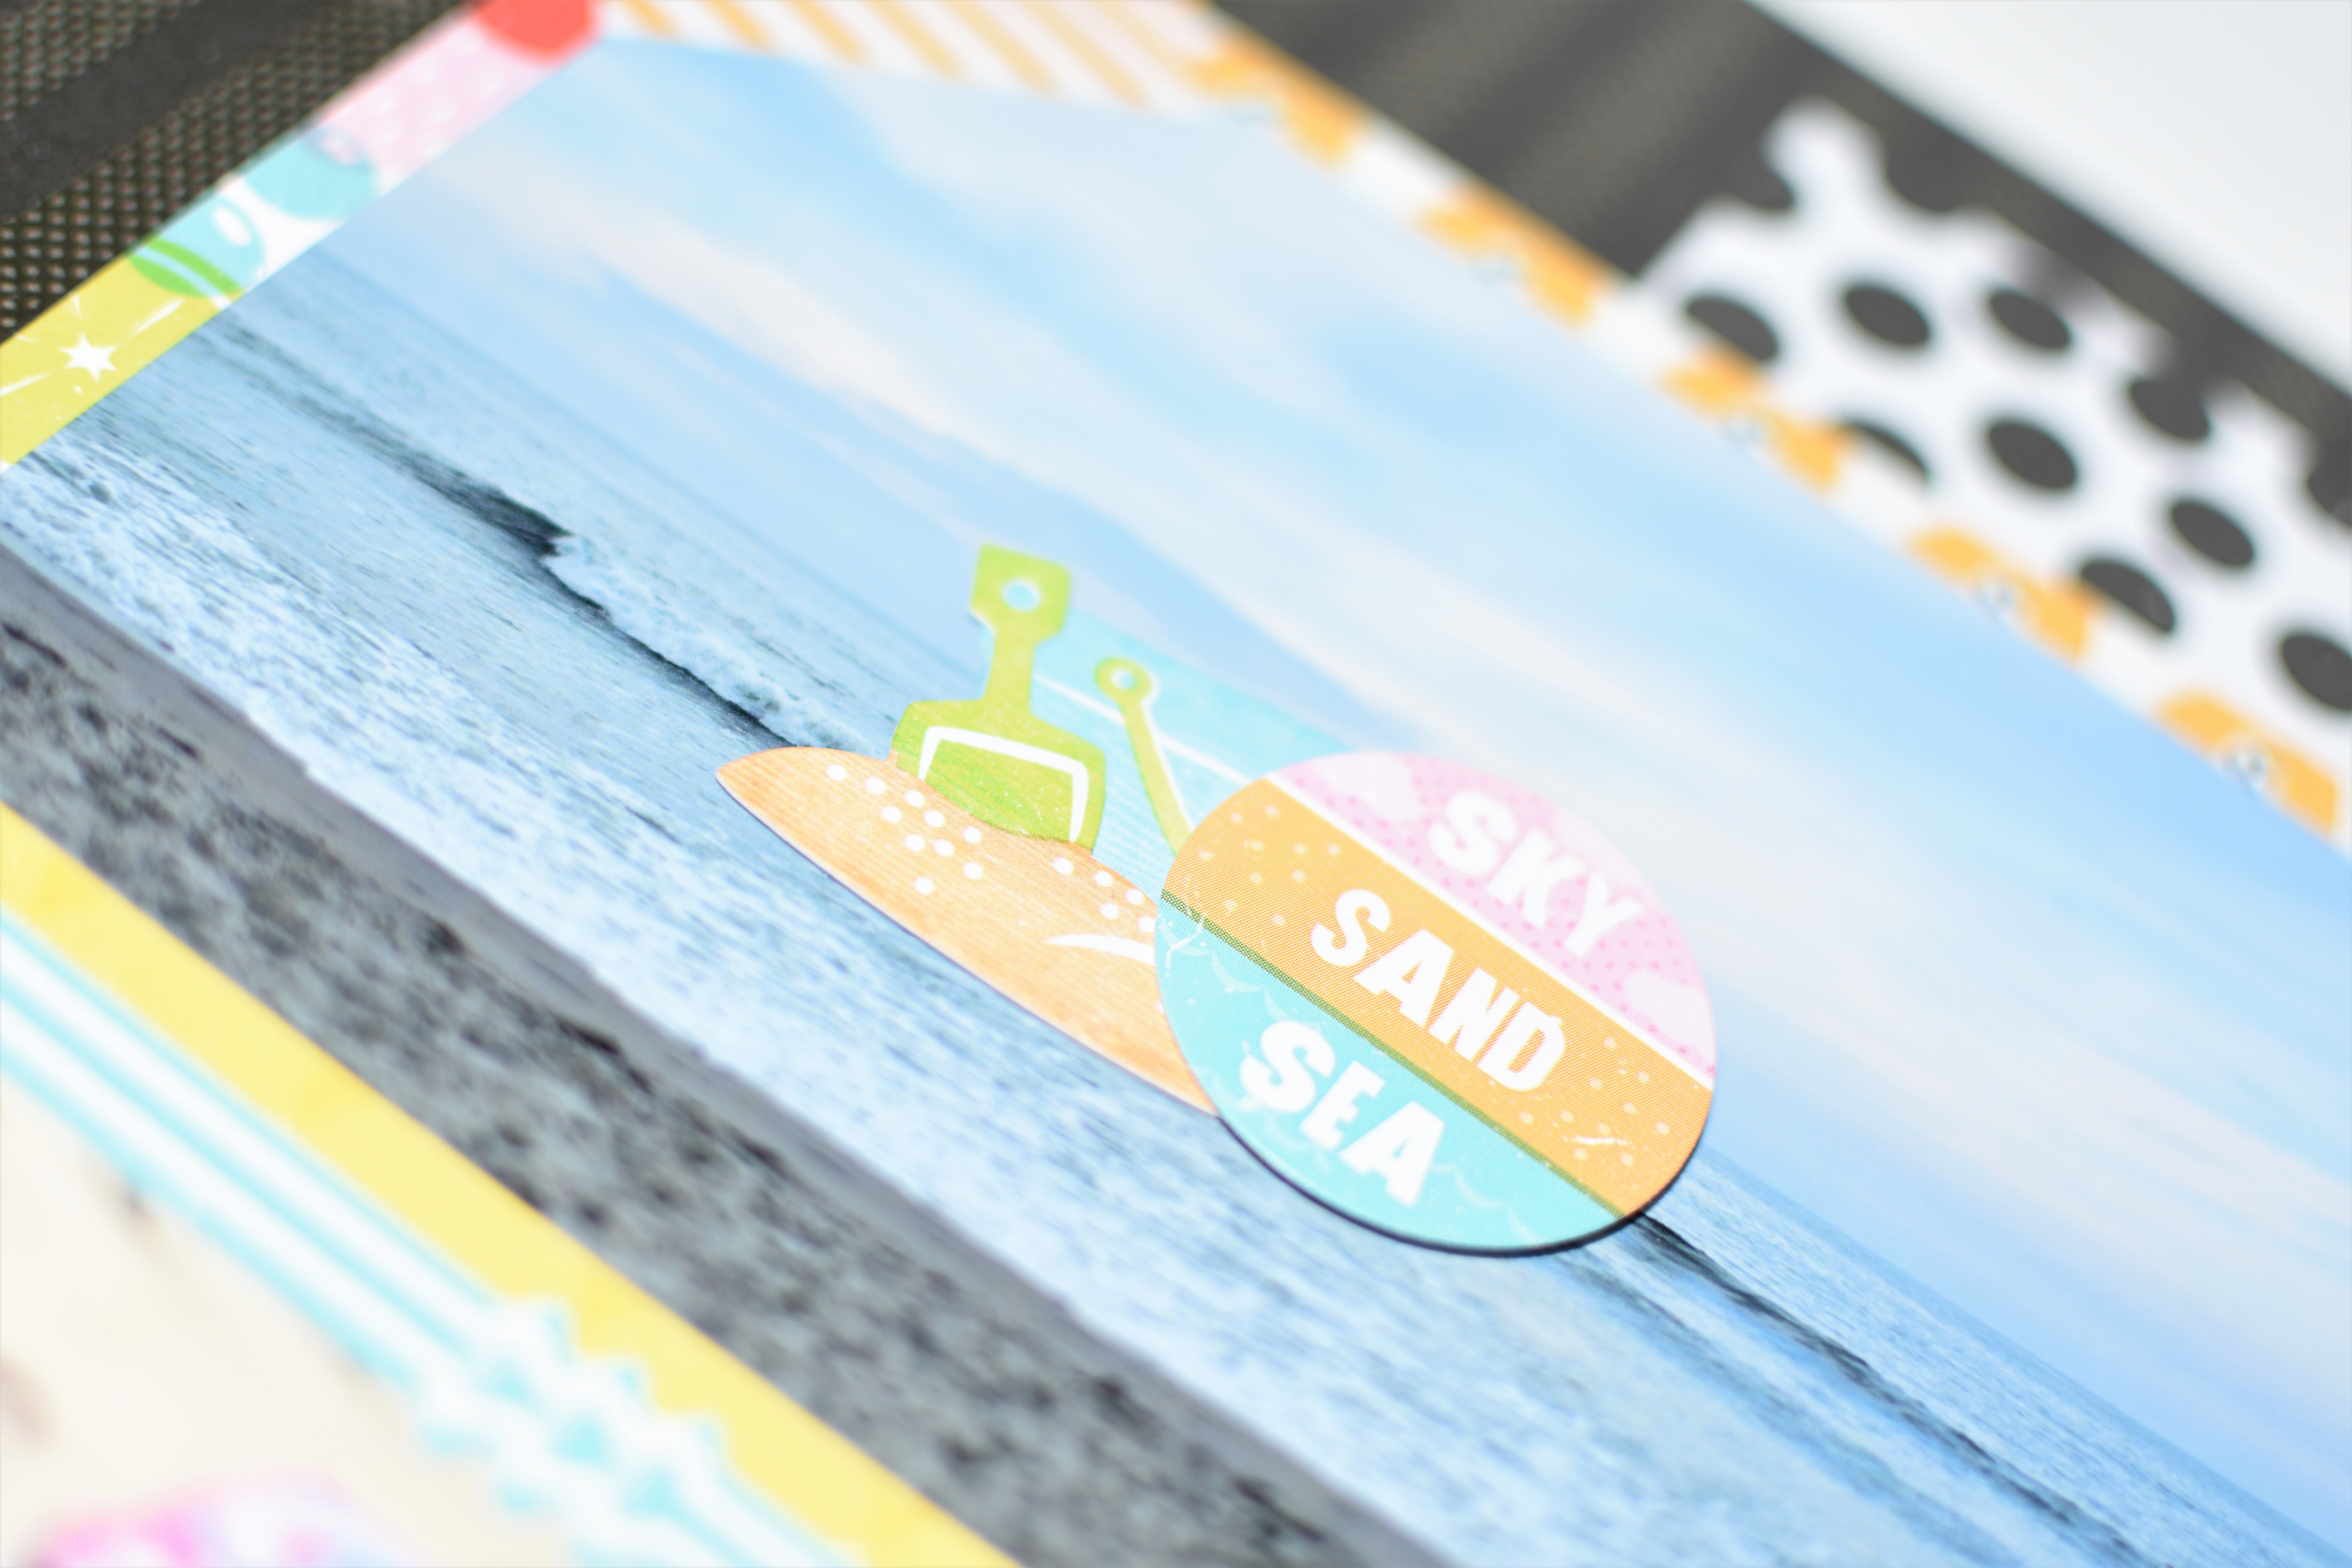
I added a few embellishments to the photo to make it pop. I love the “Sky Sand Sea” sticker and wanted to find some way to use it on this layout. I used lots of stickers and embellishments because they are too cute!! I simply cannot get enough of them.
This collection is perfect for scrapbooking those sunny moments as well as special vacation trips to the islands! I love how easy it was to create this awesome summer scrapbook layout and I can’t wait to make some more as the season goes on!
What’s the weather like where you live? Are you feeling the heat or battling the cold? Let us know in the comments!