February 12, 2020
Mark Each New Year with this School Title Scrapbook Page
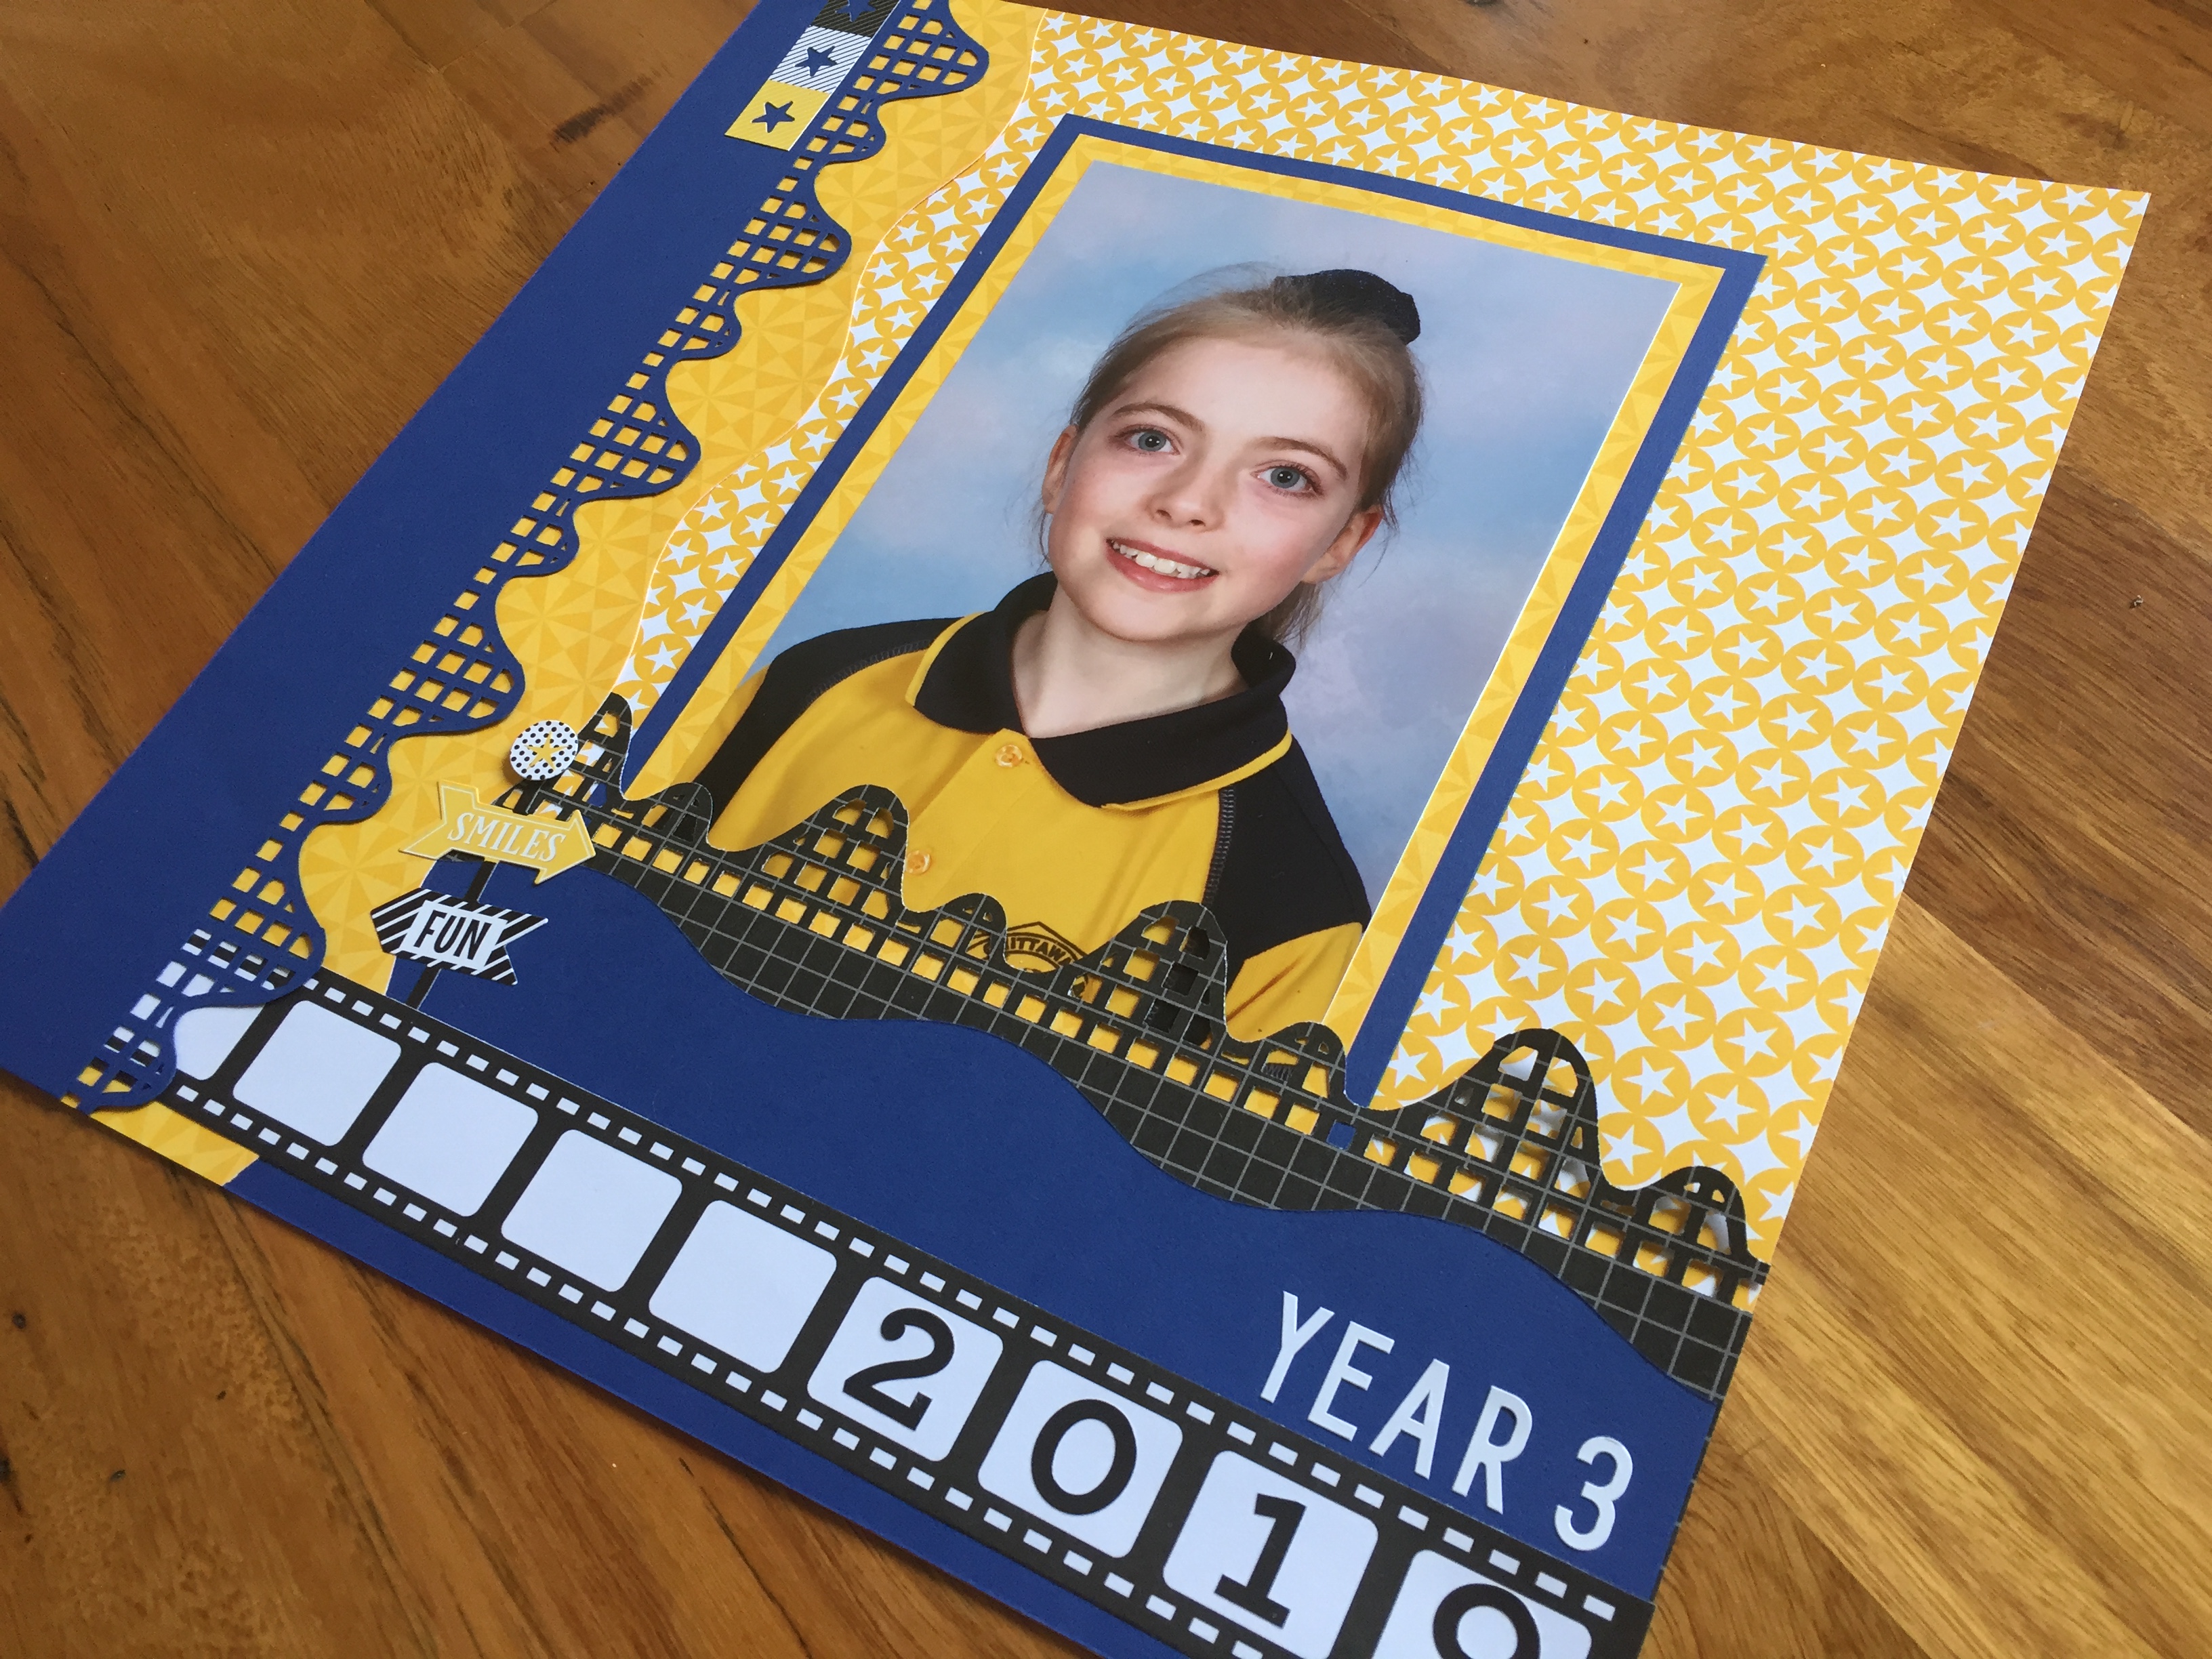
Growing up, nothing defined “new” quite like the start of a new year in school. It always marked all sorts of new beginnings, and Kelly Batten from Creative Memories Australia is celebrating the start of the new Australian school year with this school title scrapbook page — check it out!
Kelly’s Inspiration:
The Roller Coaster Border Punch was my inspiration for this title scrapbook page. By snipping the flags off, it reminds me of a graph from math class! Combined with the 12-inch Decorative Trimmer waves, it creates a simple, yet effective border design to highlight a school picture.
To create this layout, you will need:
- Magic Awaits Paper Pack or (Shop Canada | Shop Australia)
- Magic Awaits Stickers or (Shop Canada | Shop Australia)
- Blue Cardstock or (Shop Canada | Shop Australia)
- White Sans Serif ABC/123 Stickers or (Shop Canada | Shop Australia)
- Black Serif ABC/123 Stickers or (Shop Canada | Shop Australia)
- Roller Coaster Border Punch or (Shop Canada | Shop Australia)
- 12-inch Trimmer or (Shop Canada | Shop Australia)
- 12-inch Decorative Trimmer or (Shop Canada | Shop Australia)
- All-Purpose Scissors or (Shop Canada | Shop Australia)
- Tape Runner or (Shop Canada | Shop Australia)
- Repositionable Tape Runner or (Shop Canada | Shop Australia)
- Foam Squares or (Shop Canada | Shop Australia)
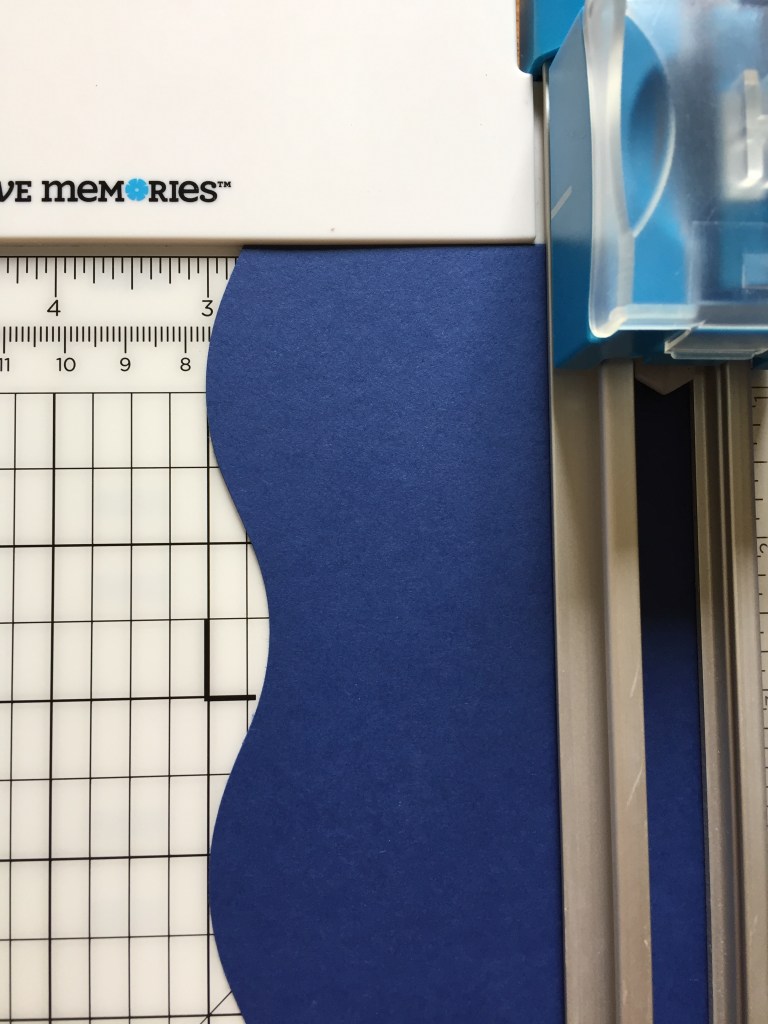
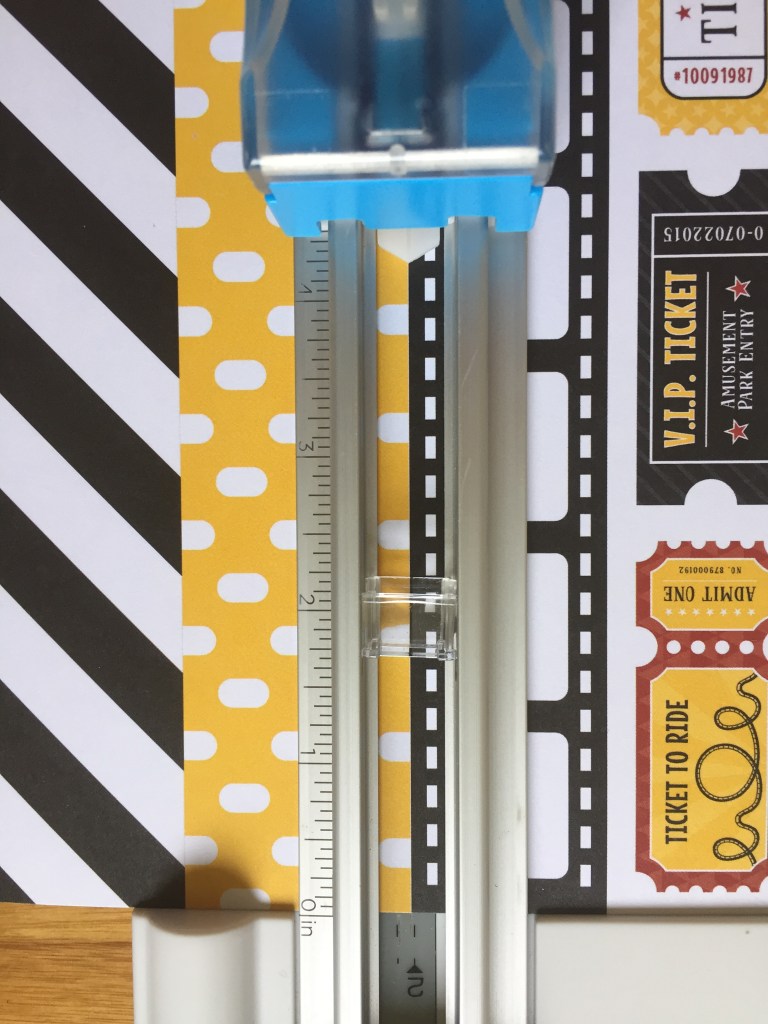
Step 1: Trim the edge of a sheet of Blue Cardstock with the small wave on the 12-inch Decorative Trimmer. Align the top of the wave at the 3″ mark on the 12-inch Trimmer and crop.
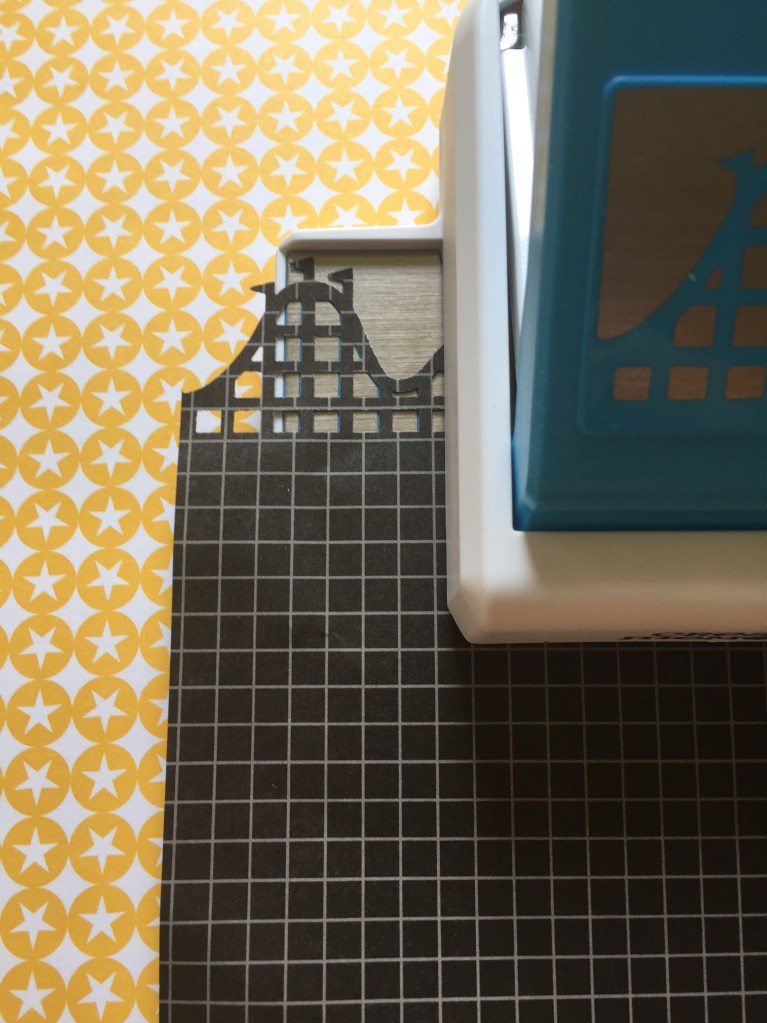
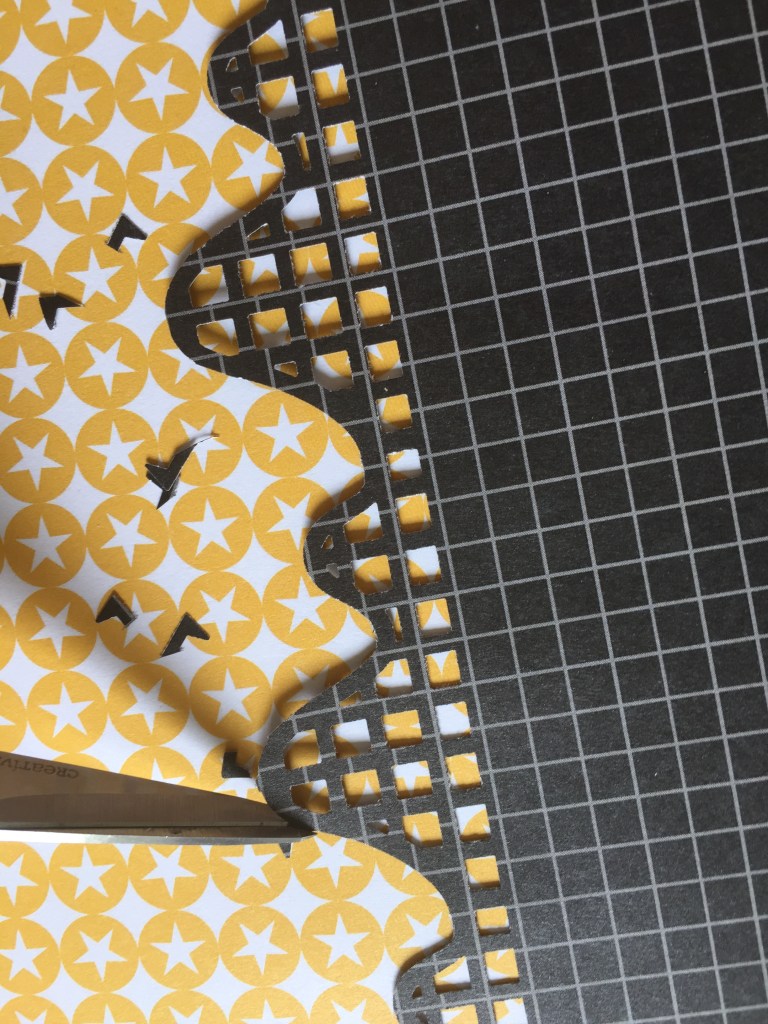
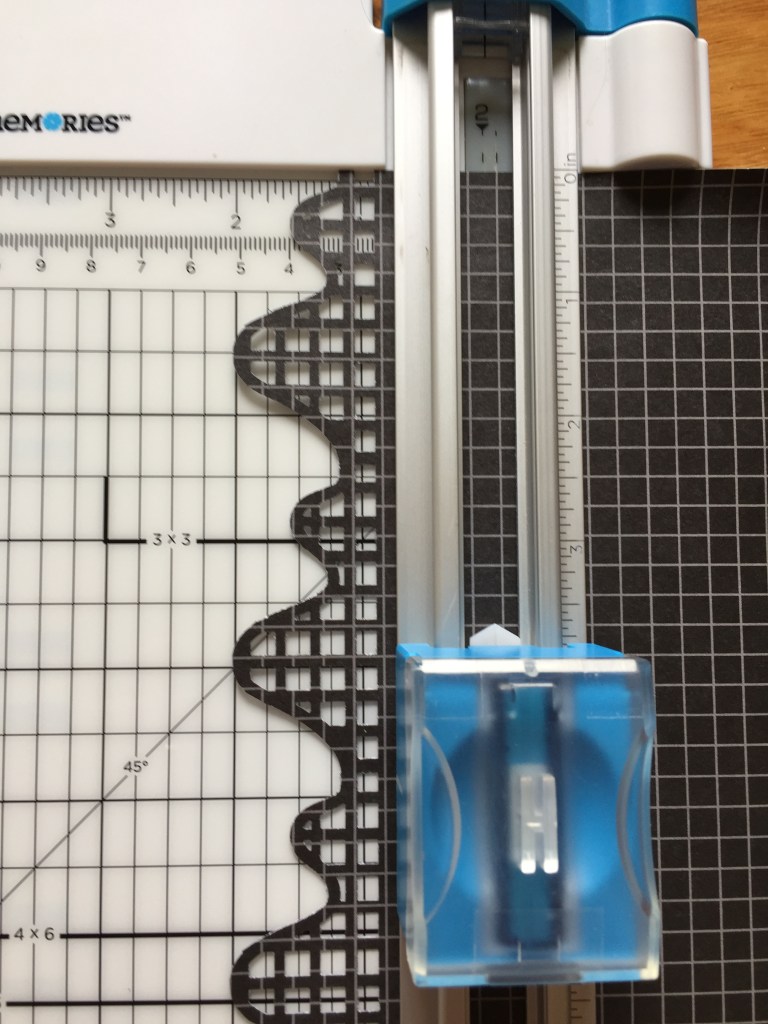
Step 2: Punch a piece of black grid patterned paper with the Roller Coaster Border Punch and snip off the flags with All-Purpose Scissors. Align the top of the border at the 2″ mark on the 12-inch Trimmer and crop.
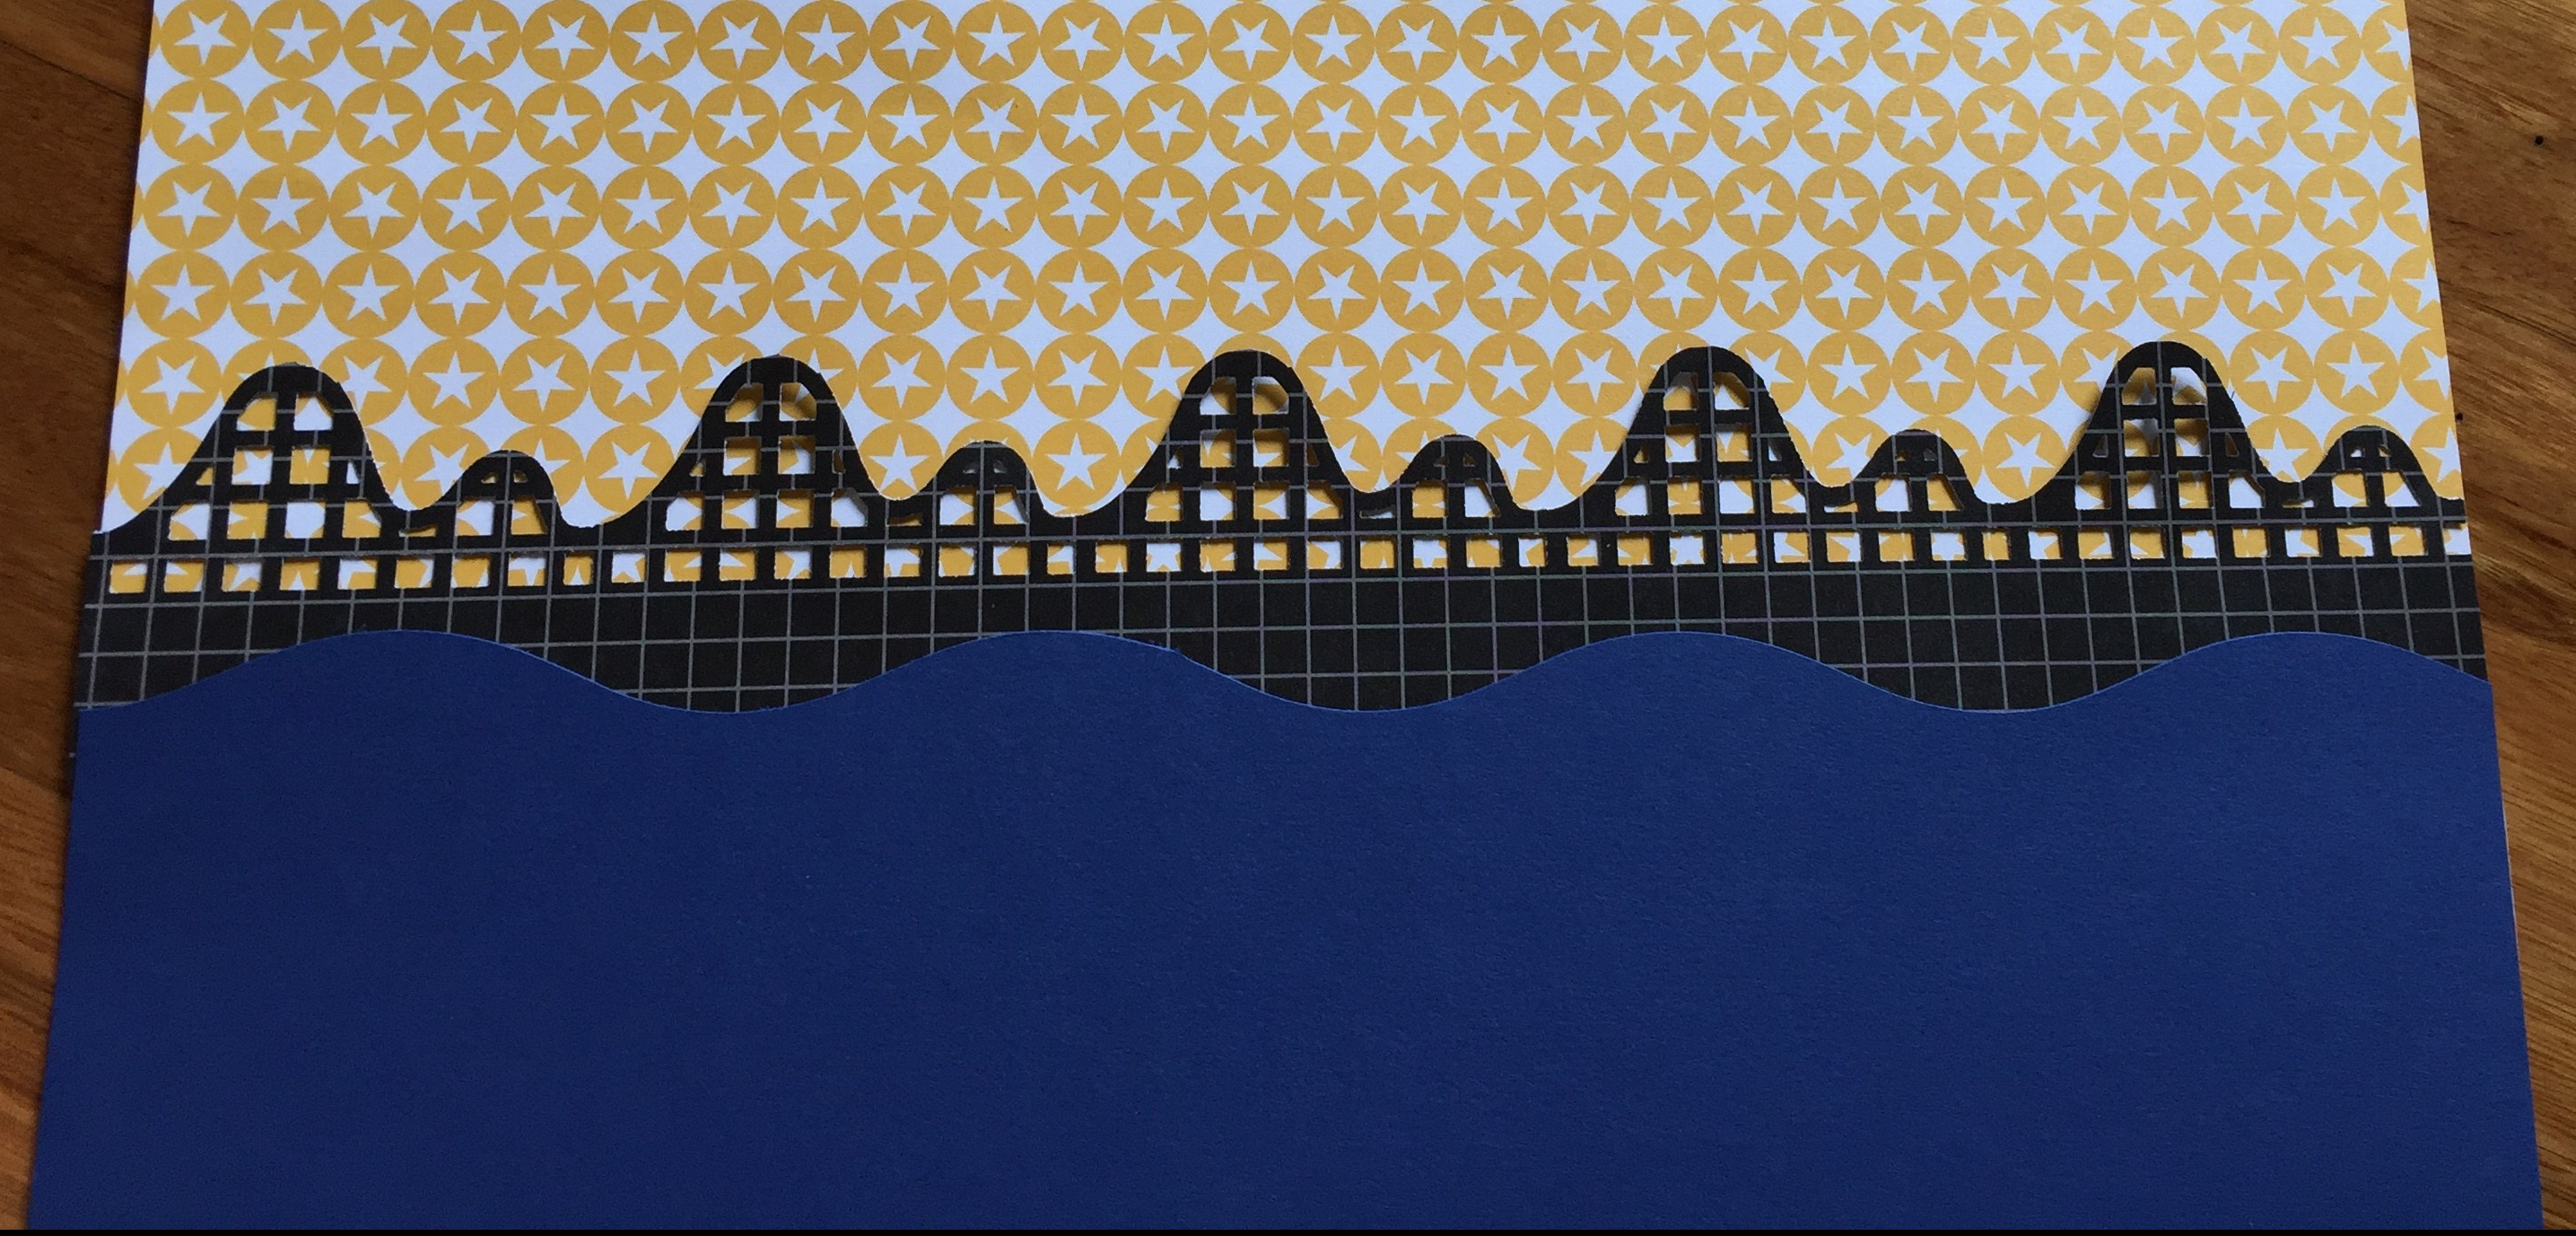
Step 3: Adhere the Blue Cardstock to the black roller coaster border, as shown. Adhere these to your background paper using the Repositionable Tape Runner on the punched border area.
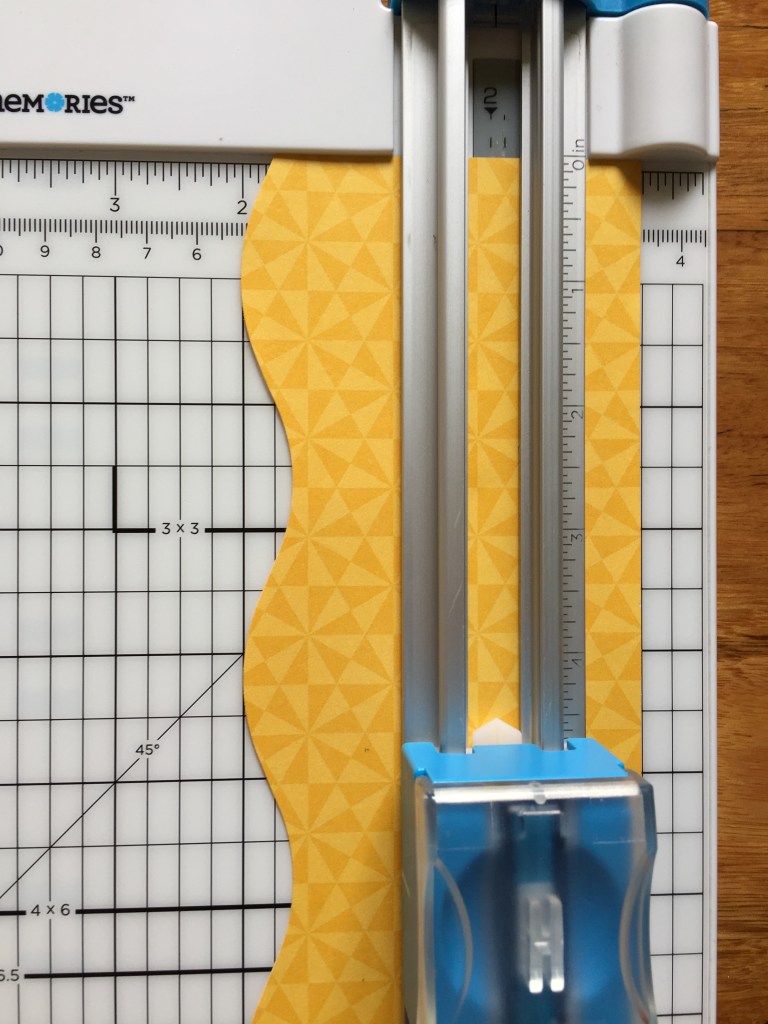
Step 4: Trim the edge of a piece of yellow patterned paper with the small wave on the 12-inch Decorative Trimmer. Align the top of the wave at the 2″ mark on the 12-inch Trimmer and crop.
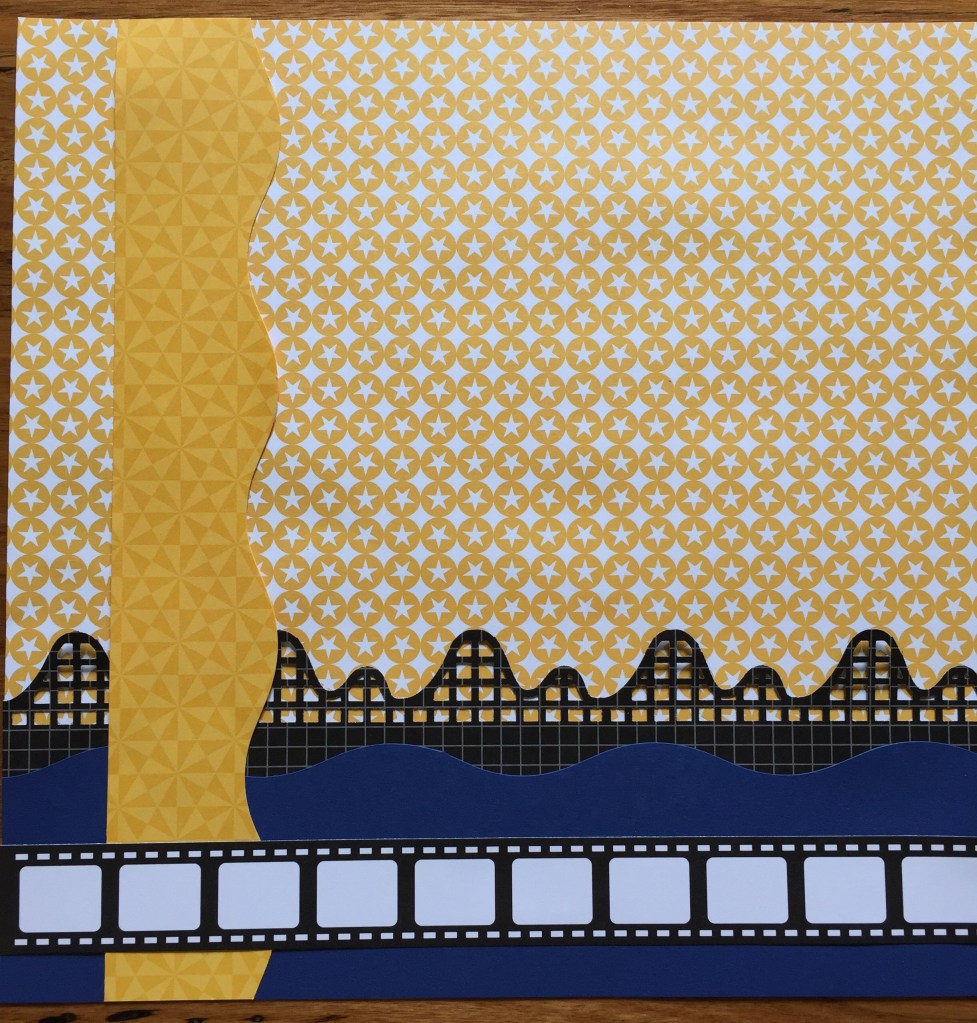
Step 5: Cut the film strip border from the border patterned paper. Adhere this strip and the yellow wave to your layout, as shown.
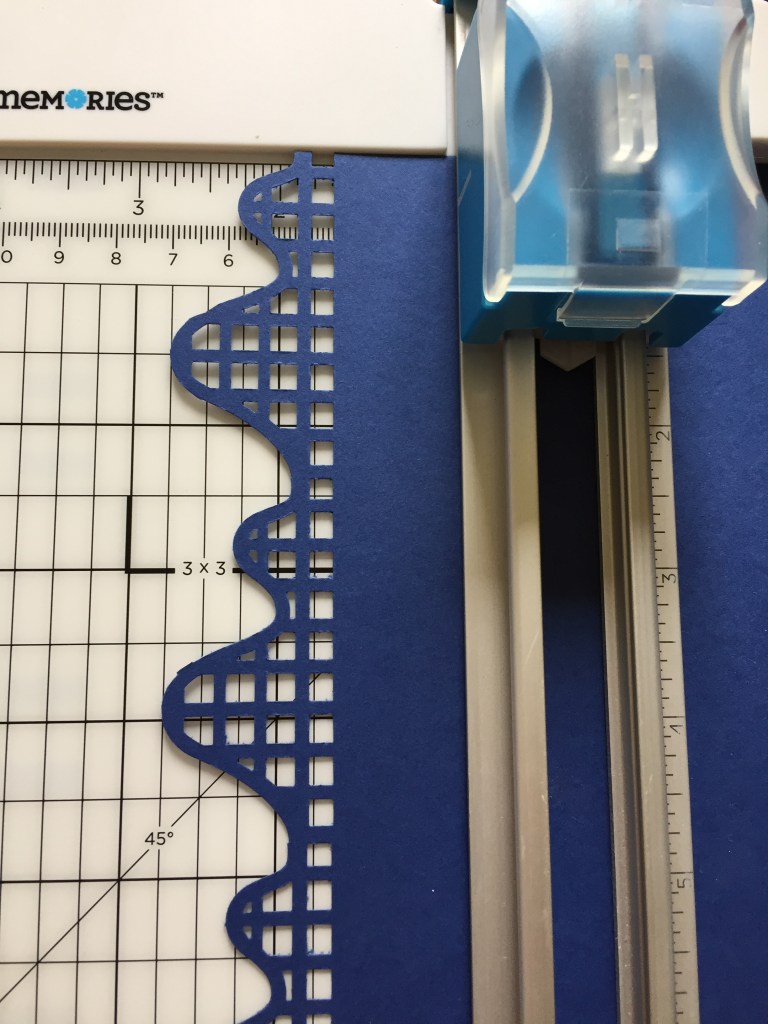

Step 6: Punch a piece of Blue Cardstock with the Roller Coaster Border Punch and snip off the flags with All-Purpose Scissors. Align the top of the border at the 2-3/4″ mark on the 12-inch Trimmer and crop. Using the Repositionable Tape Runner, adhere this to the left side of your layout.
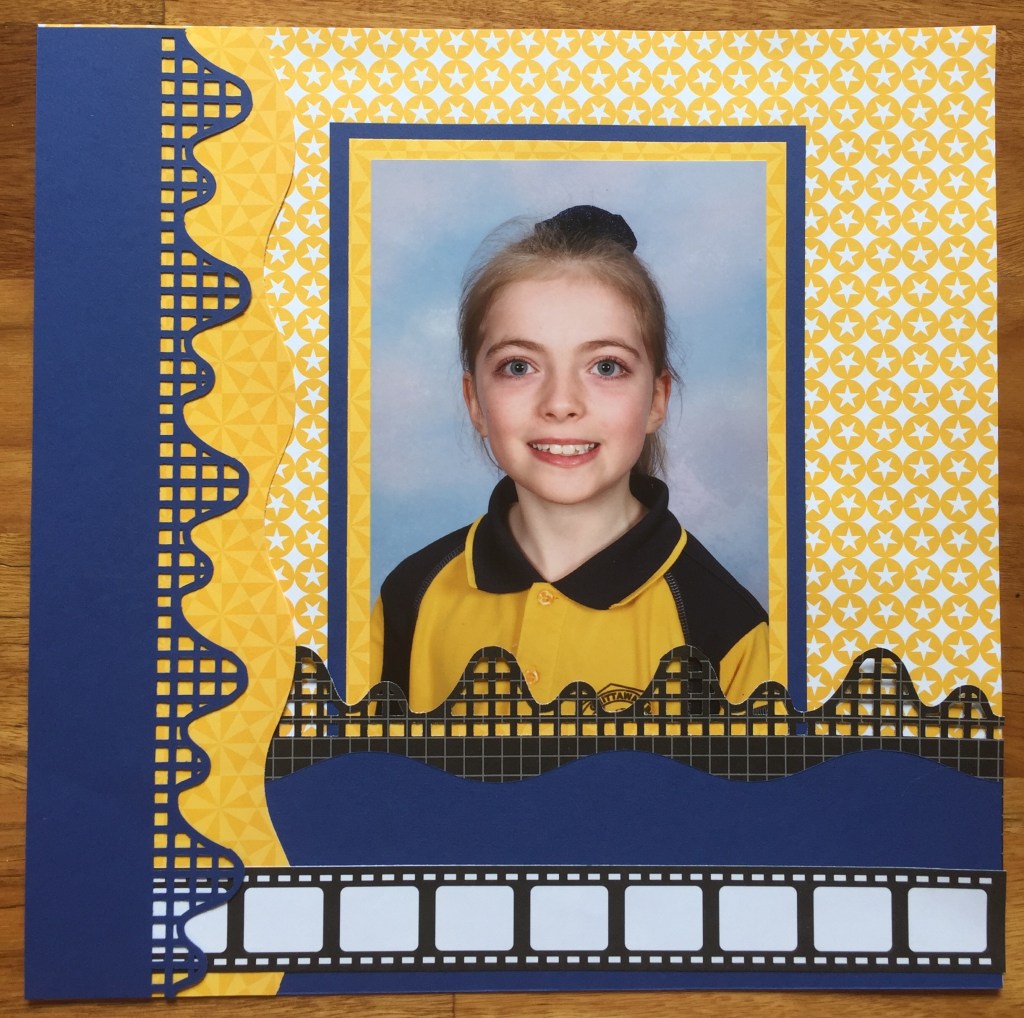
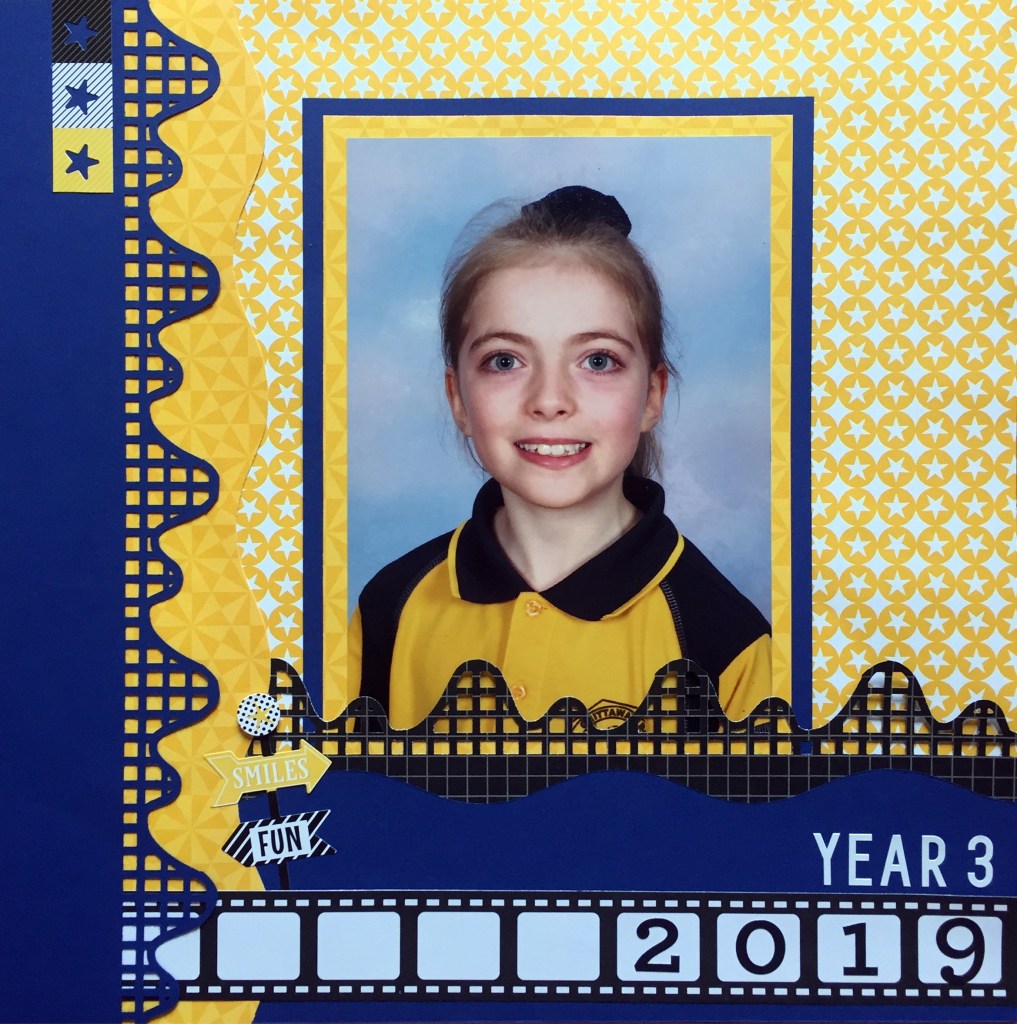
Step 7: Double-mat a 5″ x 7″ photo with Blue Cardstock measuring 6″ x 8″ and yellow patterned paper measuring 5-1/2″ x 7-1/2″. Adhere the mat to the layout as shown, tucking it under the black roller coaster border.


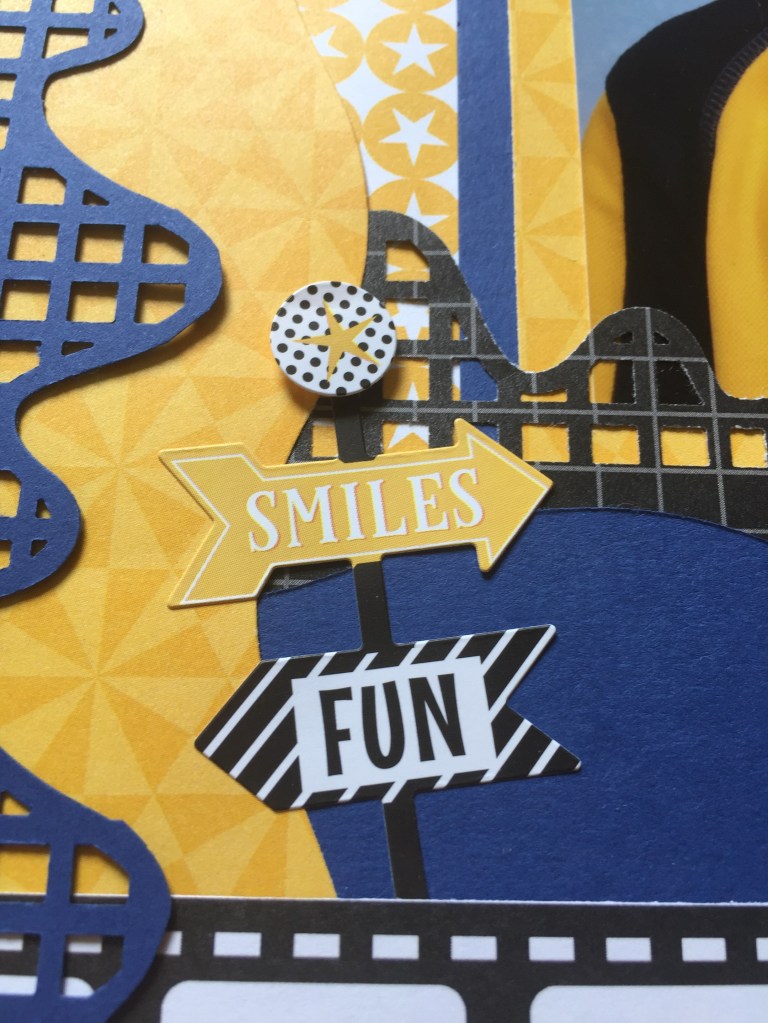

Step 8: Using All-Purpose Scissors, trim the yellow, striped and black section of a stars border sticker and snip off the the top of the sign post sticker. Adhere both of them to the layout as shown, adding a circular sticker to the top of the sign post with a Foam Square. Finally add black and white ABC/123 stickers to complete the title page.
School just started here in Australia and it’s got me super excited to create this page for this year’s school photo. What do you like most about the first day of school? Comment below!


I’m glad to see another idea using the Roller Coaster Punch other than…well, you know, a roller coaster! I’m still not sure I’ll purchase it, but it helps to see a different idea. Thanks for opening my eyes!
Oh there’s SO many things you can make with this punch. I’ve seen a clever Advisor create little baskets and turtle shells with pieces of this punch.
I really like how you have a lot of pictures in this post showing us “how to”.