February 24, 2020
Love the View with this Outdoor Scrapbook Layout
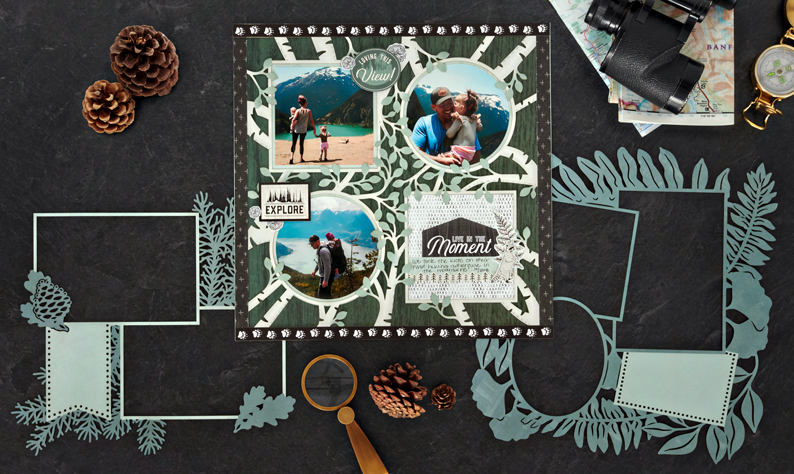
Your layouts and projects can follow a different path with the Beneath the Pines Laser Cut Paper Pack — NEW to CM! It’s perfect for framing photos, plus the papers are designed with a rustic “burned effect” and feature a light and dark side. You get to choose which one looks best for your layouts! Take a look at this outdoor scrapbook layout that shows what the Beneath the Pines Laser Cut Paper Pack can do!
To create this layout, you will need:
- Beneath the Pines Paper Pack or (Shop Canada | Shop Australia)
- Beneath the Pines Laser Cut Paper Pack or (Shop Canada | Shop Australia)
- Beneath the Pines Stickers or (Shop Canada | Shop Australia)
- Beneath the Pines Variety Mat Pack or (Shop Canada | Shop Australia)
- 12-inch Trimmer or (Shop Canada | Shop Australia)
- Tape Runner or (Shop Canada | Shop Australia)
- Repositionable Tape Runner or (Shop Canada | Shop Australia)
- Foam Squares or (Shop Canada | Shop Australia)
- Black Dual-Tip Pen or (Shop Canada | Shop Australia)
Get a closer look at how to use the Beneath the Pines Laser Cut Paper Pack in the video below!
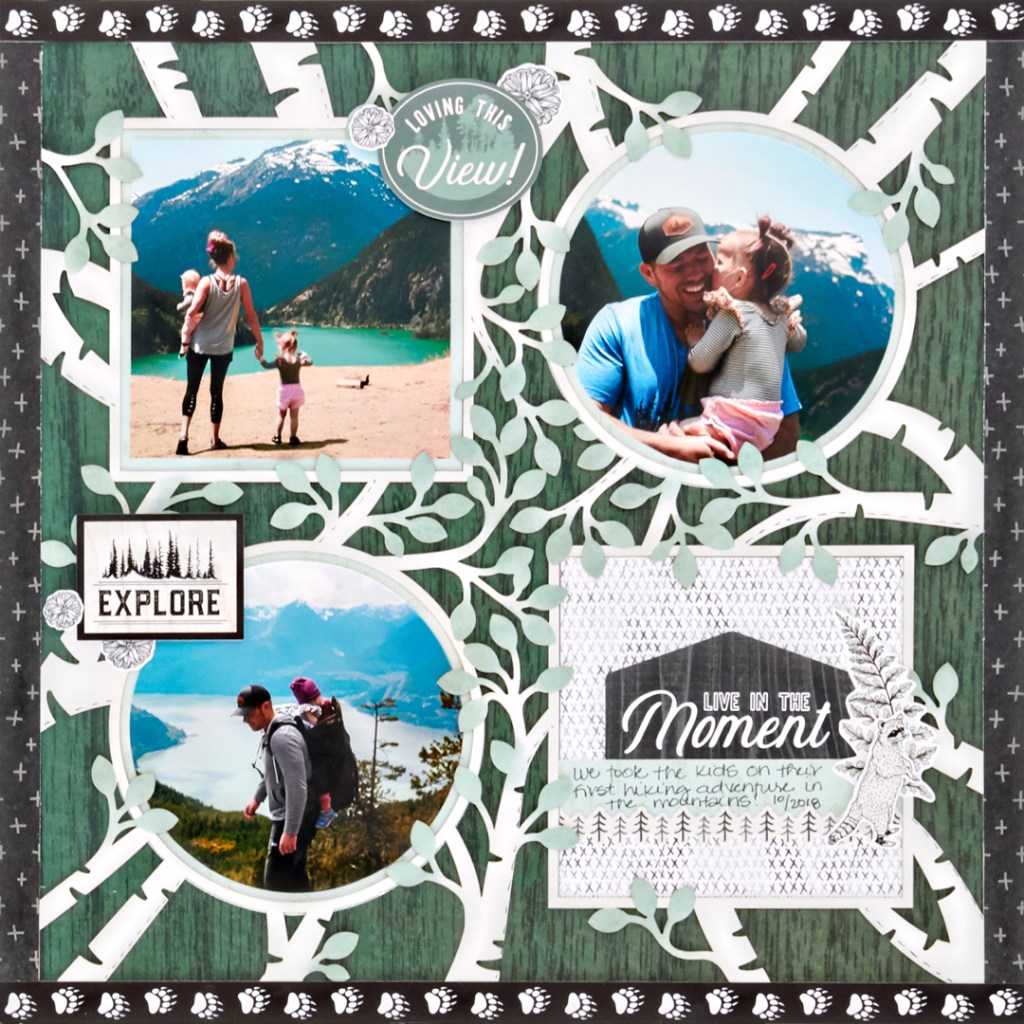
Step 1: Use the dark green wood grain patterned paper as the base of the layout.
Step 2: Adhere the laser cut paper to the layout, as shown.
Step 3: Cut a piece from a small title mat to measure 4″ x 4″ and adhere it behind the lower right opening of the laser cut paper.
Step 4: Cut a piece from the light green patterned paper to measure 4″ x 4″ and adhere it behind the upper left opening of the laser cut paper.
Step 5: Cut two circles using the smallest Custom Cutting System Circle Pattern with the Blue Blade. Adhere them behind the two circle openings of the laser cut paper.
Step 6: Cut two photos using the smallest Custom Cutting System Circle Pattern with the Red Blade and adhere them to the circle openings of the laser cut paper.
Step 7: Cut one photo to measure 3-3/4″ x 3-3/4″ and adhere it to the square opening of the laser cut paper.
Step 8: Cut two pieces from the black patterned paper to measure 1/2″ x 12″ and adhere them along the far right and left edges of the layout.
Step 9: Adhere two border stickers along the top and bottom edge of the layout.
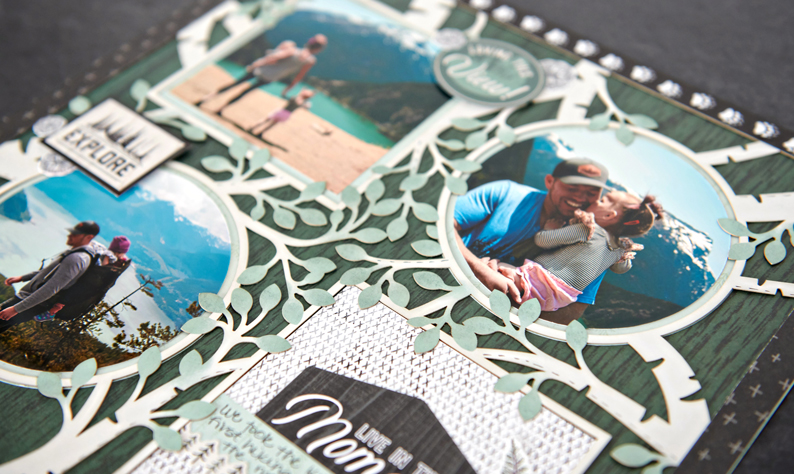
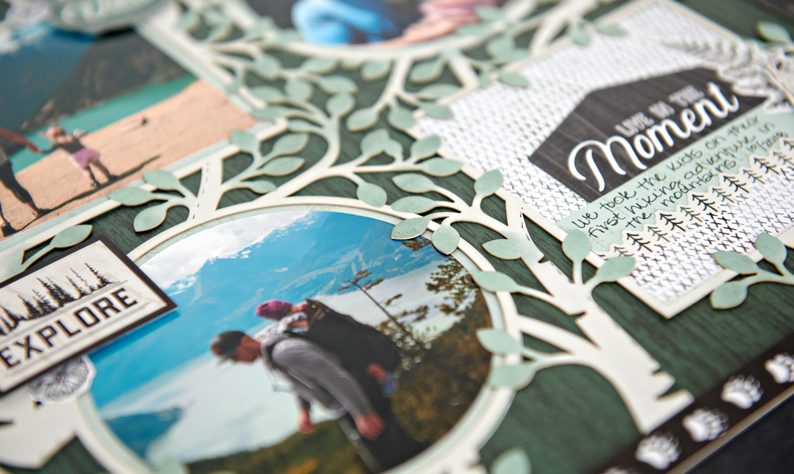
Step 10: Adhere stickers to the layout, using Foam Squares on some for added dimension. Journal as desired.
What types of outstanding outdoorsy projects will you create with the Beneath the Pines Laser Cut Paper Pack? Let us know in the comments below!

Very beautiful you always do such a great job- thanks for the inspiration!
please note _*jrtunstell@gmail.com *_thank you Joyce
[…] Create this fun outdoor layout using the Beneath the Pines Laser Cut Paper Pack with easy instructions in this blog post! […]