September 15, 2021
Cast a Witch-CRAFTY Spell With This Halloween Scrapbook Layout
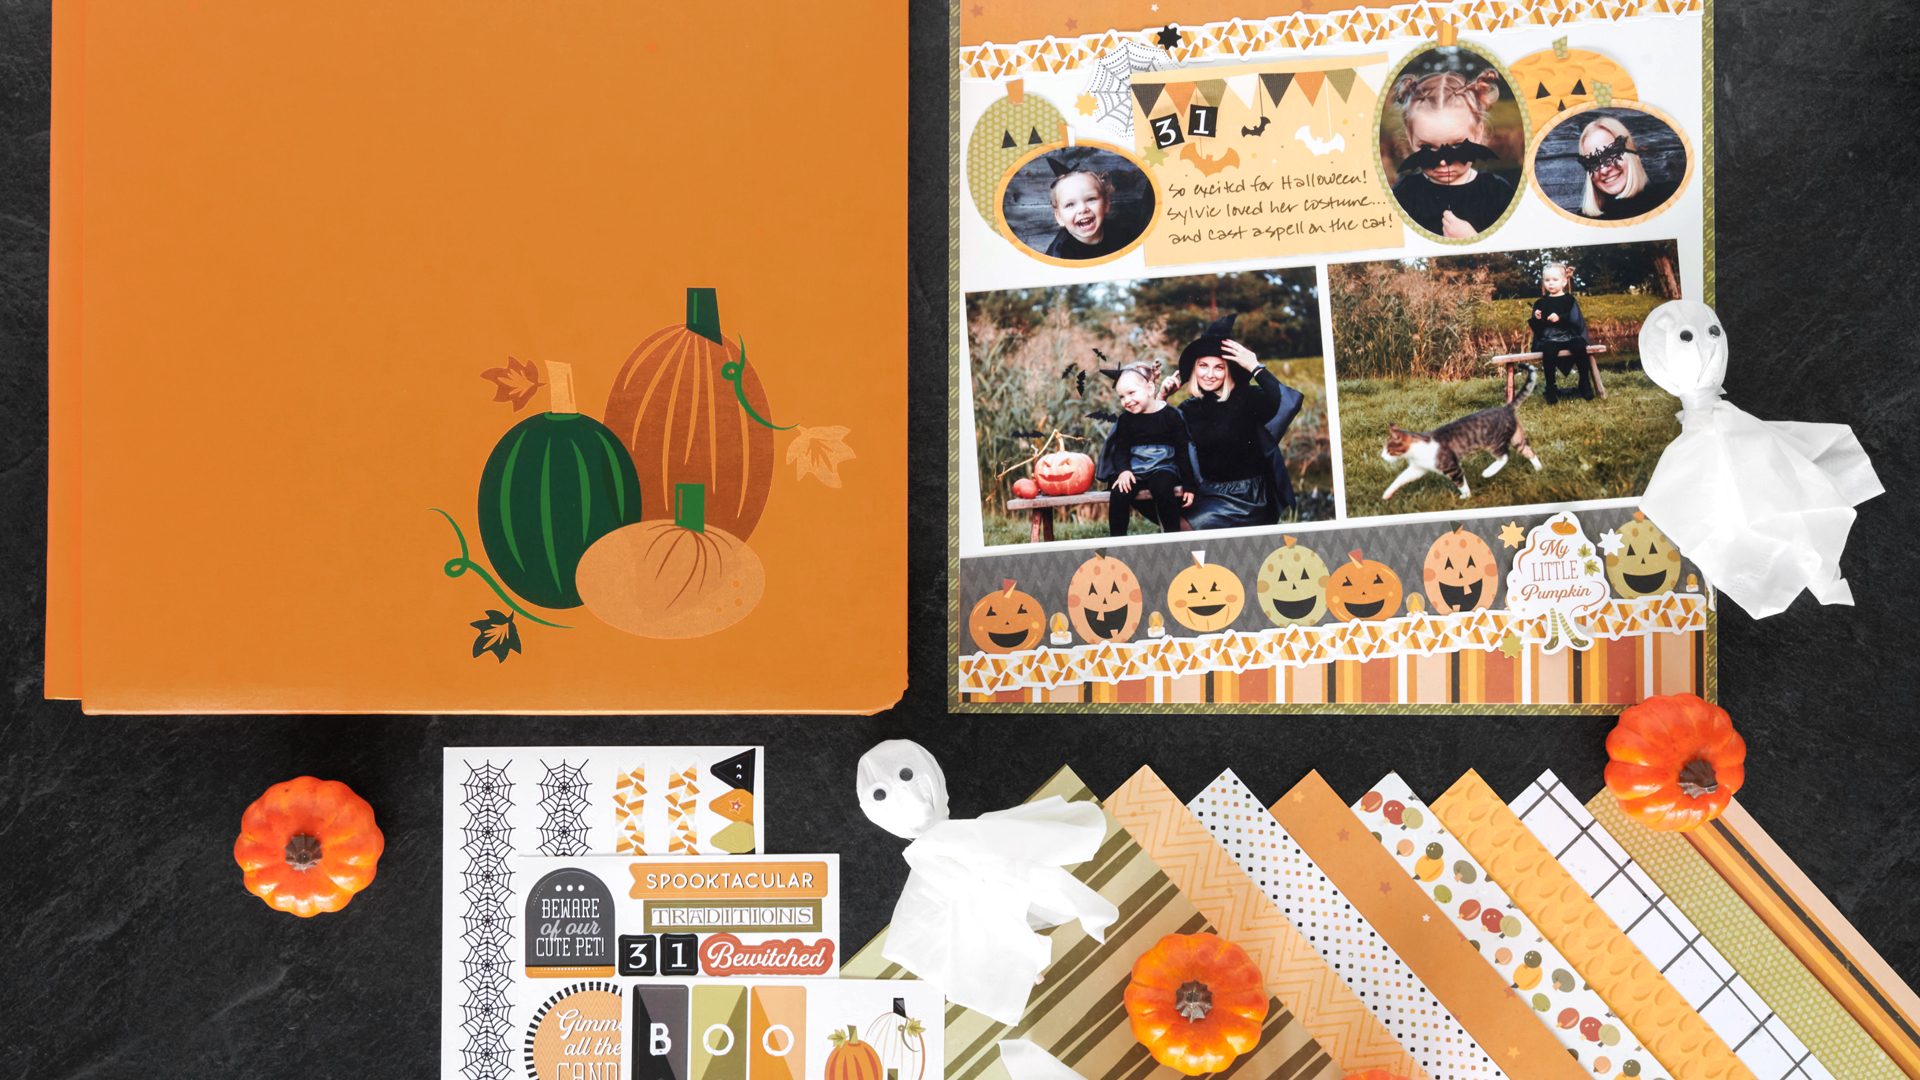
Calling all witches and wizards, ghouls and goblins… the spookiest month of the year is creeping upon us, which means Halloween is knocking at our door! And the newest Full Moon Fun collection is all treats, not tricks, to celebrate your memories of Halloween parties, carving pumpkins, trick-or-treating (and the either love-it or hate-it candy corn!), scary-movie sleepovers, hayrides and other autumn memories you want to fl-haunt. Let’s get into the spooky spirit by saying boo-ya to this Halloween scrapbook layout!
To create these layout you’ll need:
- Full Moon Fun Paper Pack or (Shop Canada | Shop Australia)
- Full Moon Fun Stickers or (Shop Canada | Shop Australia)
- White Solid Cardstock or (Shop Canada | Shop Australia)
- Custom Cutting System with Oval Patterns or (Shop Canada | Shop Australia)
- 12-inch Trimmer or (Shop Canada | Shop Australia)
- Micro-Tip Scissors (Shop Canada | Shop Australia)
- Tape Runner or (Shop Canada | Shop Australia)
- Repositionable Tape Runner or (Shop Canada | Shop Australia)
- Foam Squares or (Shop Canada | Shop Australia)
- Black Dual-Tip Pen or (Shop Canada | Shop Australia)
Take a closer look at the Full Moon Fun collection in the video below!

Step 1: Use a piece of vine green plaid paper as the base for this layout. (Tip: Cut out the inside to conserve paper.)
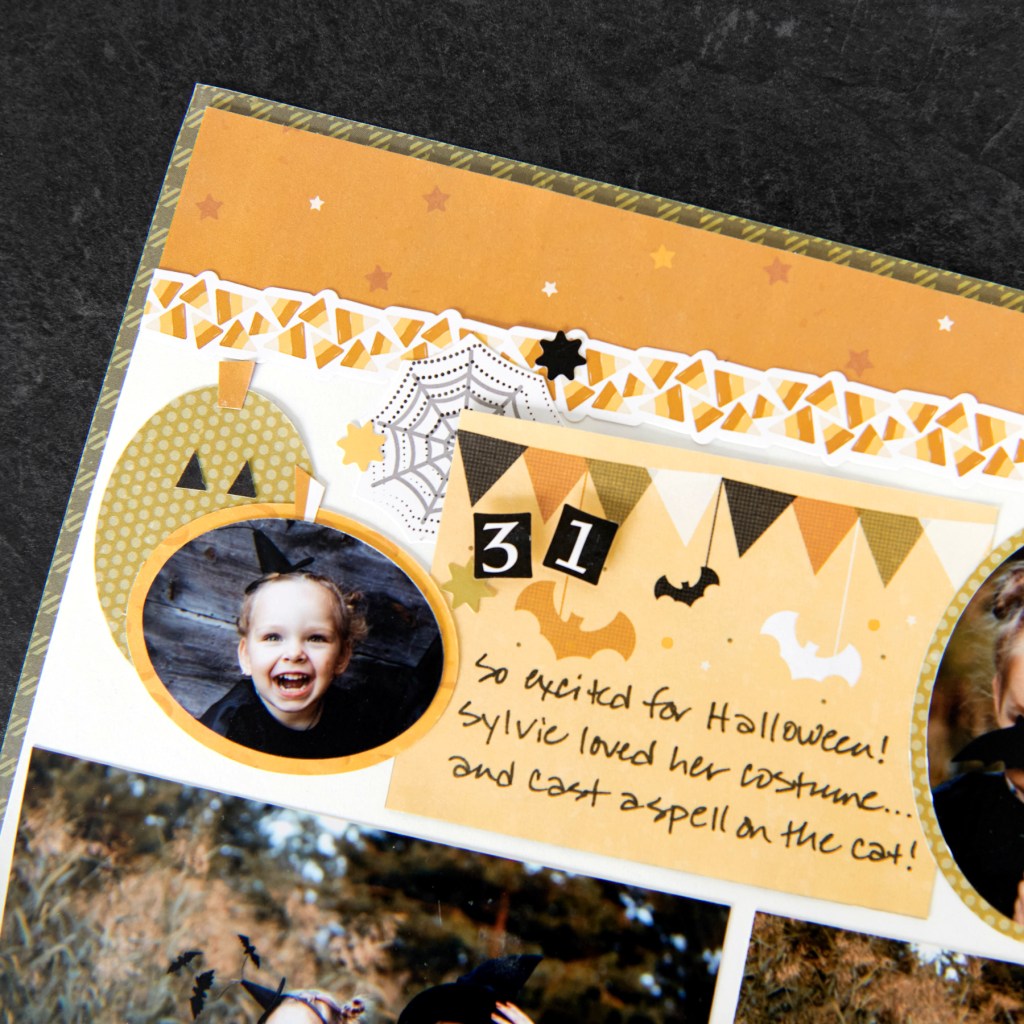
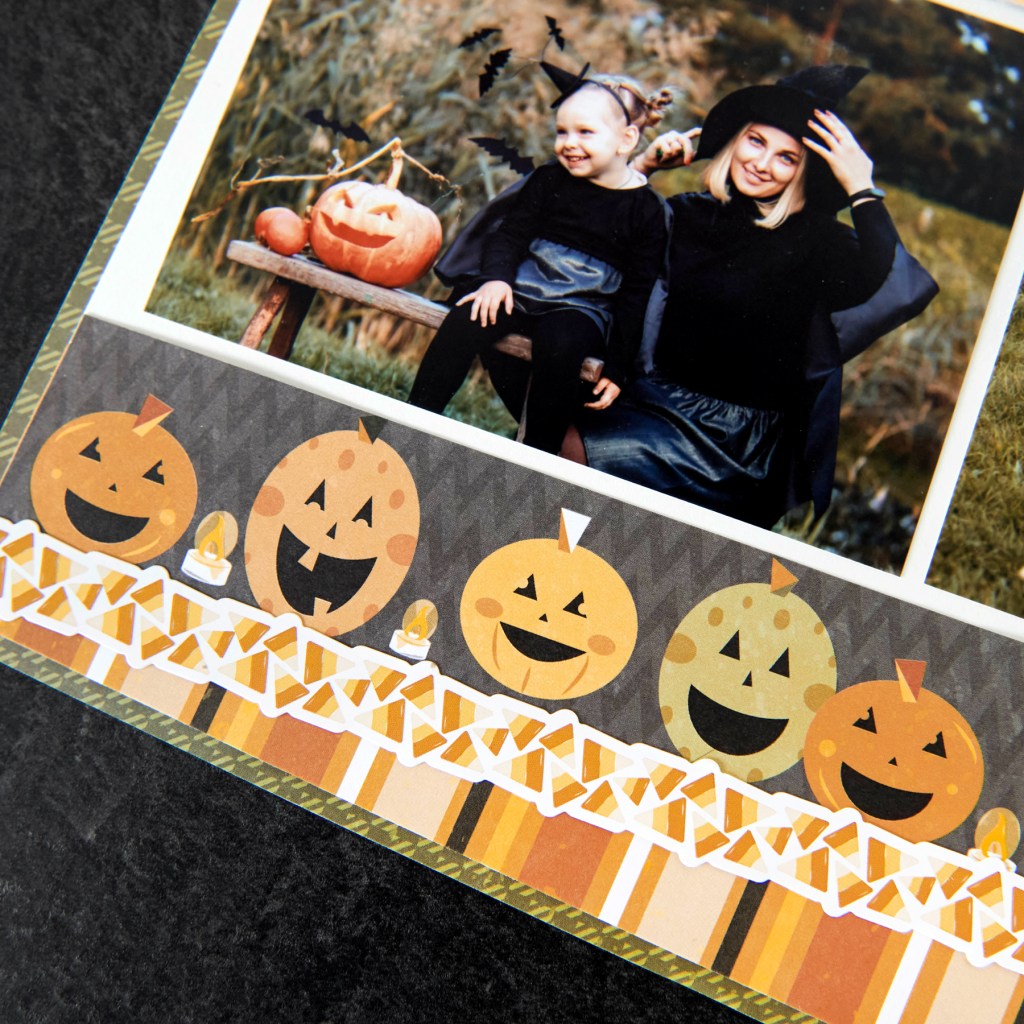
Step 2: Cut a piece of White Solid Cardstock to 11-1/2″ x 11-1/2″. Cut a 12″ x 1-3/4″ strip of pumpkin orange scattered stars paper and cut in half lengthwise at an angle (using the photo as a guide). Place at the top of the cardstock. Repeat with candy corn stripes paper and place at the bottom of the layout.
Step 3: Trim out the pumpkins border from the gridded Halloween paper and adhere above the candy corn stripes strip. Place a candy corns border sticker along the seam. Place the other candy corns border sticker along the pumpkin orange scattered stars seam. Using Micro-Tip Scissors, trim the edges flush with the cardstock. Mount the whole piece on the base.
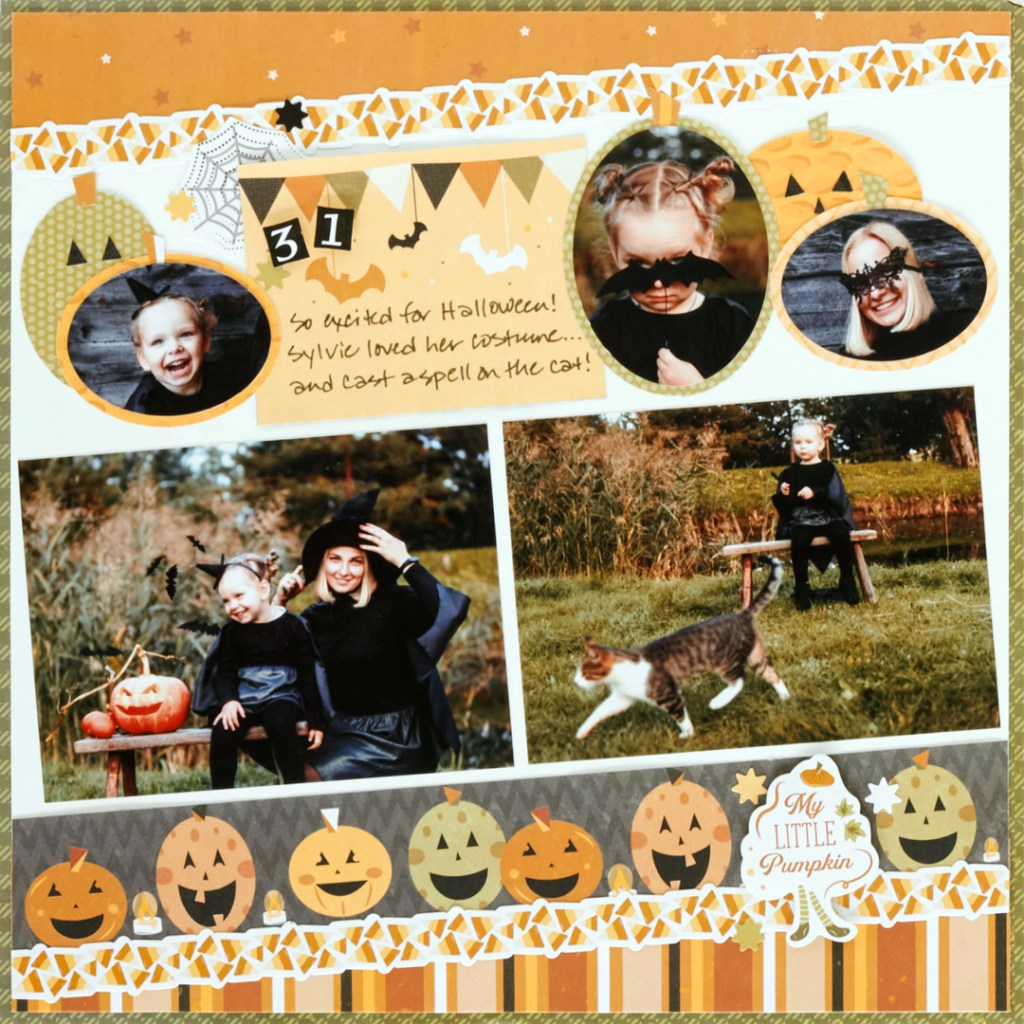
Step 4: Crop two photos to 5-1/2″ x 4″ and mount above the pumpkins border piece. Trim out the banners and bats mat from the gridded Halloween paper and mount on the layout.
Step 5: Make pumpkins! Using the inside edge of the largest Custom Cutting System Oval Pattern and the Green Blade, cut an oval with the apple green dots and haunted house scene paper. Using the Blue Blade, cut an oval from a photo and mount on the larger oval. Using the inside edge of the third-largest Custom Cutting System Oval Pattern and the Red Blade, cut ovals with both pumpkin orange pumpkins seeds and light yellow chevron papers. Using the Green Blade, cut ovals from two photos. Mount on the pumpkin orange pumpkins seeds and light yellow chevron ovals.
Step 6: Using the inside edge of the third-largest Custom Cutting System Oval Pattern and the Green Blade, cut ovals with both green apple dots and haunted house scene and pumpkin orange pumpkin seeds papers. Cut eyes and nose from black cauldron night sky paper and mount on the pumpkins. Cut stems from various scraps and adhere to the tops of all pumpkins. Mount all to the layout as shown.

Step 7: Add additional stickers, popping some up with Foam Squares for added dimension.
Step 8: Journal as desired.
What traditions or events do you like to celebrate on and around Halloween? How will you be celebrating All Hallows’ Eve this year? What is the most gourd-geous detail of this Halloween scrapbook layout? Cast your thoughts and opinions in the comment below!

Love the candy-corn border and the handmade details that make this LO special and fun! TYFS!
Great layout, I love the album!
[…] Get Instructions! […]
[…] Get Instructions! […]
[…] Get Directions! […]