September 22, 2021
Lay Your Memories on the Line: 8×8 Scrapbook Layouts

8x8s really are great, especially when you use the 8×8 Line It Up Recipe Template! Yes, they are a bit smaller than a regular 12×12 template or page, but that doesn’t mean you can’t pack a full page of stories and fun! Speaking of 8x8s, have you placed your orders for the latest-and-greatest (and totally stunning!) 8×8 albums? Your 8×8 scrapbook layouts will be a perfect fit inside these beauties.
Check out how you can use the 8×8 Line It Up Recipe Template to make bold projects… no matter how you turn it!
To create these layouts you will need:
- It’s Fall, Y’all Paper Pack or (Shop Canada | Shop Australia)
- It’s Fall, Y’all Tone-on-Tone Paper or (Shop Canada | Shop Australia)
- It’s Fall, Y’all Variety Mat Pack or (Shop Canada | Shop Australia)
- It’s Fall, Y’all Embellishments or (Shop Canada | Shop Australia)
- It’s Fall, Y’all Stickers or (Shop Canada | Shop Australia)
- Full Moon Fun Paper Pack or (Shop Canada | Shop Australia)
- Full Moon Fun Stickers or (Shop Canada | Shop Australia)
- White Solid Cardstock (or 8×8 White Refill Pages) or (Shop Canada | Shop Australia)
- Black Solid Cardstock (or 8×8 Black Refill Pages) or (Shop Canada | Shop Australia)
- 8×8 Line It Up Recipe Template or (Shop Canada | Shop Australia)
- Custom Cutting System with Circle Patterns or (Shop Canada | Shop Australia)
- 12-inch Trimmer or (Shop Canada | Shop Australia)
- Micro-Tip Scissors or (Shop Canada | Shop Australia)
- Tape Runner or (Shop Canada | Shop Australia)
- Repositionable Tape Runner Refill or (Shop Canada | Shop Australia)
- Foam Squares or (Shop Canada | Shop Australia)
- Deep Purple Dot Tip Pen or (Shop Canada | Shop Australia)
- Black Dual-Tip Pen or (Shop Canada | Shop Australia)
- Photo Labeling Pencil or (Shop Canada | Shop Australia)
- Pencil
Take a closer look at the 8×8 Line It Up Recipe Template in the video below!


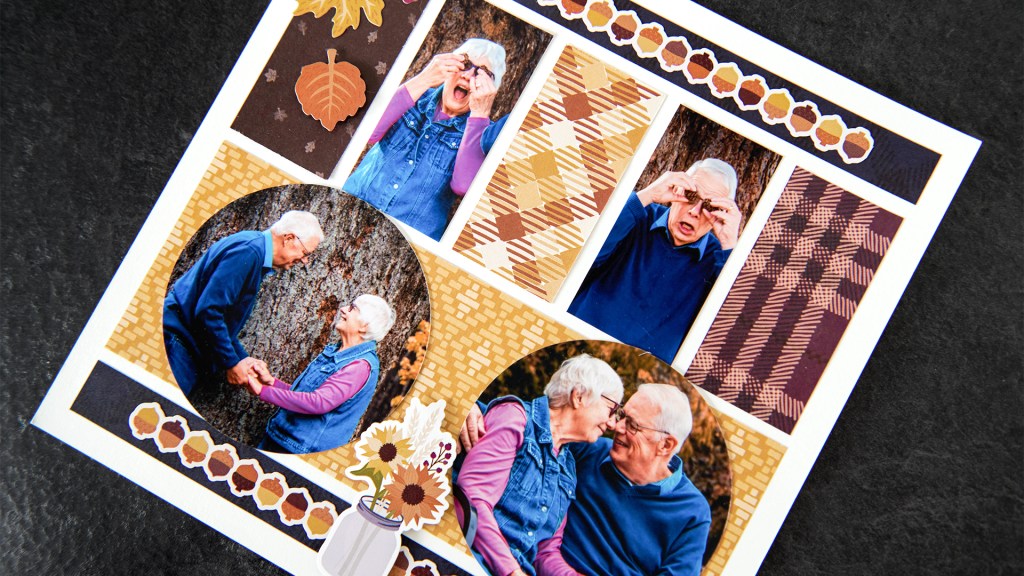
Step 1: Crop two pieces of White Solid Cardstock to measure 8″ x 8″ (or use two 8×8 White Refill Pages) for the bases of this two-page layout.
Step 2: Lay the 8×8 Line It Up Recipe Template on each of the pages. Use it as a guide to trace and cut various papers and photos as shown. (Tip: For quick and accurate circles, use the inside of the large Custom Cutting System Circle Pattern and the Green Blade to cut photos into circles.)
Step 3: Place and adhere photos and papers to the layout. Fussy-cut a mat with the wreath design and place it on one of the circle spots on the layout, as shown.
Step 4: Cut the acorns border stickers in half and place as shown. Add additional stickers and embellishments, popping some up with Foam Squares for added dimension.
Step 5: Journal as desired with the Deep Purple Dot Tip Pen.

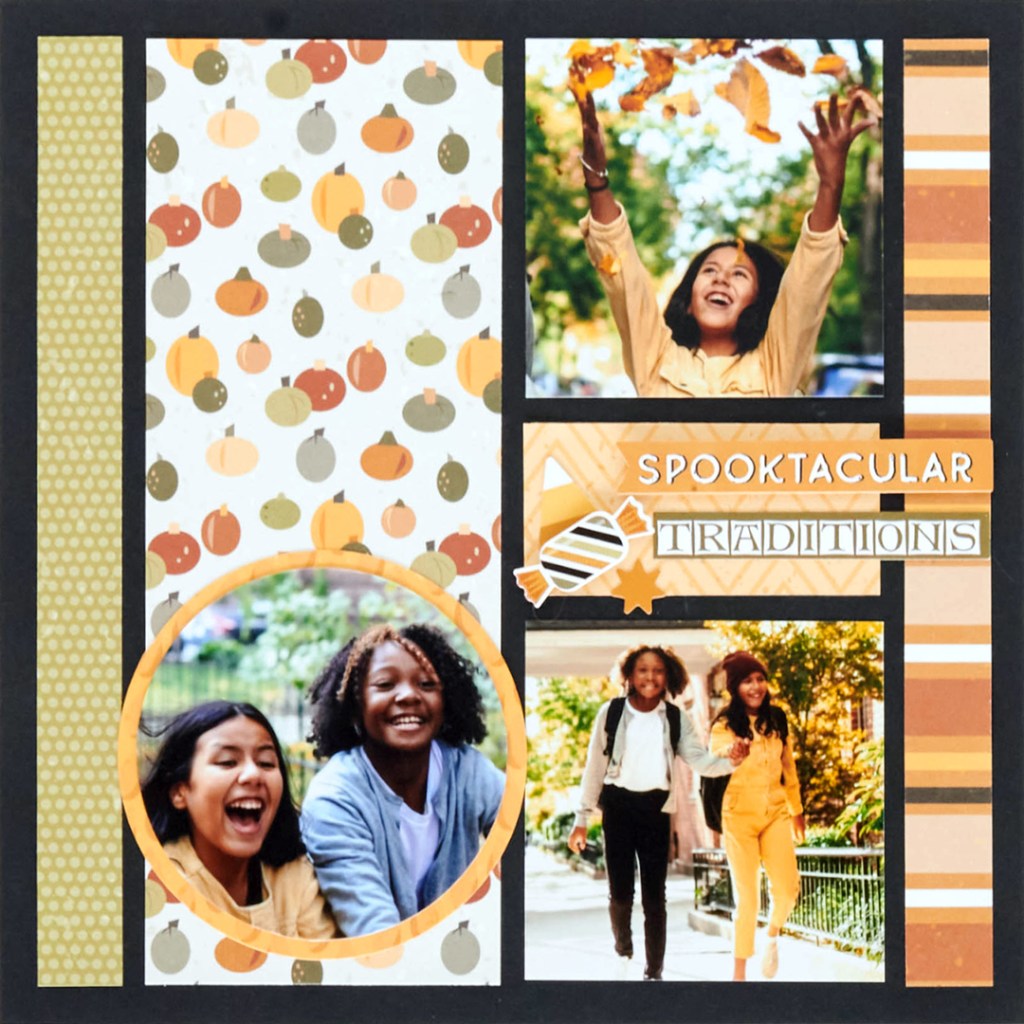
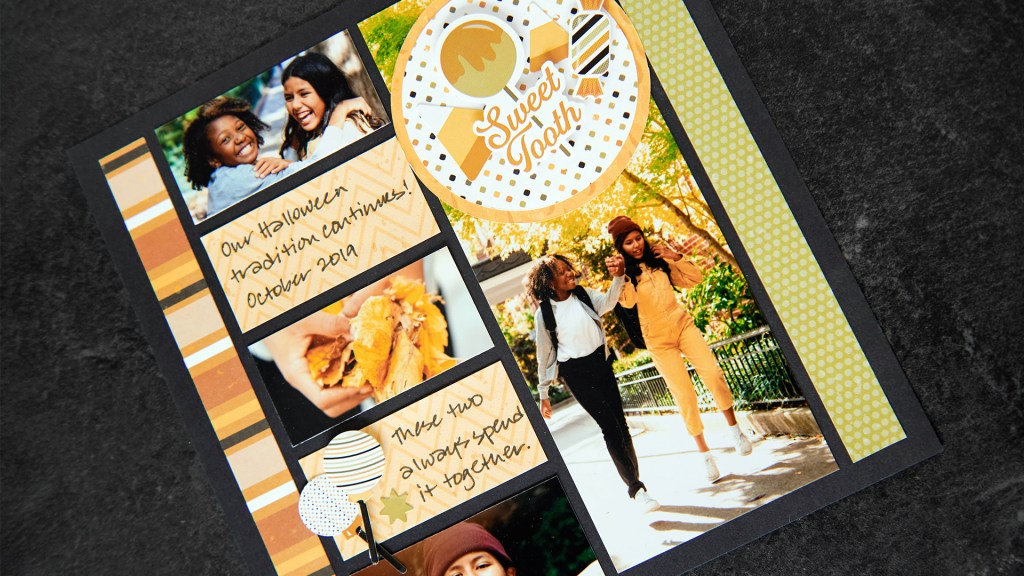
Step 1: Crop two pieces of Black Solid Cardstock to measure 8″ x 8″ (or use two 8×8 Black Refill Pages) for the bases of this two-page layout.
Step 2: Lay the 8×8 Line It Up Recipe Template on each of the pages. Use it as a guide to trace and cut various papers and photos as shown. (Tip: For quick and accurate circles, use the inside of the large Custom Cutting System Circle Pattern and the Green Blade to cut the larger circle shapes; use the Blue Blade to cut the smaller circle shapes.)
Step 3: Crop a 4″ x 6″ photo to measure 2-13/16″ x 6″. (This is the photo on the first page, right-hand side.) Crop off the top 1″ and adhere it to the top of the layout as shown. Adhere the rest of the photo aligned with the bottom. Adhere circle paper and “Sweet tooth” mat on top to make it look like one long photo. Place and adhere the rest of the photos and papers to the layout.
Step 4: Adhere stickers, popping some up with Foam Squares for added dimension.
Step 5: Journal as desired.
Do you like these 8×8 scrapbook layouts? Will you be getting the 8×8 Line It Up Recipe Template? Let us know down below!

Like this layout.
Please show more suggestions for the 8 x 8s.
I agree, more samples would be a help.
I recently ordered this and can’t wait to try creating a few layouts with it.