February 3, 2022
This Bee Scrapbook Idea Is Un-BEE-lievable

Do you like flowers, pumpkins, cherries, apples, coffee, almonds and asparagus? Well, it takes more than just soil, water and sunshine to make the world flourish. In fact, tip your sun hat to our fuzzy, pollinator friends — bees! With their signature black-and-yellow stripes, translucent wings and signature furry body, bees are common darting critter in woods and gardens around the world and are very important aspects in keeping our ecosystems healthy and thriving. To pay homage to these mini marvels, blog contributor Sachiyo Omitsu put together this bee scrapbook idea that will have your albums buzzin’ for attention!
To create this layout you will need:
- Welcome Home Paper Pack or (Shop Canada | Shop Australia)
- Welcome Home Stickers or (Shop Canada | Shop Australia)
- Welcome Home Foiled Embellishments or (Shop Canada | Shop Australia)
- Welcome Home Laser Cut Borders or (Shop Canada | Shop Australia)
- Welcome Home Variety Mat Pack or (Shop Canada | Shop Australia)
- Black, Goldenrod, Hot Fudge, Light Blue & Shell Shimmer Solid Cardstocks or (Shop Canada | Shop Australia)
- Original Border Maker System with Honeycomb Chain Border Maker Cartridge or (Shop Canada | Shop Australia)
- Custom Cutting System with Circle, Oval & Gemstone Patterns or (Shop Canada | Shop Australia)
- All-Purpose Scissors or (Shop Canada | Shop Australia)
- Tape Runner or (Shop Canada | Shop Australia)
- Repositionable Tape Runner Refill or (Shop Canada | Shop Australia)
- Foam Squares or (Shop Canada | Shop Australia)
- Blue-Gray Dual-Tip Pen or (Shop Canada | Shop Australia)


Step 1: Using the large heart/hexagon Custom Cutting System Gemstone Pattern and the Red Blade, cut 11 hexagons of Hot Fudge Solid Cardstock as shown. Avoid cutting the edge of the paper because we use the cut-out piece as the base of this layout. Cut a piece of ecru speckles designer paper to measure 11-3/4″ x 11-3/4″ and adhere to the hot fudge base.


Step 2: Cut one of the hot fudge hexagon pieces in half. Add all the hexagon pieces to the page as shown. Using the large heart/hexagon Custom Cutting System Gemstone Pattern and the Green Blade, cut 11 hexagons from a piece of Shell Shimmer Solid Cardstock. Add to the base as shown.
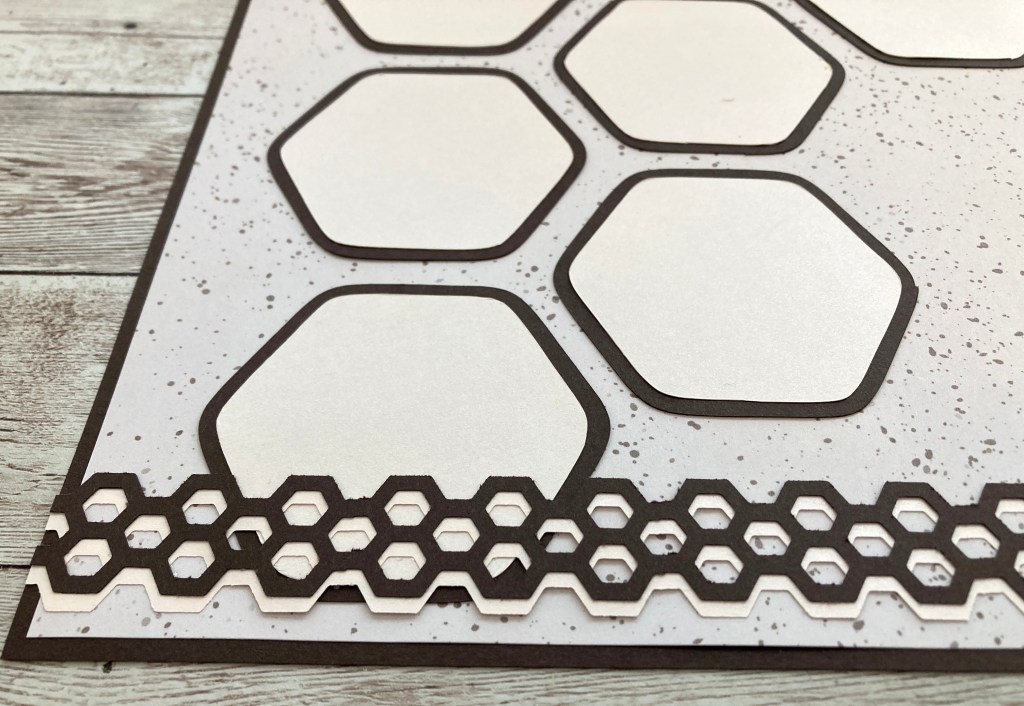
Step 3: Using the Honeycomb Chain Border Maker Cartridge, punch a border from Hot Fudge Cardstock and Shell Shimmer Solid Cardstocks. Add these borders to the bottom of the page.
Step 4: Cut the following pieces to make a bee:

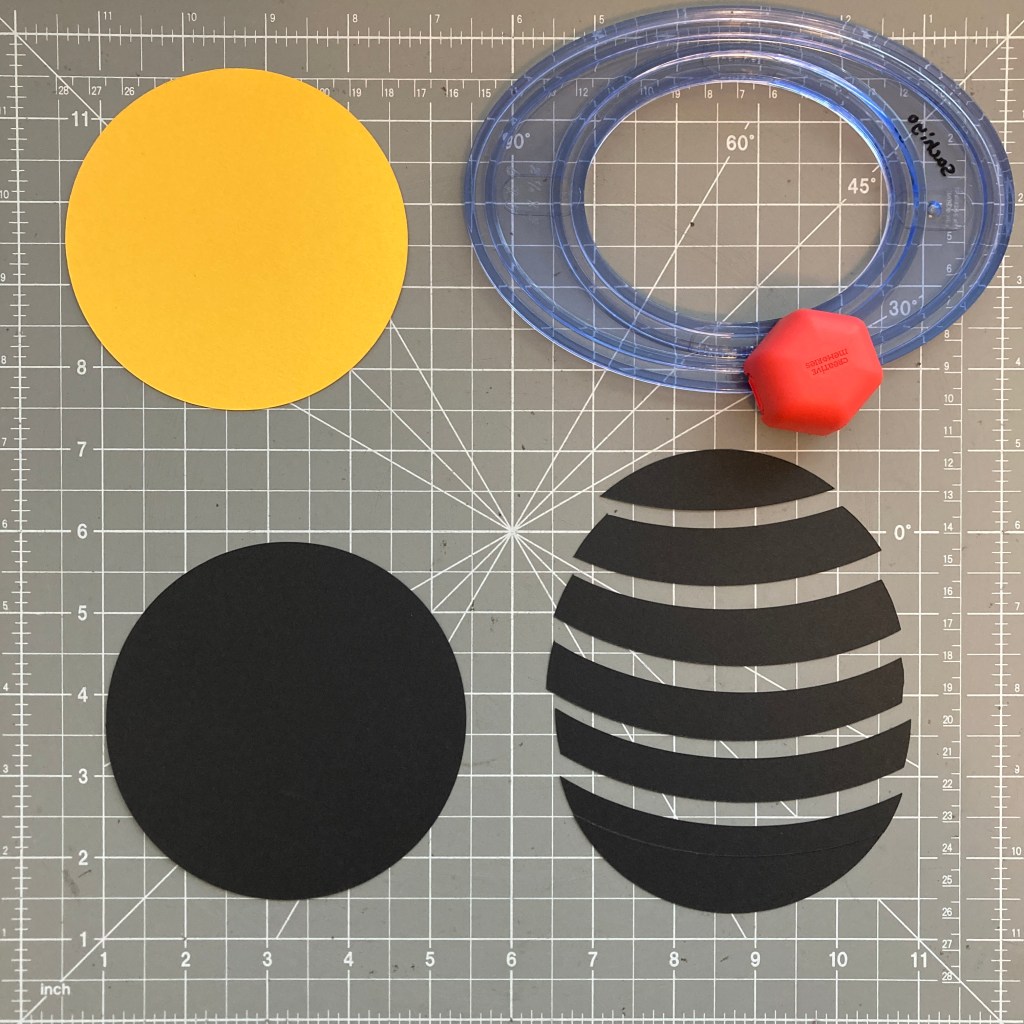
Body:
- Cut a circle from Goldenrod Solid Cardstock using the outside edge of the smallest Custom Cutting System Circle Pattern and the Green Blade.
- Cut two circles from Black Solid Cardstock using the outside edge of the smallest Custom Cutting System Circle Pattern and the Blue Blade.
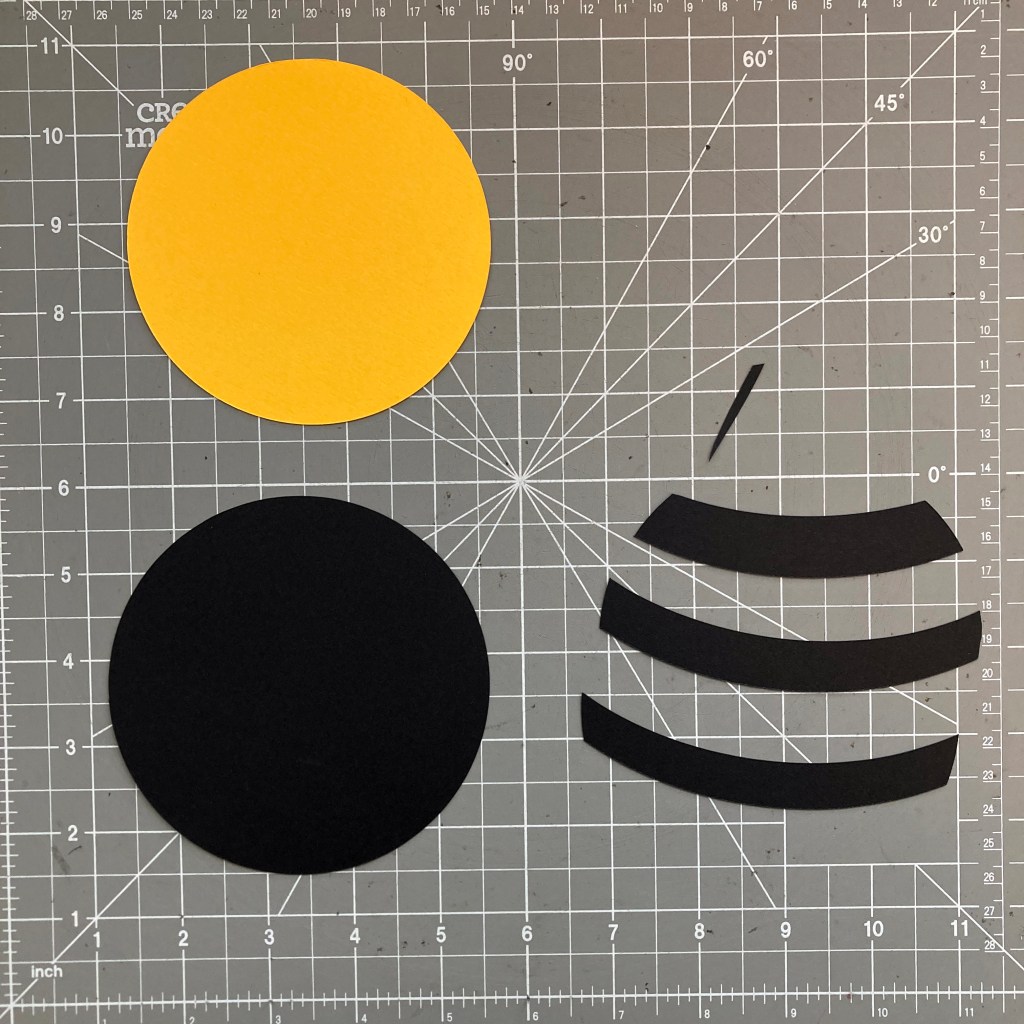
- Using the outside edge of the largest Custom Cutting System Oval Pattern and the Red Blade, cut a few 1/2″ width strips from one of the black circles.
- Cut a piece of Black Solid Cardstock to make a bee stinger.
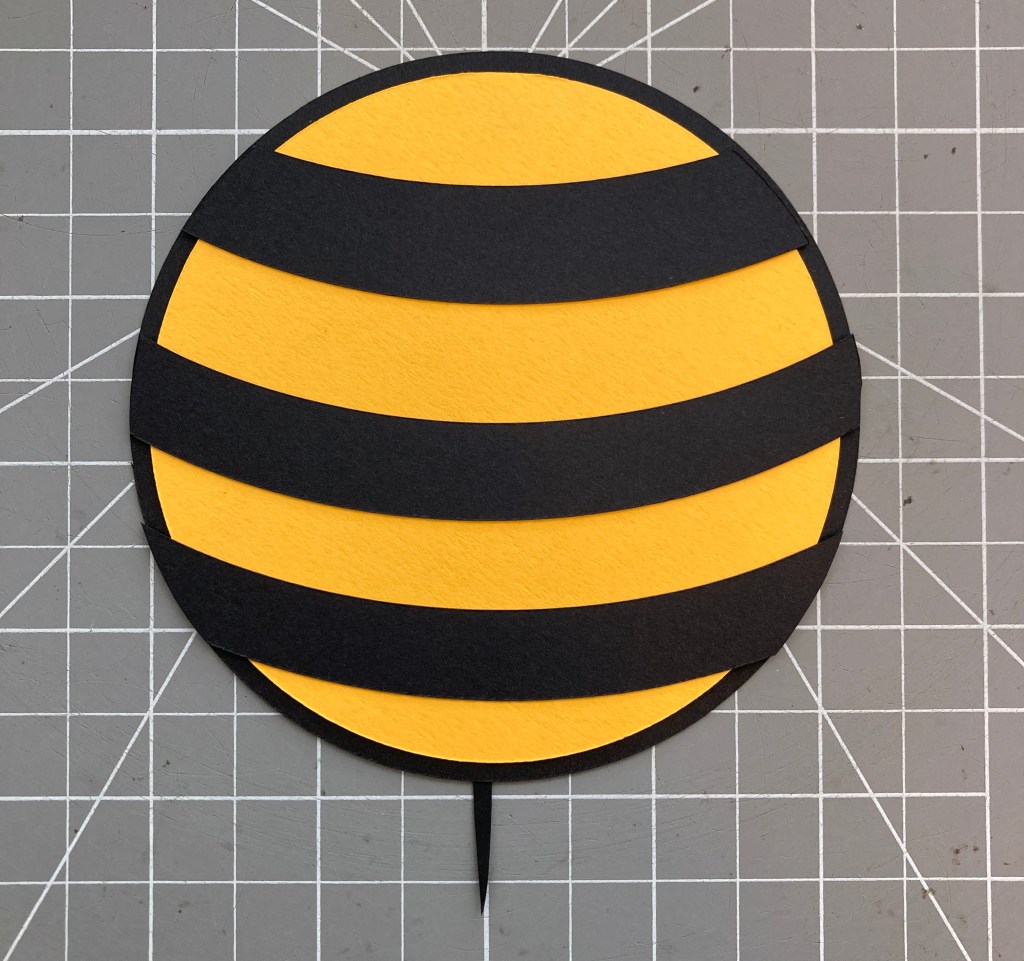
- Adhere the goldenrod circle on the black circle, add some black strips and trim the excess. Add the bee stinger.
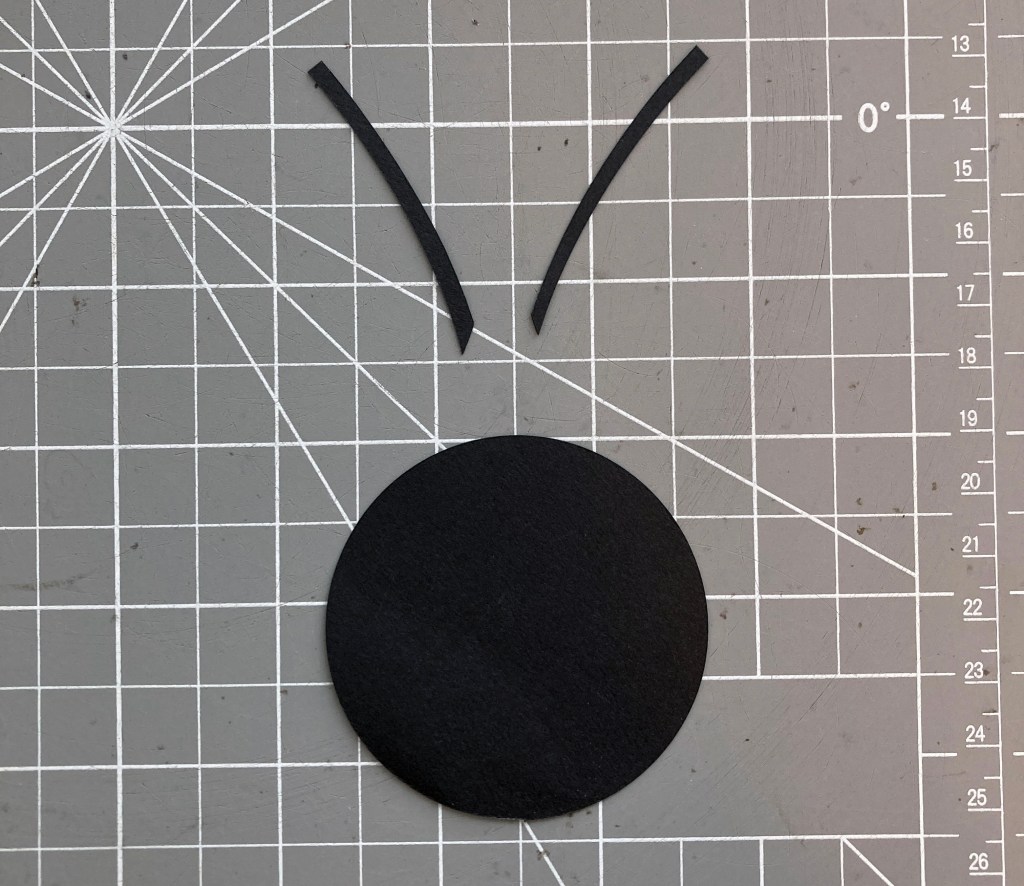
Head:
- Cut a circle from Black Solid Cardstock using the inside edge of the second-smallest Custom Cutting System Circle Pattern and the Red Blade.
- Using the outside edge of the largest Custom Cutting System Oval Pattern, cut a scrap of Black Solid Cardstock with the Green and Red Blades to cut a narrow strip. Cut the strip in half and use as “antennae.” Note: You can also freehand cut the “antennae” with scissors.

Wings:
- Cut two “wings” from Light Blue Solid Cardstock using the outside edge of the smaller heart Custom Cutting System Gemstone Pattern and the Red Blade.

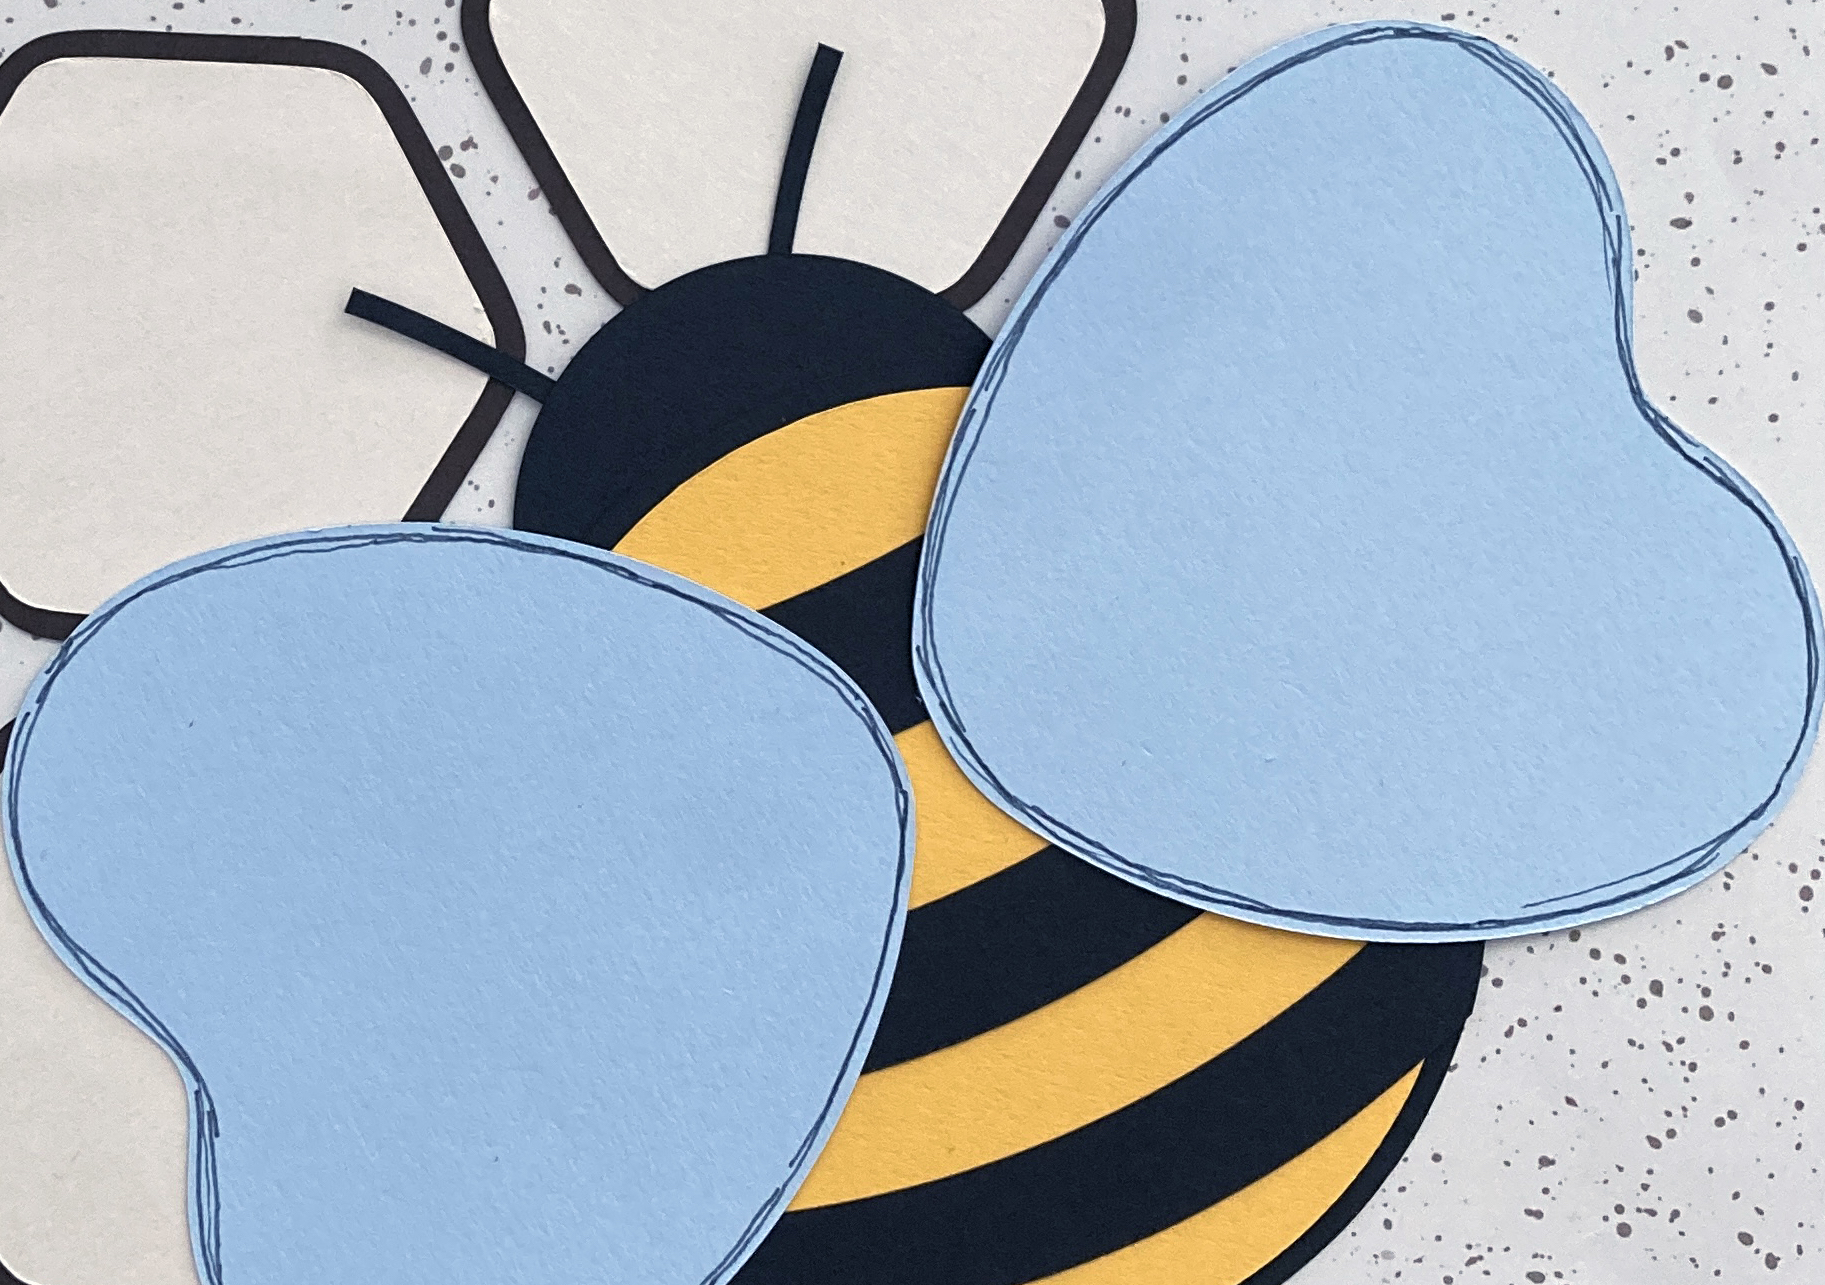
Assemble all the pieces to make a bee as shown. Outline the wings with the Blue-Gray Dual-Tip Pen. Add your bee to the page.


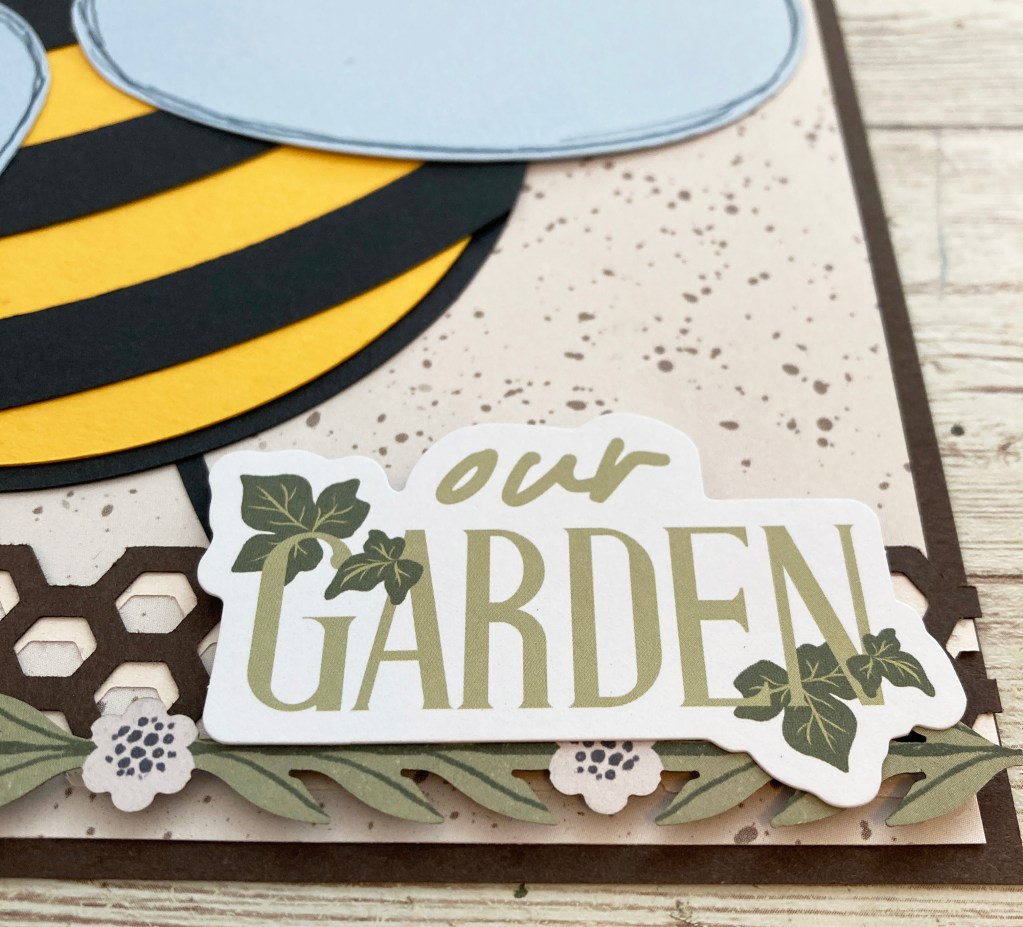
Step 5: Adhere stickers and embellishments, using Foam Squares on some for added dimension.

Suggestion for photo placement: You may want to cut your photos using the hexagon pattern and the Blue Blade and add them to each of the honeycomb cells or add a photo mat as shown to highlight your special photo.
What do you think of Sachiyo’s bee scrapbook idea? Are you buzzin’ with excitement to create it? Let us know in the comments section!

BEEyond cute! And with excellent directions. Thank you, Sachiyo!
So cute! Sachiyo always has such creative ideas!
So cute!!! ??
Love this idea! I’m really happy to see a blog post that showcases a crafters creativity with tools instead of just depending on embellishments! Don’t get me wrong, I love embellishments, especially as someone who doesn’t own a Cricut.
Love this! When I first saw it I thought it was a card. I wonder if I can miniaturize it to make a card as well!
I love this!!! Such a great idea!!!