May 9, 2022
Wander Into The Wilderness With This National Parks Scrapbook Idea
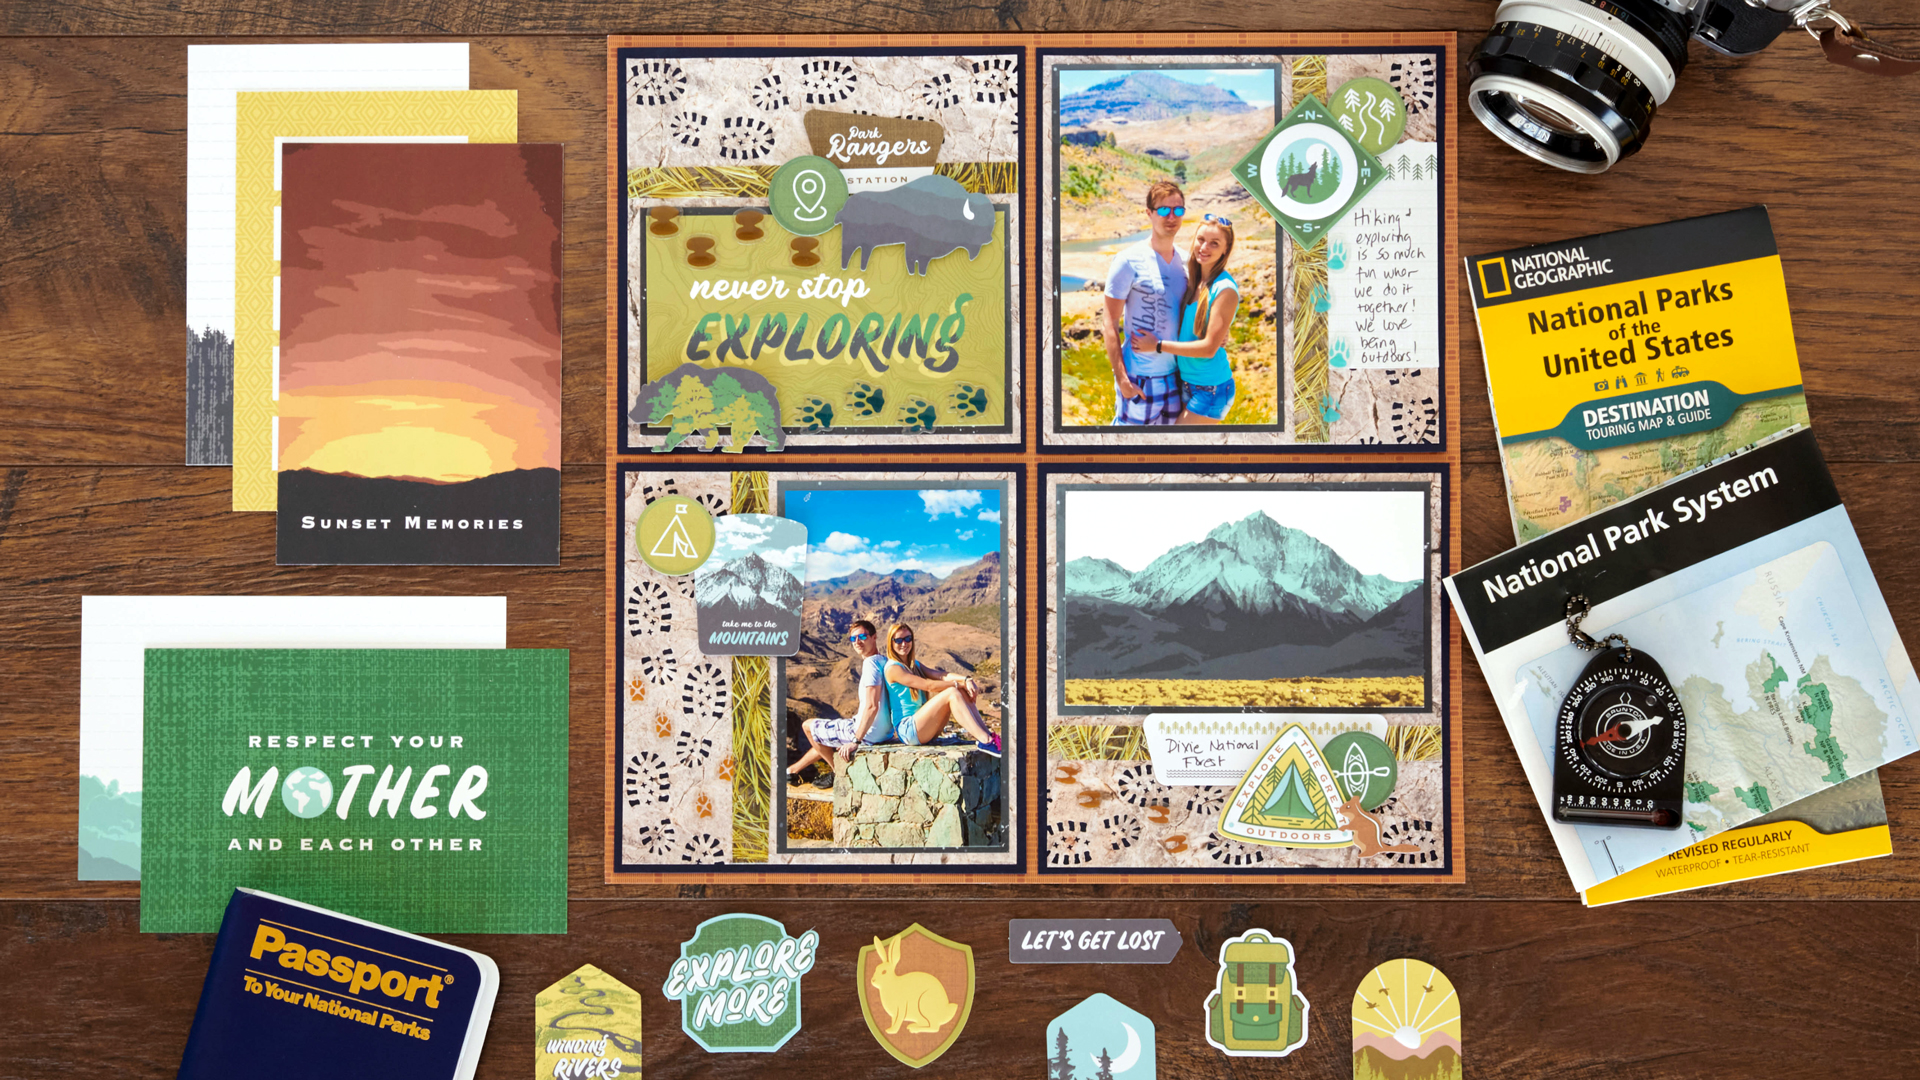
Whether you call it “hiking,” “bushwalking,” “hillwalking,” “fell-walking” or “rambling” (depending on where you live in the world), being outside and enjoying the countless acres of public land, national parks and state parks is a gratifying experience for many. From admiring the wildlife and rolling landscapes to connecting with your fellow hikers and the area’s culture, wandering is full of wonder! Pack up your parcels and get ready for a national parks layout to share your beloved excursions!
To create this layout you will need:
- Leave Nothing Behind Paper Pack or (Shop Canada | Shop Australia)
- Leave Nothing Behind Texture Paper Pack or (Shop Canada | Shop Australia)
- Leave Nothing Behind Embossed Embellishments or (Shop Canada | Shop Australia)
- Leave Nothing Behind Variety Mat Pack or (Shop Canada | Shop Australia)
- Navy Solid Cardstock or (Shop Canada | Shop Australia)
- 12-inch Trimmer or (Shop Canada | Shop Australia)
- Boot Prints Border Punch or (Shop Canada | Shop Australia)
- All-Purpose Scissors or (Shop Canada | Shop Australia)
- Tape Runner or (Shop Canada | Shop Australia)
- Repositionable Tape Runner or (Shop Canada | Shop Australia)
- Foam Squares or (Shop Canada | Shop Australia)
- Black Dual-Tip Pen or (Shop Canada | Shop Australia)

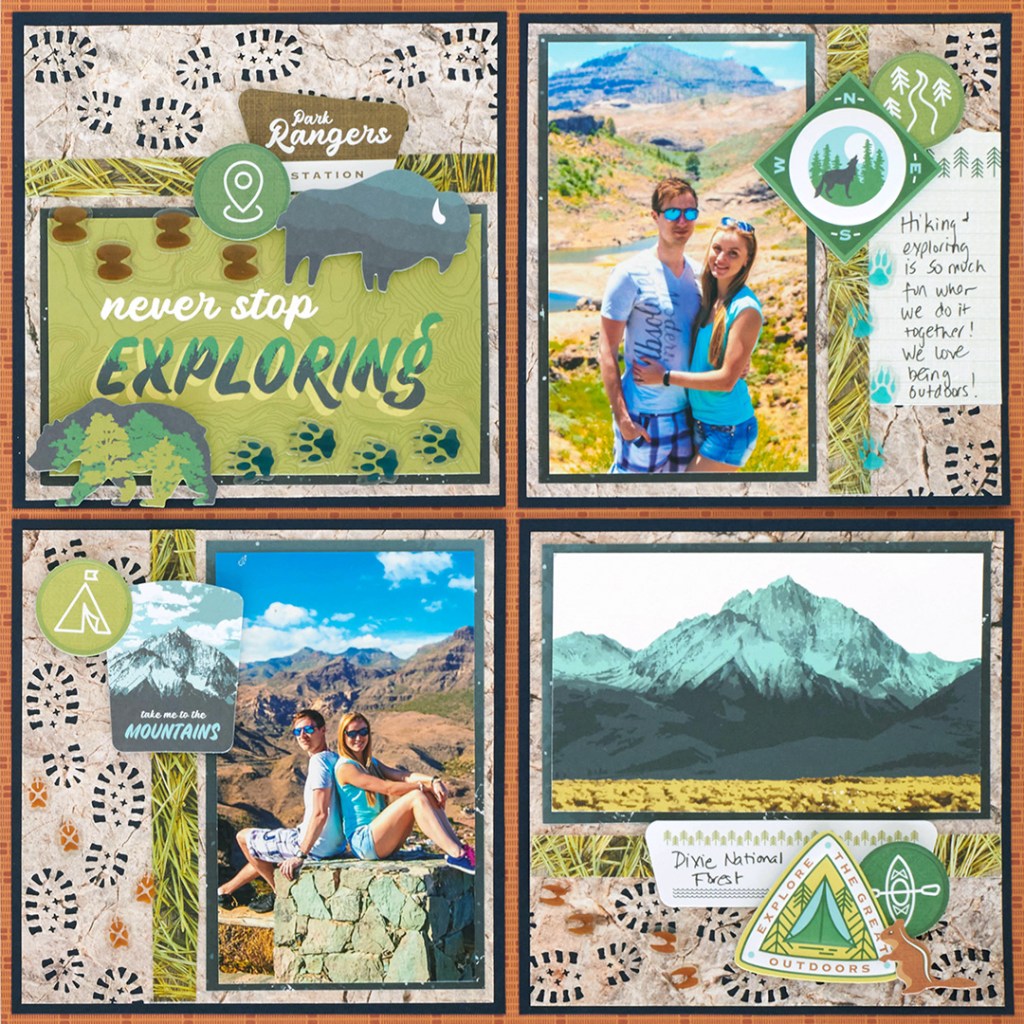
Step 1: Use the burnt sienna woven textile designer paper as the base.
Step 2: Using the 12-inch Trimmer, cut two 1/2″ strips from stone and pine needles texture papers. Cut each strip into 6″ pieces. Set strips aside, then cut four 5-1/2″ squares from remaining stone texture paper.
Step 3: Using the 12-inch Trimmer, cut four 5-3/4″ squares from the Navy Solid Cardstock.
Step 4: Punch one edge of each 5-1/2″ stone texture square with the Boot Prints Border Punch. Add one of the 1/2″ x 6″ pine needles texture strip to each stone texture square, adhering right beside boot prints. Trim off excess with All-Purpose Scissors. Mount each finished square on one of the 5-3/4″ cardstock squares.
Step 5: Arrange the layered squares onto base page, turning the boot prints on each square so it looks as though they are “walking” around the outside edge of the page.
Step 6: Using the 12-inch Trimmer, cut four 3-1/4″ x 5-1/4″ rectangles from night sky designer paper. Trim the “Never stop exploring” and blue mountains variety mats to 5″ x 3″. Trim two photos to 3″ x 5″. Mount trimmed variety mats and photos to the night sky rectangles and adhere on top of stone texture squares as shown.
Step 7: Add embellishments as desired. Journal on embellishment tags with a Dual-Tip Pen.
Do you enjoy hiking? Where has been a cherished or go-to place to explore? Will you be making this national parks scrapbook layout to share those memories and photos?

very nice!
Oh!! I love this Noreen.
[…] #2 will have you exploring some nifty tips and tricks. Simply follow along with this blog post to see what and […]