June 30, 2022
More Than Eh-mazing: Canada Scrapbook Layout To Celebrate Canada Day
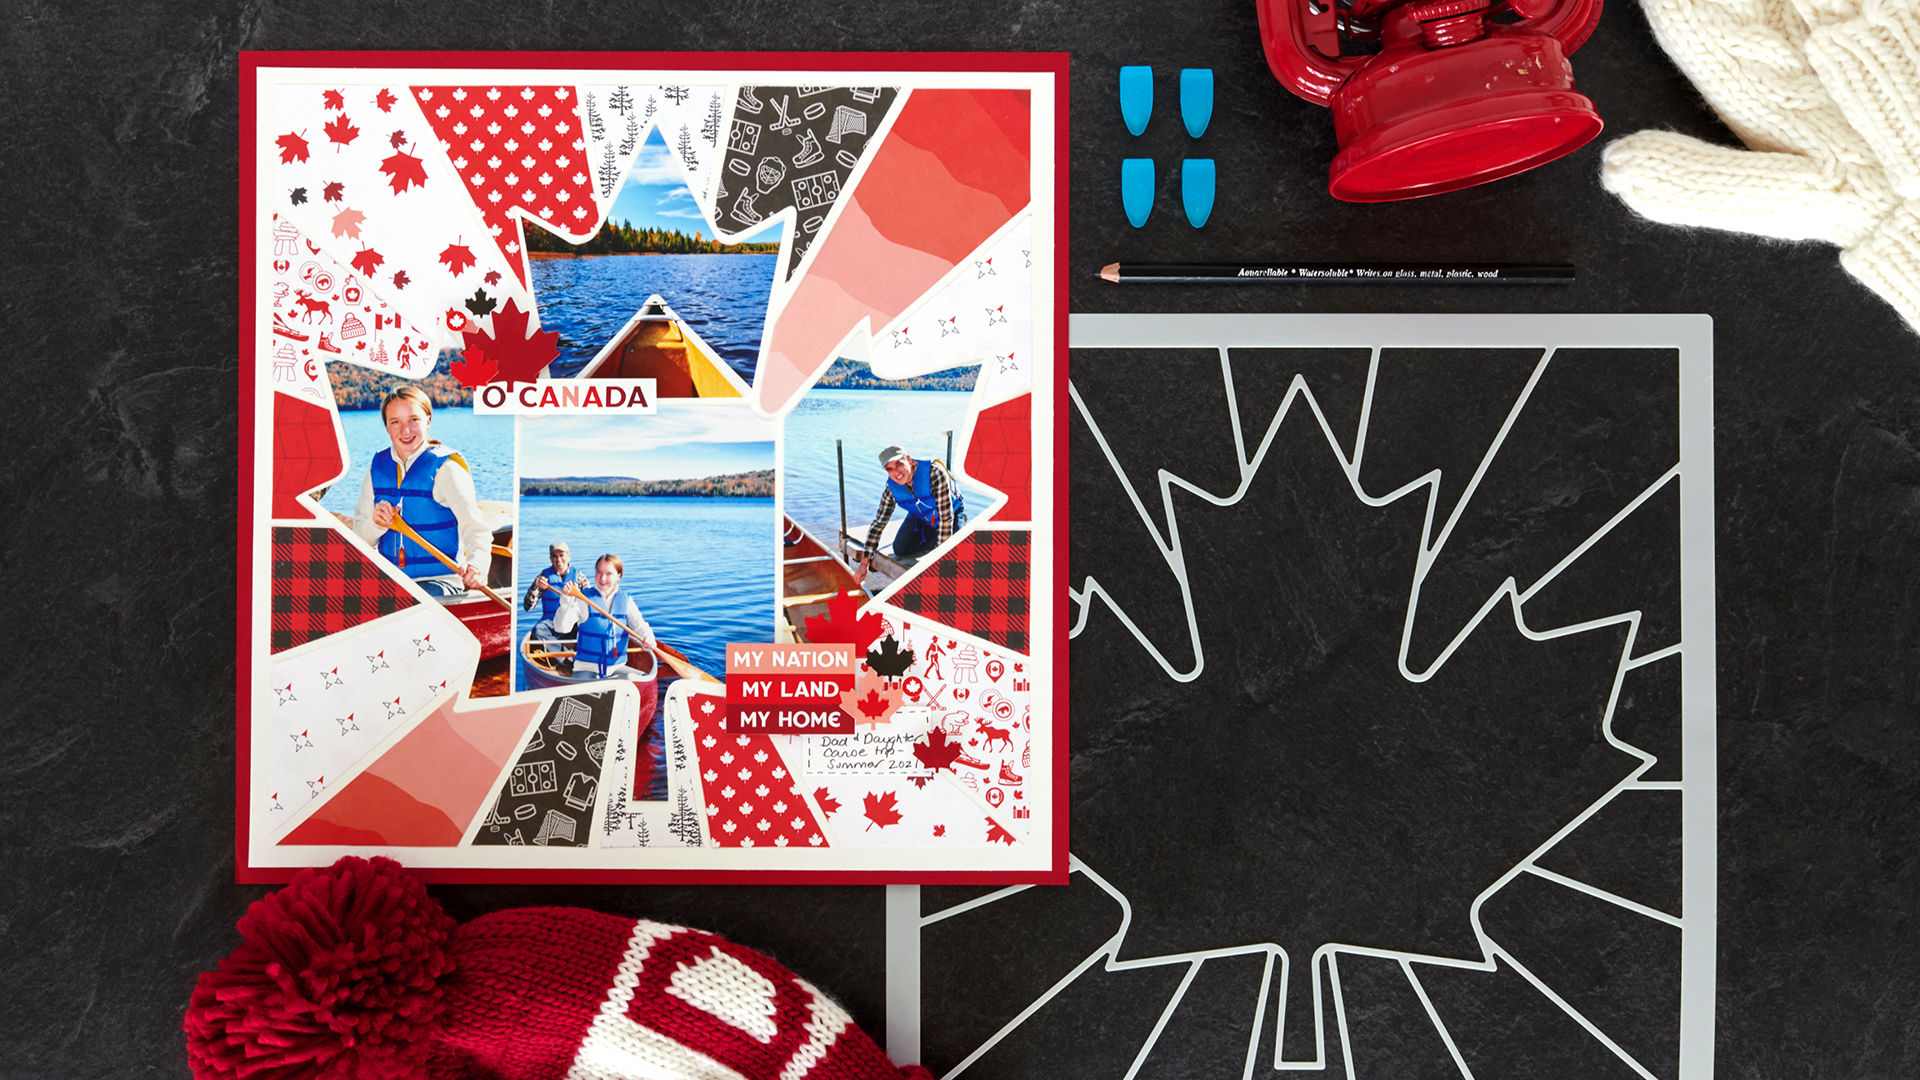
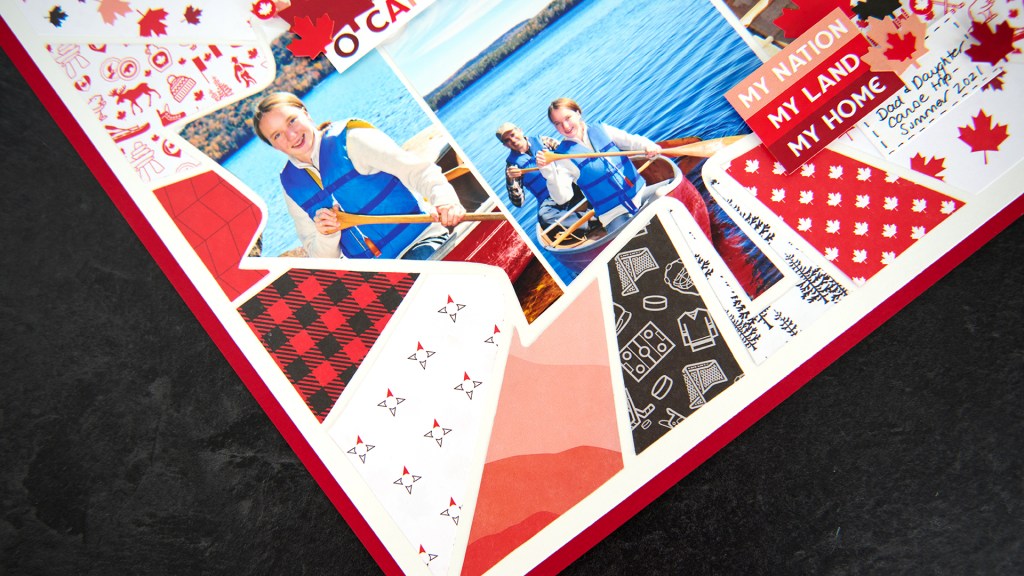
Imagine a jam-packed day full of snap-crackle-pop fireworks, patriotic parades, BBQs and picnics aplenty, energetic sporting events, brilliant red-and-white attire and numerous high-flying flags with a proudly prominent maple leaf. A spirited and superb mental picture, right?! Well, it’s a reality on the first day of July every year, as that is when the second-largest country in the world enjoys their biggest day — Canada Day! Are you ready to celebrate the eh-mazing Great White North? (Say “yes!”) Then take a look at this bold and beautiful Canada scrapbook layout!

To create this layout you will need:
- Canadian Pride Paper Pack or (Shop Canada | Shop Australia)
- Canadian Pride Stickers or (Shop Canada | Shop Australia)
- Cranberry & White Solid Cardstocks or (Shop Canada | Shop Australia)
- Maple Leaf Recipe Template (with Photo Labeling Pencil & Multi-Purpose Clips) or (Shop Canada | Shop Australia)
- 12-inch Trimmer or (Shop Canada | Shop Australia)
- All-Purpose Scissors or (Shop Canada | Shop Australia)
- Tape Runner or (Shop Canada | Shop Australia)
- Repositionable Tape Runner or (Shop Canada | Shop Australia)
- Foam Squares or (Shop Canada | Shop Australia)
- Black Dual-Tip Pen or (Shop Canada | Shop Australia)
- Pencil & Eraser
Take a closer look at the Maple Leaf Recipe Template in the video below!

Step 1: Use White Solid Cardstock to build your template on.

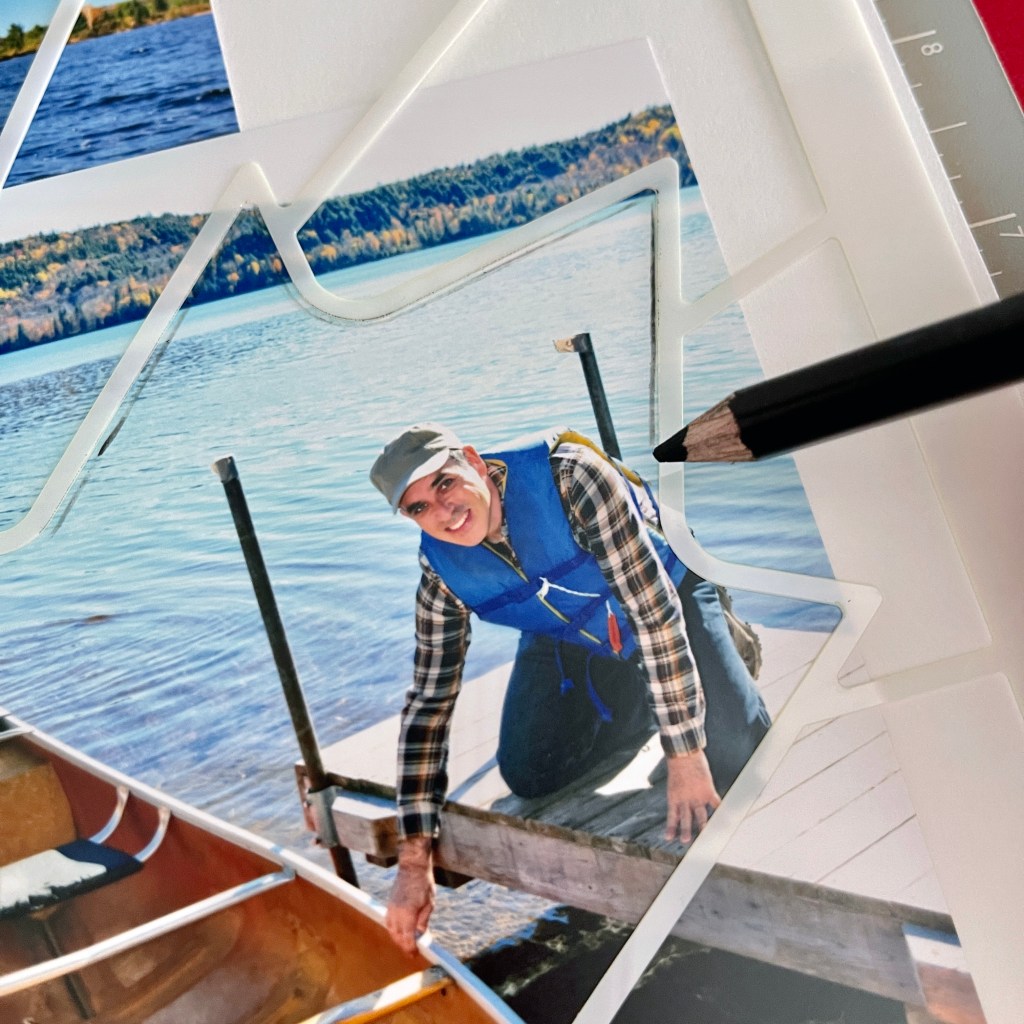
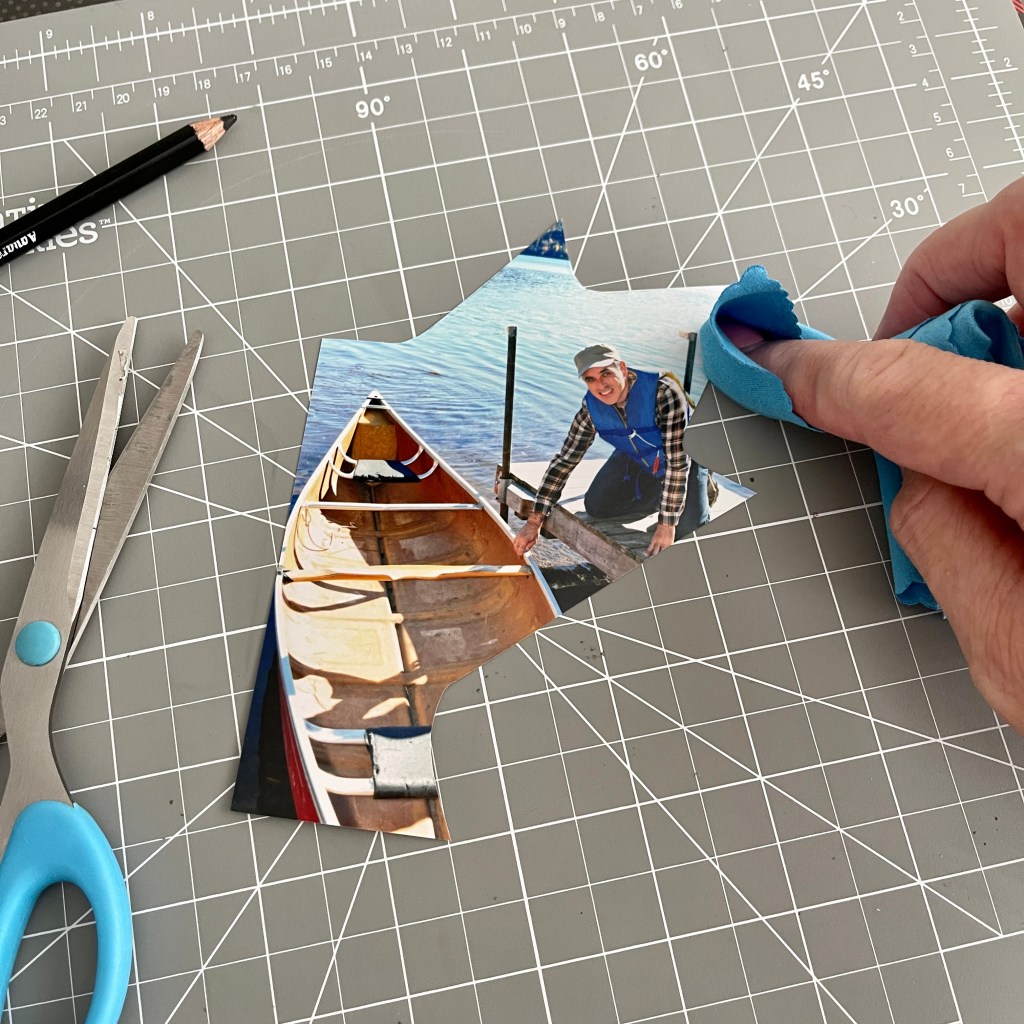
Step 2: Place photos in middle of the cardstock and then place the Maple Leaf Recipe Template over top of them. Arrange photos to fill the maple leaf shape. Use the Photo Labelling Pencil to trace the outline of the maple leaf onto the photos and cut out with All-Purpose Scissors. Gently erase any pencil marks with an eraser or a CM Photo Polishing Cloth if you have one.
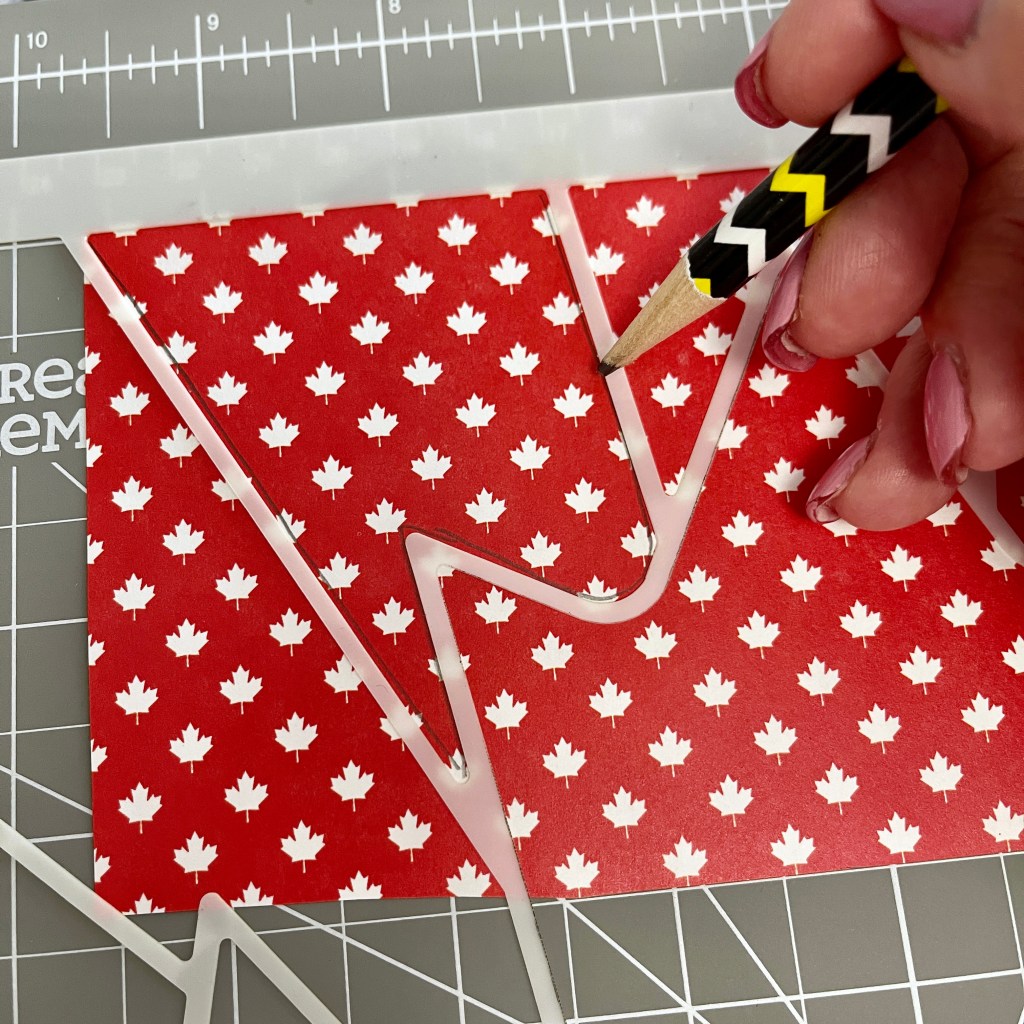

Step 3: Place various papers behind the beaming rays that emanate from the maple leaf, paying attention to the pattern orientation. Trace the outline of a ray shape onto the paper with a regular pencil and cut out with All-Purpose Scissors. Repeat this step for all ray shapes. (Tip: After cutting out each shape, set it onto another piece of cardstock or a 13×13 Custom Cutting System Mat, mimicking the placement on the template. When it comes time to build and adhere the design onto your base, the pieces will be easily identifiable!)

Step 4: After all photos and shapes have been cut out, adhere the Maple Leaf Recipe Template to the White Solid Cardstock with a dab of Repositionable Tape Runner adhesive on each corner to keep it in place. Adhere all cut pieces into the corresponding negative spaces on the template. When all pieces have been adhered, gently remove the template and rub off any adhesive residue from the corners of the cardstock.
Step 5: Using the 12-inch Trimmer, cut a 1/4″ strip from all sides of the White Solid Cardstock and discard. Adhere to Cranberry Solid Cardstock layout base to provide contrast.
Step 6: Cut a small piece of White Solid Cardstock to use as a journal box. Adhere the journal box and add stickers as shown or desired.
How are you celebrating Canada Day? Or will you make this Canada scrapbook layout to document your travels throughout the True North? Either way, share your thoughts with fellow scrappers!

I have been through Canada several times. This recipe template is perfect for layouts in my travel album. Thank you, Noreen, for your inspiring layout.
Beautiful! I plan to use the Maple Leaf template for autumn layouts.
Love you’re layout Noreen!
Yay Canada! Happy Canada Day to all!