July 12, 2022
Grow A Jungle Of Creativity With These Zoo And Animal Scrapbook Borders and DIY Card
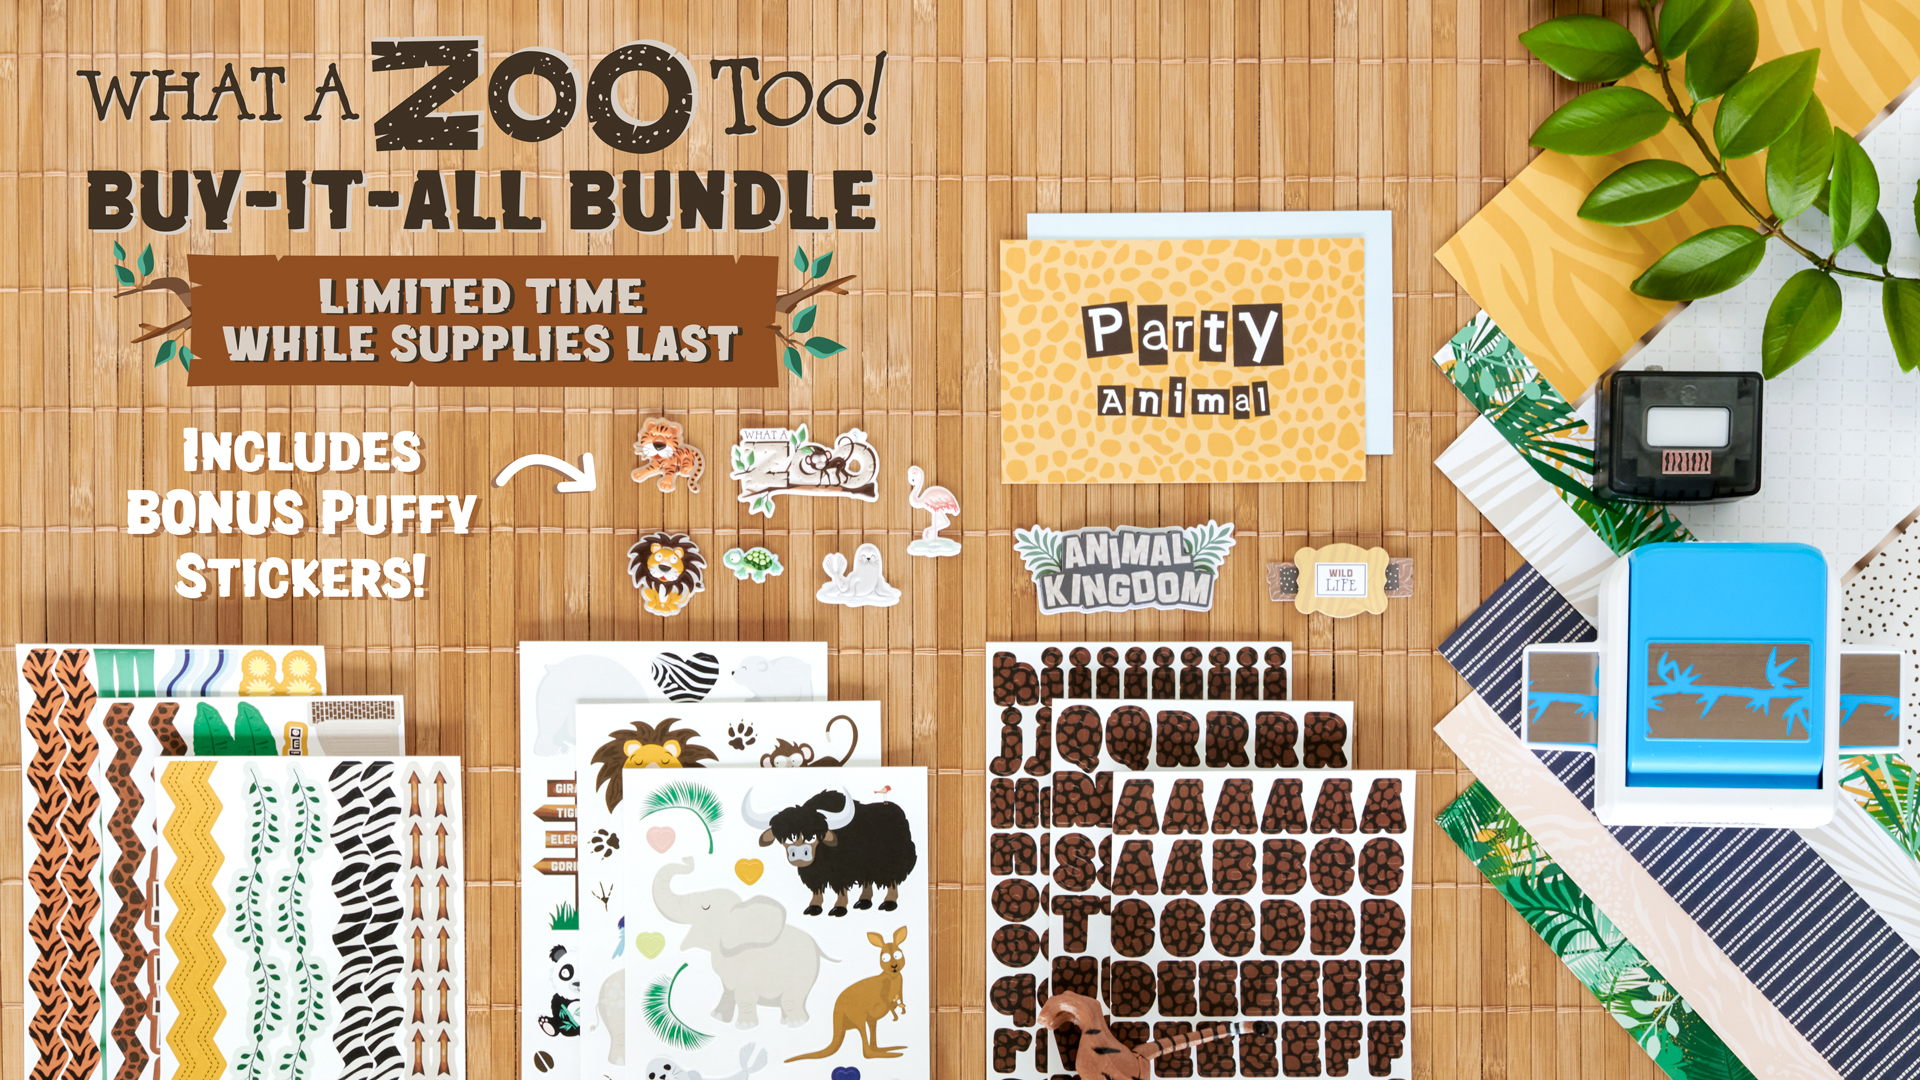
Are you looking for a bundle that meets all the koala-fications for you to creative wonderfully wild projects? Then feast your eyes on the What A Zoo, Too! Buy-It-All Bundle — it includes the decorative products in the What A Zoo, Too! collection and the complementing tools, plus BONUS What A Zoo, Too! Puffy Stickers (4/pk) that are ONLY available through this bundle (item not sold separately; this bundle is while supplies last). Are you roaring and ready to see these items in action? Then take a look at these zoo and animal scrapbook borders and DIY card!

To create these borders and card, you will need:
- What A Zoo, Too! Buy-It-All Bundle or (Shop Canada | Shop Australia)
- Includes the What A Zoo, Too! Puffy Stickers
- Black, Light Gray & White Solid Cardstocks or (Shop Canada | Shop Australia)
- Original Border Maker System with Zebra Stripe Border Maker Cartridge or (Shop Canada | Shop Australia)
- Zebra Stripe Border Maker Cartridge included in the Buy-It-All Bundle
- Custom Cutting System with Circle Patterns or (Shop Canada | Shop Australia)
- 12-inch Trimmer with Straight, Deckle & Scoring Blades or (Shop Canada | Shop Australia)
- Micro-Tip Scissors or (Shop Canada | Shop Australia)
- Tape Runner or (Shop Canada | Shop Australia)
- Repositionable Tape Runner or (Shop Canada | Shop Australia)
Take a look at everything that is included in the What A Zoo, Too! Buy-It-All Bundle.

Zoo Border
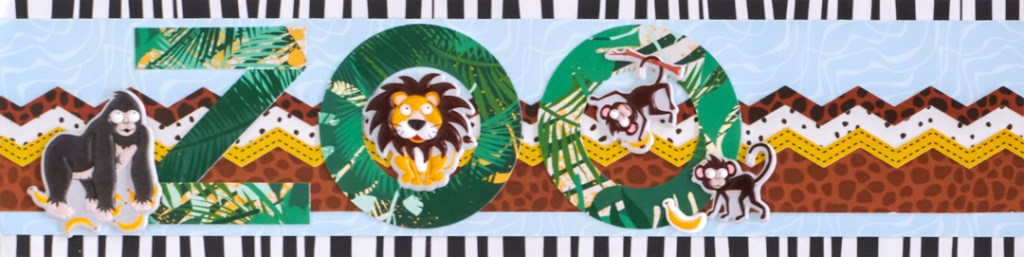
Step 1: Cut a 12″ x 3″ strip of zebra stripes designer paper for the base. Cut a 12″ x 2-1/2″ strip of light blue waves paper and adhere on the base. Cut a 12″ x 3/4″ strip of brown animal spots paper and adhere on the border, about 1/4″ from the bottom edge of the light blue waves piece.
Step 2: Cut a 12″ x 1/2″ strip of dots paper and adhere above the brown animal spots strip. Adhere a mustard yellow zigzag border sticker and a brown animal spots zigzag border sticker above and below the dots strip as shown.
Step 3: Cut a 1/2″ strip of jungle leaves designer paper. Cut into two 2″ lengths and one 2-1/2″ length. Create a “Z” shape with the strips, cutting off excess with scissors. Using the inside edge of the smallest Custom Cutting System Circle Pattern and the Red Blade, cut a circle with jungle leaves designer paper, leaving room all around it. Using the inside edge of the medium Custom Cutting System Circle Pattern and the Red Blade, cut a circle around the small one just cut to create an “O.” Repeat. Adhere the letters on the border as shown.

Step 4: Adhere puffy stickers to the border as desired.
What a Zoo Border
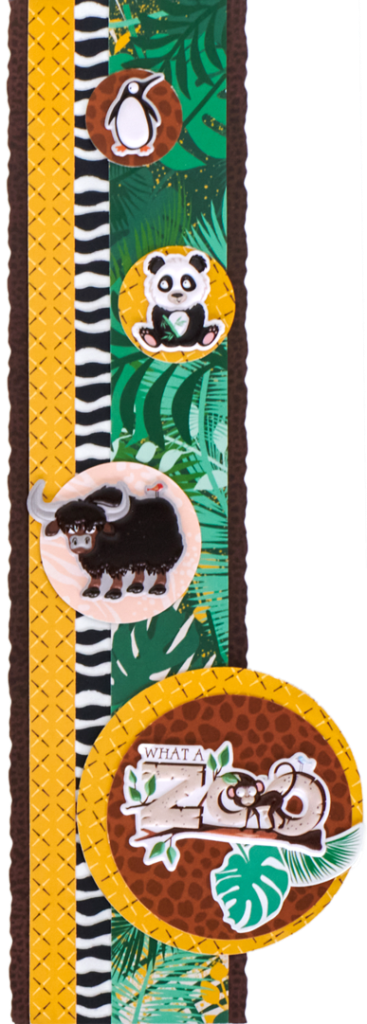
Step 1: Using the 12-inch Trimmer and the Deckle Blade, cut a 2-3/4″ x 12″ strip of dark brown snakeskin designer paper for the base.
Step 2: Using the Zebra Stripe Border Maker Cartridge, punch a border with Black Solid Cardstock. Trim to 2-1/4″ x 12″. Cut a 1″ x 12″ strip of White Solid Cardstock and adhere behind the stripes. Mount on the base.
Step 3: Cut a 1/2″ x 12″ strip of mustard yellow diamond grid designer paper and adhere along the left side of the border. Cut a 1-3/8″ x 12″ strip of jungle leaves designer paper and adhere along the right side of the border, leaving some of the zebra stripe showing.
Step 4: Using the inside edge of the largest Custom Cutting System Circle Pattern and the Red Blade, cut a circle with mustard yellow diamond grid designer paper. Using the inside edge of the same pattern and the Blue Blade, cut a circle with brown animal spots designer paper. Adhere on the mustard yellow circle, slightly offset, and mount on the border. Using the inside edge of the medium Custom Cutting System Circle Pattern and the Blue Blade, cut a circle with light pink animal prints paper. Using the inside edge of the smallest Custom Cutting System Circle Pattern and the Red Blade, cut a circle with mustard yellow diamond grid designer paper. Finally, using the inside of the same pattern and the Green Blade, cut a circle with brown animal spots paper.
Step 5: Add puffy stickers and designer stickers to the circles. Adhere the circles to the border as shown.
Zoo Card
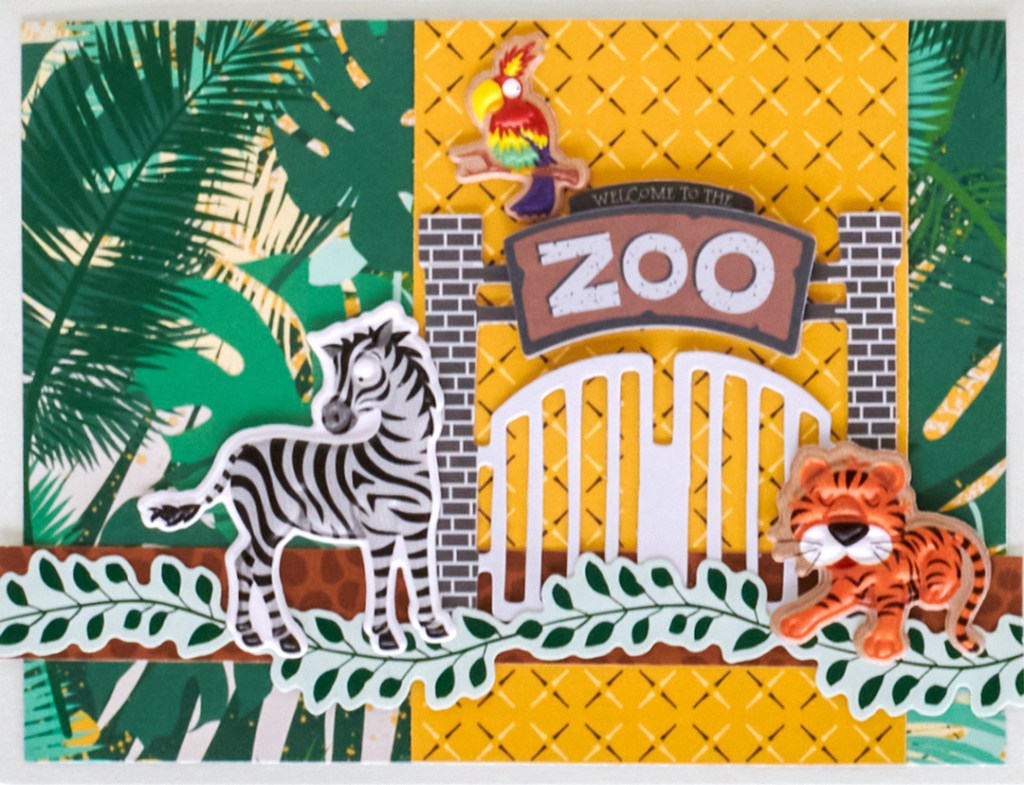
Step 1: Create the card base. Cut an 8-1/2″ x 5-1/2″ piece of Light Gray Solid Cardstock. Using the 12-inch Trimmer and the Scoring Blade, score along the long edge at 4-1/4″ and fold in half.
Step 2: Cut a 5-1/4″ x 4″ piece of jungle leaves designer paper and adhere on the front of the card. Cut a 2-5/8″ x 4″ piece of mustard yellow diamond grid designer paper and adhere on top.
Step 3: Cut a 5-1/2″ x 1/2″ strip of brown animal spots designer paper and adhere the card, about 1/2″ from the bottom. Adhere a vine border sticker on top, trimming the ends.
Step 4: Mount the “Zoo” embellishment on the mustard yellow piece. Add puffy stickers and border sticker as shown.
What do you think of these animal and zoo scrapbook borders? Will you be making them for your next project? Or will you put together the DIY card and send out to someone you love? Share your thoughts and ideas with us and others!
