August 11, 2022
Pitter-Patter To Perfect Projects: Hearts Borders For Scrapbooking And A DIY Card
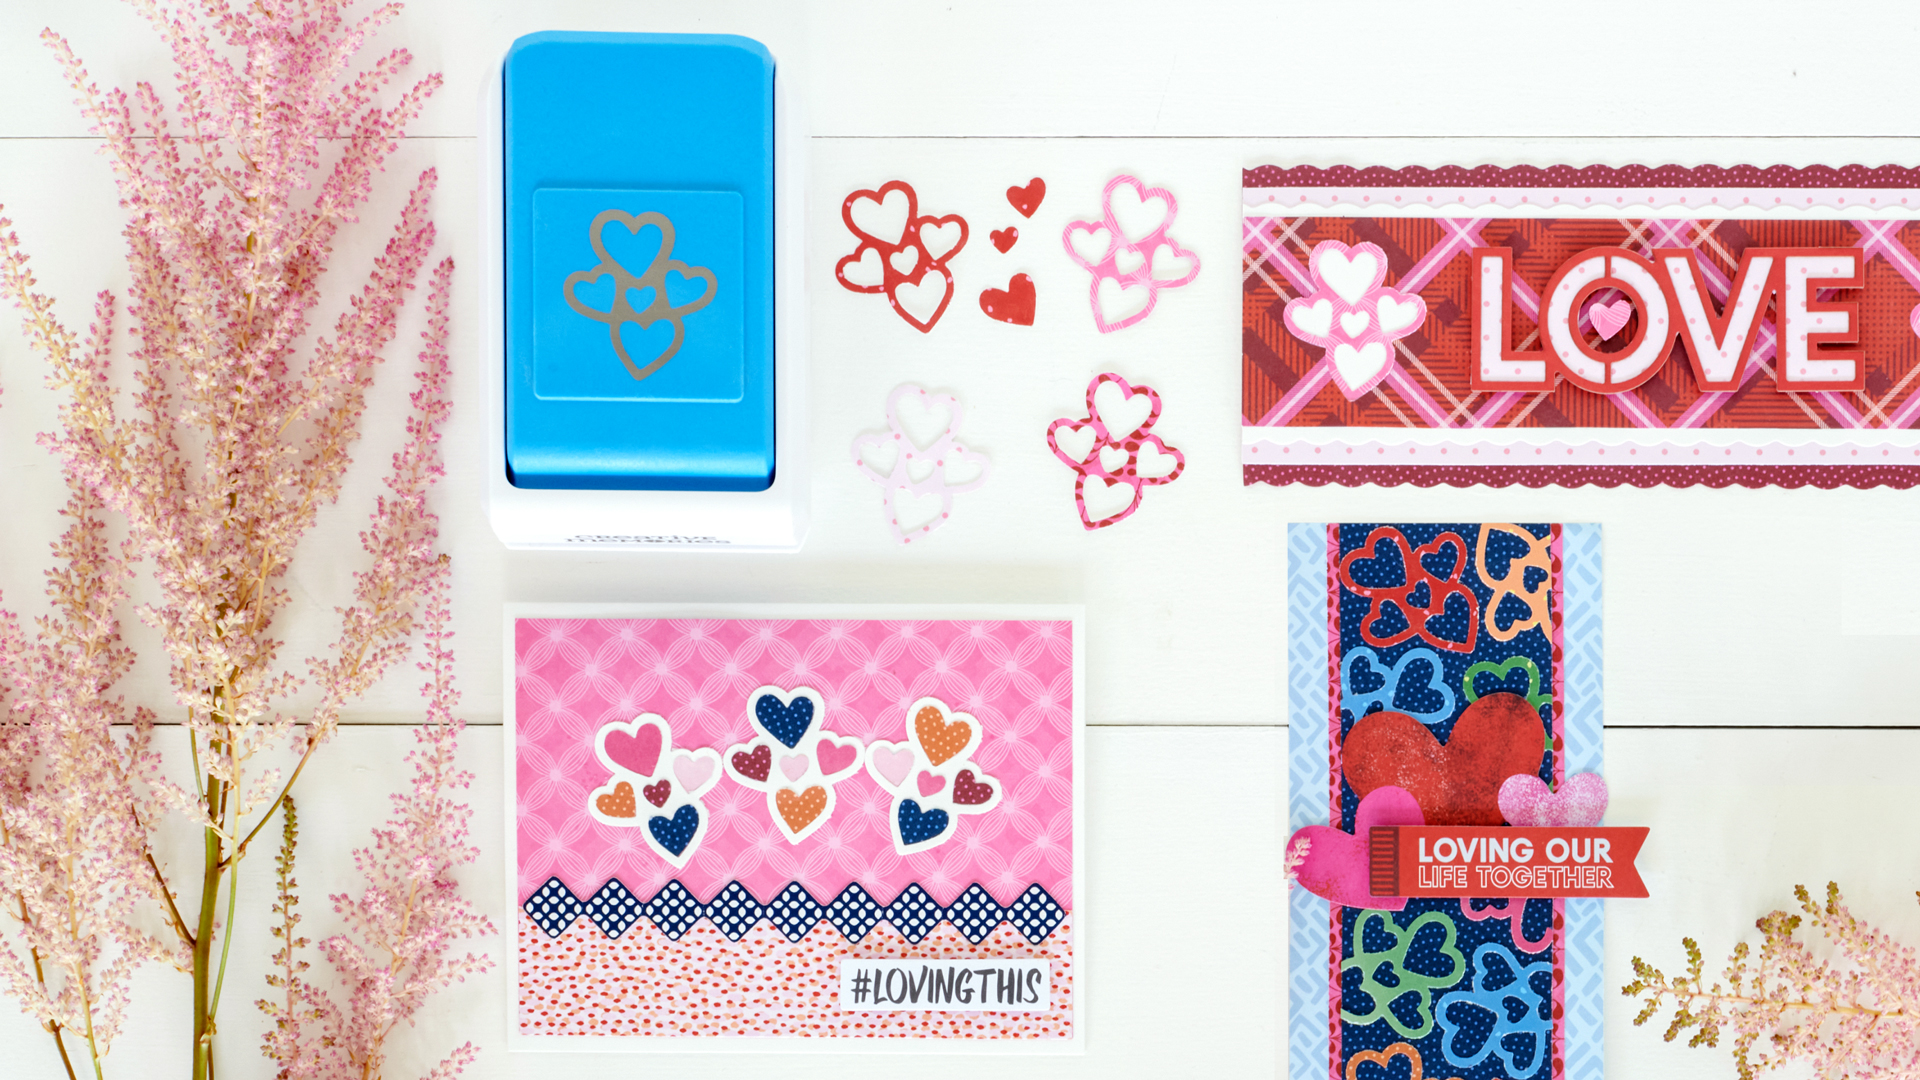
Scrapbooking definitely fills a creator’s heart… and especially so when you use the Full of Love Punch! It’s easy to layer on the love with this punch, as it’s perfect for layouts, projects and borders with themes of engagements, weddings and anniversaries, date nights, Valentine’s Day, bestie play dates, newborn photos and more! See how these hearts borders and DIY card will have you pitter-pattering with joy!
To create these borders and card, you will need:
- Vivid Melodies Butterscotch Paper Pack or (Shop Canada | Shop Australia)
- Vivid Melodies Jazzberry Paper Pack or (Shop Canada | Shop Australia)
- Vivid Melodies Capri Blue Paper Pack or (Shop Canada | Shop Australia)
- Vivid Melodies Lime Tart Paper Pack or (Shop Canada | Shop Australia)
- Vivid Melodies Jazzberry Embellishments or (Shop Canada | Shop Australia)
- Vivid Melodies Border Stickers or (Shop Canada | Shop Australia)
- White Solid Cardstock or (Shop Canada | Shop Australia)
- Full of Love Punch or (Shop Canada | Shop Australia)
- 12-inch Trimmer with Straight, Scallop & Scoring Blades or (Shop Canada | Shop Australia)
- Micro-Tip Scissors or (Shop Canada | Shop Australia)
- Tape Runner or (Shop Canada | Shop Australia)
- Repositionable Tape Runner or (Shop Canada | Shop Australia)
- Foam Squares or (Shop Canada | Shop Australia)
- Pencil & ruler
Check out the Full of Love Punch in action in the video below!

Love Border
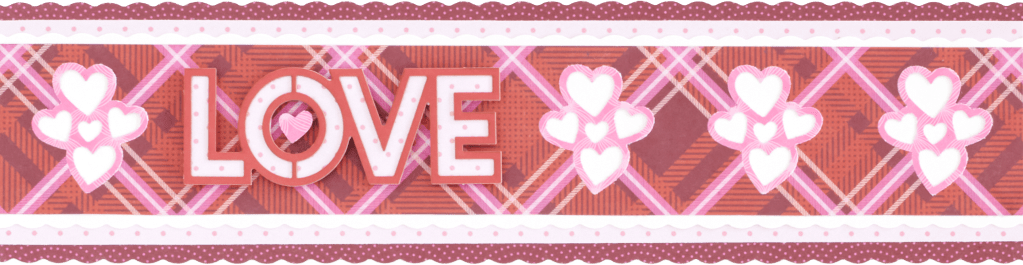
Step 1: Using the 12-inch Trimmer and the Scallop Blade, cut a 12″ x 3″ strip with jazzberry dotted scallop paper for the base. Using the 12-inch Trimmer and the Straight Blade, cut a 12″ x 2-1/2″ strip with jazzberry polka dots paper and adhere on the base. With the 12-inch Trimmer and the Scallop Blade, cut a 12″ x 2-1/4″ strip with White Solid Cardstock and adhere on the border.
Step 2: With the 12-inch Trimmer and the Straight Blade, cut a 12″ x 2″ strip with jazzberry multi-plaid paper. Mark the strip at 1″, 7″, 9″ and 11″. Using the Full of Love Punch, punch at each of those intervals. Adhere the strip on the border.
Step 3: With the Full of Love Punch, punch hearts shapes with jazzberry flower weave paper. Adhere the shapes on the border over the spaces created in Step 2.
Step 4: Adhere the jazzberry “Love” laser embellishment on jazzberry polka dot paper and fussy-cut around it. Adhere on the border using Foam Squares.
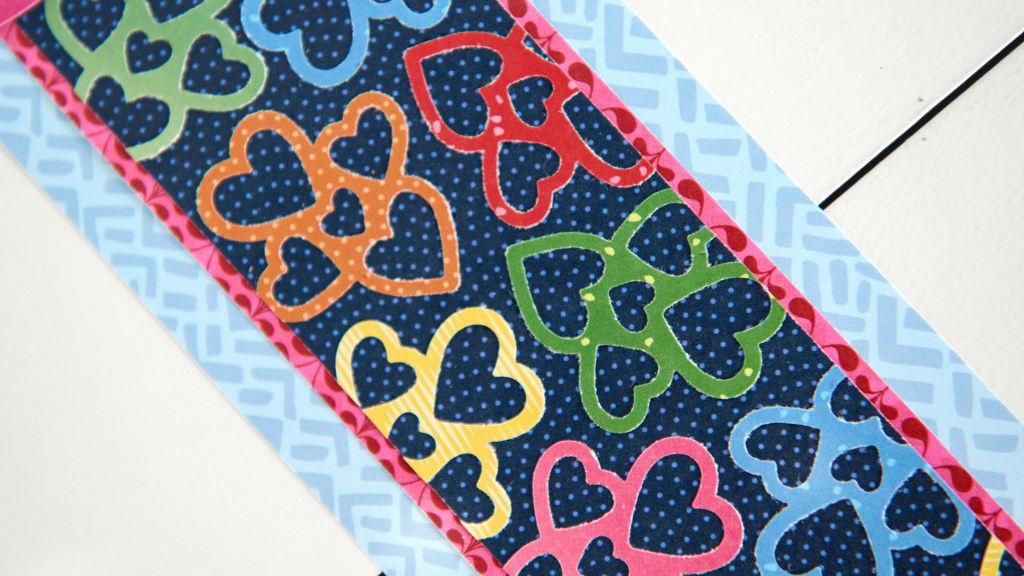
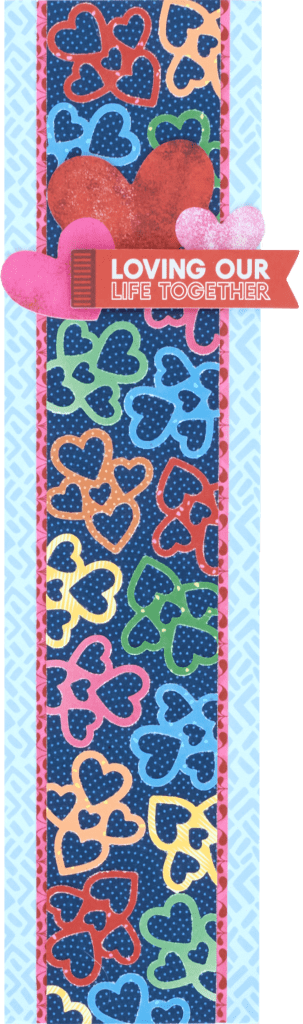
Loving Our Life Together Border
Step 1: Cut a 3″ x 12″ strip with capri blue chevrons paper for the base.
Step 2: Cut a 2-1/4″ x 12″ strip with jazzberry vines paper and adhere on the base.
Step 3: Cut a 2″ x 12″ strip with capri blue dotted scallop paper. With the Full of Love Punch, punch shapes with several papers from all palettes. (Save punched out hearts for the #LovingThis Card below.) Adhere randomly along the strip. Using scissors, cut off excess. Adhere on the border.
Step 4: Adhere jazzberry embellishments, popping the title up with Foam Squares for added dimension.
#LovingThis Card
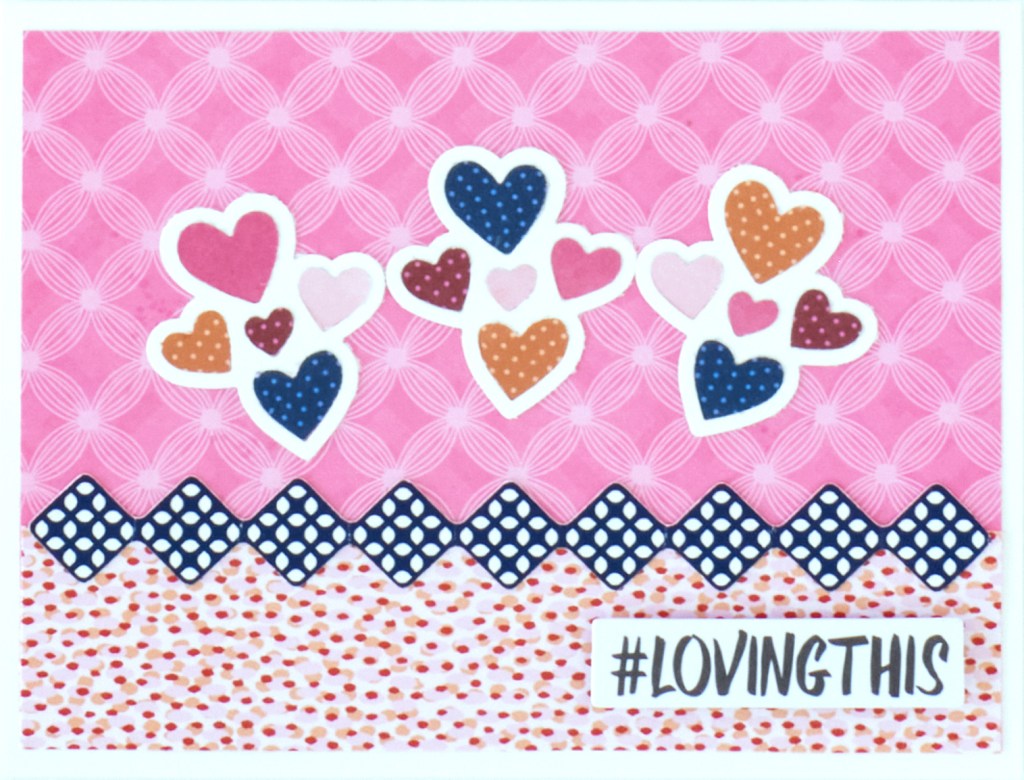
Step 1: Create the card base. Cut an 8-1/2″ x 5-1/2″ piece of White Solid Cardstock. Using the 12-inch Trimmer and the Scoring Blade, score along the long edge at 4-1/4″ and fold in half.
Step 2: Cut a 5-1/4″ x 4″ piece with jazzberry flower weave paper and adhere on the front of the card. Cut a 5-1/4″ x 1-1/4″ piece with jazzberry dollops paper and adhere at the bottom of the pink piece. Cut a 5-1/4″ piece of the navy border sticker and adhere along the seam.
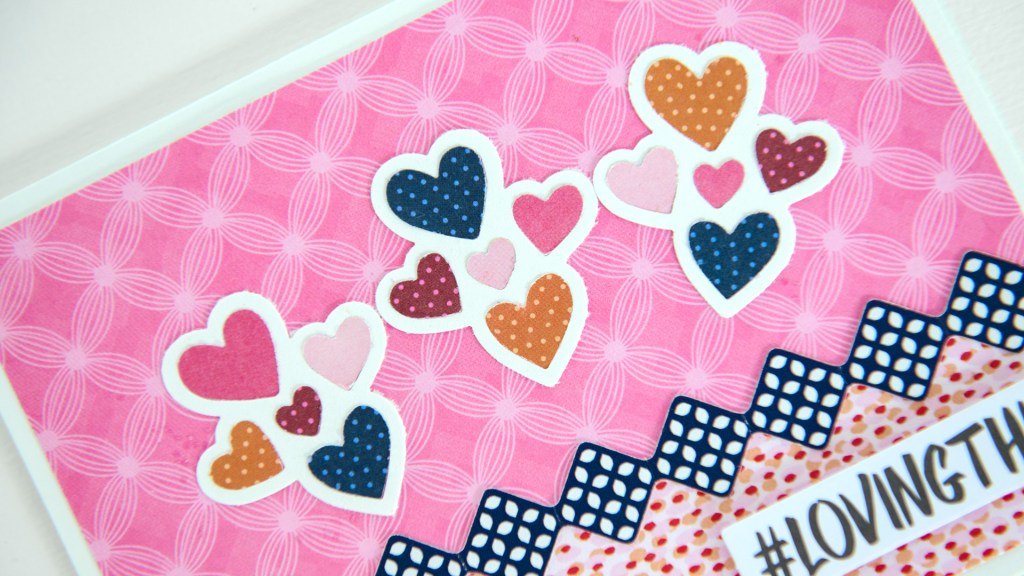
Step 3: With the Full of Love Punch, punch three shapes with White Solid Cardstock and adhere on the card. Punch out shapes from other pink and blue papers (or use the shapes saved from the Loving Our Life Together Border). Adhere randomly on the white shapes.
Step 4: Adhere the #LovingThis embellishment with Foam Squares for added dimension.
What are your thoughts on these hearts borders and DIY card? What themes would you use the Full of Love Punch for?

Great ideas!! Love this punch!!