August 25, 2023
Cheer On Your Student Athlete With These Extracurricular Scrapbook Layouts

On your mark, get set, go! Touchdown! Gooooooal! Way to go!
Today we’re cheering for student athletes! From developing social, teamwork and leadership skills to improving mental and physical health, there’s no denying that playing sports has several champion benefits… on top of being fun! And if you want to give your young competitor a medal or trophy of appreciation, then these extracurricular scrapbook layouts are sure to be winners in their own right!
To create these layouts you will need:
- Back To School Paper Pack or (Shop Canada | Shop Australia)
- Back To School Texture Paper Pack or (Shop Canada | Shop Australia)
- On the Green Embellishments or (Shop Canada | Shop Australia)
- On the Field Embellishments or (Shop Canada | Shop Australia)
- Go the Distance Embellishments or (Shop Canada | Shop Australia)
- Make Your Mark Embellishments or (Shop Canada | Shop Australia)
- 12×12 White Lined Designer Paper Pack or (Shop Canada | Shop Australia)
- Kelly Green, Canary & Black Solid Cardstocks or (Shop Canada | Shop Australia)
- 12-inch Trimmer or (Shop Canada | Shop Australia)
- Tape Runner or (Shop Canada | Shop Australia)
- Repositionable Tape Runner or (Shop Canada | Shop Australia)
- Foam Squares Variety Pack or (Shop Canada | Shop Australia)
- Black Dual-Tip Pen or (Shop Canada | Shop Australia)

On the Green

Step 1: Use a piece of turf texture paper from the Back To School Texture Paper Pack as the base for this layout.
Step 2: Cut apart the following pieces from the Back To School Paper Pack, Texture Paper Pack, cardstock and White Lined Designer Paper Pack:
- Cut a sheet of mint composition notebook paper to 8-1/2” 11-1/2”.
- Cut two 1” x 11-1/2” strips of red running surface texture paper.
- Cut four 4” squares from Kelly Green Solid Cardstock.
- Trim four photos to measure 3-3/4” x 3-3/4” and adhere on the 4″ squares.
- Cut an 8” x 2-3/4” piece of white lined designer paper.
Step 3: Adhere all the above pieces to the layout.
Step 4: Add embellishments, popping some up with Foam Squares for added dimension. Journal as desired.
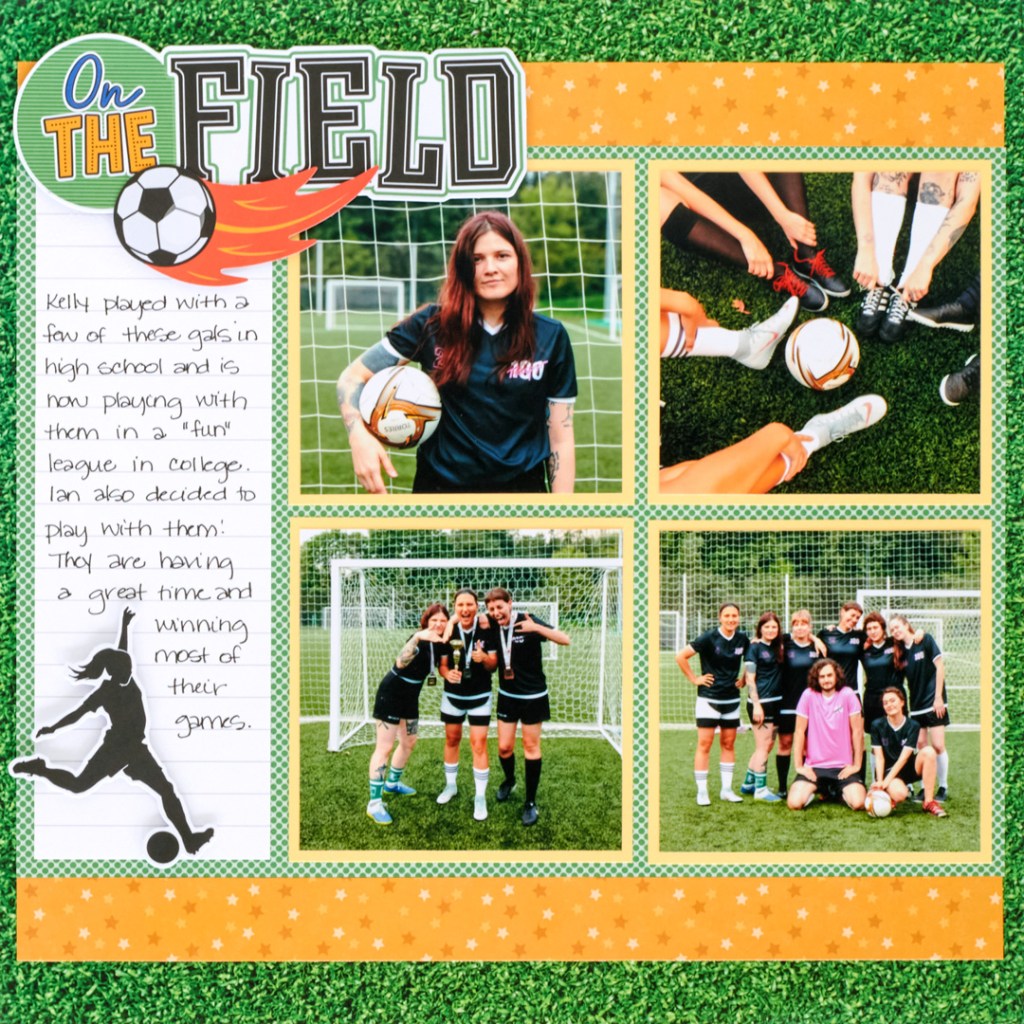
On the Field
Step 1: Use a piece of turf texture paper from the Back To School Texture Paper Pack as the base for this layout.
Step 2: Cut apart the following pieces from the Back To School Paper Pack, cardstock and White Lined Designer Paper Pack:
- Cut a sheet of Kelly green dots paper to 11-1/2” x 8-1/2”.
- Cut two 11-1/2” x 1” strips of gold stars paper.
- Cut four 4” squares from Canary Solid Cardstock.
- Trim four photos to measure 3-3/4” x 3-3/4” and adhere on the 4″ squares.
- Cut a 2-3/4” x 8” piece of white lined designer paper.
Step 3: Adhere all the above pieces to the layout.
Step 4: Add embellishments, popping some up with Foam Squares for added dimension. Journal as desired.
Go the Distance

Step 1: Use a piece of rippling water texture paper from the Back To School Texture Paper Pack as the base for this layout.
Step 2: Cut apart the following pieces from the Back To School Paper Pack, cardstock and White Lined Designer Paper Pack:
- Cut a sheet of ruler paper to 8-1/2” x 11-1/2”.
- Cut two 1” x 11-1/2” strips of notebook lines paper.
- Cut four 4” squares from Black Solid Cardstock.
- Trim four photos to measure 3-3/4” x 3-3/4” and adhere on the 4″ squares.
- Cut an 8” x 2-3/4” piece of white lined designer paper.
Step 3: Adhere all the above pieces to the layout.
Step 4: Add embellishments, popping some up with Foam Squares for added dimension. Journal as desired.
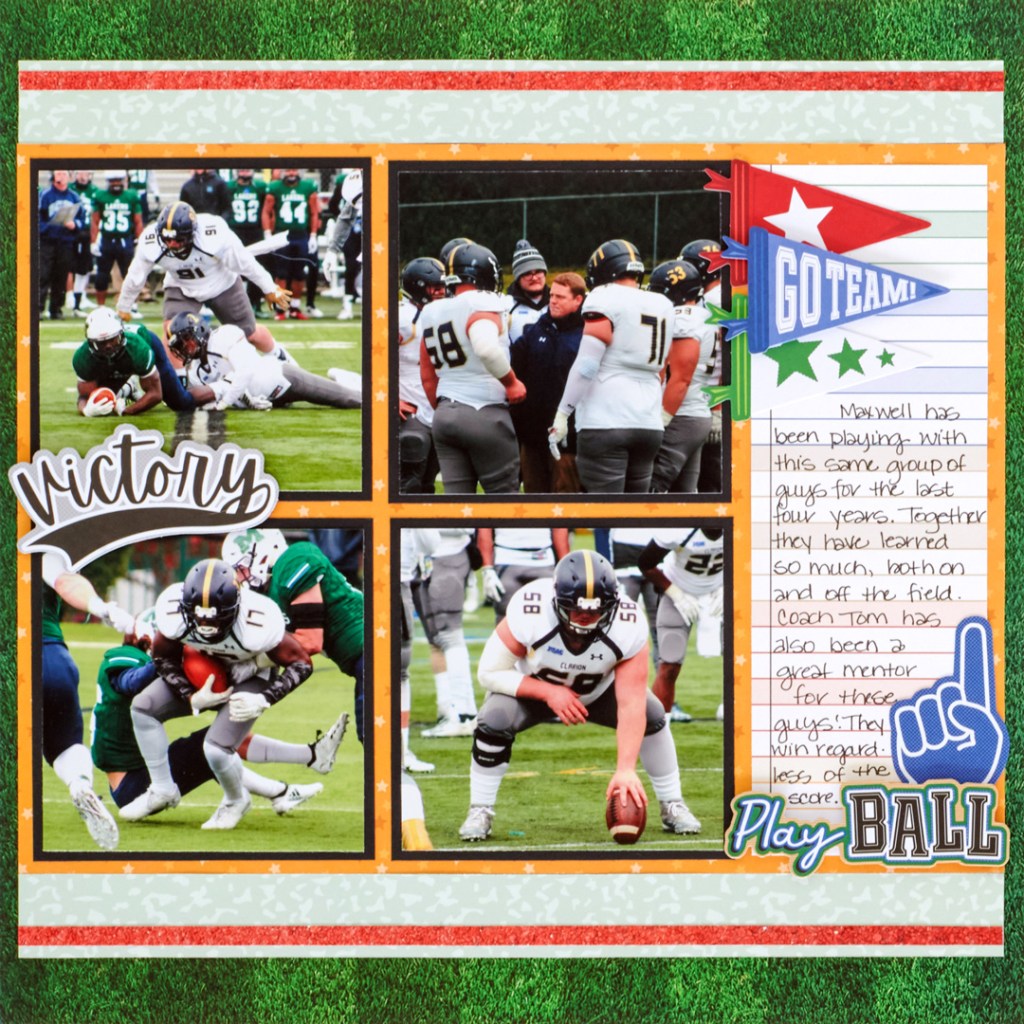
Make Your Mark
Step 1: Use a piece of grass field stripes texture paper from the Back To School Texture Paper Pack as the base for this layout.
Step 2: Cut apart the following pieces from the Back To School Paper Pack, Texture Paper Pack and cardstock:
- Cut a sheet of gold stars paper to 11-1/2” x 8-1/2”.
- Cut two 11-1/2” x 1” strips of mint composition notebook paper.
- Cut two 11-1/2” x 1/4” strips of red running surface texture paper.
- Cut four 4” squares from Black Solid Cardstock.
- Trim four photos to measure 3-3/4” x 3-3/4” and adhere on the 4″ squares.
- Cut a 2-3/4” x 8” piece of notebook lines paper.
Step 3: Adhere all the above pieces to the layout.
Step 4: Add embellishments, popping some up with Foam Squares for added dimension. Journal as desired.
Do any of your kids, grandkids, nieces or nephews play one (or many) of these sports? Which extracurricular scrapbook layout will you race to first?
P.S. Are YOU a member of the Virtual Crop Facebook Group? It’s your go-to place for MONTHLY Virtual Crops, MONTHLY Completed Album Challenges, WEEKLY LIVE STREAMING of Fast & Fun Projects with Noreen, LIVE QUARTERLY Secret Box Openings with project tutorials and so much more! We hope you’ll join our community of more than 35,000 fellow memory-keeping enthusiasts — you’ll feel right at home!
