April 8, 2024
Color Your Life With This Everyday Scrapbook Layout

Unfurl your memories with this everyday scrapbook layout featuring colorful DIY banners! Created by blog contributor Sachiyo Omitsu, this layout features a vibrant palette perfect for showcasing the happy moments in your life. Plus, Sachiyo shows us how to make a rainbow of banners that’s the perfect accent to your photos.

To create this layout you will need:
- This Life Paper Pack or (Shop Canada | Shop Australia)
- This Life Tone-on-Tone Paper Pack or (Shop Canada | Shop Australia)
- This Life Stickers or (Shop Canada | Shop Australia)
- Write On! Stickers or (Shop Canada | Shop Australia)
- This Life Word Embellishments or (Shop Canada | Shop Australia)
- Black & White Solid Cardstock or (Shop Canada | Shop Australia)
- Original Border Maker System with Banner Border Maker Cartridge or (Shop Canada | Shop Australia)
- 12-inch Trimmer or (Shop Canada | Shop Australia)
- All-Purpose Scissors or (Shop Canada | Shop Australia)
- Tape Runner or (Shop Canada | Shop Australia)
- Repositionable Tape Runner or (Shop Canada | Shop Australia)
- Foam Squares Variety Pack or (Shop Canada | Shop Australia)


Step 1: Cut a piece of Black Solid Cardstock to measure 12? x 3?. Cut the stripes designer paper to measure 12? x 2?. Draw a pencil line at 7/8? from the bottom and adhere to the black piece as shown.

Step 2: Use the Original Border Maker System and the Banner Border Maker Cartridge to punch out 20 banner shapes from 6 different colored tonal papers. Adhere the banner shapes to the stripes paper using the pencil line as the guide as shown above.
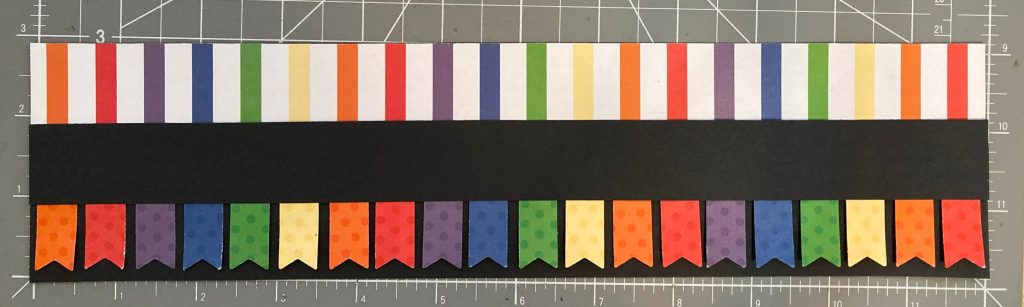
Step 3: Cut a piece of Black Solid Cardstock to 12? x 1? and adhere along the bottom edge of the stripes patterned paper as shown.
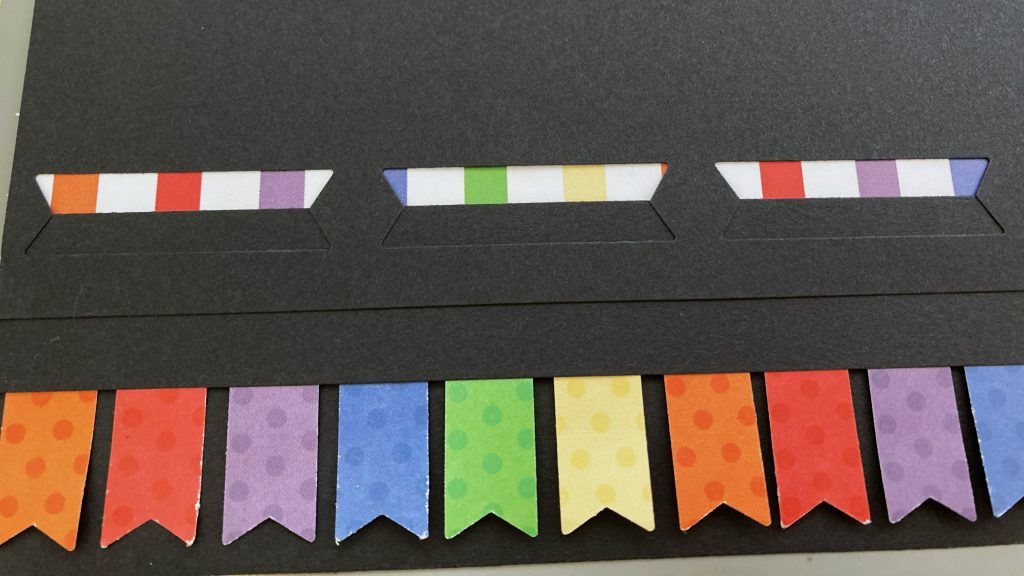
Step 4: Use the Original Border Maker System and the Banner Border Maker Cartridge to punch a border with a full sheet of Black Solid Cardstock. Adhere to the border that you created in Step 3 so that the banner border is half covered as shown above. Trim the page to 12? x 12?.
Step 5: Cut a piece of dots designer paper to 11-3/4? x 9-1/2? and add to the page.
Step 6: Cut four mats to measure 5-1/4? x 4-1/4? from a piece of Black Solid Cardstock. Cut 4 mats to measure 5? x 4? from a piece of White Solid Cardstock and add to the black mats.
Step 7: Adhere two strips of Write On! Stickers (3/8? width) for journaling.

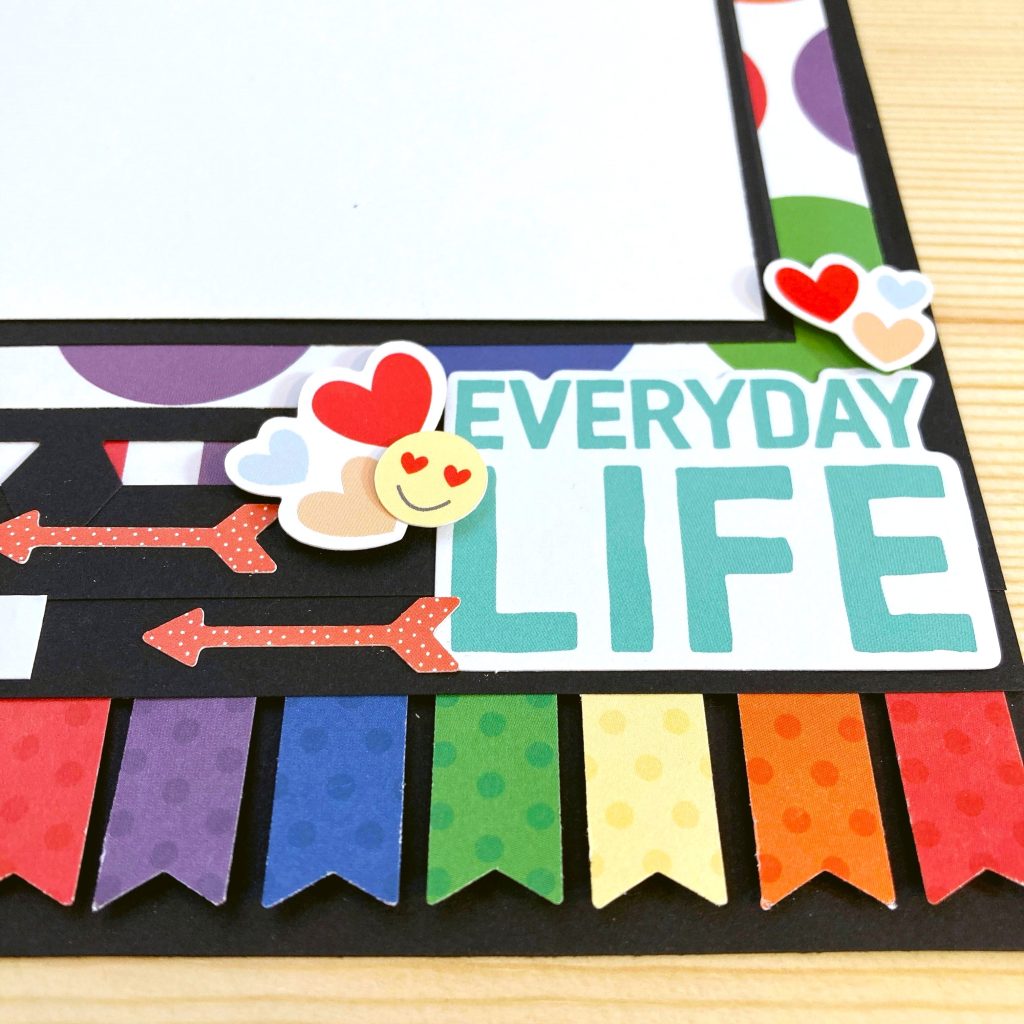
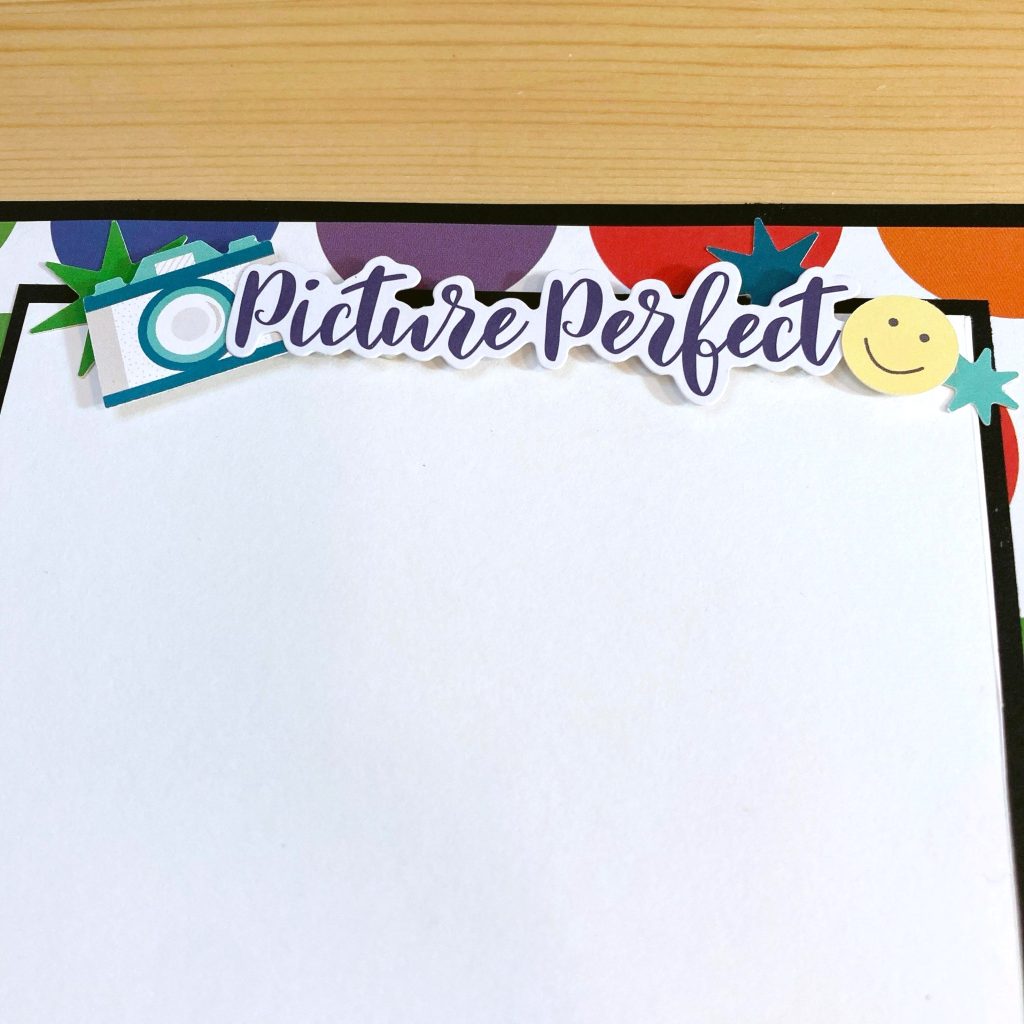
Step 8: Adhere the stickers, embellishments and photo mats, using Foam Squares on some for
added dimension.
What did you think of this everyday scrapbook layout? How did your banners turn out?
P.S. Are YOU a member of the Virtual Crop Facebook Group? It’s your go-to place for MONTHLY Virtual Crops, MONTHLY Completed Album Challenges, WEEKLY LIVE STREAMING of Fast & Fun Projects with Noreen, LIVE QUARTERLY Secret Box Openings with project tutorials and so much more! We hope you’ll join our community of more than 39,000 fellow memory-keeping enthusiasts — you’ll feel right at home!

Love this layout!
Another fantastic layout. Thank you for sharing your great ideas Sachiyo