April 16, 2024
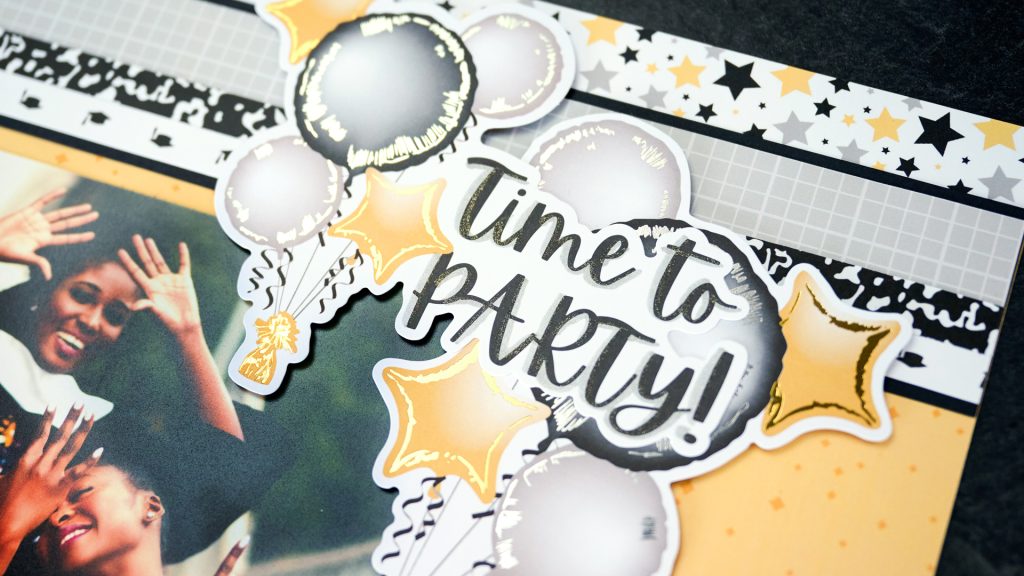
Celebrate With This Graduation Scrapbook Layout

With graduations just around the corner, you’ll love commemorating the occasion with this layout using the You Graduated! collection. You can make the embellishments pop using the Circle Custom Cutting System Pattern and Foam Squares. We’re sure your graduation scrapbook layout will earn an A+!

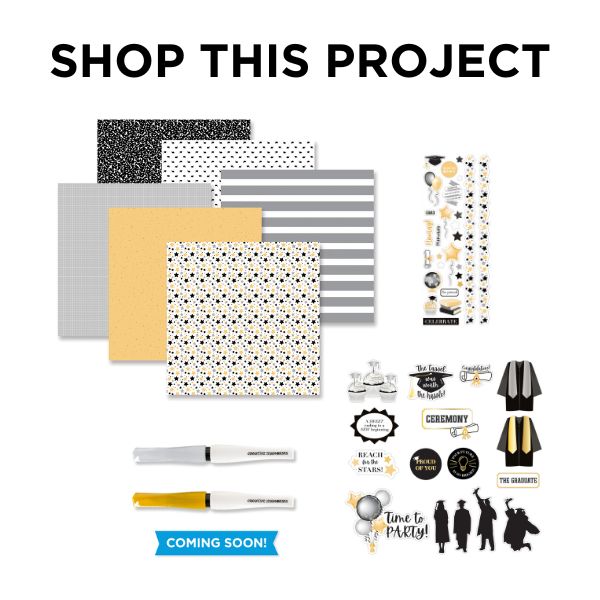
To create this layout you will need:
- You Graduated! Paper Pack or (Shop Canada | Shop Australia)
- You Graduated! Foiled Embellishments or (Shop Canada | Shop Australia)
- You Graduated! Stickers or (Shop Canada | Shop Australia)
- Black Solid Cardstock or (Shop Canada | Shop Australia)
- Gold Shimmer Solid Core Paper Pack or (Shop Canada | Shop Australia)
- 12-inch Trimmer or (Shop Canada | Shop Australia)
- Custom Cutting System with Circle Patterns or (Shop Canada | Shop Australia)
- Black Dual-Tip Pen or (Shop Canada | Shop Australia)
- Tape Runner or (Shop Canada | Shop Australia)
- Foam Squares Variety Pack or (Shop Canada | Shop Australia)
- Gold Shimmer Brush Pen — coming soon! If you’d like to be notified when it arrives, you can do so here: US | CA |AU
- Silver Shimmer Brush Pen — coming soon! If you’d like to be notified when it arrives, you can do so here: US | CA |AU
Take a closer look at the You Graduated! collection with Noreen!

Step 1: Cut two 12? x 3/4? strips from stars paper and adhere to the top and bottom of a sheet of sparkles paper.
Step 2: Cut two 12? x 1-3/4? strips from Black Solid Cardstock and adhere next to the star strips.
Step 3: Cut two 12? x 3/4? strips from grid paper and adhere an 1/8? from the top edge of the top black border strip and an 1/8? from the bottom edge of the bottom black border strip.
Step 4: Cut two 12? x 1/4? strips from composition paper and adhere next to the grid strips.
Step 5: Cut two 12? x 1/4? strips from caps paper and adhere next to the composition strips, leaving an 1/8? of the Black Solid Cardstock strip showing.
Step 6: Adhere two 6? x 4? photos as shown.
Step 7: Cut Black Solid Cardstock to 3-3/4? x 3-3/4?. Crop a photo to 3-1/2? x 3-1/2 and adhere to the black mat. Adhere the matted photo as shown.
Step 8: Using the inside edge of the medium Circle Custom Cutting System Pattern and the Green Blade, cut a circle from Gold Shimmer Solid Core Paper Pack. Adhere the “Your future is so bright!” embellishment to the circle, and adhere to the layout with Foam Squares.
Step 9 : Adhere other embellishments and stickers as shown using Foam Squares.
Step 10: Add journaling with a Black Dual-Tip Pen.
Step 11: Add shimmer accents to the title embellishments with the Gold and Silver Shimmer Brush Pens (pens are coming soon).
Whose graduations will you showcase with this graduation scrapbook layout?
P.S. Are YOU a member of the Virtual Crop Facebook Group? It’s your go-to place for MONTHLY Virtual Crops, MONTHLY Completed Album Challenges, WEEKLY LIVE STREAMING of Fast & Fun Projects with Noreen, LIVE QUARTERLY Secret Box Openings with project tutorials and so much more! We hope you’ll join our community of more than 39,000 fellow memory-keeping enthusiasts — you’ll feel right at home!
