May 31, 2024
A Graduation Layout As Golden As The Future

Graduation season is upon us! Save the memories of the last day of school, grad parties and the graduation ceremony itself with this graduation layout! Using the You Graduated! collection and the This Life Black & White Paper Pack, you can replicate this layout with top marks. Keep reading and you’ll pass with flying colors!

To create this layout you will need:
- This Life Black & White Paper Pack or (Shop Canada | Shop Australia)
- You Graduated! Paper Pack or (Shop Canada | Shop Australia)
- You Graduated! Foiled Embellishments or (Shop Canada | Shop Australia)
- Gold Shimmer Solid Core Paper Pack or (Shop Canada | Shop Australia)
- 12-inch Trimmer or (Shop Canada | Shop Australia)
- All-Purpose Scissors or (Shop Canada | Shop Australia)
- Tape Runner or (Shop Canada | Shop Australia)
- Foam Squares Variety Pack or (Shop Canada | Shop Australia)
- Black Dual-Tip Pen or (Shop Canada | Shop Australia)


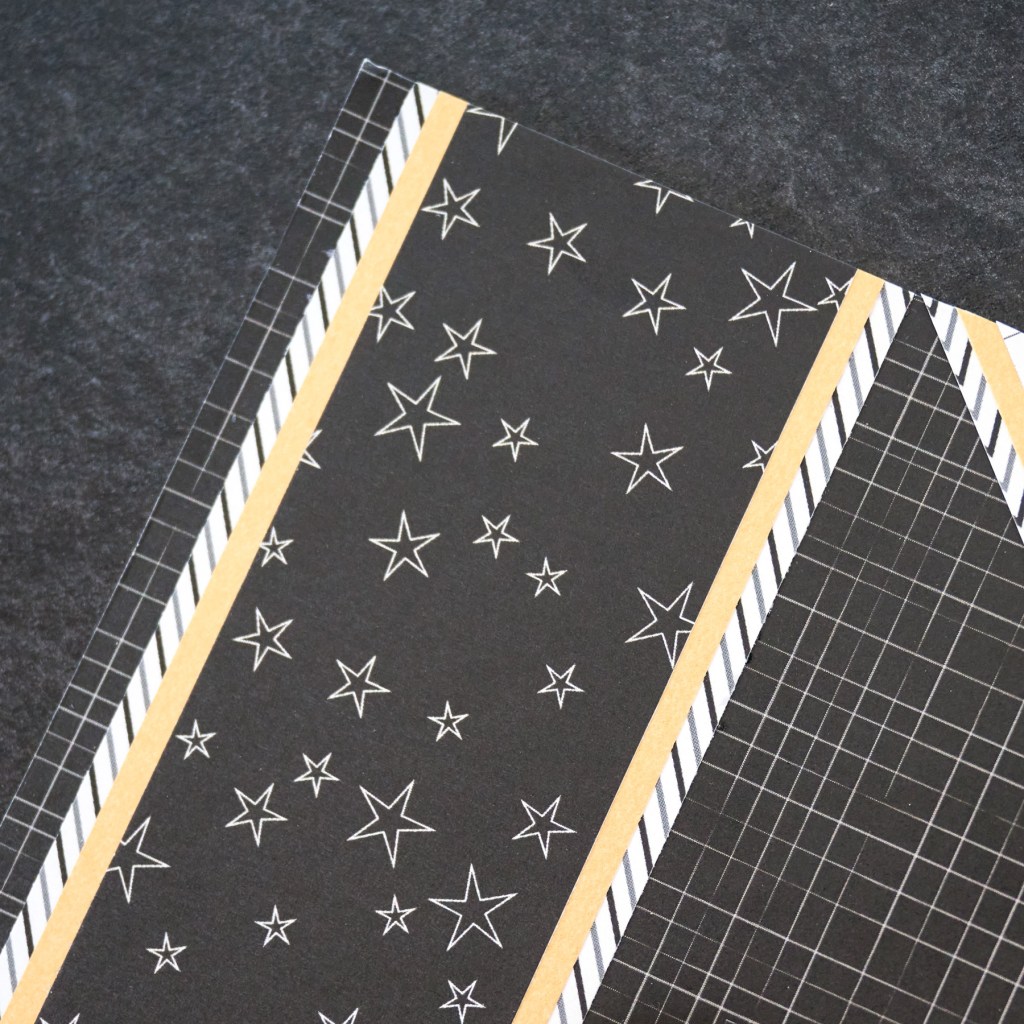
Step 1: Cut two 2-1/4? x 12? strips from white chevron paper and adhere an 1/8? from the left and right sides of a sheet of black grid paper.
Step 2: Cut two 2? x 12? strips from Gold Shimmer Solid Core Paper and adhere to the previous strips.
Step 3: Cut two 1-3/4? x 12? strips from black stars paper and adhere to the gold shimmer strips.
Step 4: Cut a 6-1/4? x 1/2? strip from white stars paper and adhere to the bottom middle of the layout.
Step 5: Cut two 6-1/4? x 4-1/4? pieces from diagonal stripe paper and adhere 6? x 4? photos to the mats. Adhere the matted photos above the star strip on the bottom middle.
Step 6: Cut a 1-3/4? “L-shape” from chevron paper. To cut a “L-shape”, position the paper at 1-3/4? on the top ruler of the 12-inch Trimmer. Cut down and stop the blade at 10-1/4?. Turn paper on its side and position at 1-3/4? on the top ruler of the 12-inch Trimmer. Move the blade down to 1-3/4? and start cutting.
Step 7: Adhere the “L-shape” piece in-between the two vertical borders and overlapping the top photo as shown. Cut off the overhang with All-Purpose Scissors.
Step 8: Cut a 1-1/2? “L-shape” from Gold Shimmer Solid Core Paper. To cut a “L-shape”, position the paper at 1-1/2? on the top ruler of the 12-inch Trimmer. Cut down and stop the blade at 10-1/2?. Turn paper on its side and position at 1-1/2? on the top ruler of the 12-inch Trimmer. Move the blade down to 1-1/2? and start cutting. Adhere to the middle of the previous piece and cut off overhang.
Step 9: Cut a 1-1/4? “L-shape” from white grid paper. To cut a “L-shape”, position the paper at 1-1/4? on the top ruler of the 12-inch Trimmer. Cut down and stop the blade at 10-3/4?. Turn paper on its side and position at 1-1/4? on the top ruler of the 12-inch Trimmer. Move the blade down to 1-1/4? and start cutting. Adhere to the middle of the gold shimmer piece and cut off overhang.

Step 10: Use Foam Squares to adhere embellishments as shown.
Step 11: Use a Black Dual-Tip Pen to add journaling.
Do you know anyone graduating this year? If so, how are you celebrating?
P.S. Are YOU a member of the Virtual Crop Facebook Group? It’s your go-to place for MONTHLY Virtual Crops, MONTHLY Completed Album Challenges, WEEKLY LIVE STREAMING of Fast & Fun Projects with Noreen, LIVE QUARTERLY Secret Box Openings with project tutorials and so much more! We hope you’ll join our community of more than 40,000 fellow memory-keeping enthusiasts — you’ll feel right at home!
