November 5, 2026
Two Ways to Believe with Perfect Pairings
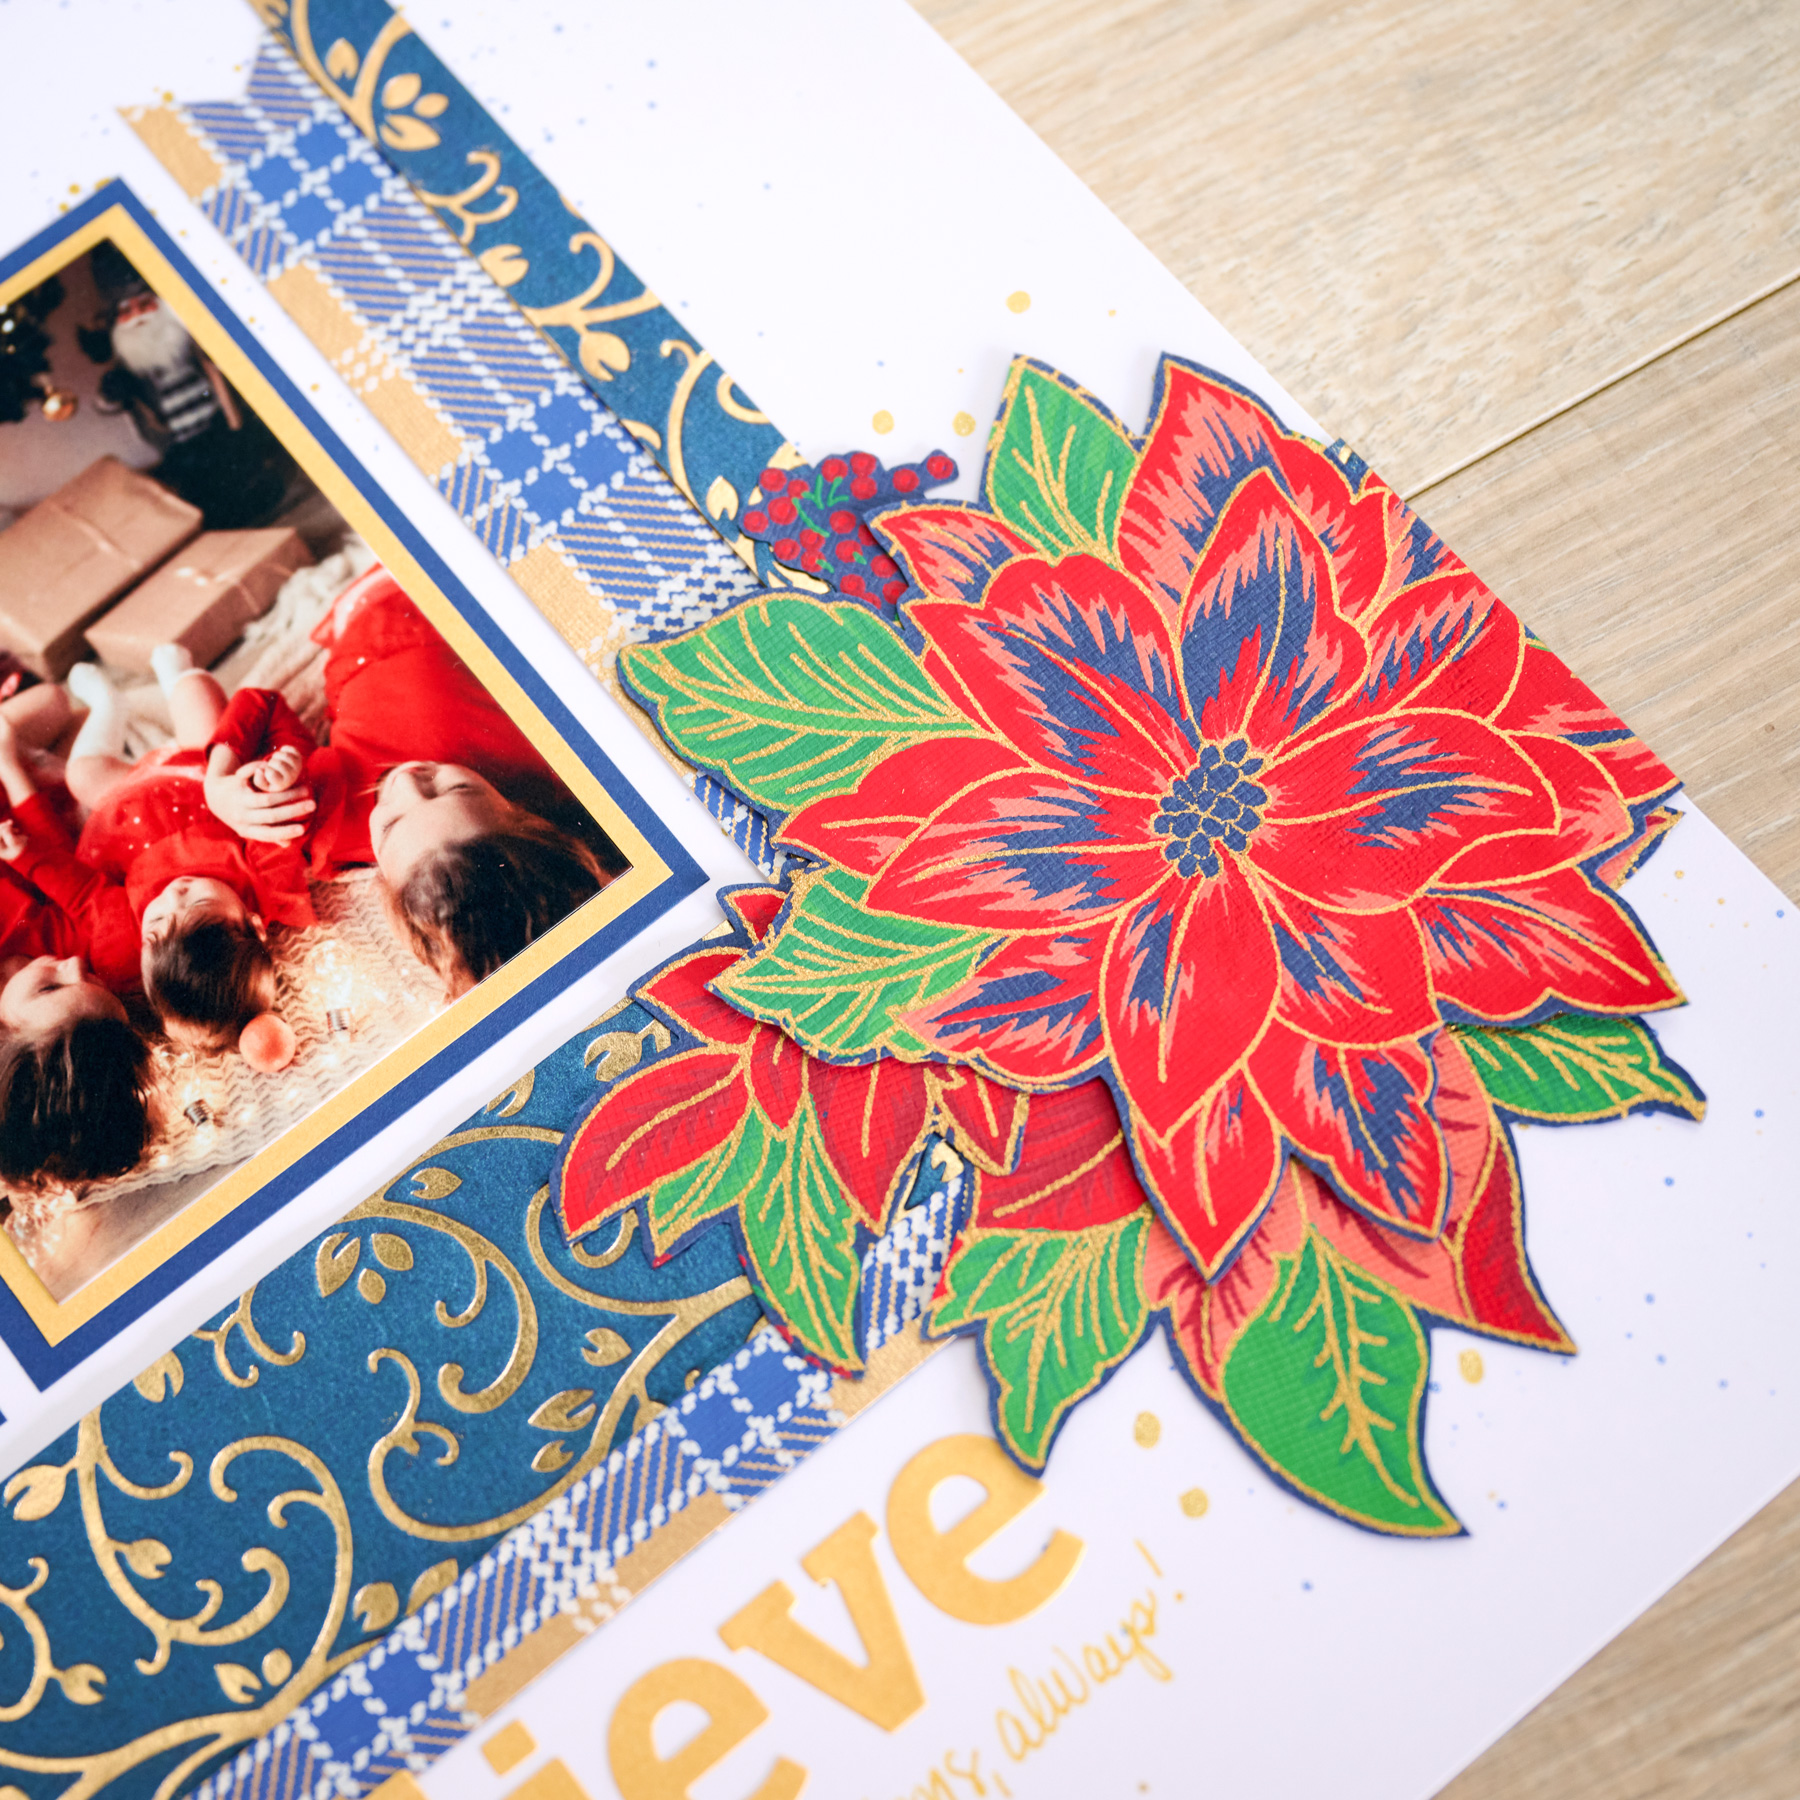
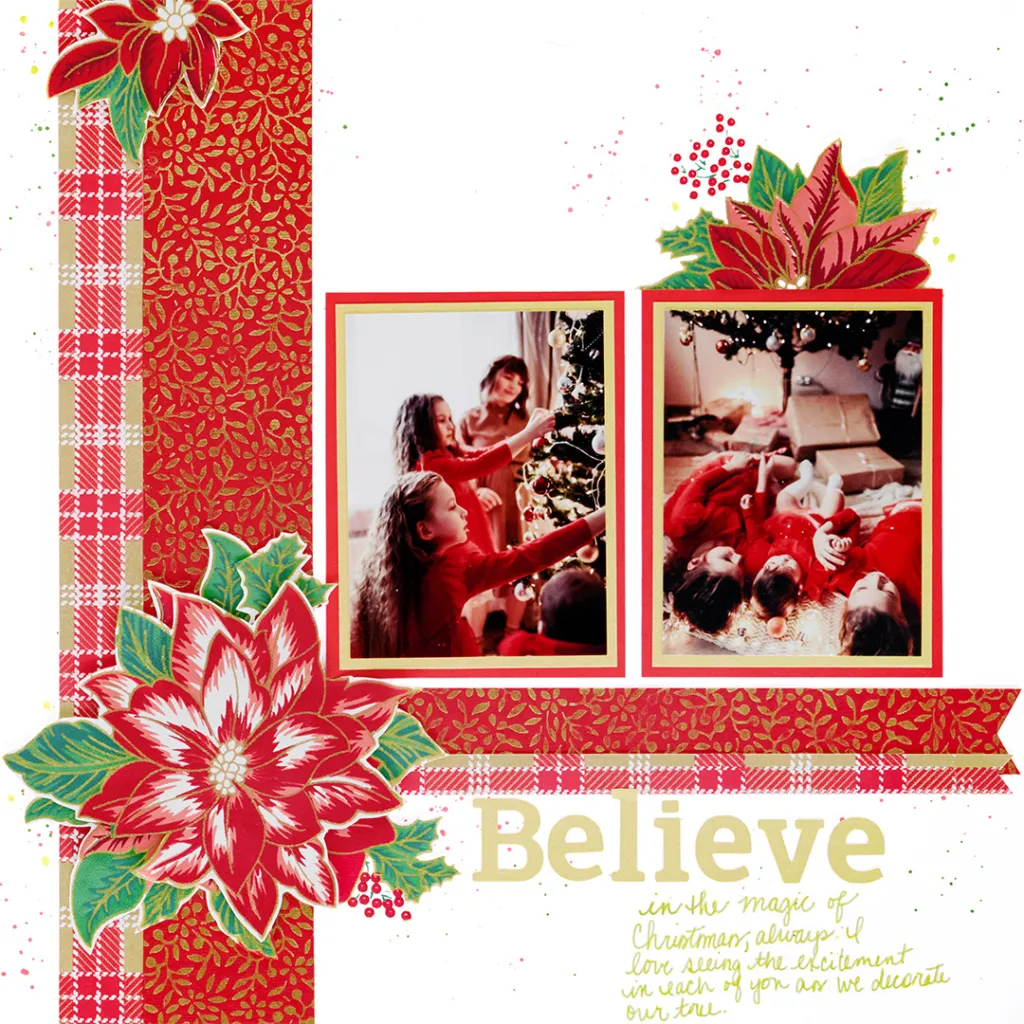
Believe in the magic of Christmas with this elegant two-photo layout! Specialty Perfect Pairings papers with foiling, embossing and screen printing bring rich texture to every strip, while fussy-cut poinsettias and a die-cut shimmer title add a touch of holiday glamour.
Love classic red? Prefer a cool, wintry blue? This design works beautifully both ways — we’ll walk you through the red version step by step, and you can swap in the blue papers for a whole new look.
To create this layout, you will need:
- Perfect Pairings – Red
- Perfect Pairings – Blue
- Gold Shimmer Paper
- Bright White Solid Cardstock
- Red Solid Cardstock
- Navy Solid Cardstock (for the blue version)
- Die-Cutting Alphabet Set Bundle – Block Serif
- Die-Cutting & Embossing Machine
- Gold Shimmer Brush Pen
- Green Shimmer Brush Pen
- 13×13 Non-Stick Craft Mat
- Gold Gelly Roll Shimmer Pen
- 12-inch Trimmer
- 13×13 Cutting Mat
- Layout Studio
- Micro-Tip Scissors
- Max-Strength Crafting Tape Runner
- Foam Squares Variety Pack – 1mm
- Precision Point Adhesive Pen
- Microfiber Cloth or Paper Towels


Love this layout?

Love this layout?

Step 1: Use a sheet of Bright White Solid Cardstock as the base for this layout. Squeeze a few drops from the Gold Shimmer Brush Pen onto the 13×13 Non-Stick Craft Mat, load the brush tip and tap it over the base to add shimmer splatters to each of the four corners as shown.
Step 2: Repeat with the Green Shimmer Brush Pen, cleaning the brush tip with a microfiber cloth or paper towel as needed. Let the splatters dry completely.
Step 3: Trim the red and gold foiled ornate leaves accent paper to 2″ x 12″ and 1″ x 9-1/2″, and the red and gold foiled plaid accent paper to 1″ x 12″ and 1/2″ x 9″. Dovetail one end of each shorter strip.
Step 4: Cut two 3-1/4″ x 4-1/4″ photo mats from Gold Shimmer Paper and two 3-1/2″ x 4-1/2″ photo mats from Red Solid Cardstock.
Step 5: Using Micro-Tip Scissors, fussy cut poinsettias from the red and gold foiled poinsettia accent paper to create one large floral cluster and two small clusters.
Step 6: Place a piece of Gold Shimmer Paper on the Cutting Base Plate, then lay the Block Serif alphabet dies for your title ridge-side down on the paper and place the Universal Top Plate on top.
Step 7: Run it through the Die-Cutting & Embossing Machine and gently remove the letters from the dies.
Step 8: Adhere the 1″ x 12″ plaid strip vertically 3/4″ from the left edge of the base. Adhere the 2″ x 12″ ornate leaves strip next to it.
Step 9: Adhere the 1″ x 9-1/2″ ornate leaves strip horizontally 4″ from the bottom edge of the base, with the dovetailed end toward the right. Tuck the 1/2″ x 9″ plaid strip slightly under its bottom edge.
Step 10: Adhere the photos to the gold shimmer mats, then layer them onto the red mats. Adhere the left photo 1/4″ from the vertical ornate leaves strip and the right photo 1/4″ from the first, both 1/4″ above the horizontal ornate leaves strip.
Step 11: Adhere the poinsettia clusters as shown, using 1mm Foam Squares to pop up the large cluster for dimension. Use the Precision Point Adhesive Pen to secure small pieces like the berries.
Step 12: Adhere the title just below the horizontal strips, close to the large poinsettia cluster. Journal with the Gold Gelly Roll Shimmer Pen.
Blue Version: Swap in the blue and gold foiled ornate leaves, plaid and poinsettia accent papers and use Navy Solid Cardstock for the outer photo mats. For a fresh look, flip the design so the vertical strips run down the right side and the large poinsettia cluster sits in the lower right corner.
Pick Your FREE Black Friday Gift
From Nov. 2–13, choose a FREE Black Friday gift for every $150 USD / $165 CAD / $250 AUD you spend — with no limit! The Perfect Pairings Bundle featured in this layout is one of the gift choices, while supplies last.
Promo starts Nov. 2 at 9am CT and ends Nov. 13 at noon CT (AU: 3–13 Nov.). Gift Card purchases (valid in the U.S. only) do not qualify toward the spend threshold.
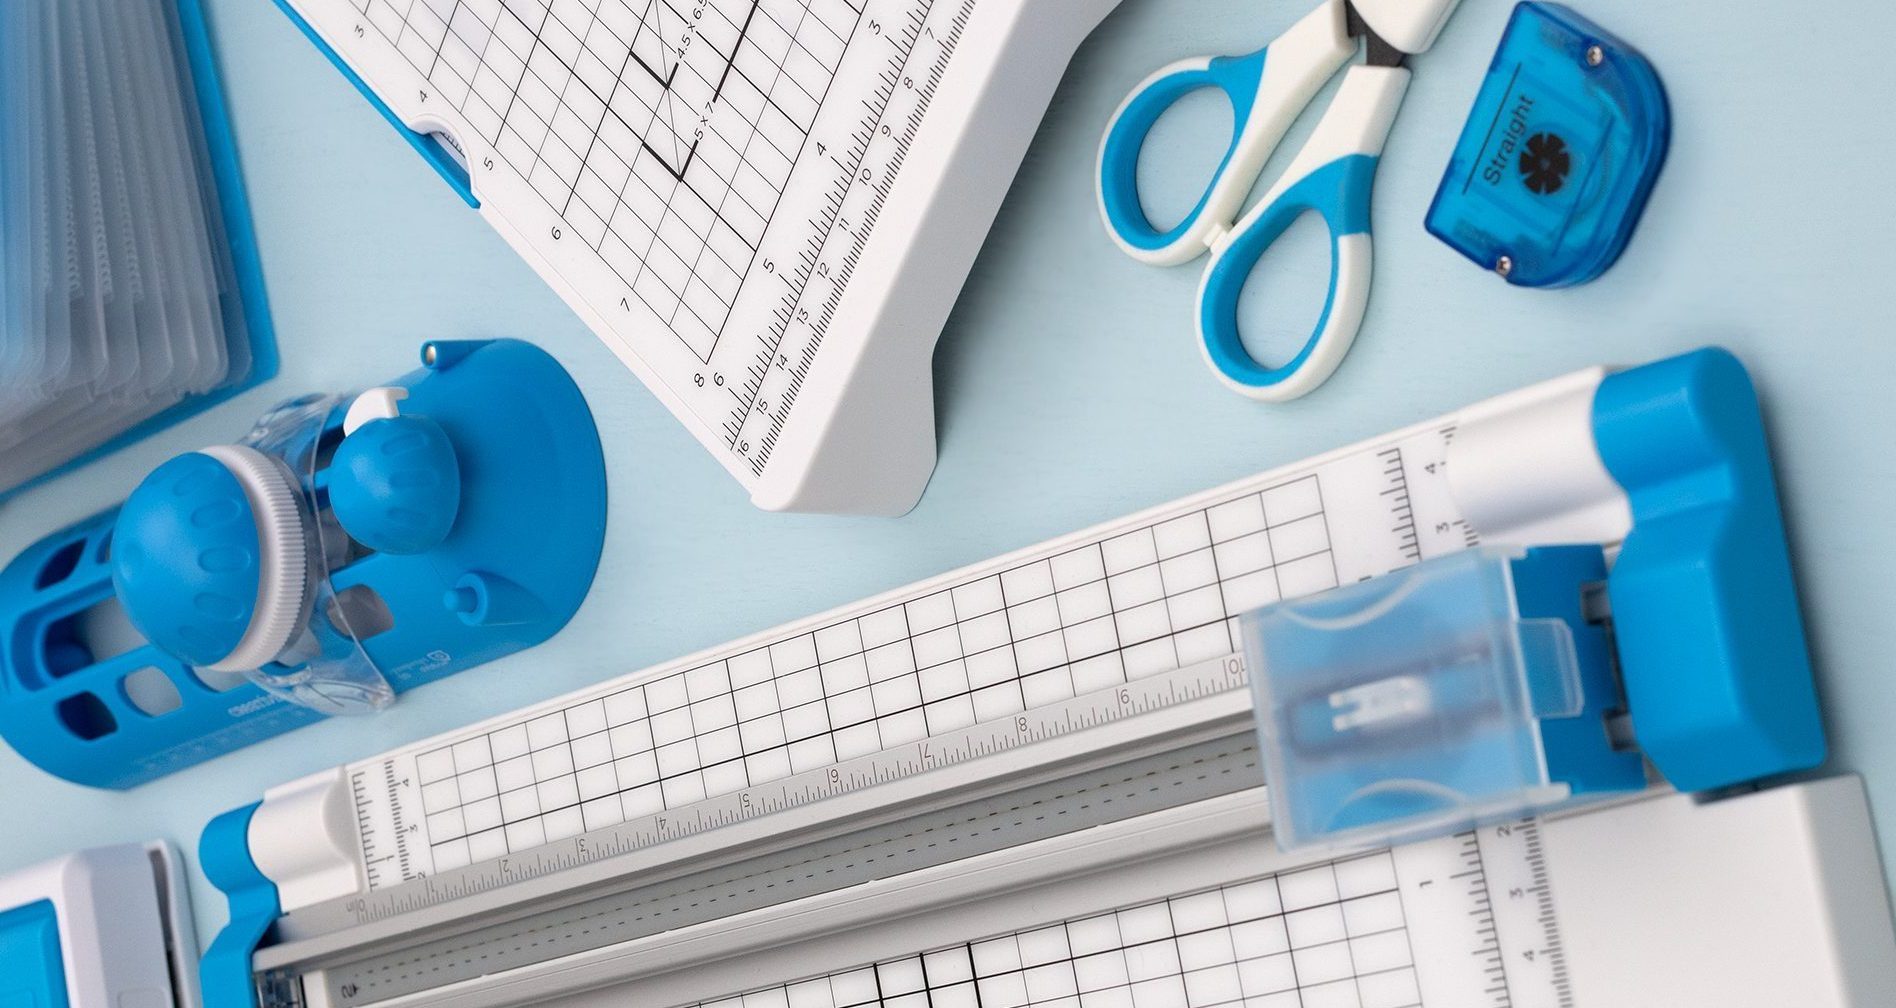
Want to recreate this layout?
We’ve gathered all the products featured in this project in one place, making it easy to find the papers, embellishments, tools and more.
P.S. Are YOU a member of the Virtual Crop Group? It’s your go-to place for MONTHLY Virtual Crops, MONTHLY Completed Album Challenges, QUARTERLY Secret Box Openings with project tutorials and so much more! We hope you’ll join our community of more than 53,000 fellow memory-keeping enthusiasts — you’ll feel right at home!

