October 7, 2015
The Original Border Maker – it’s so easy to use!

The Original Creative Memories Border Maker – it’s a beautiful thing. It’ll give your scrapbook pages and paper crafts a totally sweet pop of fun, plus folks will think you’ve harnessed some magical powers with all the fun Border Maker Cartridge designs we’ve got to offer!
We’ll admit – when you’ve got these 3 components above staring you down, it’s not immediately apparent where to begin. With this series of photos, each accompanied by a few instructions and tips, you’ll be a border punching guru in no time flat:
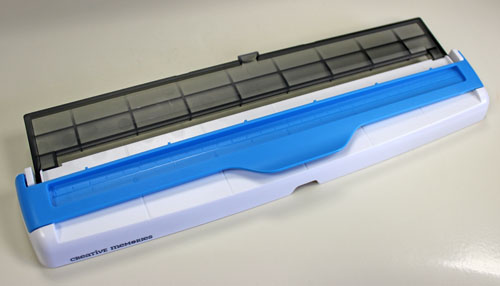
Step 1: Flip the transparent black tray up from under the guide (base) of the Border Maker. (HINT: Flip it over to locate it if you need to).
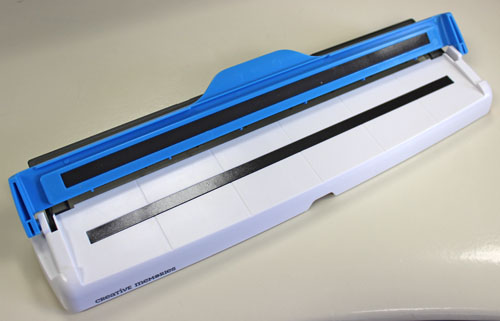
Step 2: Flip up the blue guide arm as shown. Wondering what those black strips are along the base ( and underside of the blue guide? Those are handy dandy magnets that will go to work for us shortly holding our paper in place.
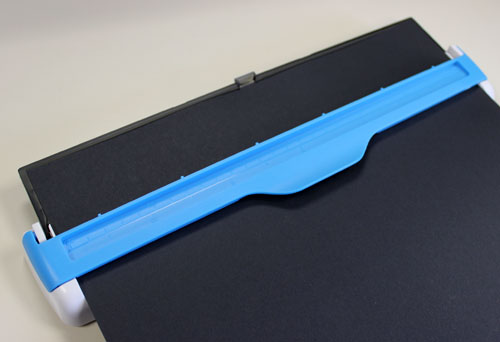
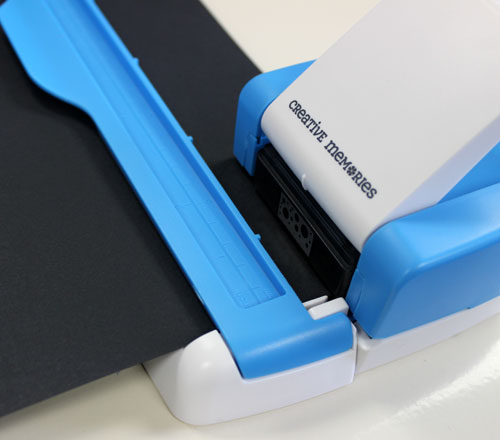
Step 3: Insert paper into base, ensuring the edge of the paper fits snugly against the edge of the black tray, then flip down the blue guide. You’ll feel a little “grab” as the blue guide closes – that’s the magnets being all “magnety” and doing their job.

Step 4: Flip the transparent black guide back down and under the base. (HINT: You don’t have to turn the base completely over each time – we just did here to show you what it looks like all tucked back up under there).
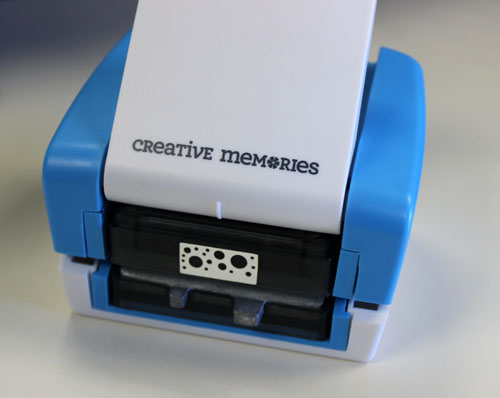
Step 6: Insert your Border Maker Cartridge into the Border Maker housing until it snaps into place and the punch lever pops up on the top. (HINT: Always insert the cartridge with the silver “teeth” facing out).

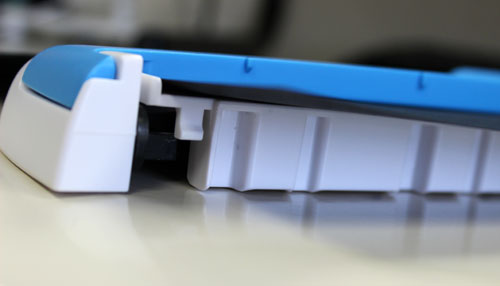
Step 6: Slide the teeth of the cartridge toward the guide ensuring the edge of the paper slips all nice and tidy inside the cartridge. Once the housing is almost flush with the guide, you’ll want to gently slide the housing back and forth a tad until the teeth fit nicely into the grooves on the guide. Here’s a peek of the grooves on the guide where those teeth will fit into.
Step 7: Once all the stars have aligned (well, just the cartridge and the guide), press the lever down until it rests flat down on top of the housing. Release the lever and pull the cartridge back to see your progress:
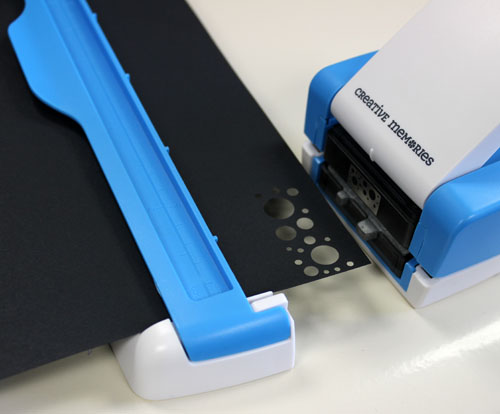
Hooray! Success!
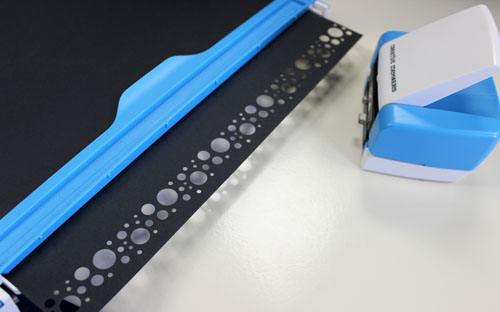
Step 8: Continue punching along the entire length of the paper by sliding the housing over until the teeth match up in the grooves.
Congratulations! You’ve just become an expert in using the Original Border Maker. It really is super simple to look like a creative genius. All that’s left now is to decide if you’ll leave that beautiful border right on the paper, or if you’ll trim or tear it off to include on your project.

Thank you for posting these instructions!!’ After not using my border maker for a couple years, I forgot how!!! This is very helpful ?
Do the new cartridges fit the Original Border maker. I have customers asking.
Thank you for these instructions, I totally forgot how to use it, was not going to be able to get it to work without them.