November 5, 2015
Birthday Bash Week Project Idea 4: Holiday themed layouts, embellishments & borders!
Happy Thursday and day #4 in our Birthday Bash week! Today’s Golden Ticket Prize Package features stunning new holiday products, including the Home for the Holidays Cream Mica Coverset with White Pages and Protectors along with Christmas Joy Paper Pack, Slide-In Pack and Stickers!
 By simply placing an order today, you could win the entire package and be all set to celebrate the holidays in style! Reminder: to qualify to win this, you simply need to place an order today (Thursday, Nov. 5). You’ll also receive FREE Days of Fall Title Stickers and FREE shipping on orders over $75!

And now, on to the super fun stuff! Today’s inspiration is a blend of ideas including some 2-page Christmas page layout spreads and a whole load of super creative page embellishments and borders created by one of our favorite customers and friends, Miss Carol Horrmann. She’s mega talented, and we’re loving the ideas she’s sharing.
First up is a set of page spreads created from predesigned Fast2Fab Albums from the Christmas Joy Refill pack. Additionally, you’ll need Christmas Joy Paper Pack, Slide-In Cards and Stickers, Scissors, Foam Squares, Paper Trimmer and Tape Runner to complete these pages.
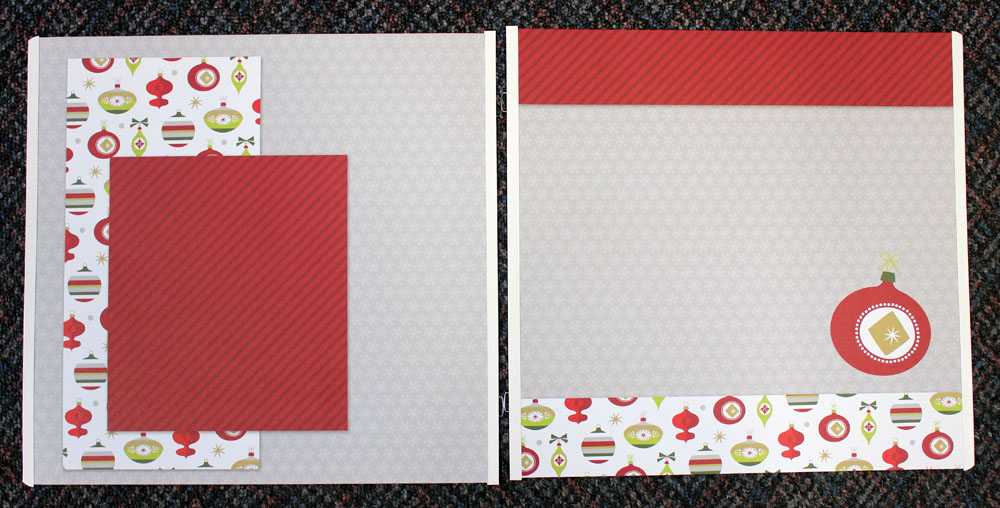
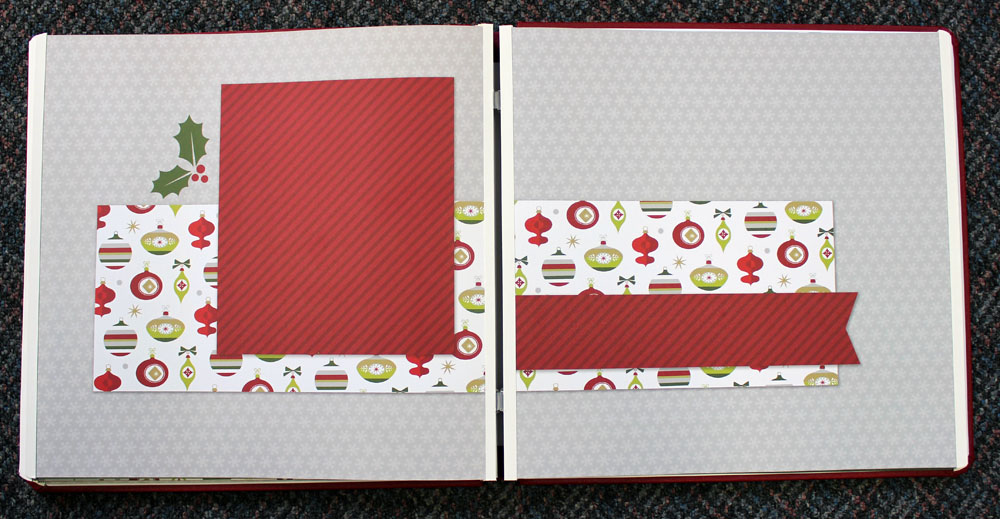
Before we added a few doodads, here’s what the page looked like:
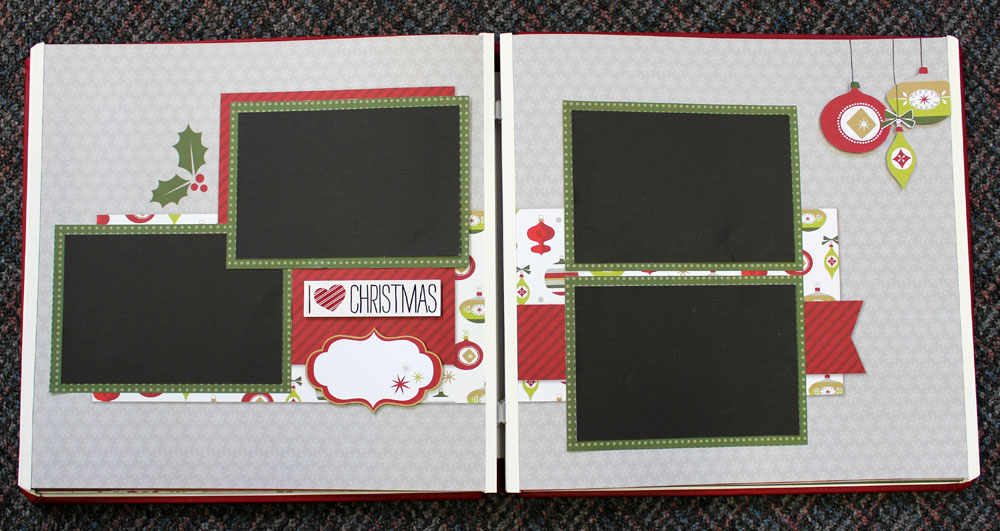
And after we added just a few goodies, the layouts have come to life! (You’ll notice we used black cardstock pieces where photos would go).

On the left page, we added the Santa Claus slide-in card, Ho Ho Ho and tree stickers and a photo. On the right page, we added the snowflake sticker strip, Wish List slide-in card and 2 photos. Easy peezy!
On this second spread, here’s what the pages looked like before:
And after just a few magical additions, we’ve got some totally fun, completed pages that quite literally took just minutes to finish:
On the left page, we cut two pieces of green patterned paper to measure 6-1/2″ x 4-1/2″ and added a photo (shown as black cardstock in our sample above) to each. We then added the photos and the I Love Christmas sticker to the page. Lastly, we trimmed the curvy journal block from a slide-in card and adhered it to the page with foam squares for dimension. On the right page, we cut two more green pieces to measure 6-1/2″ x 4-1/2″ and added a photo to each. We trimmed the holiday ornaments from a slide-in pack and adhered them to the page using foam squares for dimension. Using a pen, dimply draw strings right onto the page to finish.
Next we’re about to share more holiday border and page embellishment overload by Border Queen Carol – hooray! To create these fun projects, you’ll need Christmas Joy Paper Pack, Slide-In Pack, Stickers, Border Maker with Picket Fence Cartridge, white & black cardstock, 2-Way Corner Rounder, Scissors, Tape Runner, Paper Trimmer and Foam Squares.
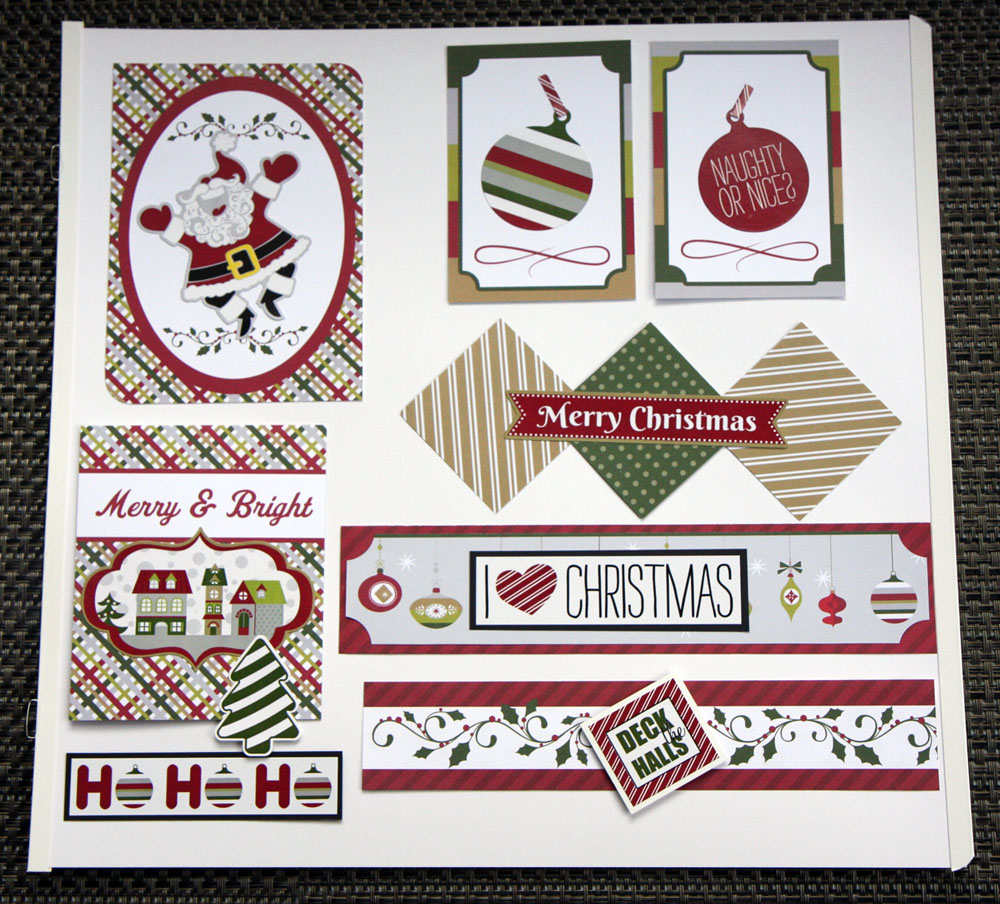
For the Santa embellishment, simply add Santa sticker to slide-in card, round opposing corners using 2-Way Corner rounder and you’re finished!
For the ornament embellishments, trim slide-in cards and add ornament sticker to each. Trim short chunk of striped border sticker strip and add to top of ornament.
For the Merry & Bright embellishment, trim a bit away from the bottom of the slide-in card (to desired length, or leave full-length), then add homes and tree stickers.
For diamonds Merry Christmas embellishment, cut 3 squares measuring 2″ each – two from gold & white striped paper, the other from green patterned paper. Adhere to page as shown, then add Merry Christmas sticker.
For I <3 Christmas embellishment, cut 1-3/4″ x 8-1/4″ strip of red striped paper. Cut 8” Strip of Christmas Bulbs Paper Border. “Notch” a chunk out of each corner of the ornaments paper. Adhere sticker to black paper, trim around and adhere all layers together.
For Deck the Halls embellishment, cut holly border (from sheet of borders) to measure 7-3/4″ x 1-1/2″. Adhere sticker to white cardstock and trim around, then adhere to border using foam squares.
Next, Carol shares an entire page full of the funnest borders we’ve seen!
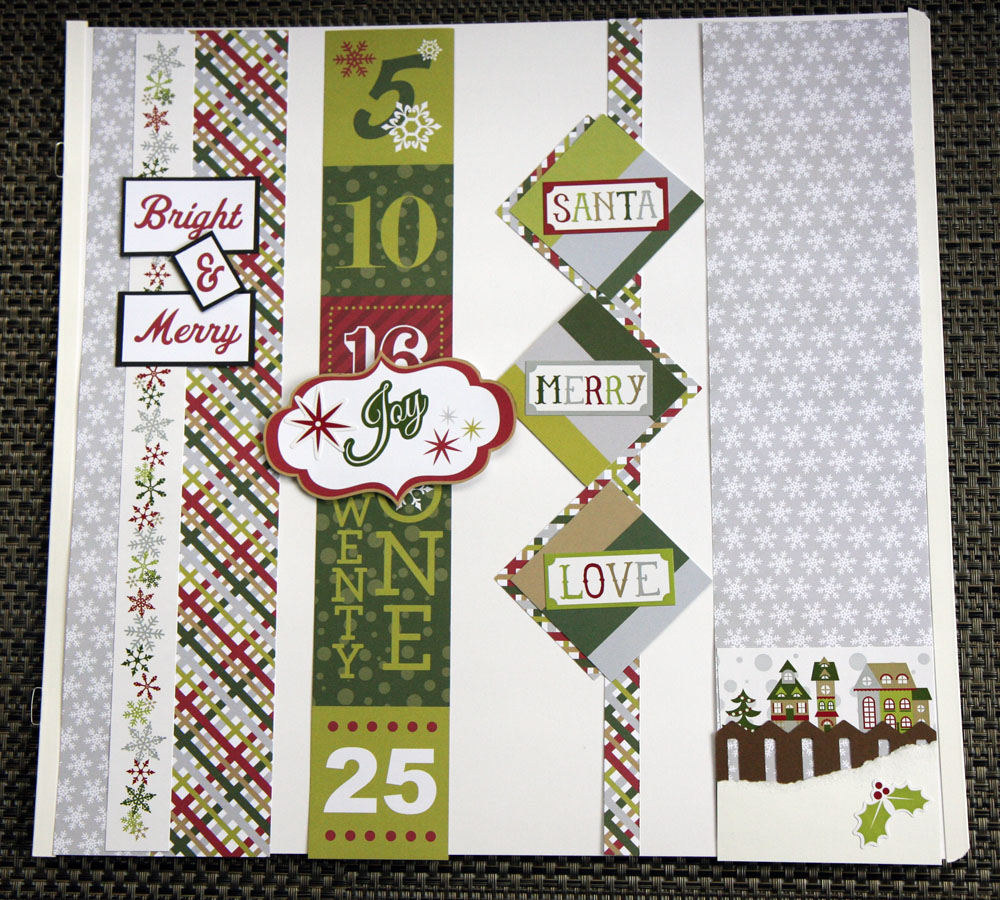
For the first border, trim “Merry & Bright” from slide-in card. Adhere to black cardstock, then trim around. Cut a strip of grey snowflake paper to measure 1.5″ x 12″. Cut a strip of plaid paper to measure 2″ x 12″. Lay strips next to each other and adhere snowflake sticker down the middle. Adhere matted words as shown.
For second border, cut strip from numbers paper and adhere to page. Trim curved design from slide-in pack then add stickers and adhere to border strip using foam squares.
For the third border, cut strip from plaid paper to measure 1/2″ x 12″. Cut three 2″ square pieces from each plaid and striped slide-in pack card. Adhere striped squares, slightly offset, onto plaid squares and adhere to strip.
For the fourth border, cut a strip of snowflake paper to measure 3″ x 12″. Cut a piece of white cardstock to measure 3″ square. Cut a 3″ strip of houses border. Using Border Maker with Picket Fence Cartridge, punch twice into brown cardstock, then trim strip to measure 3″ wide. Tear part of square away diagonally, leaving “snow hill” as shown. Adhere sticker, border and “snow hill” as shown, then adhere holly sticker to finish.

Love all these ideas!!! Thanks for sharing, especially the “doodaded” pre-designed pages – love that!
Great ideas. Love the papers you used. Love the layouts. Thanks
Totally Awesome!!