September 8, 2016
Circle Weave Border Maker Cartridge Scrapbooking Ideas


Playing around with the new Circle Weave Border Maker Cartridge, I discovered it can create some versatile looks. I love how it plays off of the Lace Flower Chain and Chevron shapes, too. For these borders, I tried it out using several of my favorite Collections: Fall In, Fresh Picks, Cool Serenity and Natural Elegance Wedding.
To create these borders, you’ll need:
- Original Border Maker System with Circle Weave, Lace Flower Chain and Chevron Cartridges
- 12″ Straight Trimmer
- 2-Way Corner Rounder
- Tape Runner and Repositionable Tape Runner Refill
- Foam Squares
- Fall In Paper Pack and Slide-In Pack
- Fresh Picks Paper Pack and Slide-In Pack
- Cool Serenity Paper Pack, Slide-In Pack and Stickers
- Natural Elegance Wedding Paper Pack, Slide-In Pack and Stickers
- Bright Green (Travel), Eggplant, Gray, Beige and Peacock Blue Cardstock

Fall In Border
- Cut a piece of purple paper to 2.25″ x 12″. Tear a piece of striped paper to about 2″ x 12″ and adhere on top of purple strip.
- Using Circle Weave cartridge, punch 2 borders with gray cardstock and 1 each with beige and peacock blue cardstock. Using repositionable tape runner, adhere peacock blue border on top of beige, adjusting the circles so that the beige peeks out behind the blue. (Trim overhanging piece of blue and attach to opposite end.) Attach gray pieces underneath, creating a shadow effect. Mount on top of border.
- Trim a Slide-In card and add to your page as an accent.
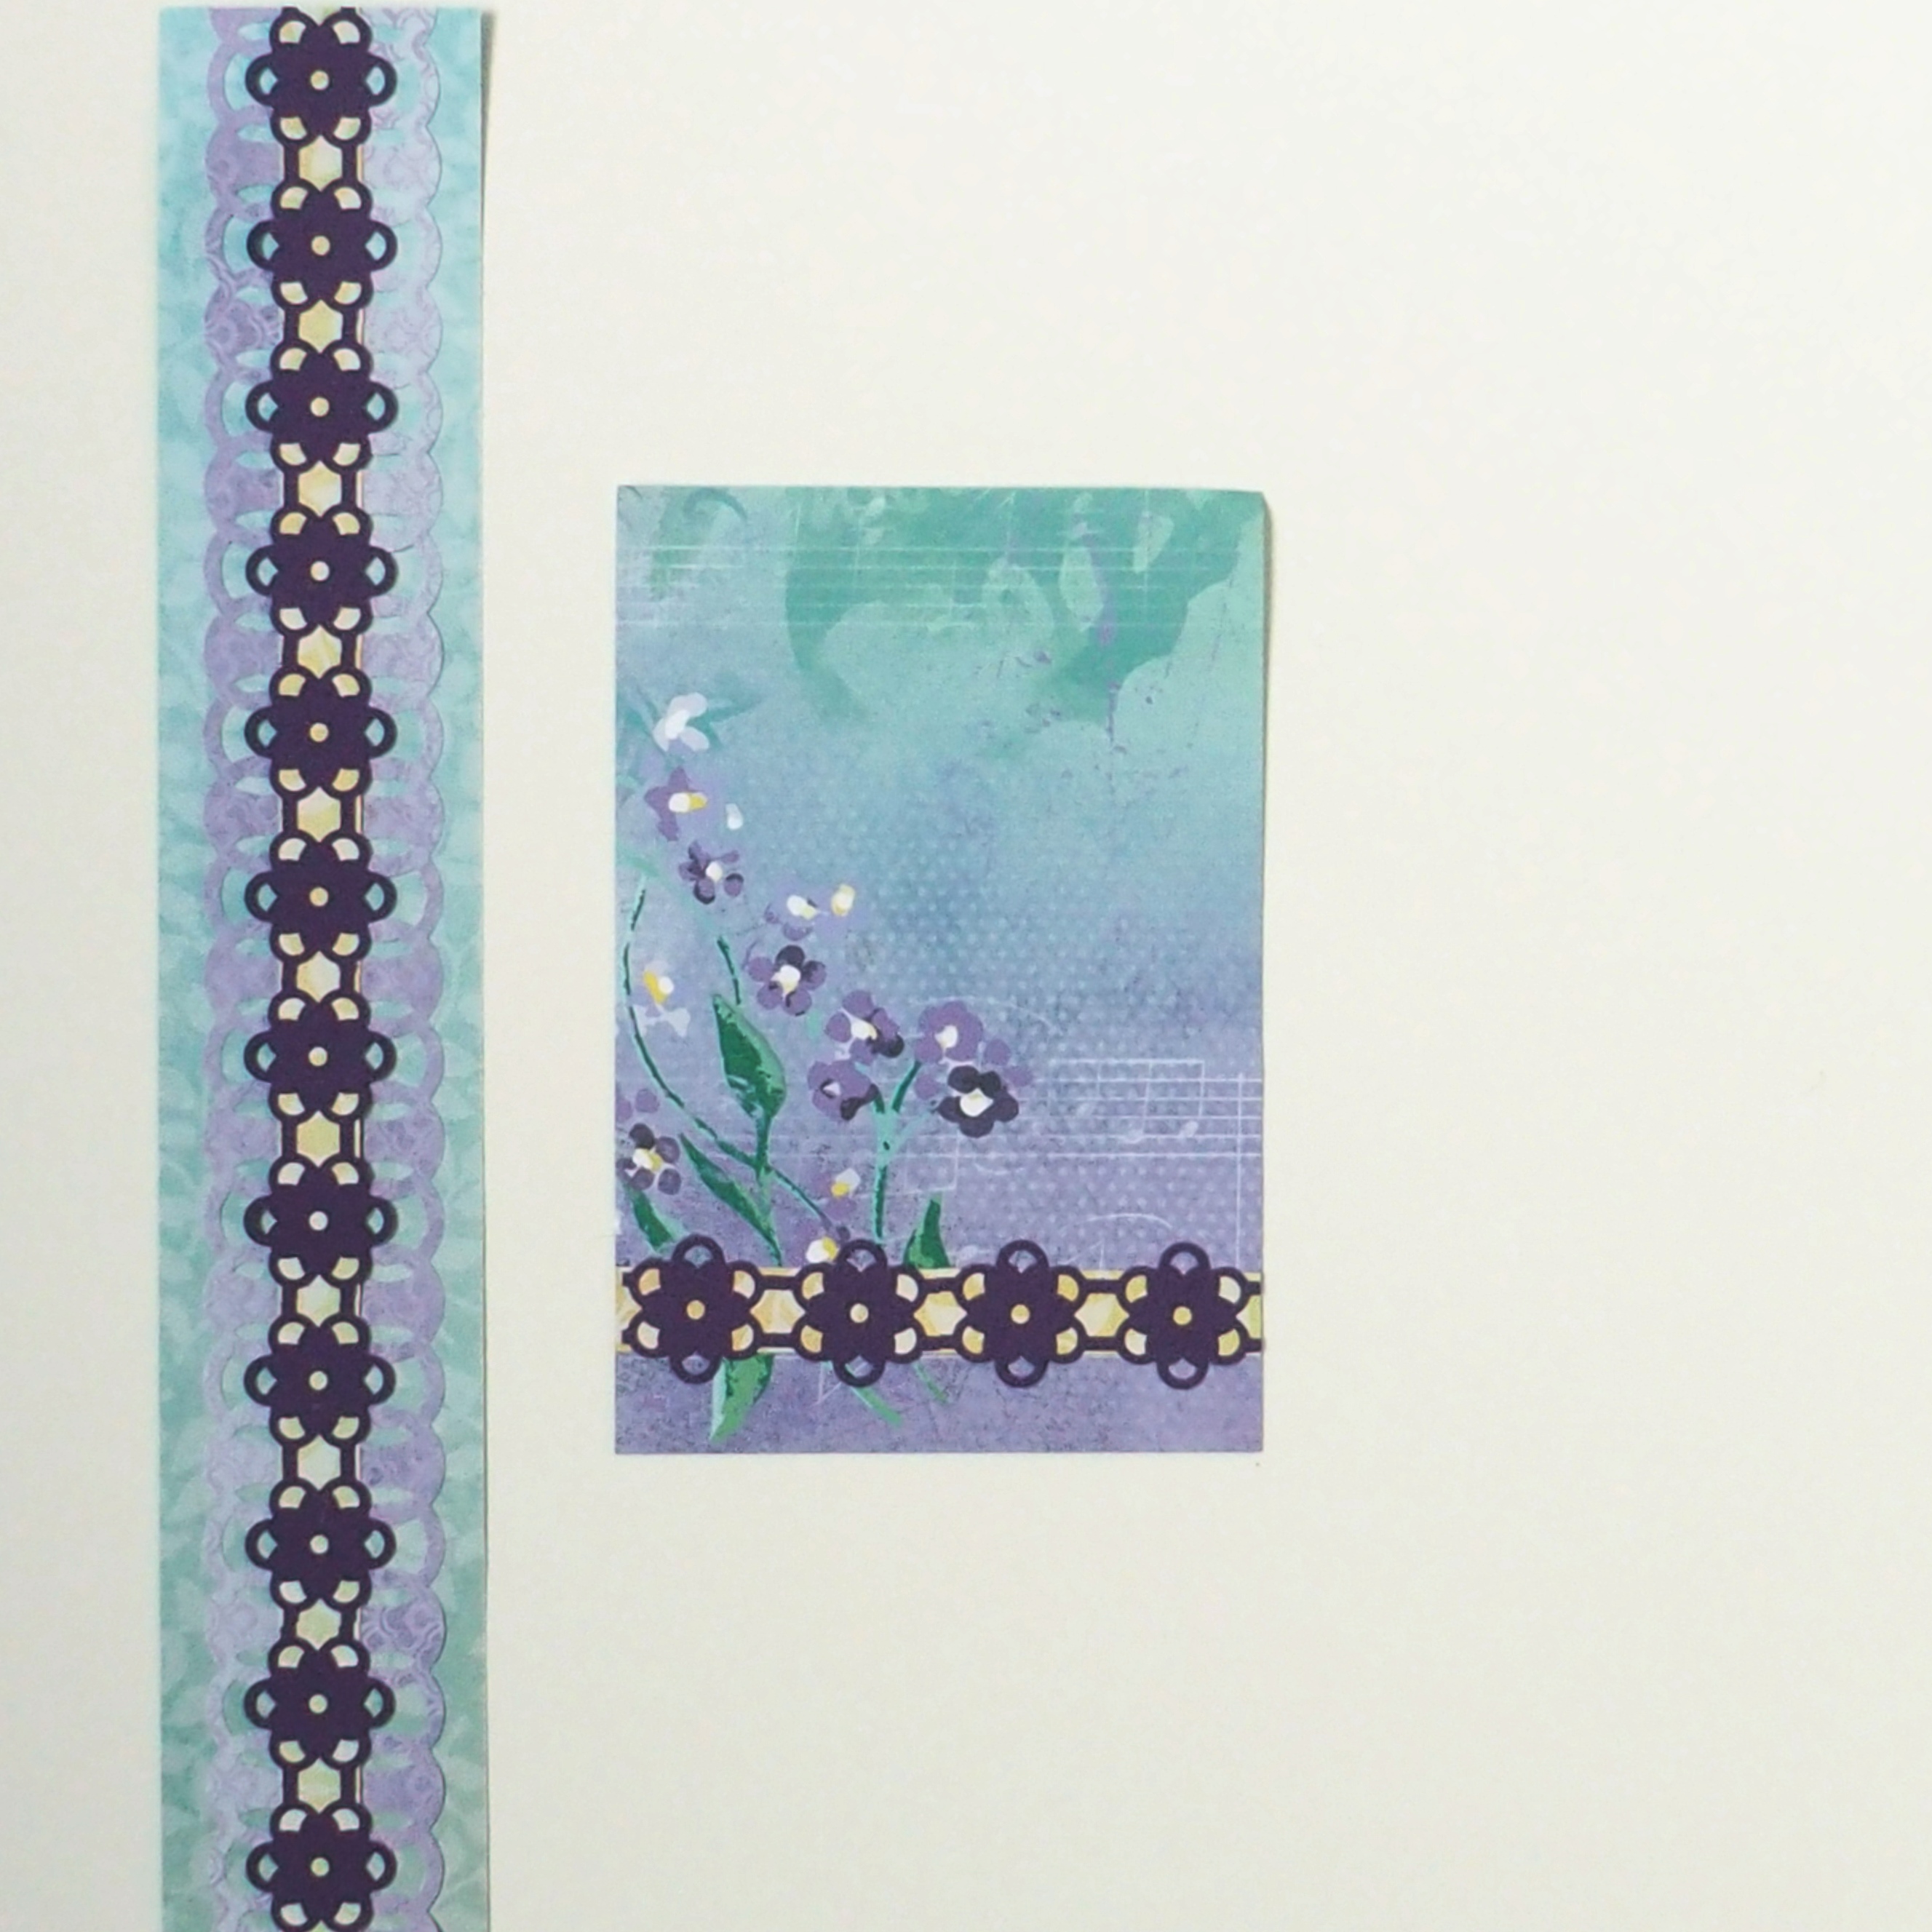
Fresh Picks Border
- Cut a piece of aqua leaves paper to 2″ x 12″.
- Using Circle Weave cartridge, punch 2 borders with lavender paper. Mount side by side on border.
- Using Lace Flower Chain cartridge, punch a border with eggplant cardstock. Trim a piece of yellow-green paper to 1/2″ x 12″. Mount flower border on top and then attach to center of border.
- To make journal box, repeat #3, trim and add to Slide-In card.

Cool Serenity Border
- Cut a strip of aqua-green striped paper to 2″ x 12″. Cut a bamboo Slide-In card into 2″ squares. Mount every 2″ along the border strip.
- Using Circle Weave cartridge, punch 3 bright green cardstock borders. Adhere 2 to the back of border as shown. Reserve 3rd.
- Using both the Circle Weave and Chevron cartridges, punch a border with peacock blue cardstock, alternating cartridge designs. Adhere strip to border.
- To make journal box, trim reserved border to 4″ lengths. Adhere to top and bottom of Slide-In Card. Add sticker with foam squares.

Natural Elegance Wedding Border
- Cut a piece of white floral paper to 3″ x 12″.
- Using the Circle Weave cartridge, punch a border with a piece of gray paper, but not punching the ends. Trim the paper to 3″ x 12″; punch along opposite side, again not punching the ends. Adhere to above. Notch corners using the 2-Way Corner Rounder.
- Cut a strip of pink hearts paper to 1/2″ x 12″. Adhere arrows sticker down the length of the strip and adhere to center gray strip of border.
- Attach flower stickers using foam squares.
- To make journal box, notch corners of a Slide-In Card. Punch a circle weave border using gray paper; trim to 6″ and adhere as shown. Add arrow sticker.

What great ideas! I love all the layering! Your use of color is inspiring. Thanks!
Iwould like to copy your ideas but when I click on Help
, it does not print..
Virginia Dieterich Independent Marketing Director Heritage Makers/Our Memories For Life/Youngevity 406.656.6460 Email: ginnyd7@msn.com virginiadieterich.youngevity.com
________________________________
Hey! What’s the deal with this post? I try to access it, and it says the site is requesting verification! I’ve tried every user name and password combination I can think of, & it won’t let me in. I’ve never had to do this before, and, yes, it’s irritating!! Cheryl Lassen
Fabulous! Thanks for the idea starter button.
Looks great. Thank you for the ideas. We have a wedding coming up next year, so any ideas are welcome.