May 29, 2026
Perfect Match: DIY Paper Heart Place Cards
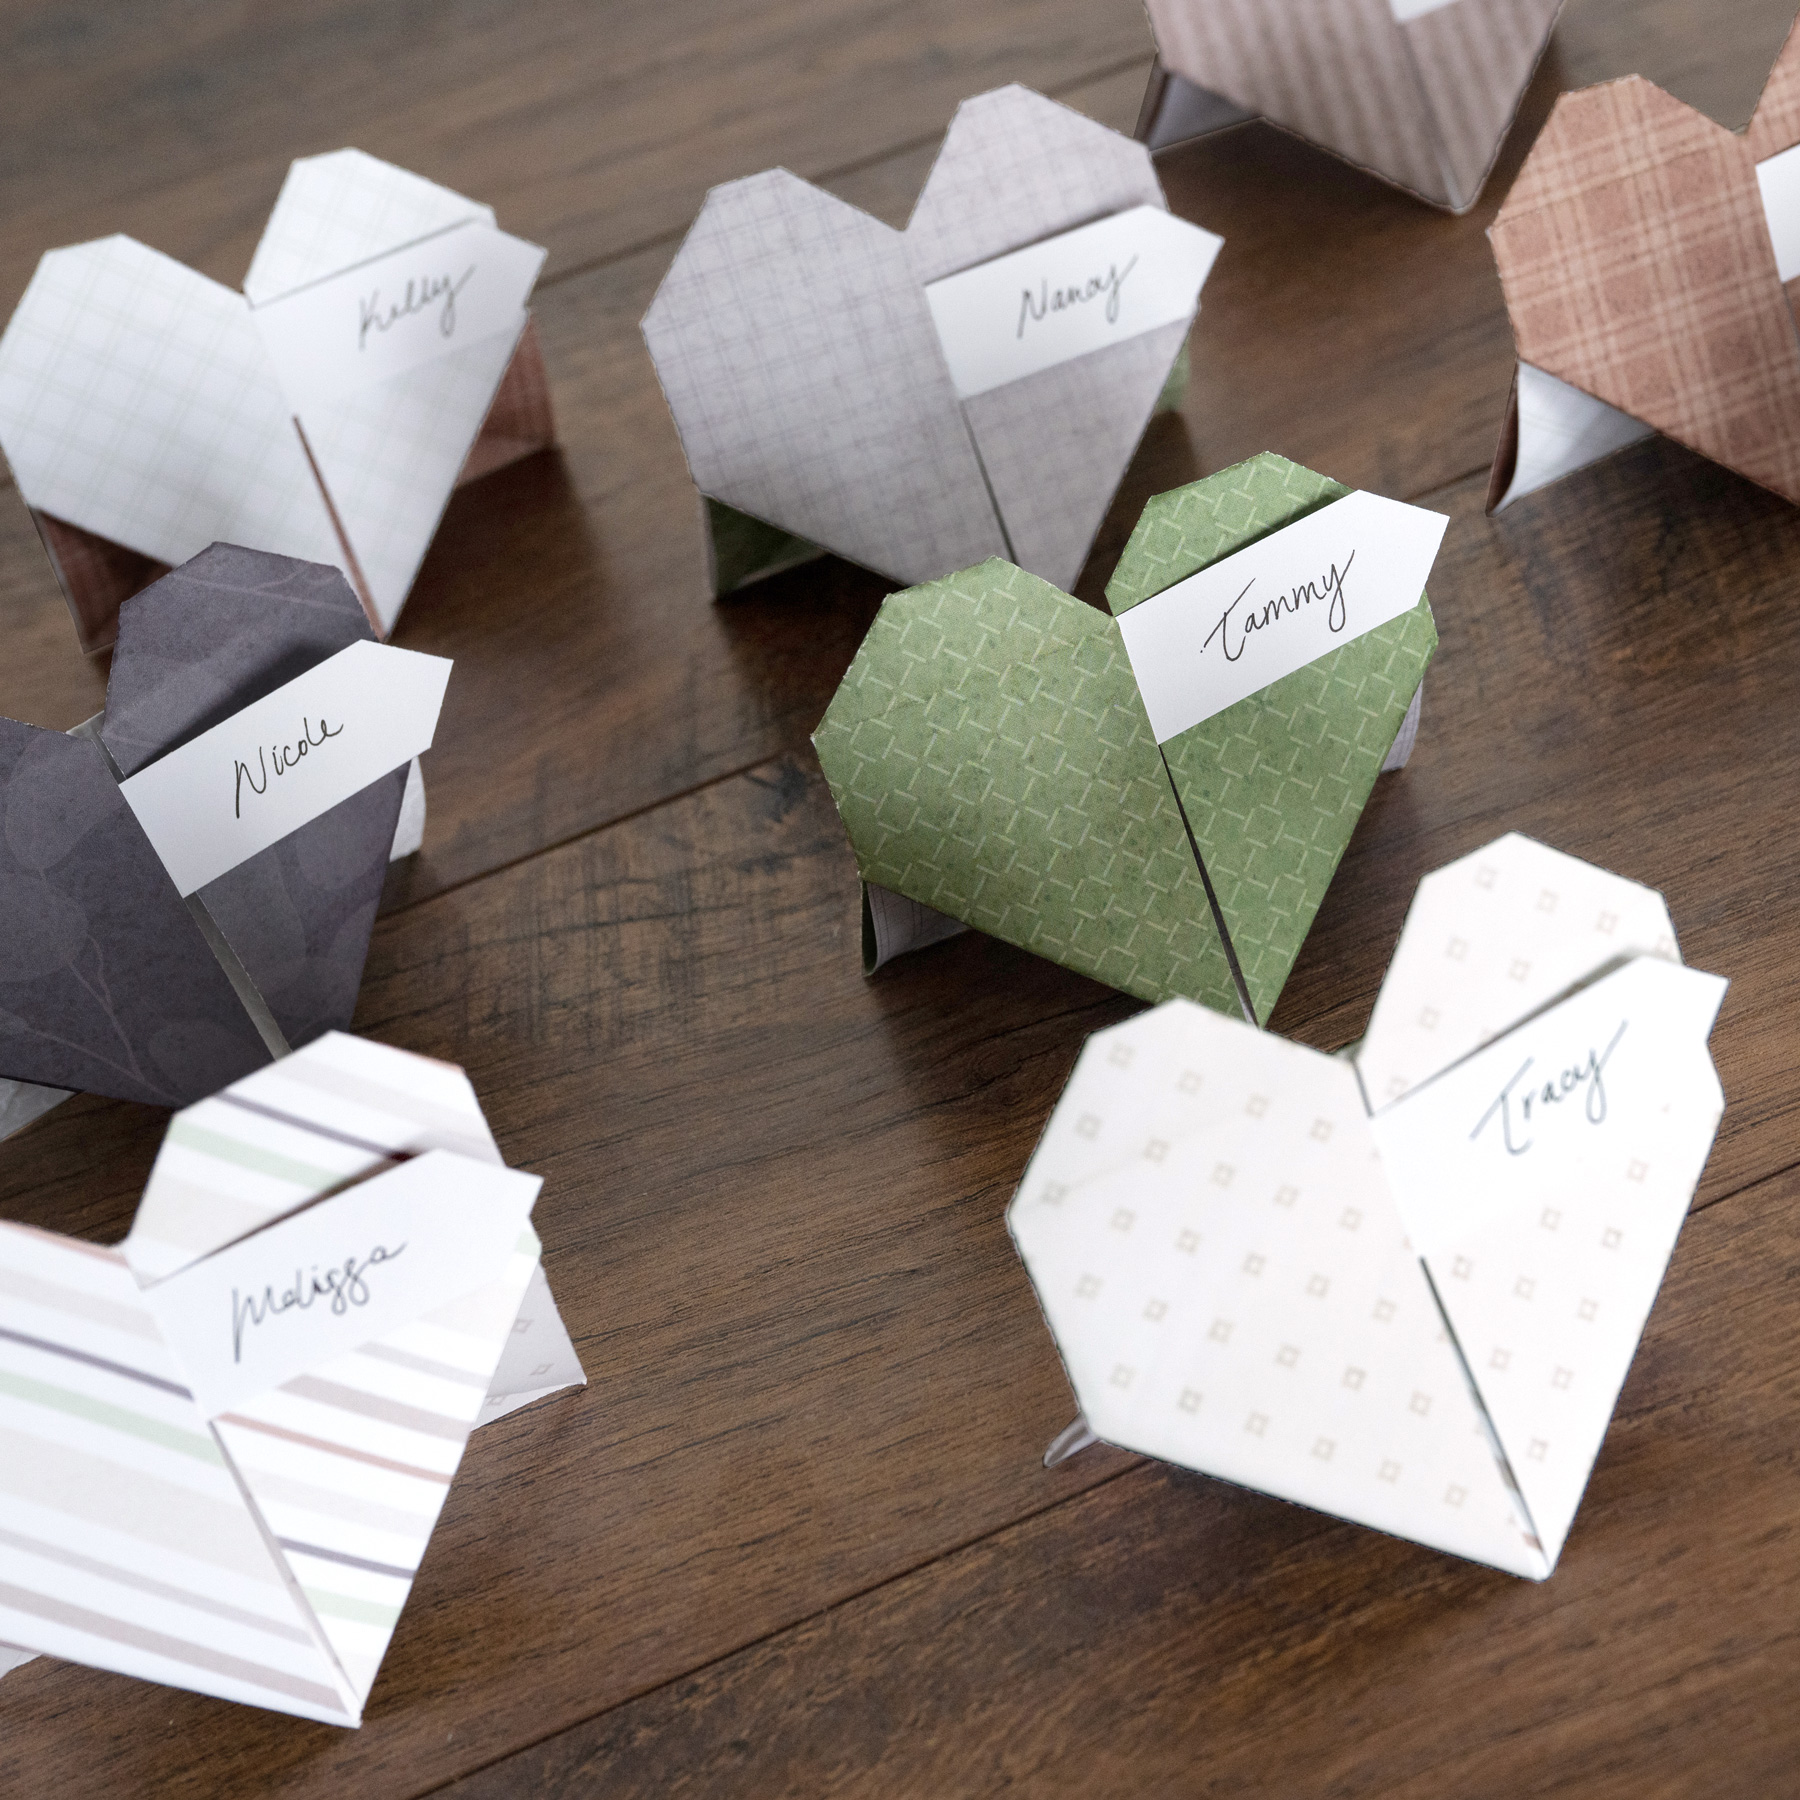
There is something extra special about the little details at a table setting, especially when they are handmade. These origami heart place cards are a sweet way to welcome guests while showing off your favorite patterned papers in a creative new way. Using the soft colors and detailed prints from the Perfect Match collection, these folded hearts double as both decor and seating cards, making them perfect for weddings, bridal showers, Valentine’s celebrations and more.

Watch: Follow along for a quick tutorial on these paper heart place cards!

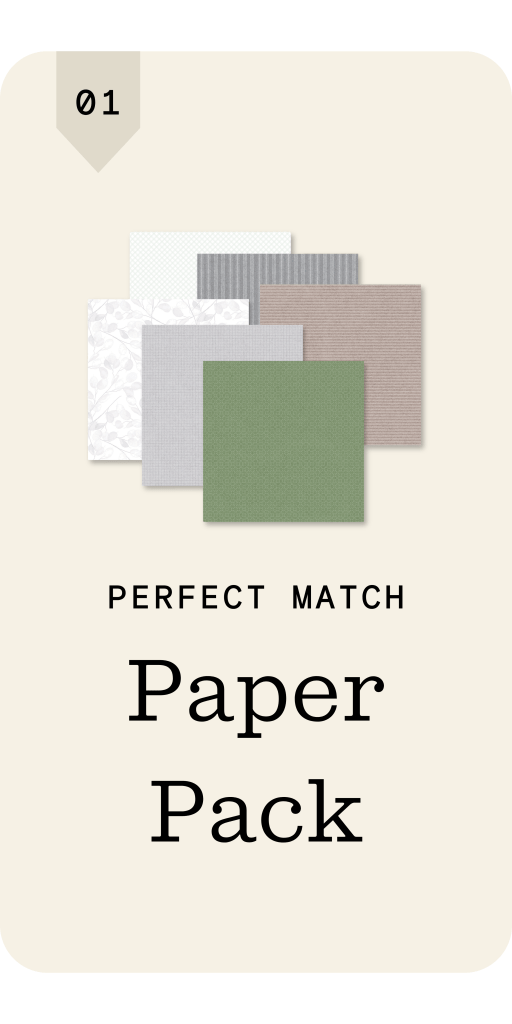
Step 1: Trim a piece of designer paper to measure to 7″ x 7″. Place the paper face-side down, then fold it in half, creasing well before unfolding.
Step 2: Fold the left and right sides inward so the edges meet at the center crease, creating a slim rectangle. Flip the paper over so the folded flaps are facing down, then fold the top edge back toward yourself about 1/2″ to 1″.
Step 3: Using the folded section at the top, gently open and flatten the layers on both the left and right sides to create two folded triangle shapes.
Step 4: Fold the left and right sides inward from the center creases to create pointed edges. Then soften the shape by folding down the sharp corners slightly until a rounded heart shape begins to form.
Step 5: Fold the entire structure in half along the center crease, bringing the bottom upward toward the top. Rotate the piece so the heart is facing downward.
Step 6: On the back side, fold the inner flaps downward and outward on both sides to create triangular shapes. Then fold the bottom corners upward toward the center to sharpen the point of the heart.
Step 7: Fold the remaining flap on the back downward to create a small kickstand so the heart can stand upright and display beautifully on your table.
Name Tag: Once your origami heart is complete, use the center flap to hold a handwritten name tag, stamped label, or small cardstock piece for the perfect finishing touch.
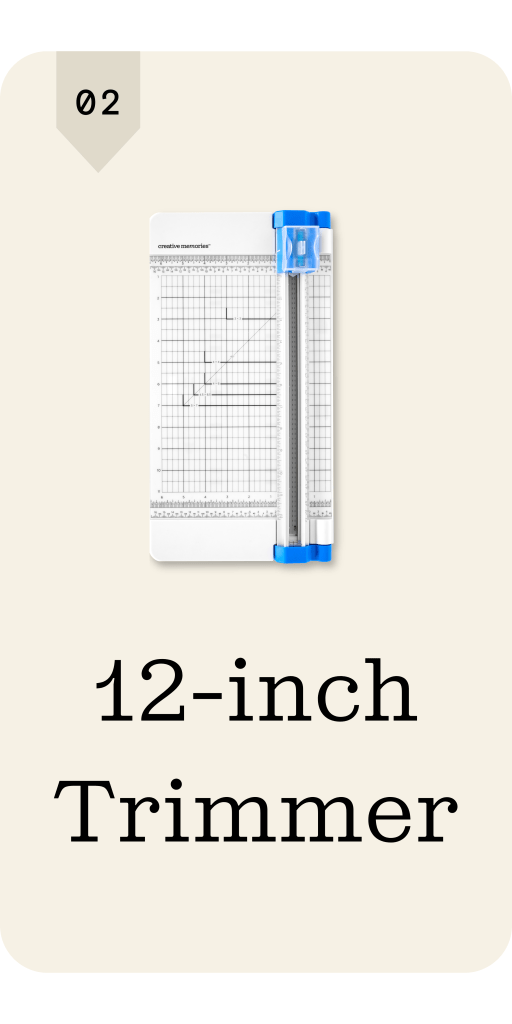
Step 1: Using scrap paper or your preferred cardstock color, trim a 12″ x 1/2″ strip. Then cut the strip down into 3″ x 1/2″ pieces for each name tag.
Step 2: Use the diagonal guide on your trimmer to create a pointed end on each strip.
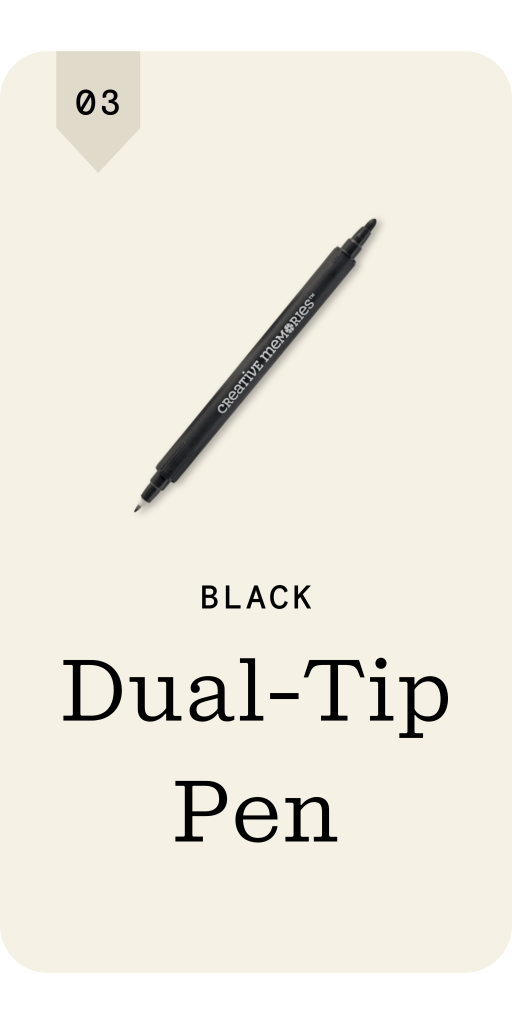
Step 3: Using a Black Dual-Tip Pen, write your desired name on the tag, then tuck it into the center crease of the paper heart to display.
These origami heart place cards prove that sometimes the best table details are the ones made by hand. They are simple, charming, and an easy way to add a thoughtful finishing touch to any gathering. A little paper goes a long way when it comes to making guests feel special, and this is one detail that truly has heart.
P.S. Are YOU a member of the Virtual Crop Group? It’s your go-to place for MONTHLY Virtual Crops, MONTHLY Completed Album Challenges, QUARTERLY Secret Box Openings with project tutorials and so much more! We hope you’ll join our community of more than 52,000 fellow memory-keeping enthusiasts — you’ll feel right at home!

