January 5, 2017
Winter Photo Tips

Keep Warm
Dress in layers when heading out to do winter photos and don’t forget your gloves instead of mittens! Also, protect your camera from the winter elements by climatizing it to the cold slowly. Put your camera in your camera bag and put near the front door or in a porch that is colder than the rest of your house, then move your camera bag to the car so it is isn’t directly exposed to the cold, but it is definitely getting colder. This prevents your camera from fogging up when you take it out to start shooting. It is now time to take your camera out into the cold. If it is snowing cover up your camera with a clear plastic bag to protect it from the wet and cut a hole for the lens to fit through. Once your camera is cold you want to avoid getting it warm and then cold again because your lens will fog up similar to your eyeglasses. Also, the condensation is not good for your camera.
Having an extra battery is a good idea. Your camera battery won’t last as long in the cold so have a back up one in your pocket where it is warm.
Pop of Colour
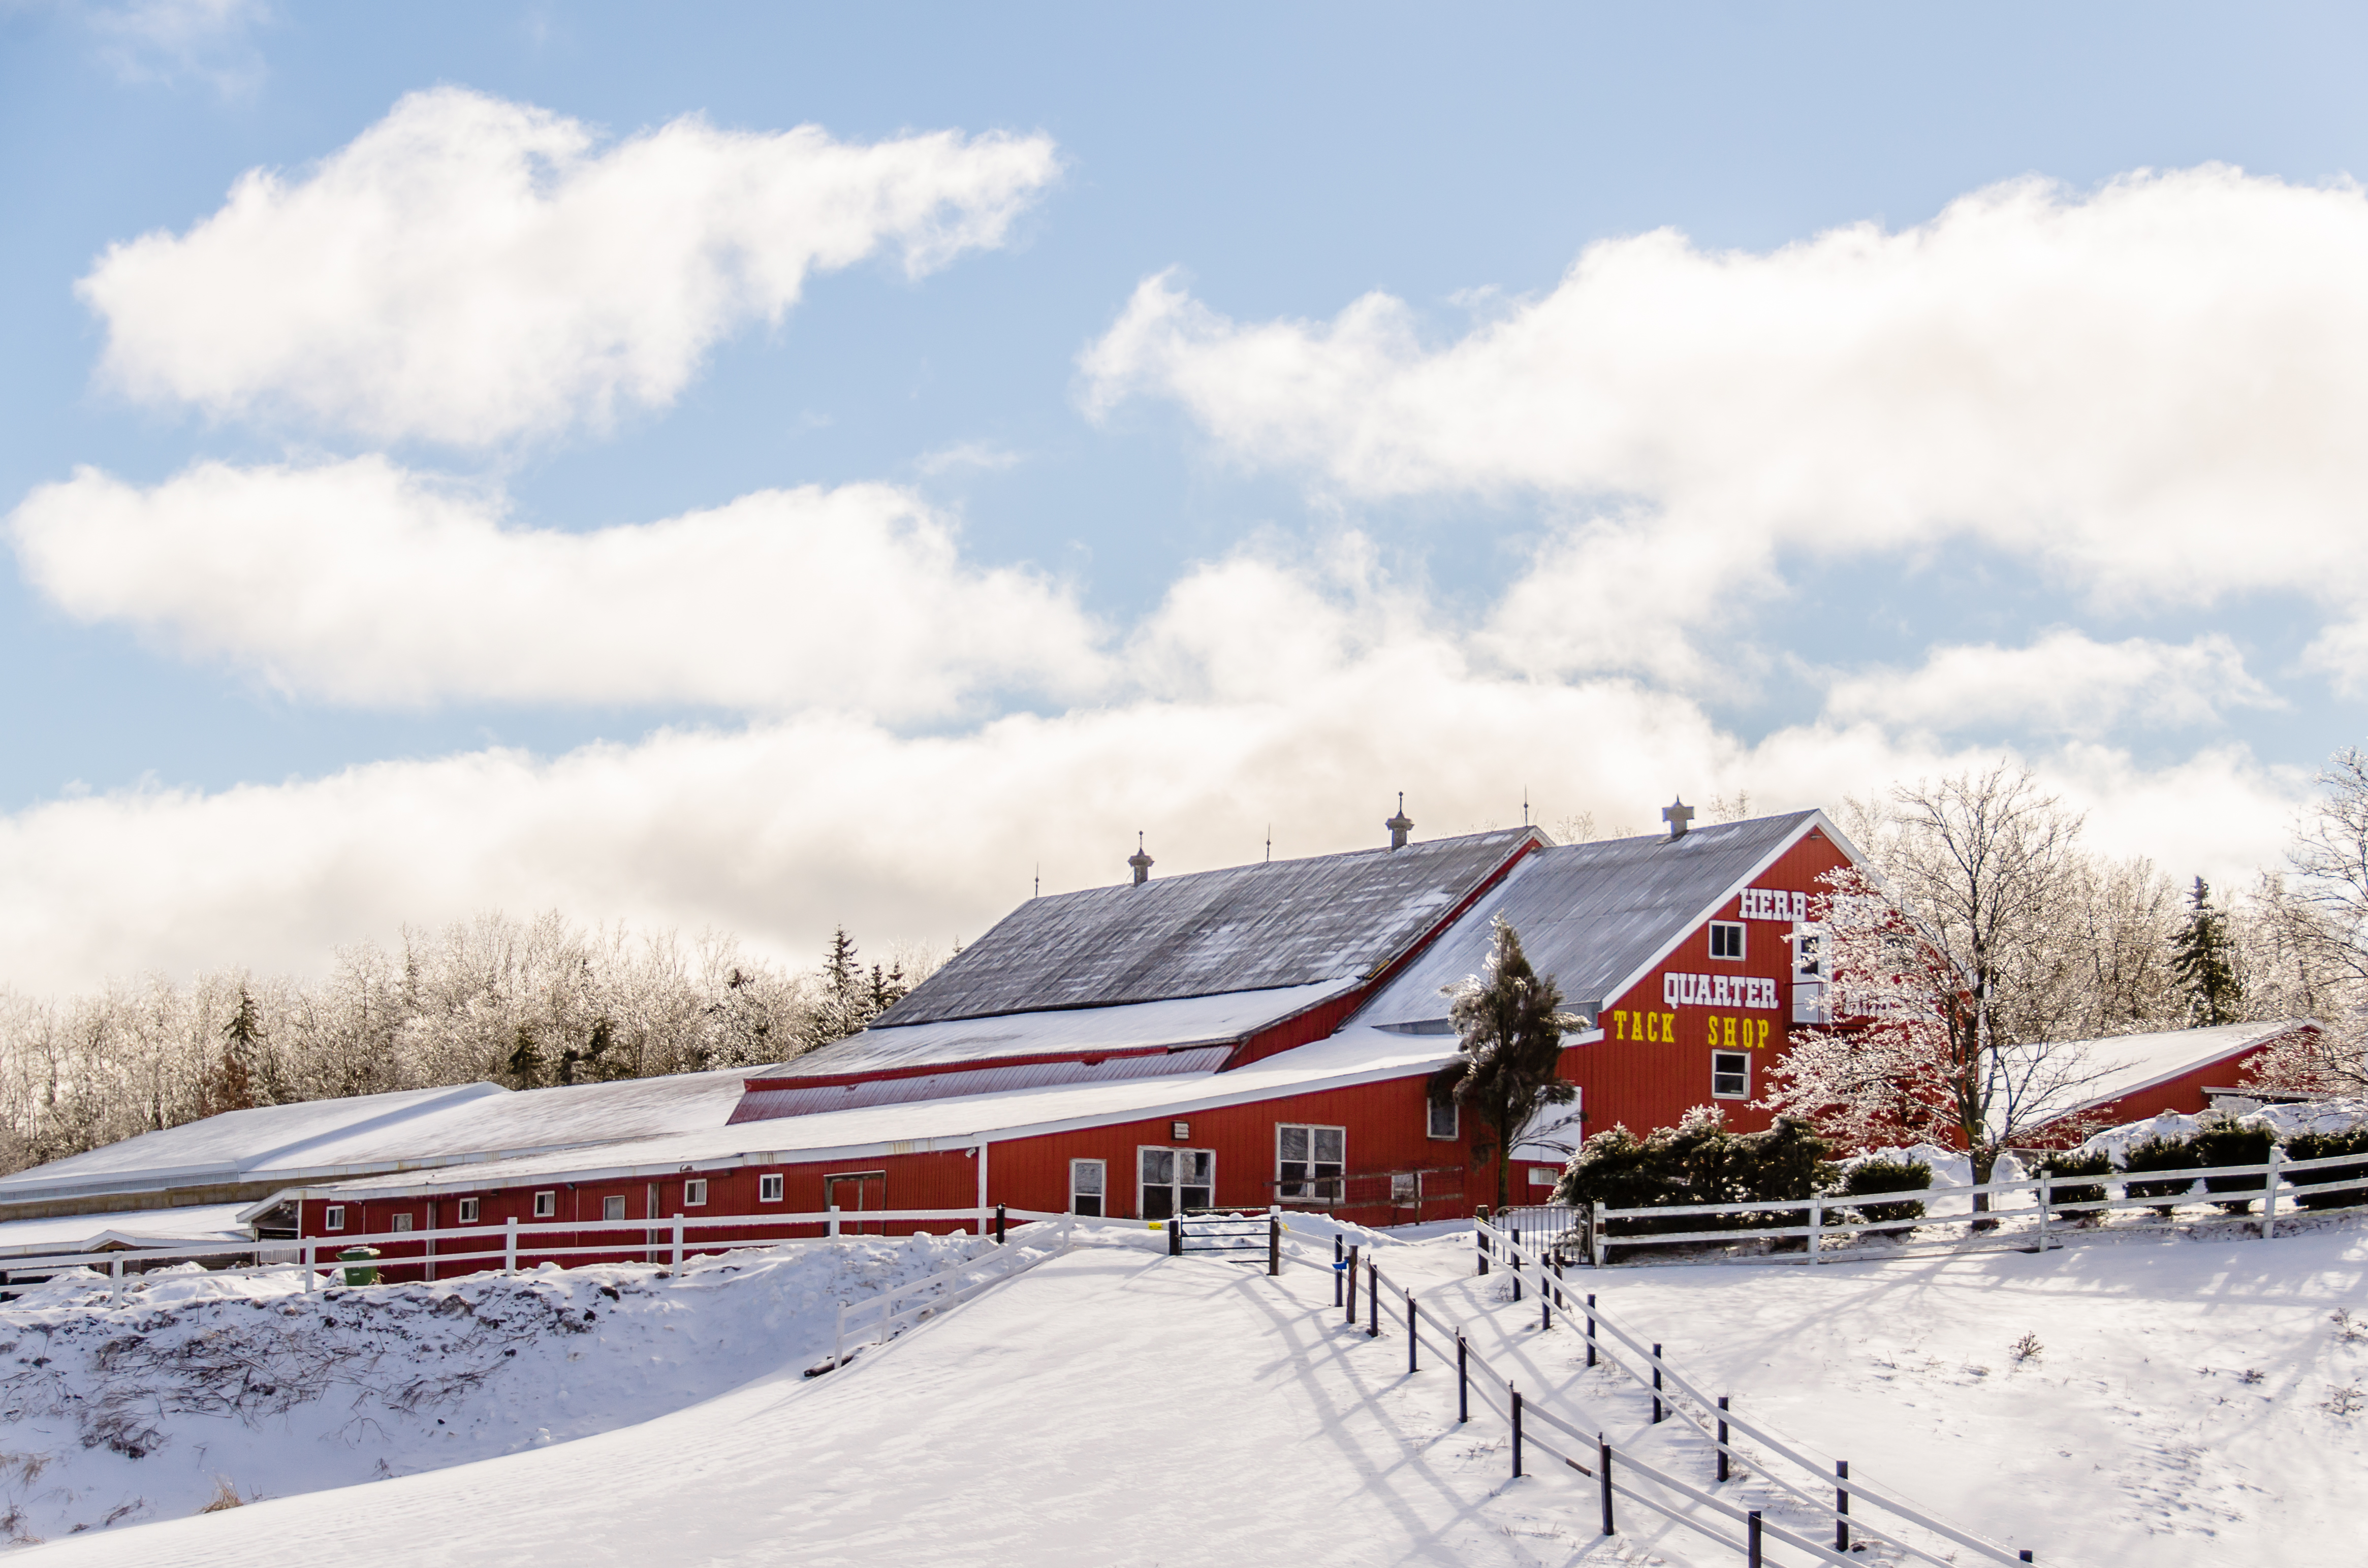
It is always nice to have a pop of colour when taking snow photos. The contrast of a bright colour against all of the white is pleasing to the eye.


Same scene but the pop of red just adds so much mote interest to the photo.


Any bright colour will do!
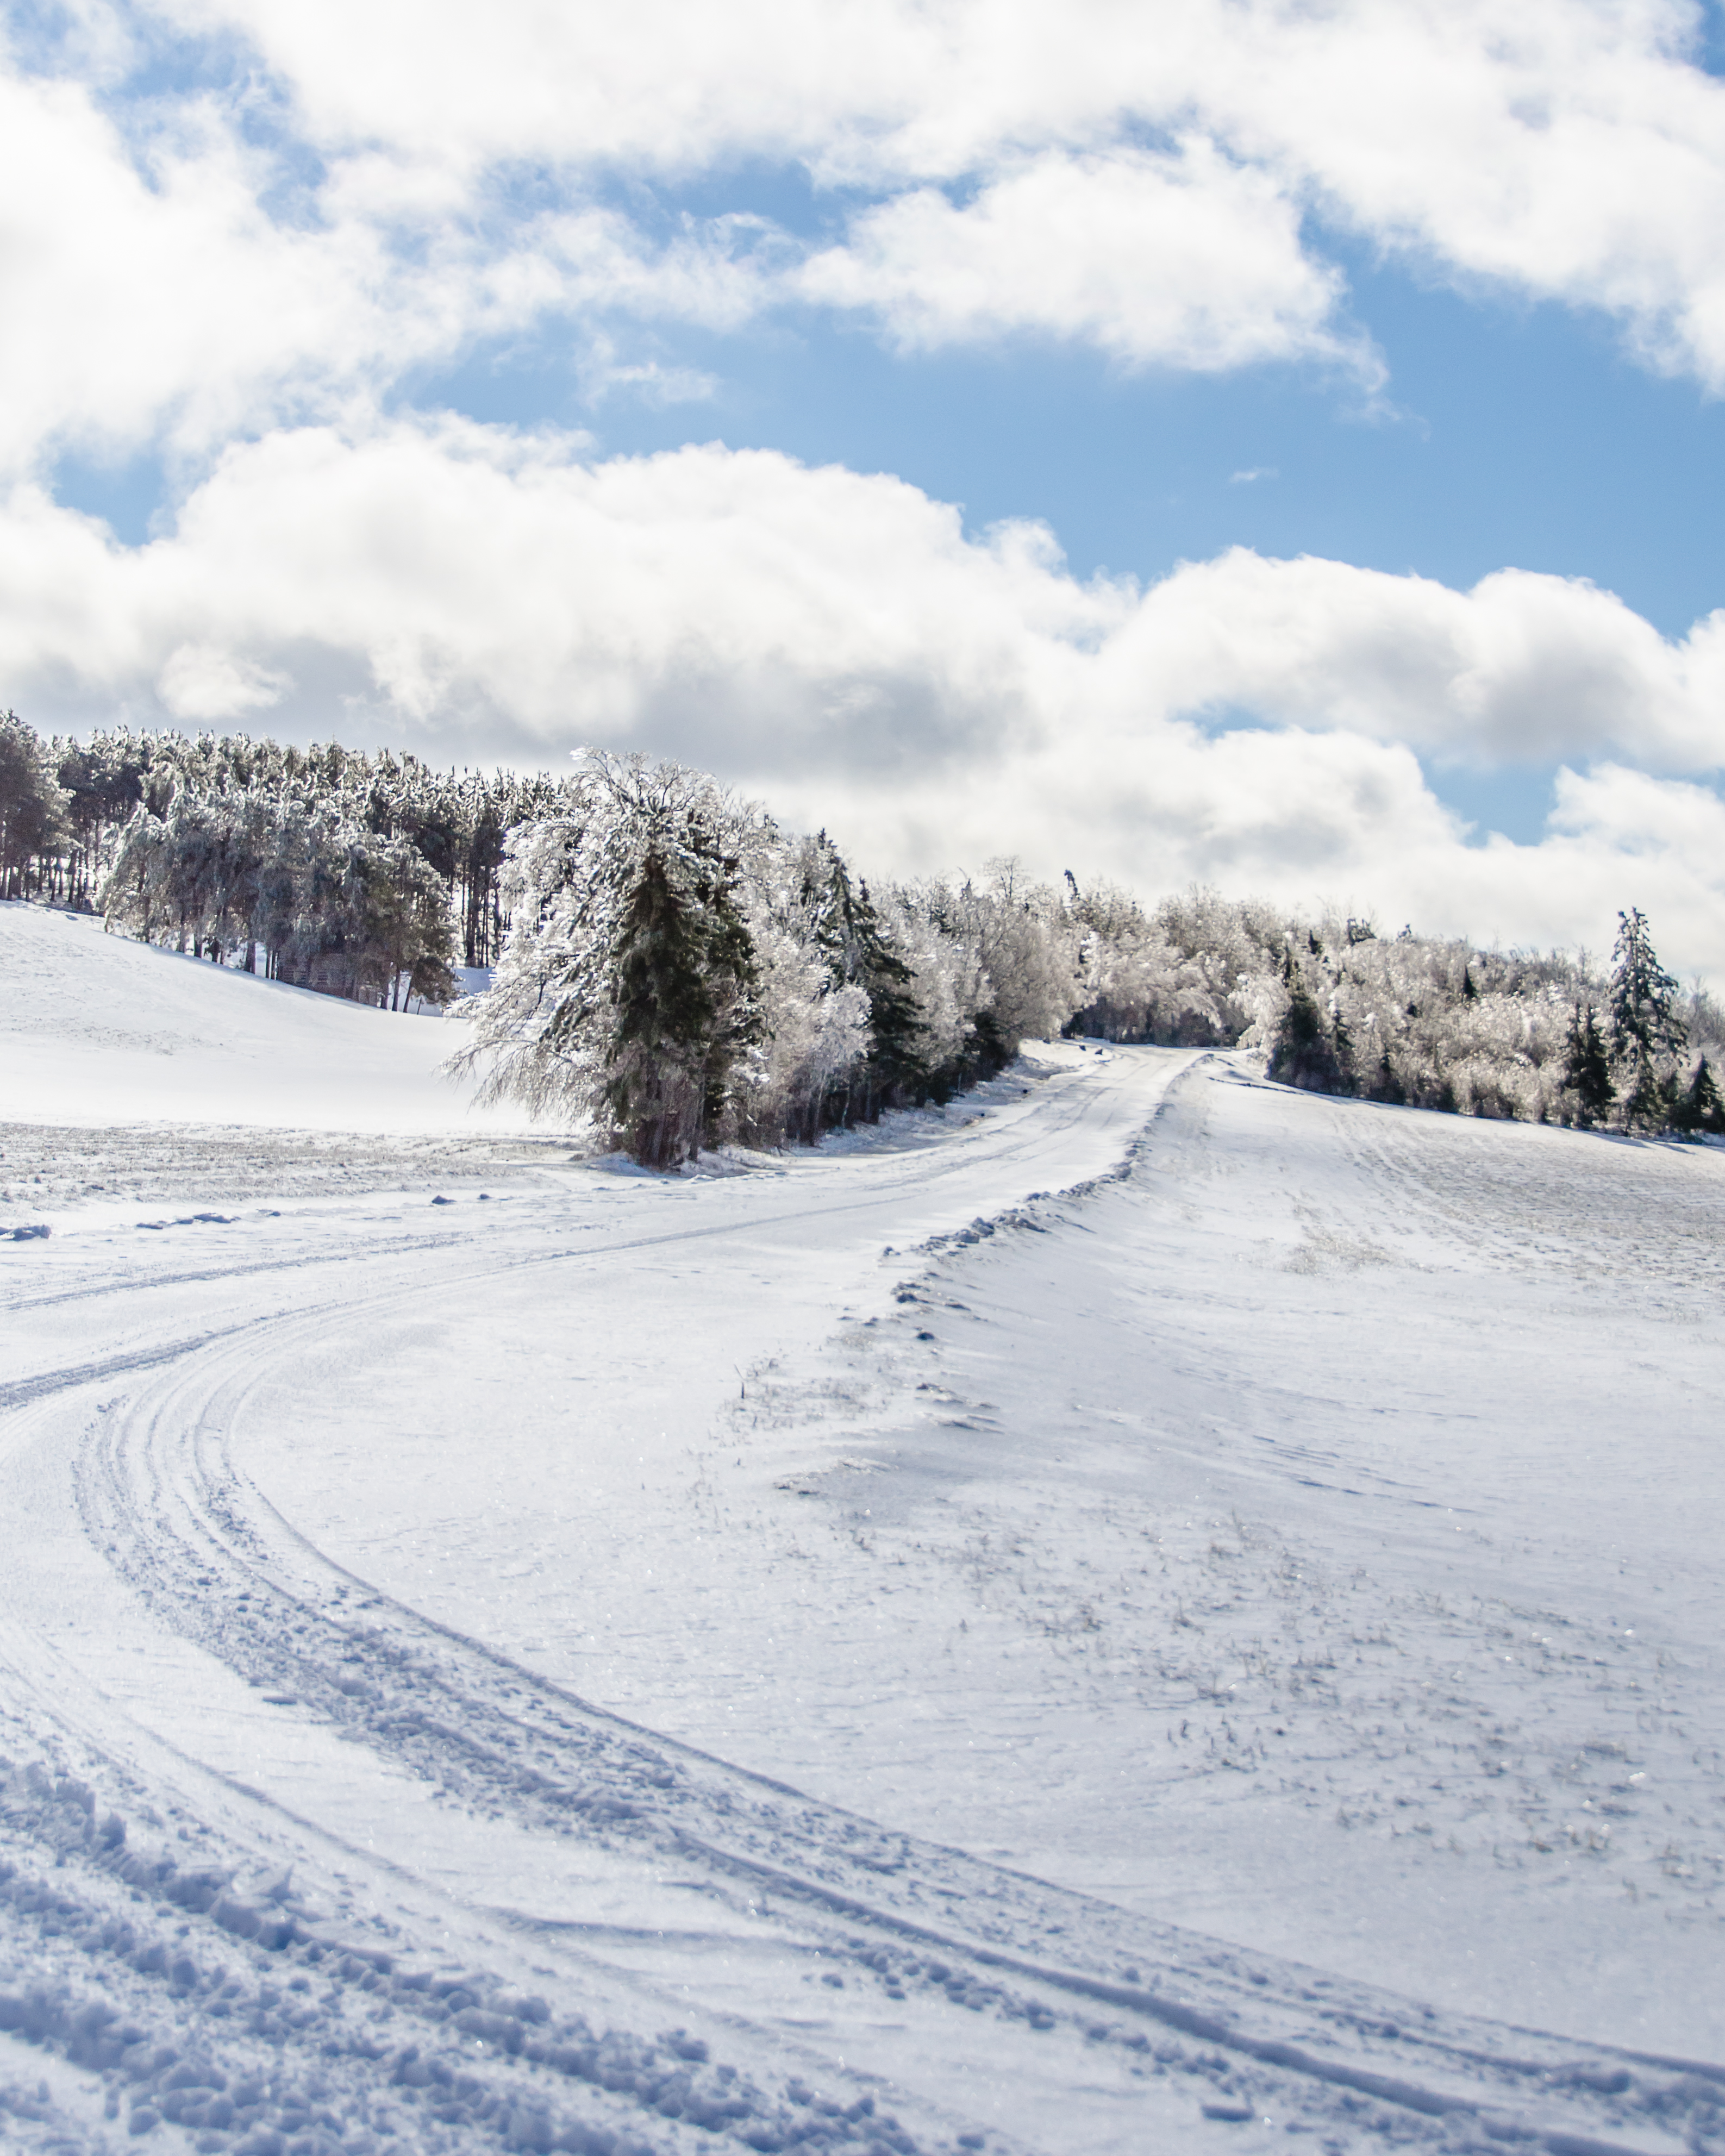
Shooting during a snowstorm can be tricky so as soon as the snow stops head out and usually once the snow stops the sky clears and there is a beautiful contrast against the blue sky.

Be ready to go out and get these photos quickly though because it doesn’t take long for the scene to change once that warm sun comes out.

Look up and point your camera to the sky to get the white snow against the blue sky.

A short time later this is what the trees look like once the sun has hit the branches. Still pretty but a completely different scene.

If you don’t have a person to pop into your beautiful winter scene a bright coloured building also works well.
Think for your Camera
You look out at a winter scene and you see white and think “how difficult can it be to photograph that?”. Well it is not the easiest to get the exposure correct and still have your snow white.

Do you ever take your photo and have it turn out with a blue or gray tint?
YOU have to do the thinking for your camera in snow situations. When you frame your photo your camera sees everything as being very bright and it wants to even out the light and turn the brightness down and make everything a flat neutral gray. This is where you come in and if you are shooting on automatic mode you need to change your exposure compensation to +1 or +2 to tell the camera that is it ok for it to be bright. If you are working in manual mode then you need to trick your meter by pointing your camera to a gray card or to something gray in your surroundings. (I will often use a tree trunk) Adjust your meter while pointing at the gray and your photo should be correctly exposed when you point it back at the snow. Your meter in your viewfinder will not be balanced because you are exposing it to all that whiteness again, but try shooting a photo and you should be properly exposed and have bright white snow.

If your photo turns out like this where you don’t have much detail you have overexposed for the snow. Readjust your settings and try again.

Once you have your settings adjusted correctly you will get the results you are looking for, white snow and lots of details in your snow.
Fill Flash
We have just talked about the brightness in snow photos and it seems unusual that you would want to use a fill flash in this situation, but it can be helpful. There will be lots of shadows because of all of the bright snow surrounding your subject. Your subject could be dark so using your fill flash will take care of those shadows. 
Without the fill flash

With fill flash and it brightens up my subject
Shutter Speed
Fluffy snowflakes are the best to photograph, but they are falling fast so you will need to adjust your shutter speed to stop the flakes and separate them from the background. If your shutter speed is too slow then they won’t look like flakes and they will be streaky. Your fill flash can be helpful at this time as well to separate the flakes from the background.


I used a faster shutter speed in these photos in the range of 1/320 – 1/600. Try slowing down your shutter speed to 1/60 to see the difference in the flakes.
Ok to Edit
It is okay to edit your photos and add a bit of contrast or black density in whatever editing program you use on your computer. Sometimes it is difficult to capture that straight off of the camera.
Straight off of the camera (SOOC)

I added a bit of black density to this image in my editing program.
Another editing option is to convert your photo to black and white because in some cases colour doesn’t add much to your photo.


Bundle up and get outside to grab some of nature’s beautiful scenery before it melts!
Stay warm – Beth

Wonderful photos— and it’s nice to know just how you captured them. :-) Thanks for all the tips!
Wonderful information.
LOVE the info thank you!!