January 21, 2017
January Virtual Crop: Challenge 4

We know that you all love a great sketch.
Sketches have so much life in them. Use different collections each time, and you are sure to have endless possibilities. You can also rotate the sketch right or left, and get a whole new take on it.
Sketches are created as a “jumping off” point for you. They can be interpreted exactly or very loosely. There are not measurements, so you can make it yours.
CHALLENGE #4: Create a spread using this sketch as your inspiration. The circles on the far left side can be used as is–circles, snowflakes, embellishments, buttons, stars, etc. It’s all what you see in them! When you are done, take a quick photo and post it to the event page before 5:00 pm CST to qualify for the prize.

Please use hashtag: #CMVirtualCrop
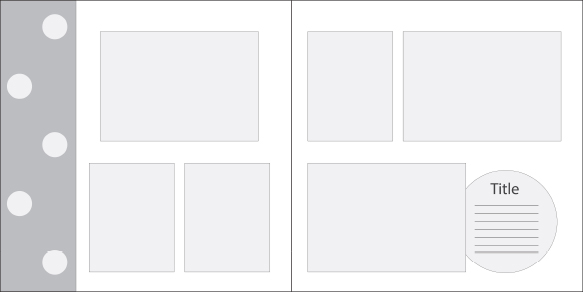
Tips for this sketch: Use the circles literally, and place circles where they are shown–OR, use them as inspiration for placement of hearts, buttons, stars, flowers, etc. Use your imagination–it is a wonderful thing!
To create this spread, you will need:
Christmas Past Paper Pack US CAN
Christmas Past Embellishments US CAN
Christmas Past Stickers US CAN
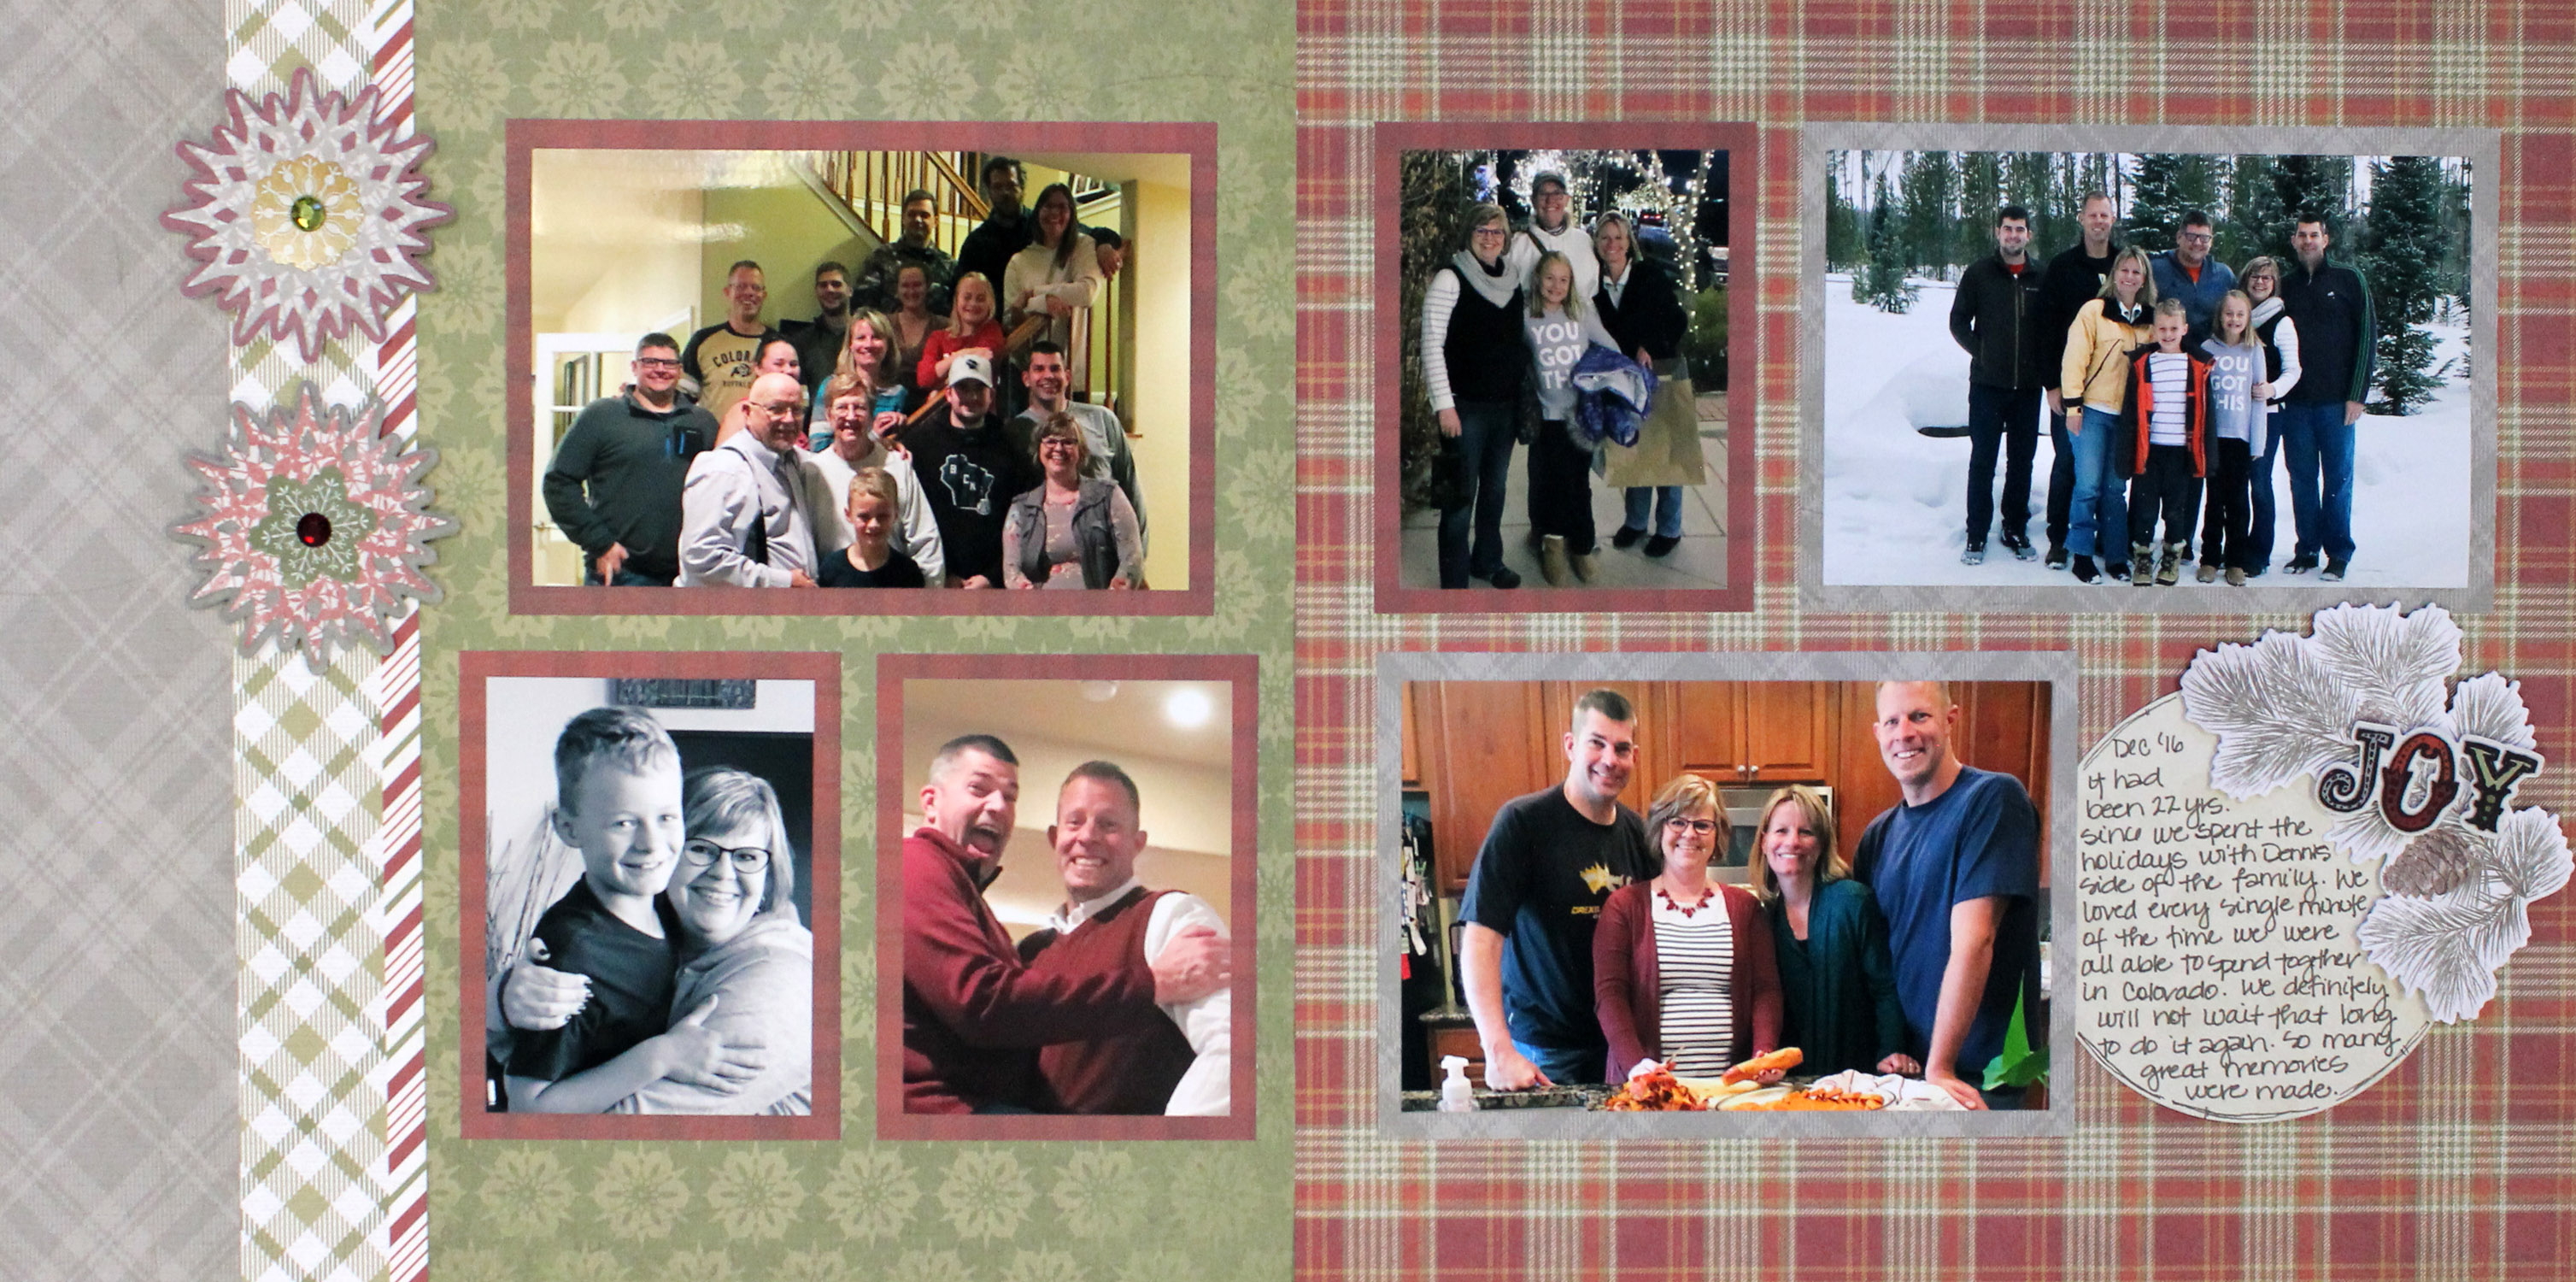
Use the green patterned paper as the base on the left, and the plaid for the base on the right.
Cut 3 pieces from the burgundy paper to measure 3-1/2″ x 4-1/2″. Cut one piece from the burgundy paper to measure 4-1/4″ x 6-1/2″. Cut two pieces from the gray paper to measure 4-1/2″ x 6-1/2″. Adhere the photo mats to the spread.
Cut a piece from the gray paper to measure 3″ x 12″. Adhere to the left side of spread. Cut a piece from the green plaid to measure 1-1/2″ x 12″. Adhere along the edge of the gray paper.
Cut out circle from the cream paper using the CCS-Circles. Adhere to spread.
Adhere embellishments and stickers using Foam Squares.
Add photos. Journal.
Spread created by Kelly Batten – Australia Home Office
To create this spread you’ll need
Denim Blues Embellishments US CAN
Denim Blues ABC/123 Stickers US CAN
Eggplant 12×12 Cardstock US CAN
Cranberry 12×12 Cardstock US CAN
CCS- Circles, Blue & Red Blades US CAN
Tape Runner & Repositionable Tape Refill US CAN
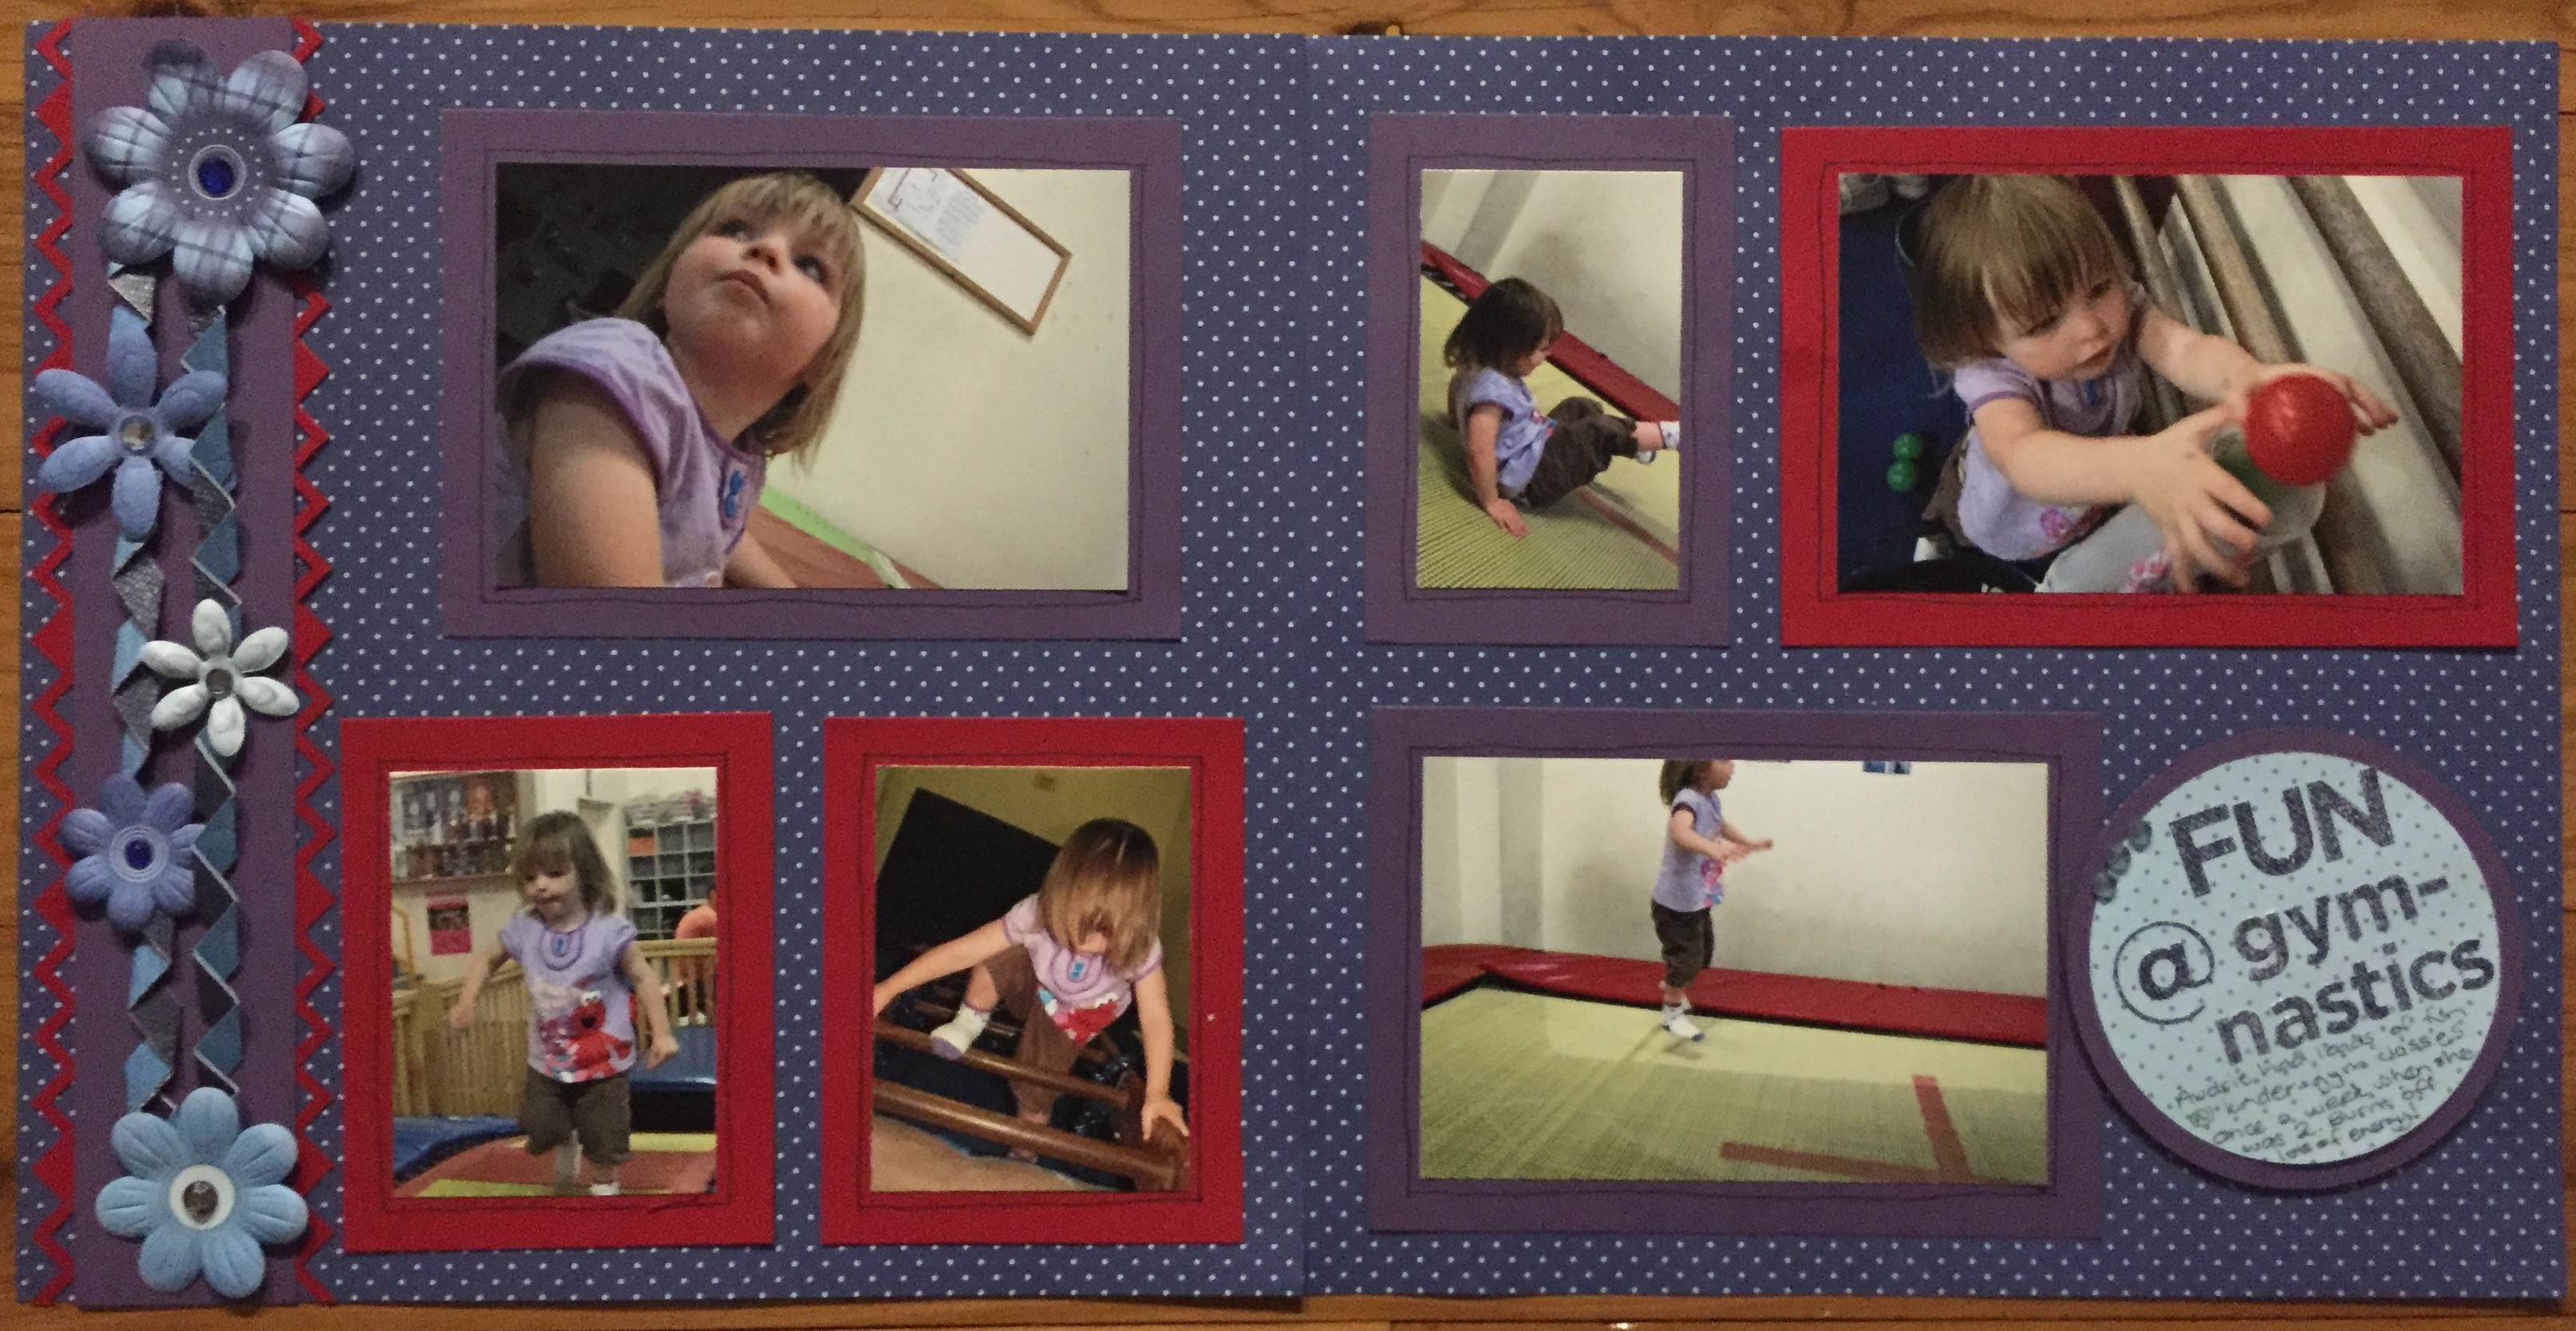
Choose navy polka dots papers for the backgrounds. Trim an Eggplant Cardstock sheet into two 5×7″ and one 5×3.5″ photo mats. Trim a Cranberry Cardstock sheet into one 5×7″ and two 5×4″ photo mats. Adhere 6×4″ photos to the 5×7″ mats, trim one photo to 4×2.5″ and adhere to the 5×3.5″ mat and trim two photos to 4×3″ and adhere to the 5×4″ mats. Use pen to hand draw a fine border on the mat around the photo. Adhere to the layout as per the sketch.
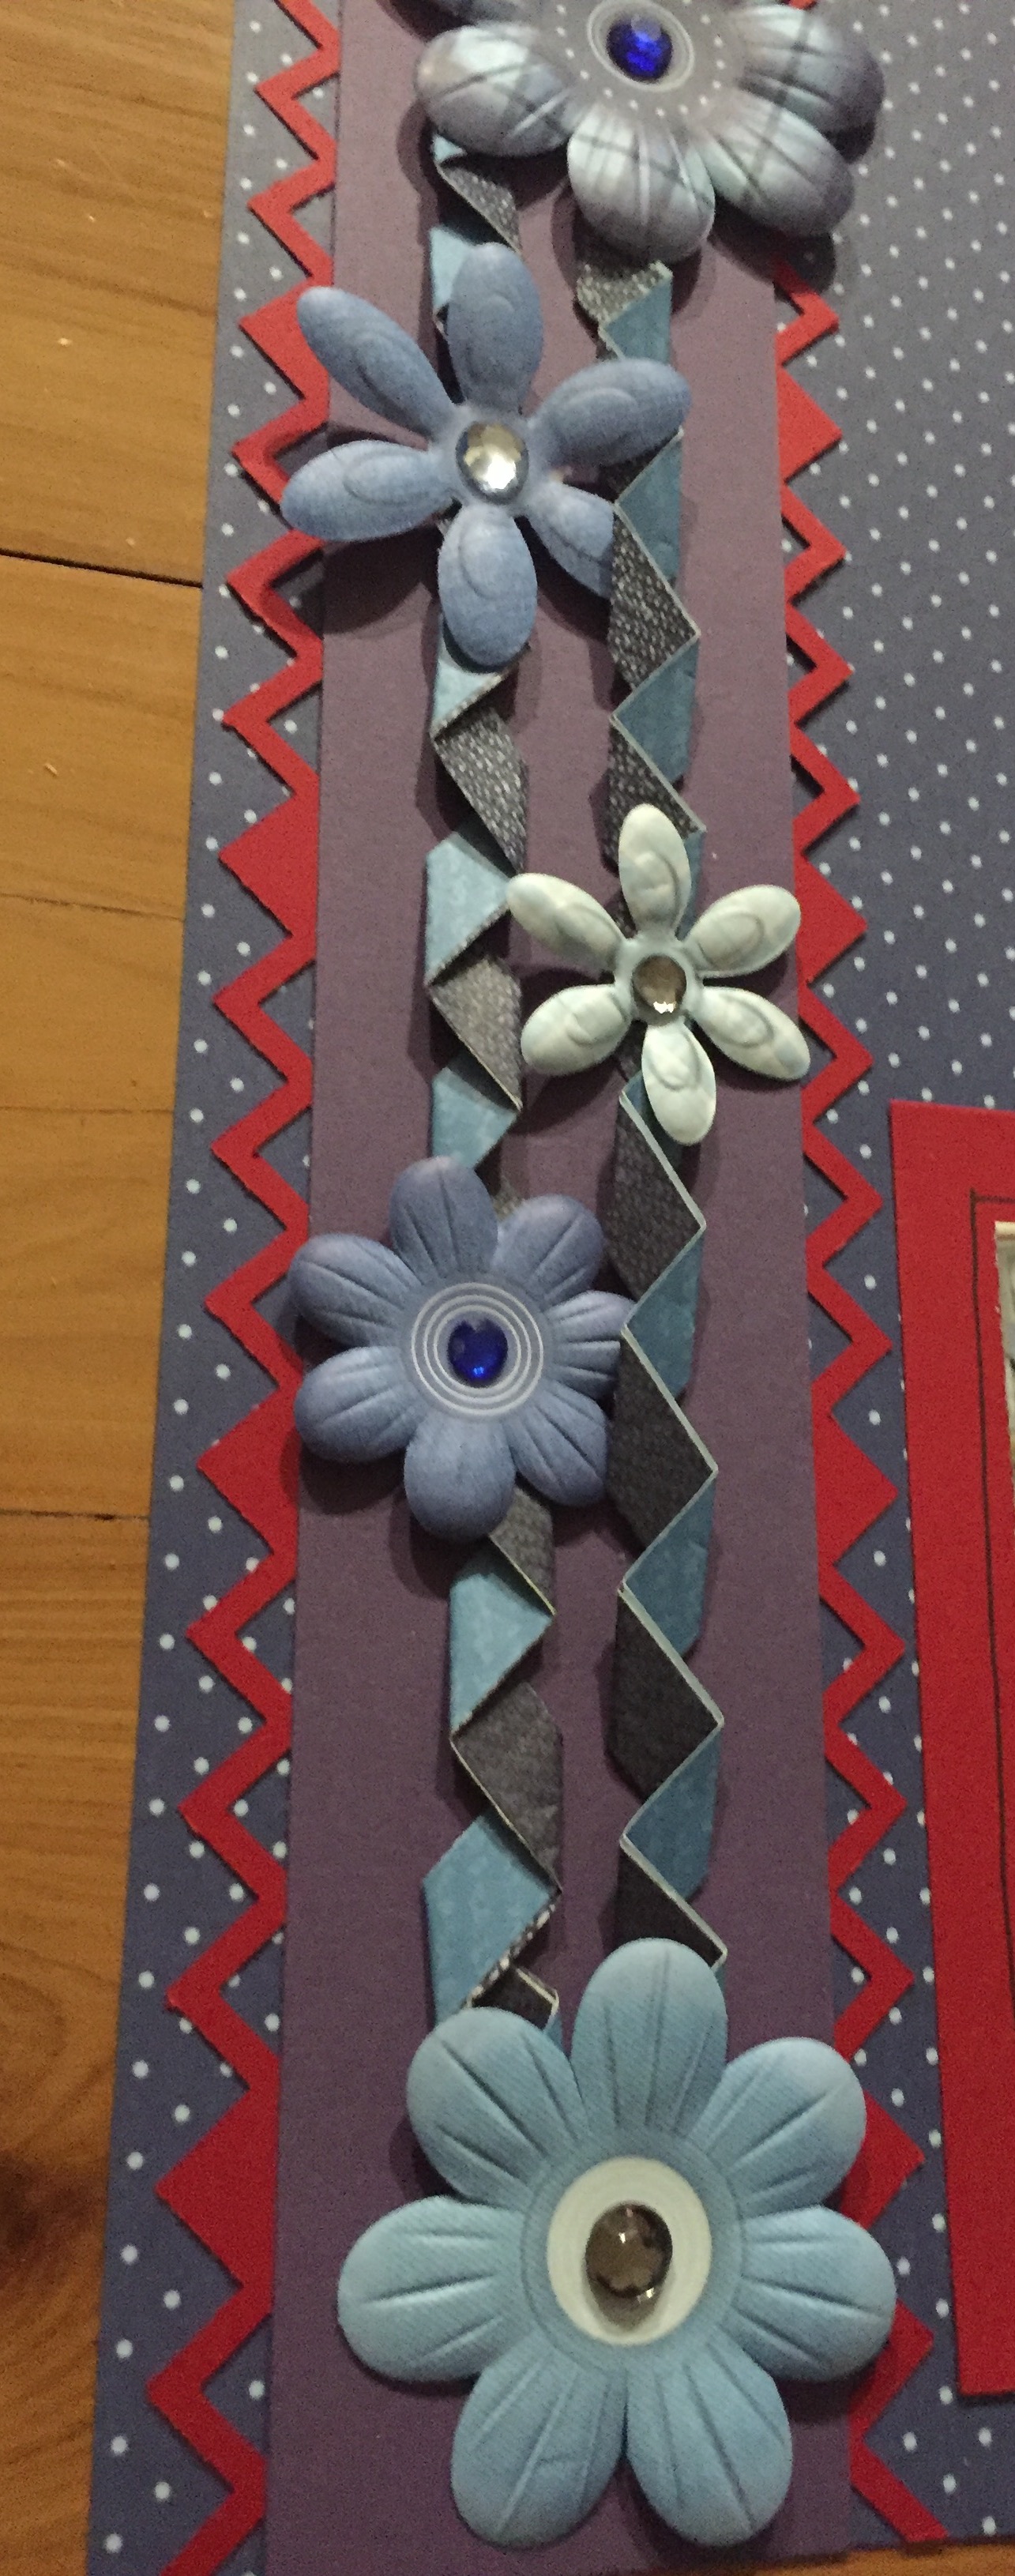
For the border, cut an Arygle border from Cranberry Cardstock and trim in half long-ways. Adhere to the back of a 2 inch strip of Eggplant Cardstock as shown. Trim 1/4 inch strips of denim paper, 2 each of light colour and dark colour. Adhere the light and dark strips back to back. Fold each strip to create a zig-zag appearance and adhere to the centre of the Eggplant strip. Choose denim flowers to adhere with Foam Squares as shown.
Using the small CCS Circle Pattern and Blue blade trim an Eggplant circle, then using the Red Blade trim a light blue polka dot paper circle, adhere together and place on the layout with Foam Squares. Add a title, journalling and gem stickers!


Digital Spread created by Beth Thomander- CAN
Digital Spread was created using: Cake My Day Digital Kit US CAN

To create this spread you’ll need:
Natural Elegance Paper Pack US CAN
Raspberry 12X12 Cardstock US CAN
Pastel Pink ABC/123 Stickers US CAN
Scallop Dots Border Maker Cartridge US CAN
Start by creating photo mats out of Raspberry Cardstock (three measuring 4-1/4” 6-1/4” and three measuring 3-1/4” X 4-1/4”). Cut two rectangles of Natural Elegance patterned paper to 3” X 4” and adhere them to two of the small mats. Print photos (one measuring 3” X 4” and three measuring 4” X 6”) and adhere them to the remaining mats.
Next, cut a strip of Natural Elegance patterned paper to 1-1/2” X 12”. Cut a piece of White Cardstock to 2-1/2” X 12” and use the Scallop Border Cartridge to punch and edge along both sides. Cut a piece of Raspberry Cardstock to measure 3” X 12”. Using The Tape Runner, adhere these three pieces together and then adhere them to the spread leaving about 1/3” from the spread base.
Then take two strips of White Cardstock measuring 1” X 12” and punch a Scallop Dot Border along each of them. Use the 12-Inch Trimmer to cut the border down the second row of dots. Using a piece of Natural Elegance patterned paper that measures approximately 5” X 5-1/2” draw a heart free-hand and then use the All Purpose Scissors to cut the heart out. Attach the scallop strips along the back of the heart edges so that only the scallops show and the dots are hidden behind. Trim off the excess and adhere the extra pieces to the back side of two of the 3” X 4” matted pattern appears.
Add the photos and heart to the layout and then use Pastel Pink ABC/123s to create titles. Finally, finish off the layout by journalling using the Black Pen.
As a way to say THANK YOU for joining us today, we would like to offer you a special deal, that only you can take advantage of for attending the Virtual Crop. Spend $25, and get $10 off. You will need to enter the code JanCrop10. Don’t forget to add this in the coupon code, as we will not be able to go back and alter any orders. Valid today only between 9:00 am – 6:00 pm CST.
Happy Shopping!

The coupon code is not working…..is it only for specific products?
I just did it and it worked – make sure you enter it this way: JanCrop10 (with caps and lowercase).
Mine worked to. Are you loggin into your account?
Make sure you are signed into your account, or it won’t work.
Is this the events page?
No, this is the blog. The event page is on Facebook! :)
Coupon code is not working for me.
Dorothy, Make sure that you are signed into your account. :)