February 21, 2017
Sorbet Fast2Fab + New Tools = Sweet!

Fast2Fab Albums have quickly become my favorite way to scrapbook! I love how quickly and easily the pages come together, helping me stay caught up on my projects. Plus, with the matching papers and embellishments, I can add a little personalization and flexibility to the printed pages.
Here are a few sweet Fast2Fab layouts combining the Sorbet Collection with some of the newest tools. A BEFORE photo shows the pre-printed layout, and an AFTER photo is what it looks like with a few simple touches. I’ve added a few tried and true “F2F TIPS” that help me make the most of this way of album-making. If you haven’t tried a Fast2Fab yet…what are you waiting for?
To make these layouts you’ll need:
- Sorbet Fast2Fab Album
- Sorbet Paper, Mats, Stickers & Embellishments
- Personal Trimmer
- 12-inch Straight Trimmer
- 12-inch Decorative Trimmer
- Custom Cutting System with Circle and Rectangle Patterns
- Original Border Maker System with Zig Zag Cartridge
- Daisy Punch
- Tape Runner and Repositionable Tape Runner Refill
- Foam Squares
- Black Dual-Tip Pen
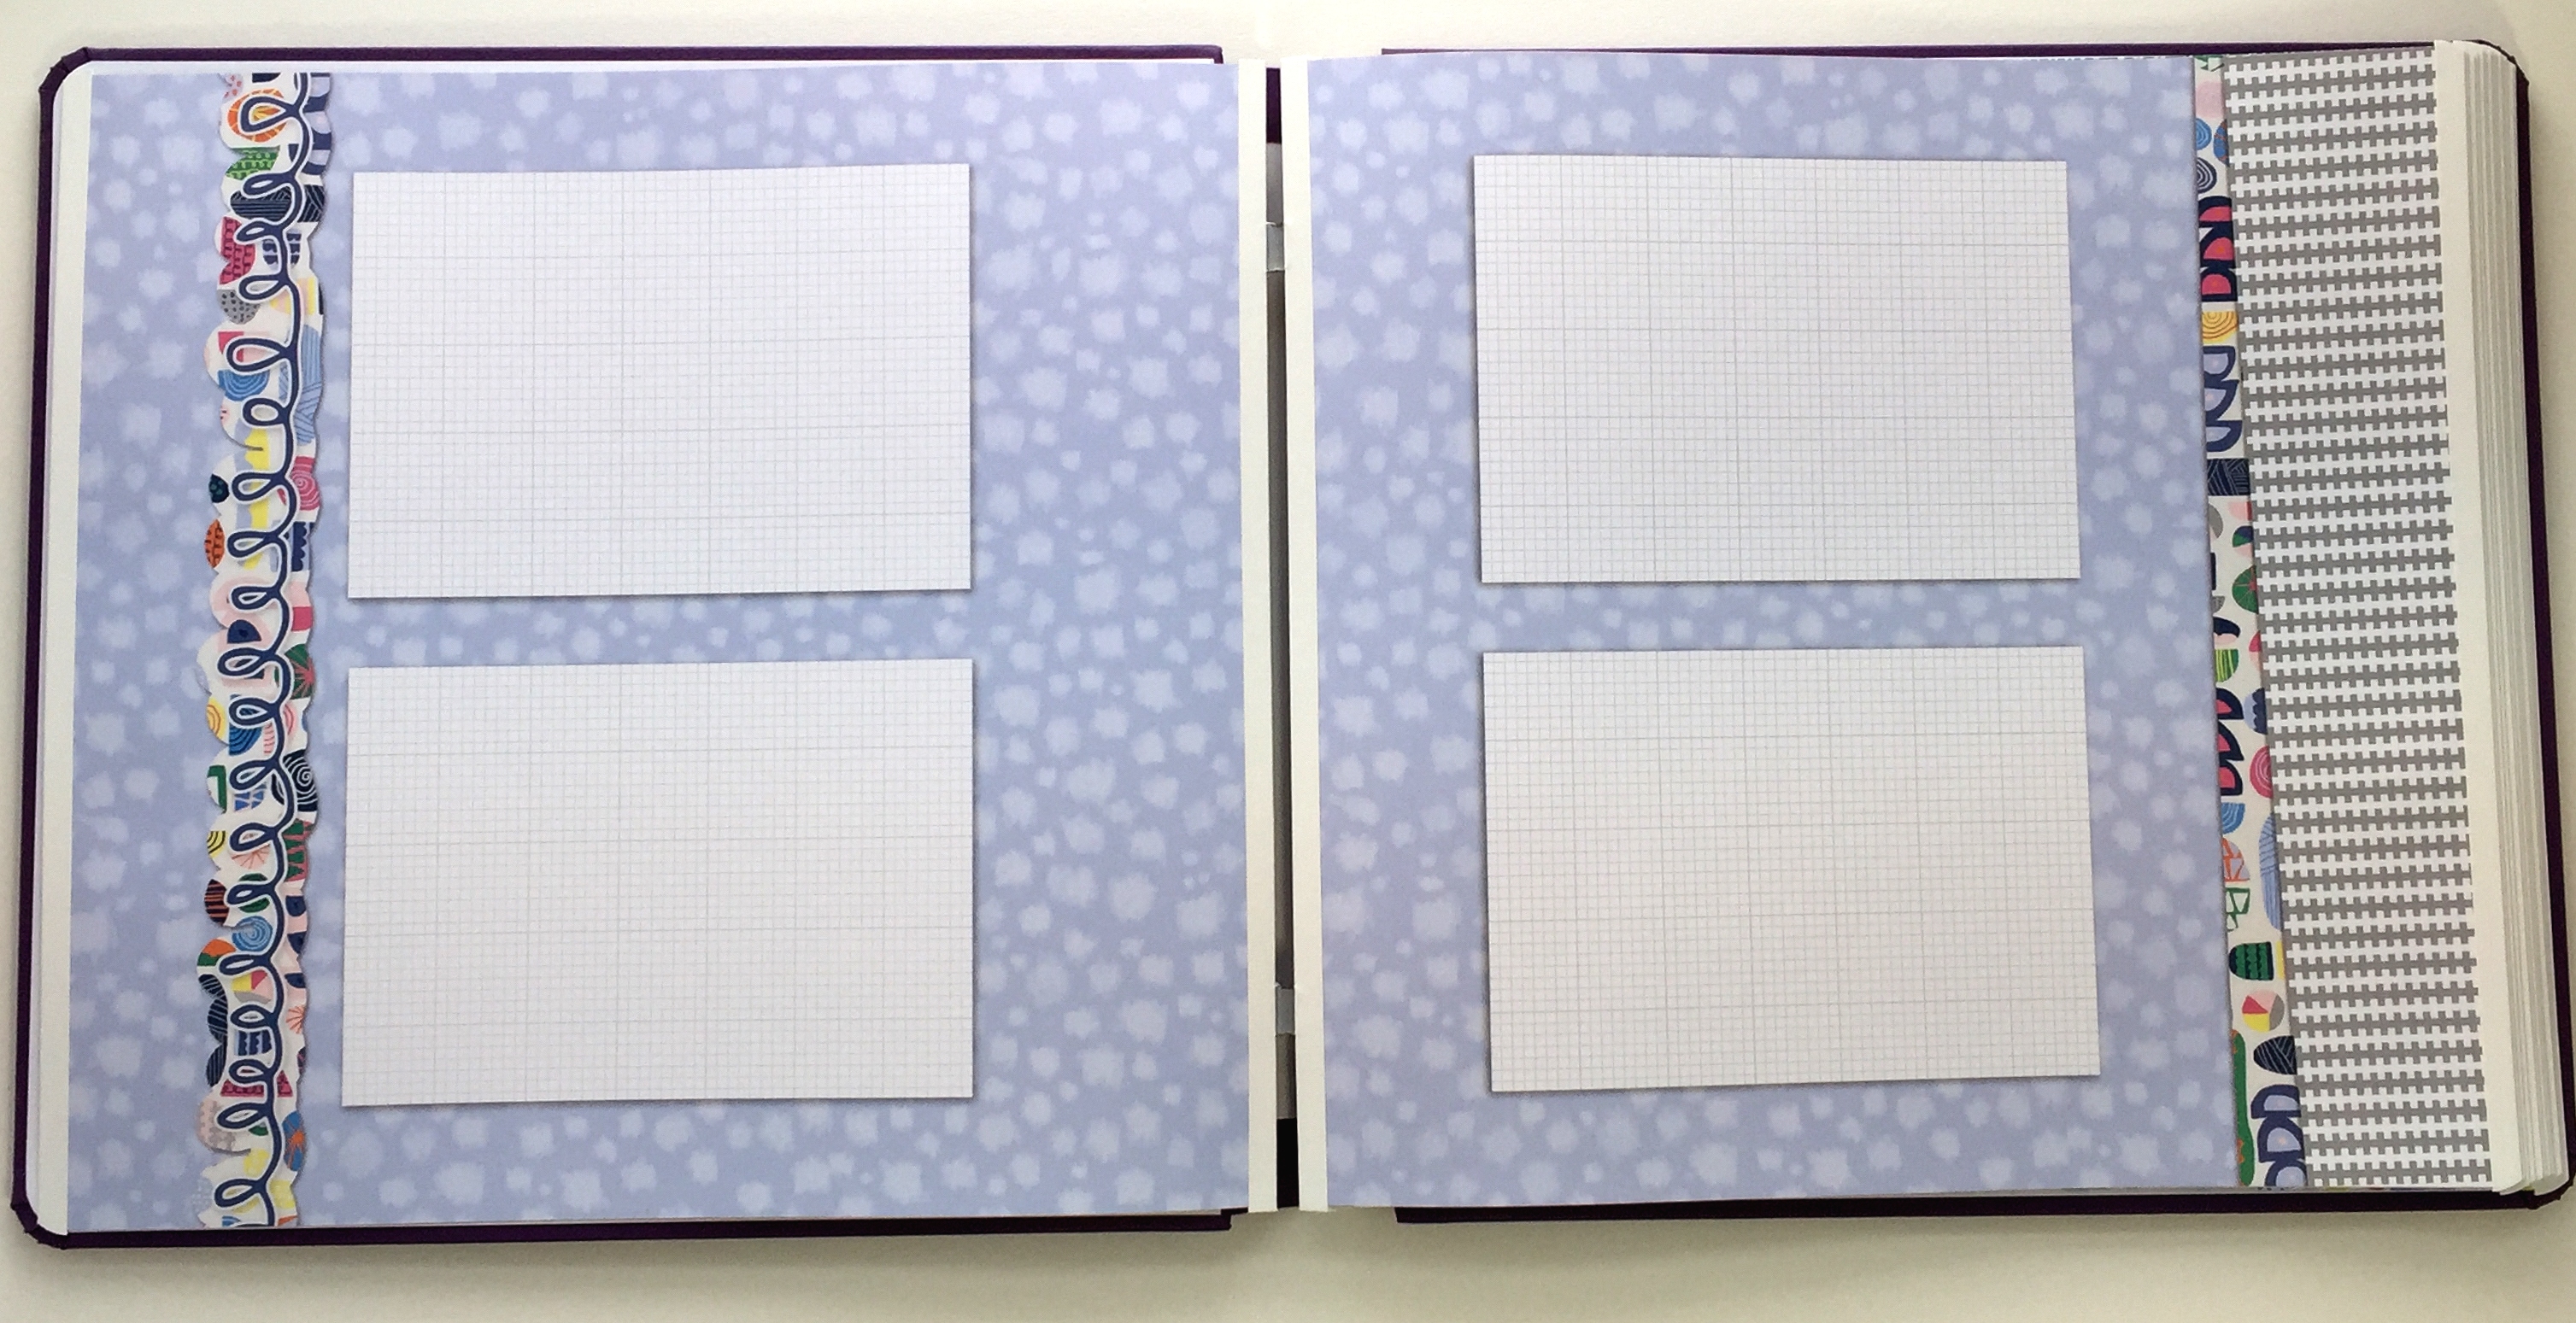
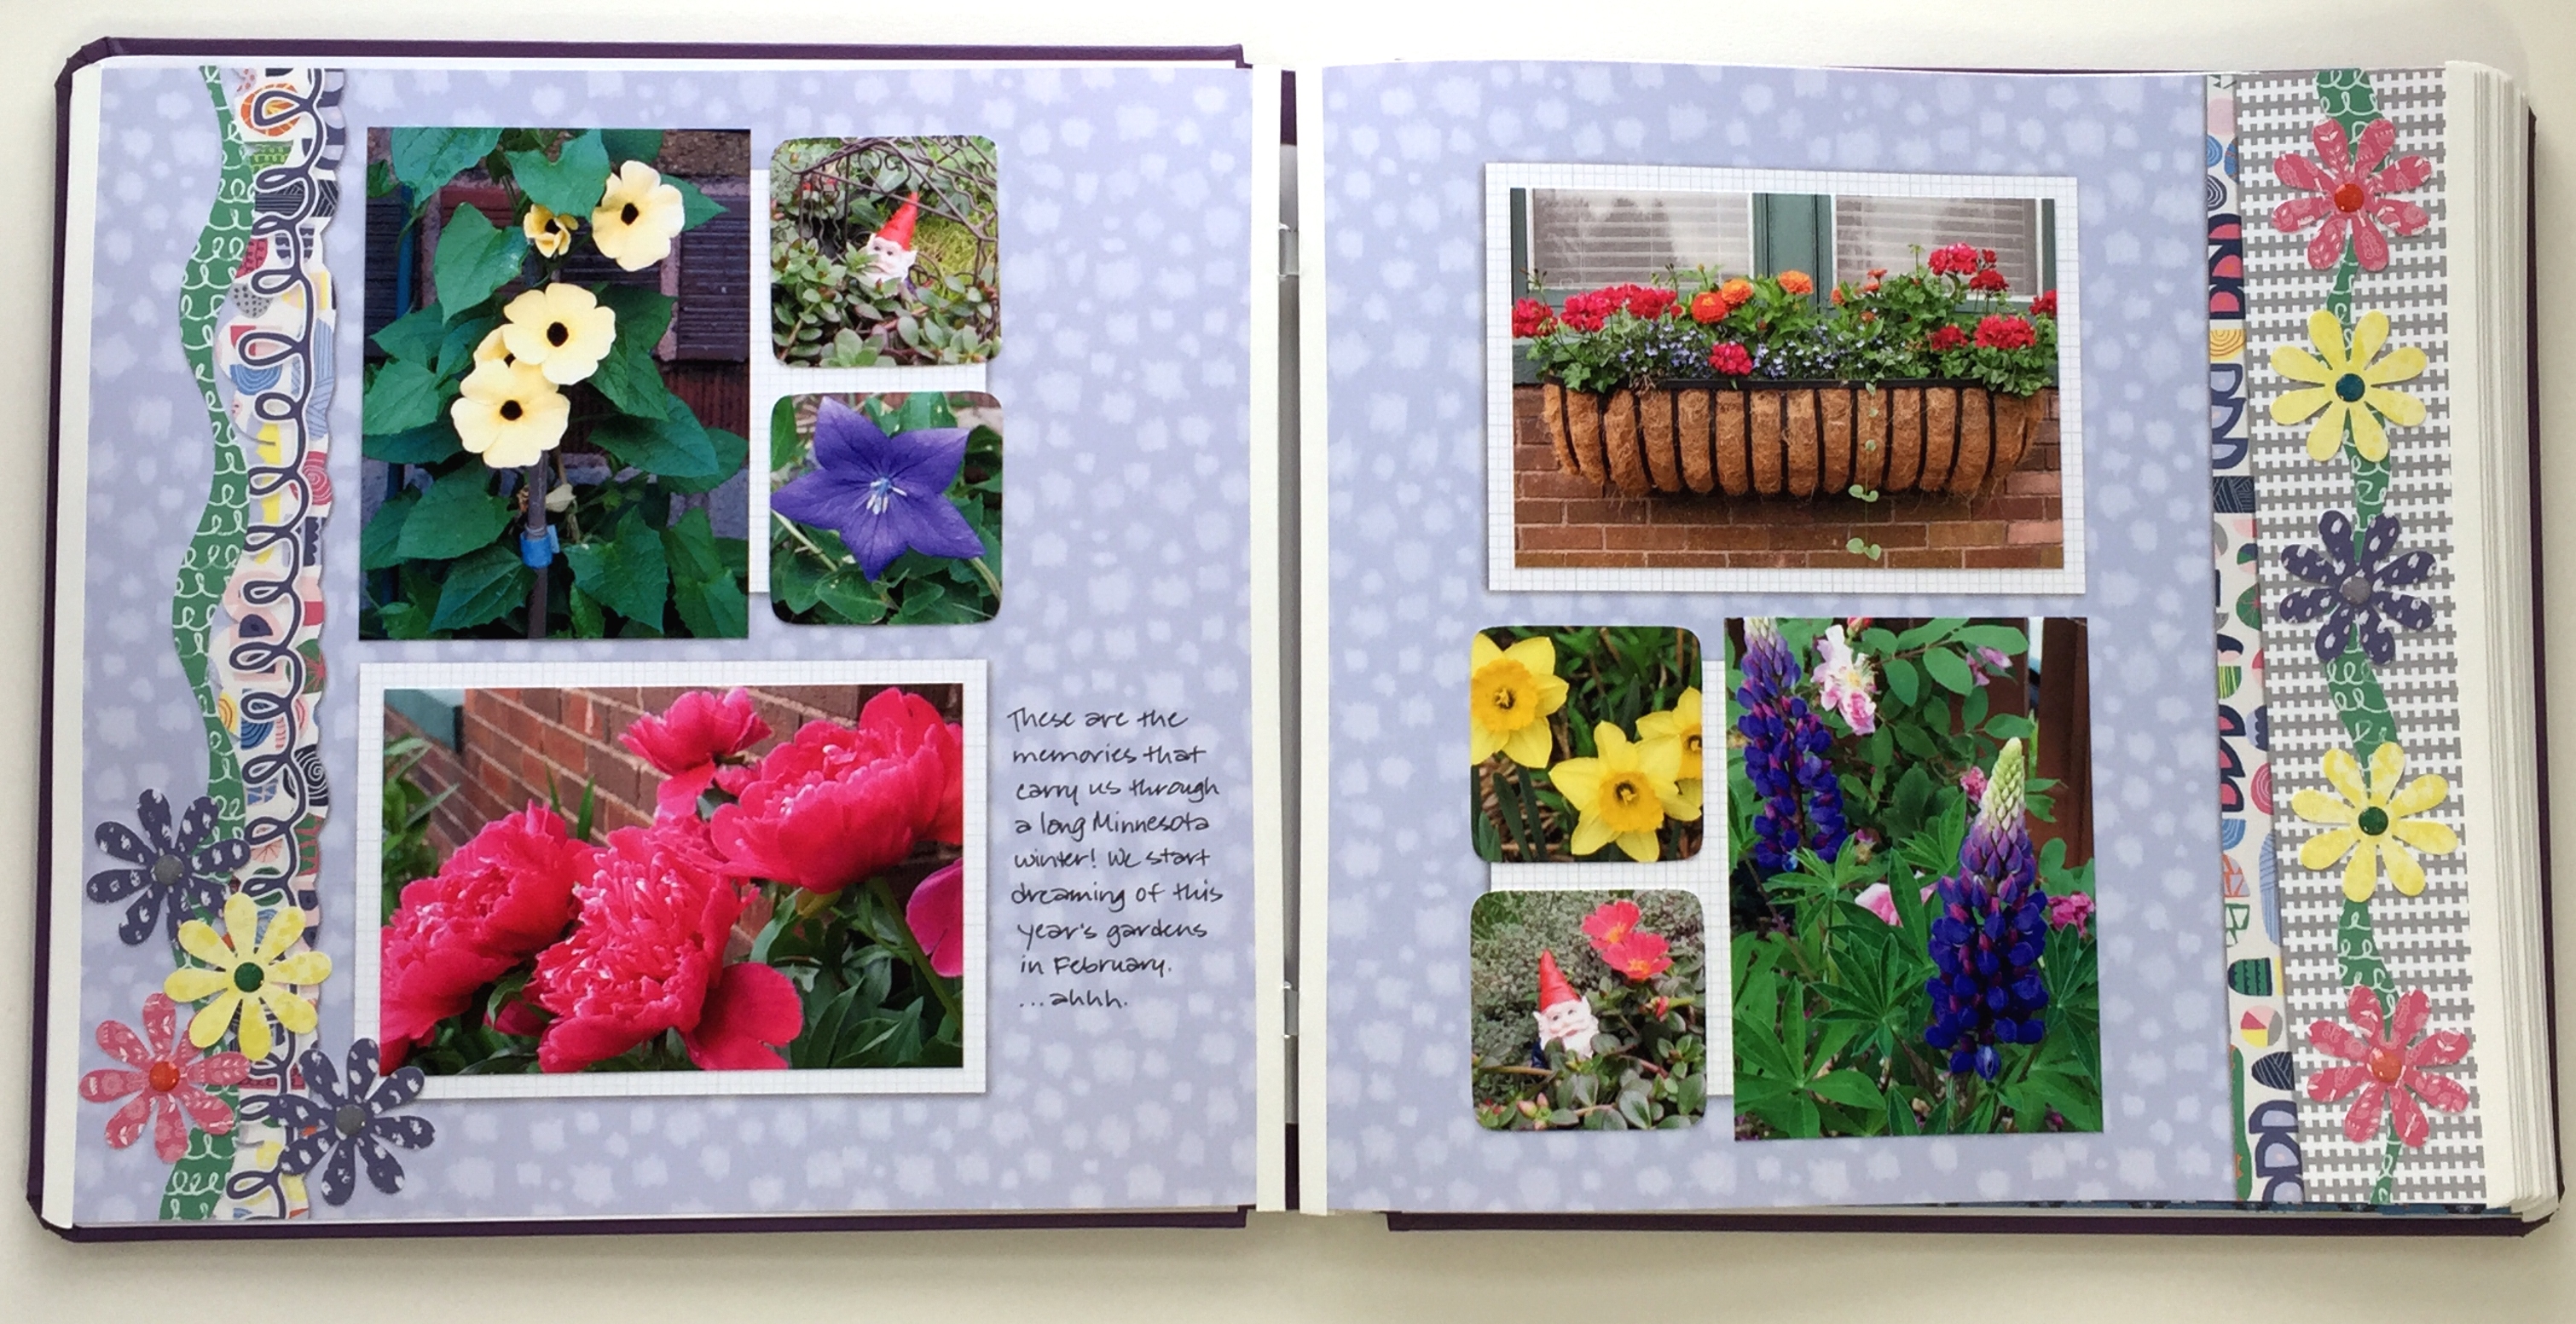
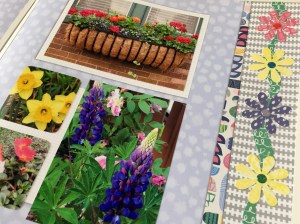
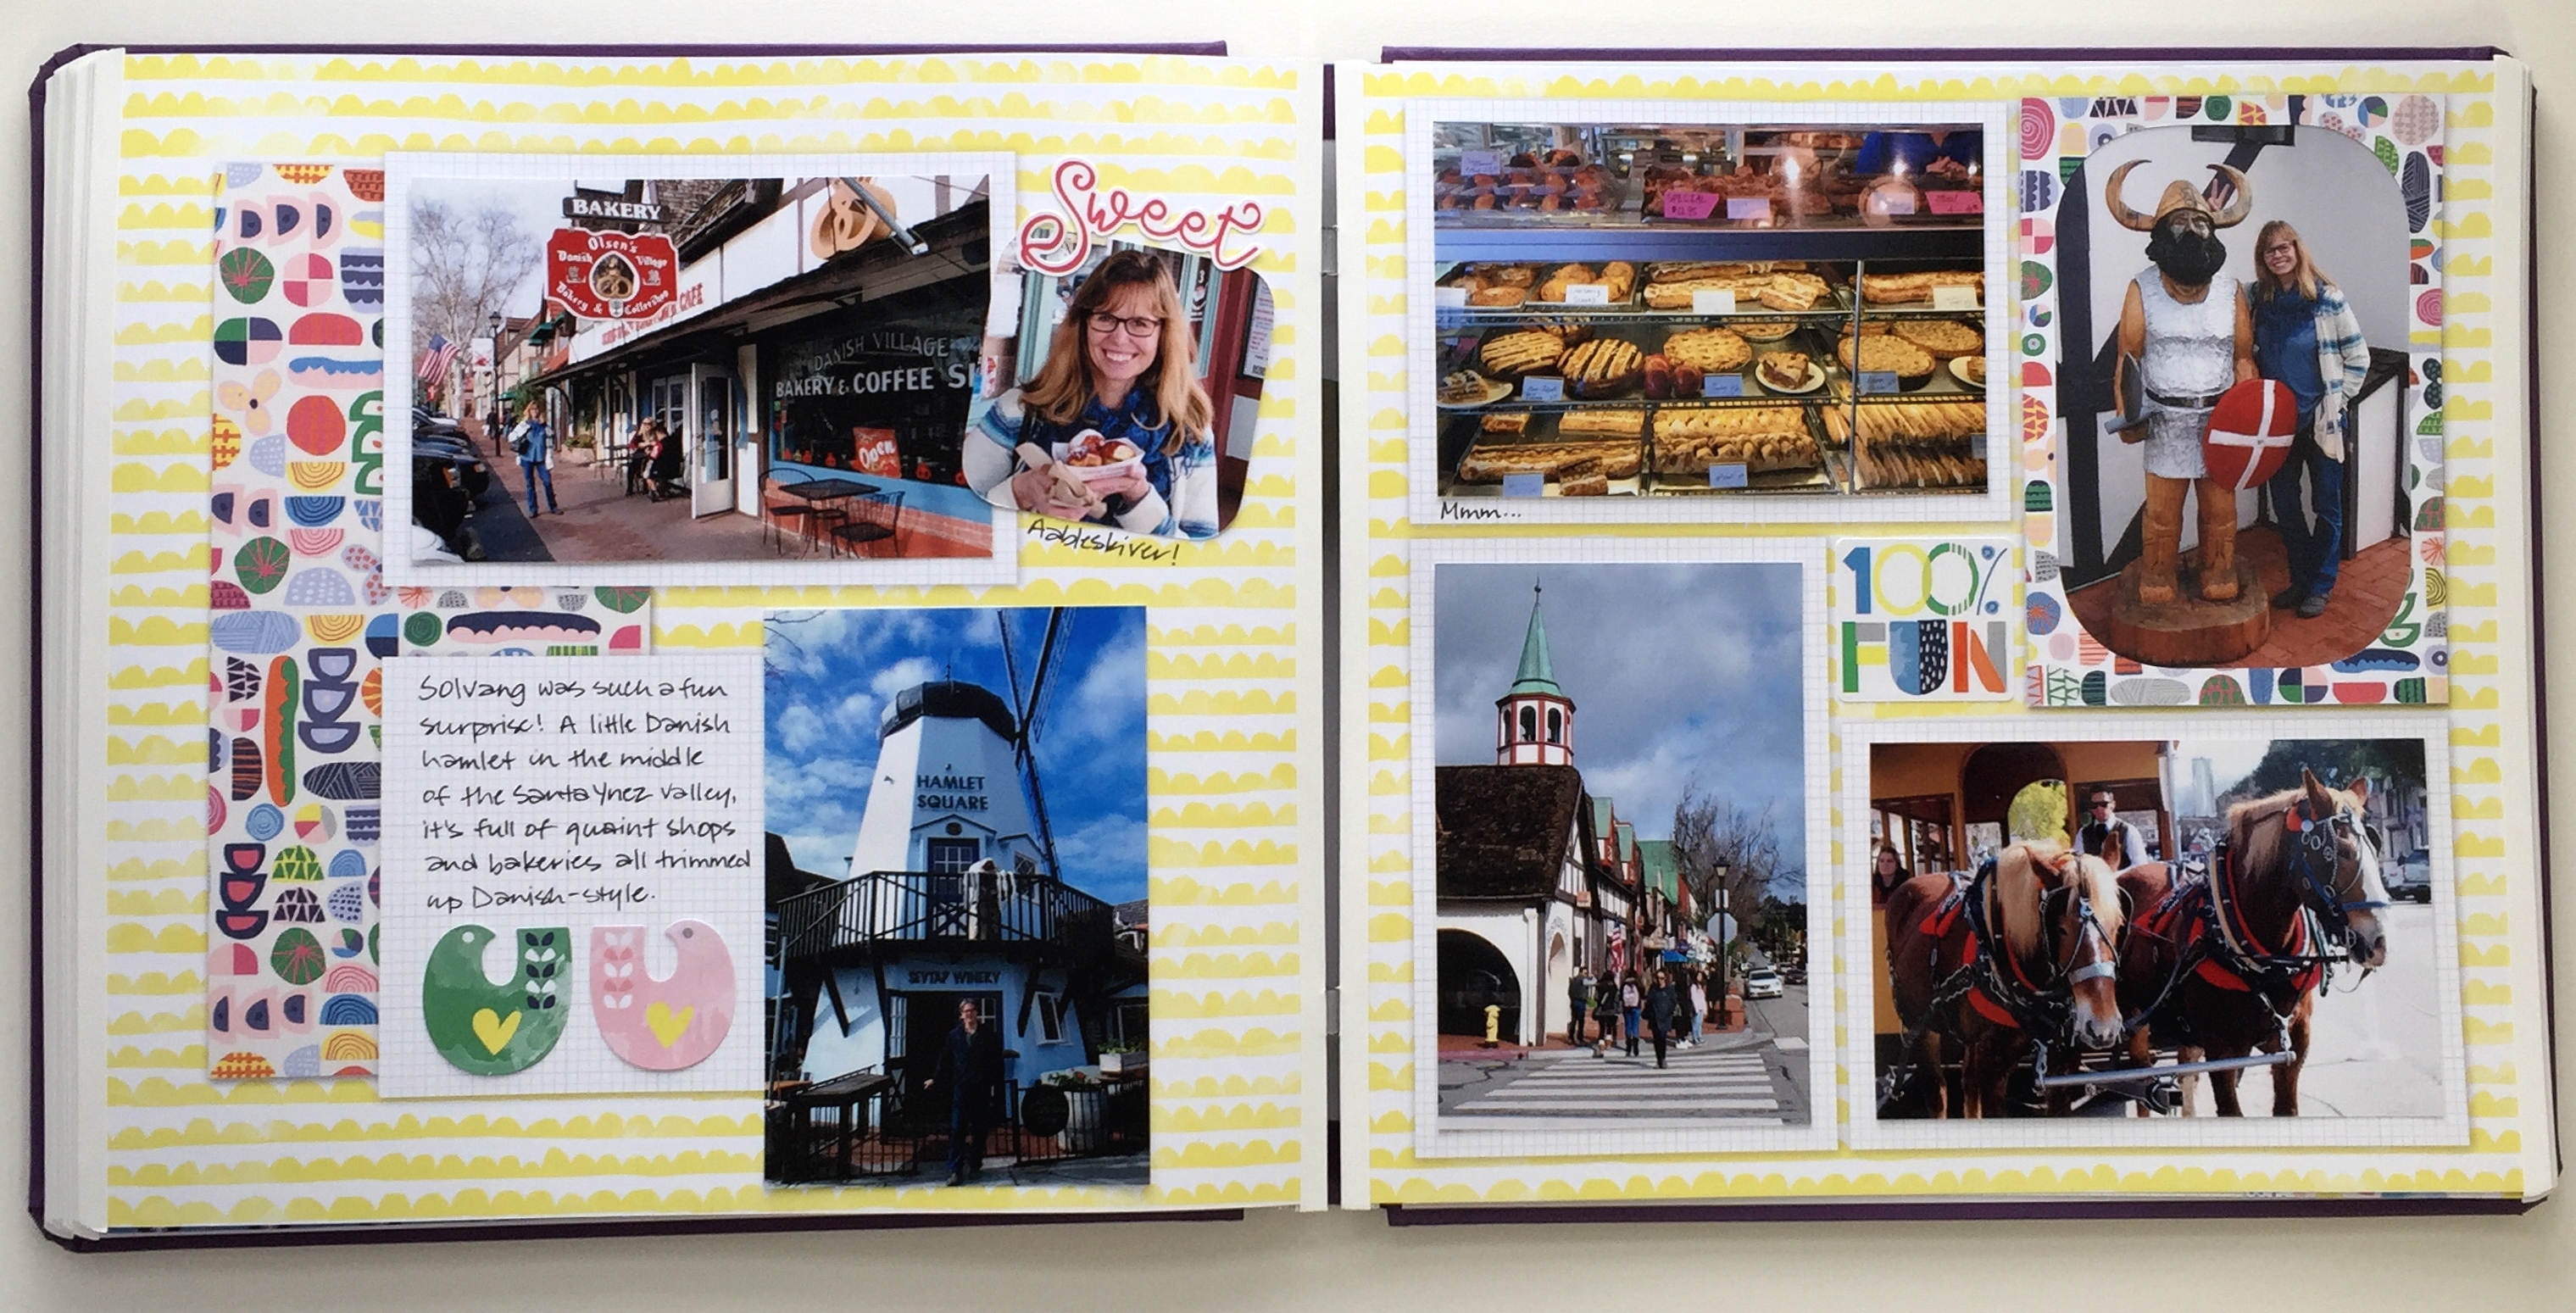
Daisy Layout
- With decorative trimmer, cut two wavy strips of green paper. (For first cut, line the paper up at the top of the timmer. For the second cut, move the paper over 1/2″ and down 1/2″ to bottom edge of trimmer.) Adhere to each side edge as shown.
- Punch three daisies each with pink, purple and yellow mats. Add to green strips. Dot centers with jewels.
- Use the inside of the square pattern and the blue blade to cut favorite parts out of four pictures. Adhere them, along with four 6″ x 4″ pictures to the layout. Journal as desired.
- F2F TIP: Think of the photo boxes printed on many of the F2F pages as “suggestions”…in other words, if your pictures don’t fit exactly in those boxes, no worries! By repeating the same arrangement of 3 photos on each page over a single photo box, it works.
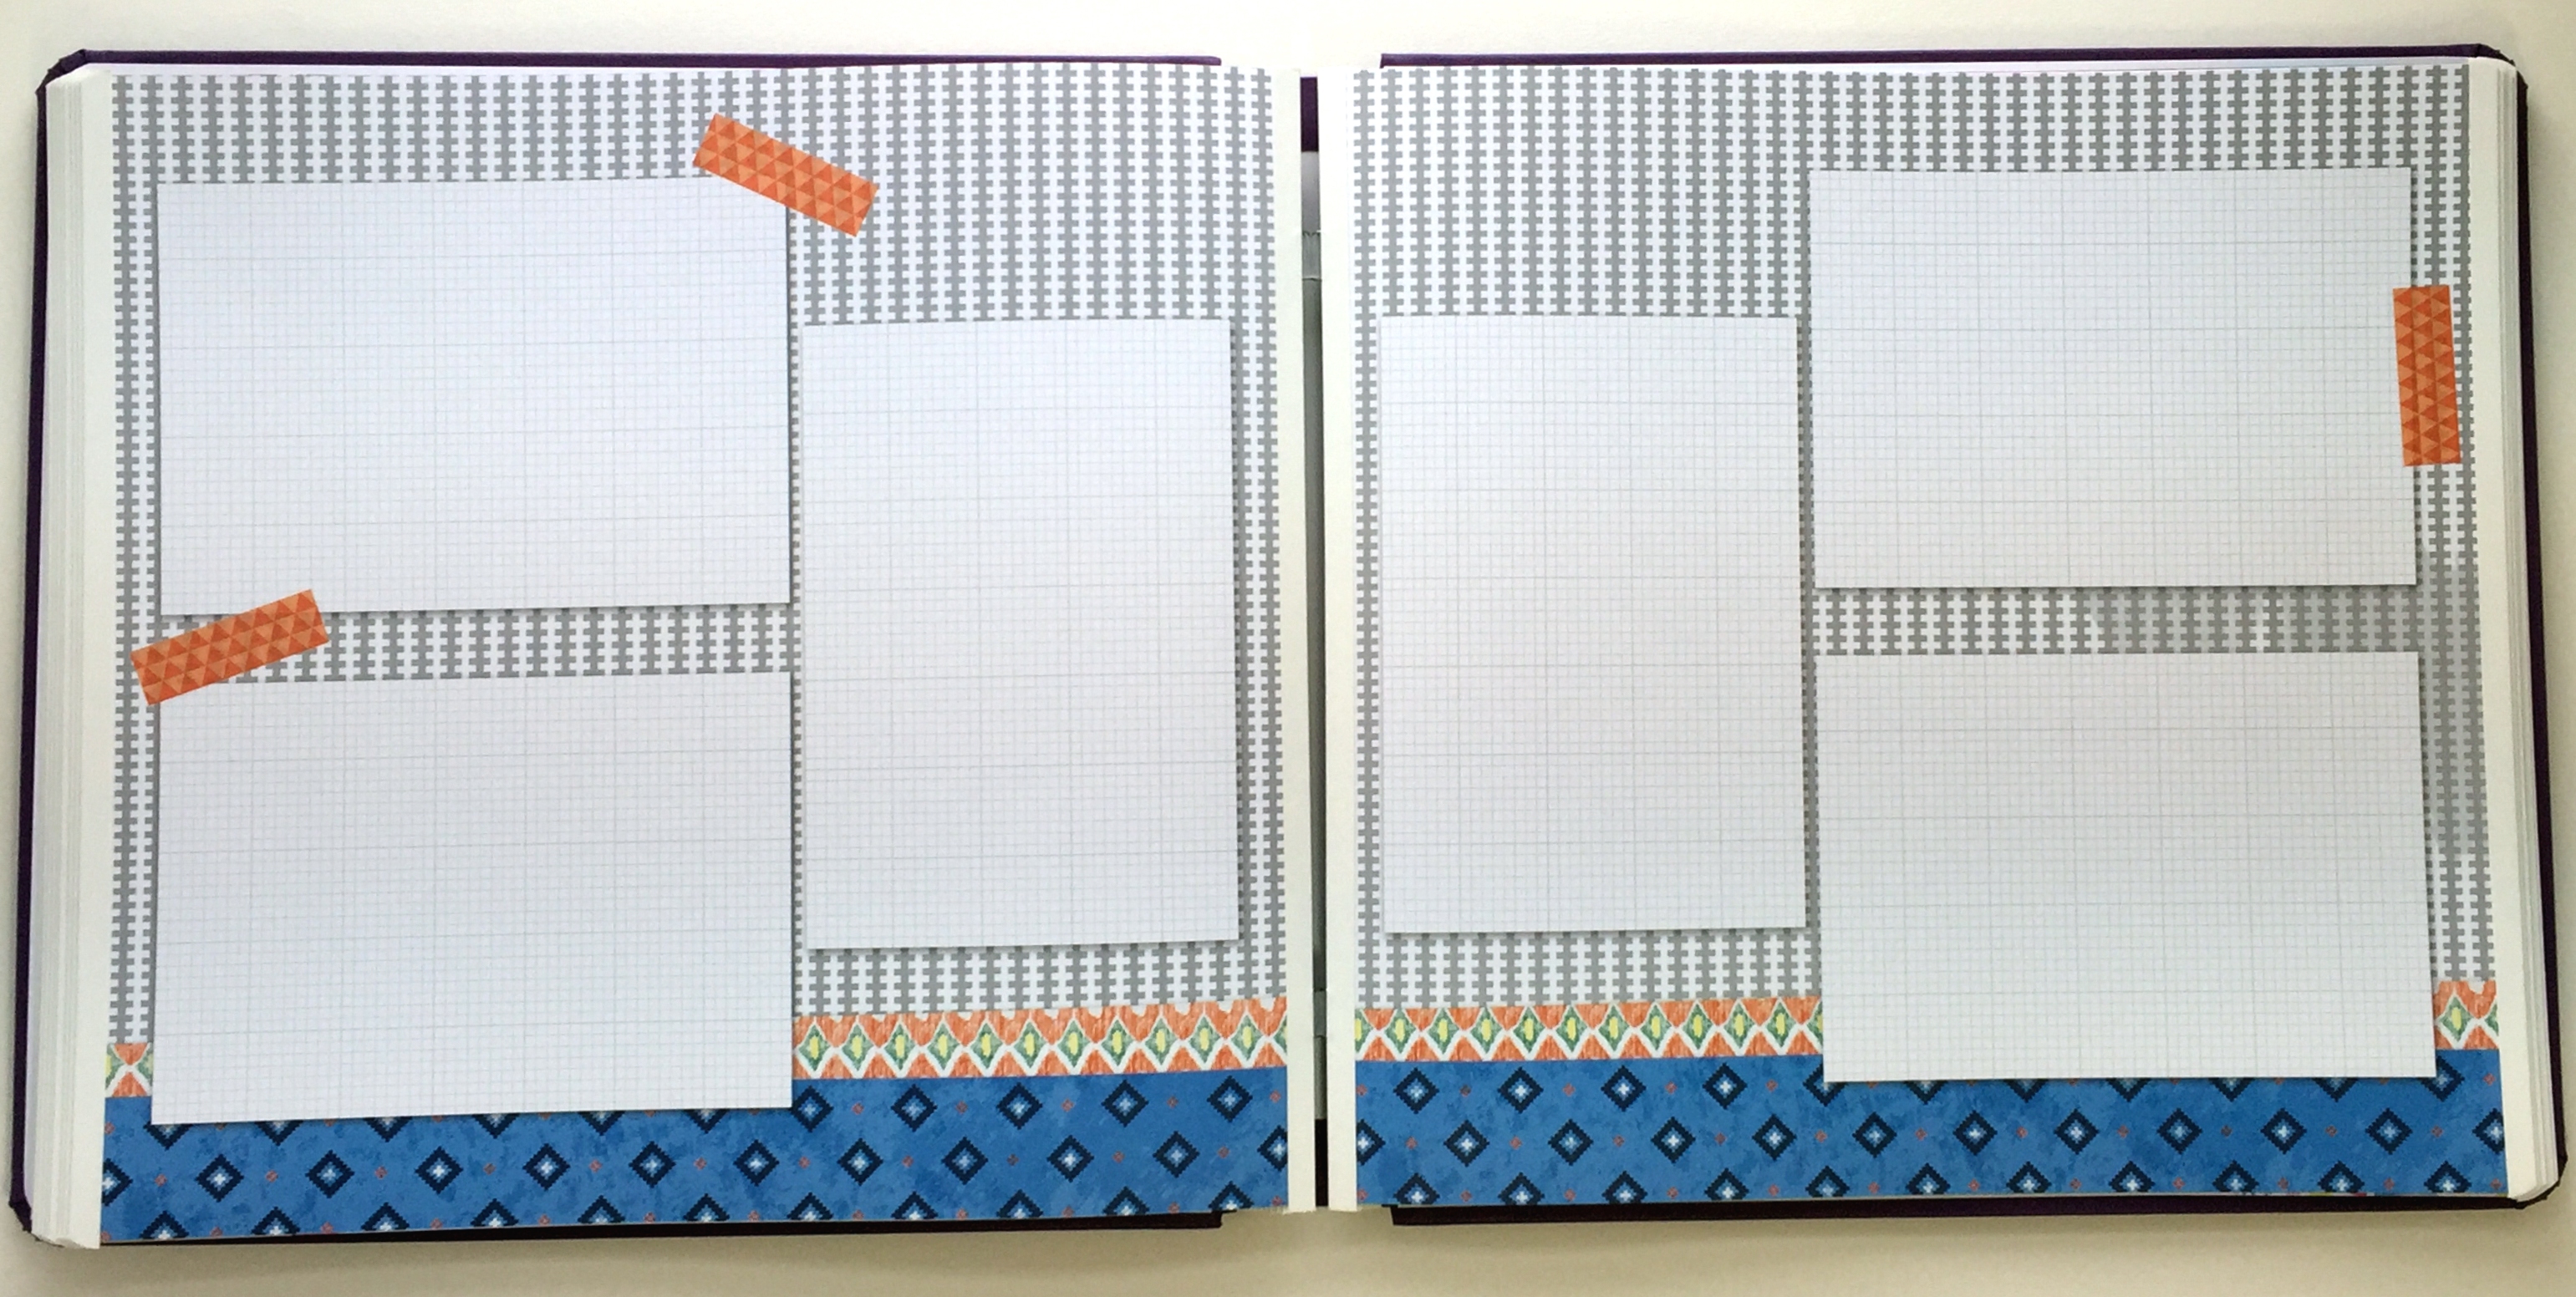
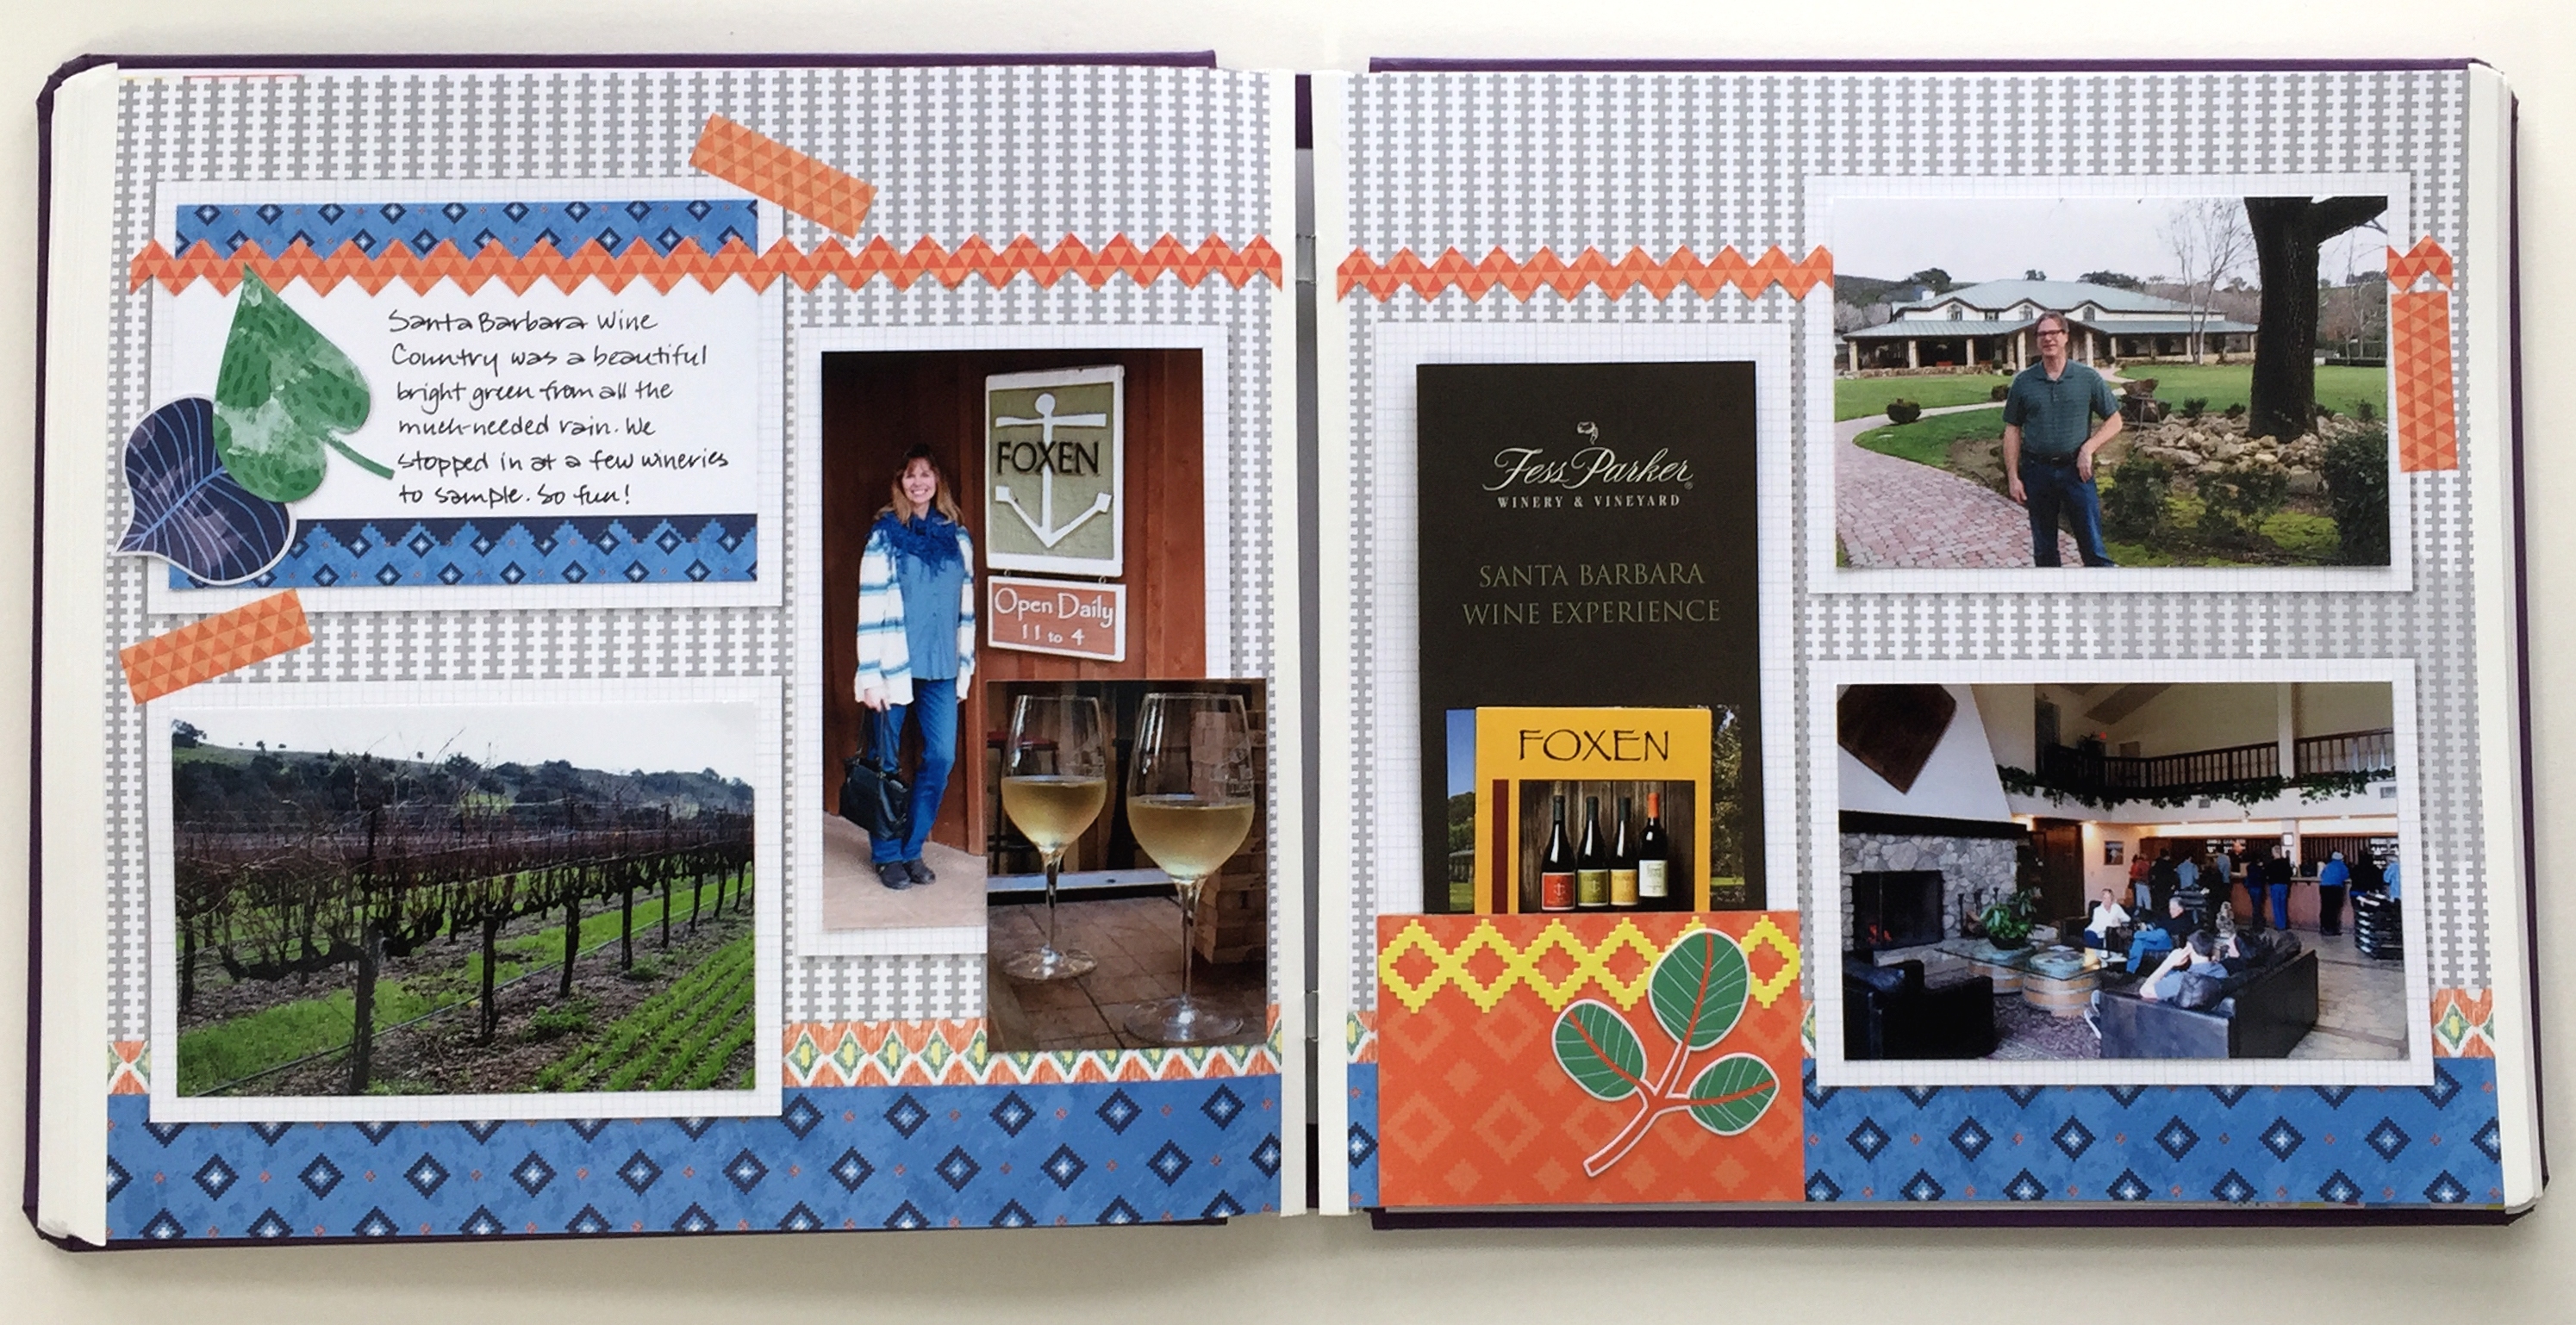
Zig Zag Layout
- Apply a mat to the upper left printed photo box.
- With the zig zag cartridge, punch two borders with orange paper. Mount across photo mat and both pages, about 2″ down from the top as shown. F2F TIP: Carrying a simple border element across both pages visually connects them and adds impact.
- For pocket, cut an orange mat to 4-1/2″ x 3″. Apply adhesive to 3 sides (all except the top) and adhere to bottom of page, underneath the vertical box as shown. F2F TIP: Pockets are so easy and practical, and they allow you to tell more of the story by adding memorabilia.

- Add leaf embellishments & yellow squares sticker, remaining photos and journaling.

Sweet Layout
- Add photos to the photo boxes on the layout. Using the inside of the square pattern and the red blade, cut a favorite part of a picture out and add to an open spot on the page.
- Using the outside of the shorter rectangle and the red bade, cut out the middle of a mat. Adhere over one of the photos. (You can save the inside to mat a smaller photo!) F2F TIP: Just adding a mat of matching paper to the right side of the layout to match what’s printed on the left adds more visual interest.
- Add stickers, embellishments and journaling. F2F TIP: Mounting a vertical photo on top of a horizontal printed photo box allows you to use part of the empty space as a journal box.
Have fun! You’ll have your album done in no time, allowing you to get out there and make some more memories…now that’s SWEET!
Krislyn

For the pocket, do you adhere it on top of the page protector? Or, do you not use a protector?
I adhere it underneath the page protector. If I want to look at the brochure, etc. later, it’s easy to slide the protector over to take it out.
I have never used a Fast2Fab album before, but your cute and clever ideas have convinced me to give it a try!
I love to hear that! Fast2Fab albums are so cool…but it took me trying one to realize it! Have fun.
Hi there,I log on to your blog named “Sorbet Fast2Fab New Tools = Sweet! | CREATIVE MEMORIES BLOG” on a regular basis.Your story-telling style is witty, keep doing what you’re doing! And you can look our website about free ip proxy.