April 25, 2017
Party Hats Scrapbooking Borders
Nothing says “Celebrate” more than cute party hats, right? And the new Party Hats Border Maker Cartridge, combined with one of our beautiful designer collections, takes the party to the next level!
Here, I’ve made some Party Time borders using both the bold, fun, colorful Cake My Day collection and the soft, warm and playful Woodland Whimsy collection. Two totally different takes, but the party hats all say “Celebrate”!
TIP: I’ve made a “Title Box” for each border. You may use them along with the border on your page layout, or you may instead choose to create a card instead! Simply adhere onto folded cardstock, and you have a cute Birthday card to give.
To make these borders you’ll need:
- Cake My Day Paper and Stickers
- Woodland Whimsy Girl Paper, Mat Pack, Stickers and Embellishments
- Woodland Whimsy Boy Paper, Mat Pack, Stickers and Embellishments
- Black Cardstock
- Pink and Navy ABC/123 Stickers
- Original Border Maker System with Party Hats, Star, Circle Weave and Scallop Dot Cartridges
- 4-Way Corner & Hole Punch
- 12-inch Straight Trimmer
- 12-inch Decorative Trimmer
- Custom Cutting System with Circle Patterns
- Scissors
- Tape Runner with Repositionable Tape Runner Refill
- Foam Squares
- Brown Dual-Tip Pen

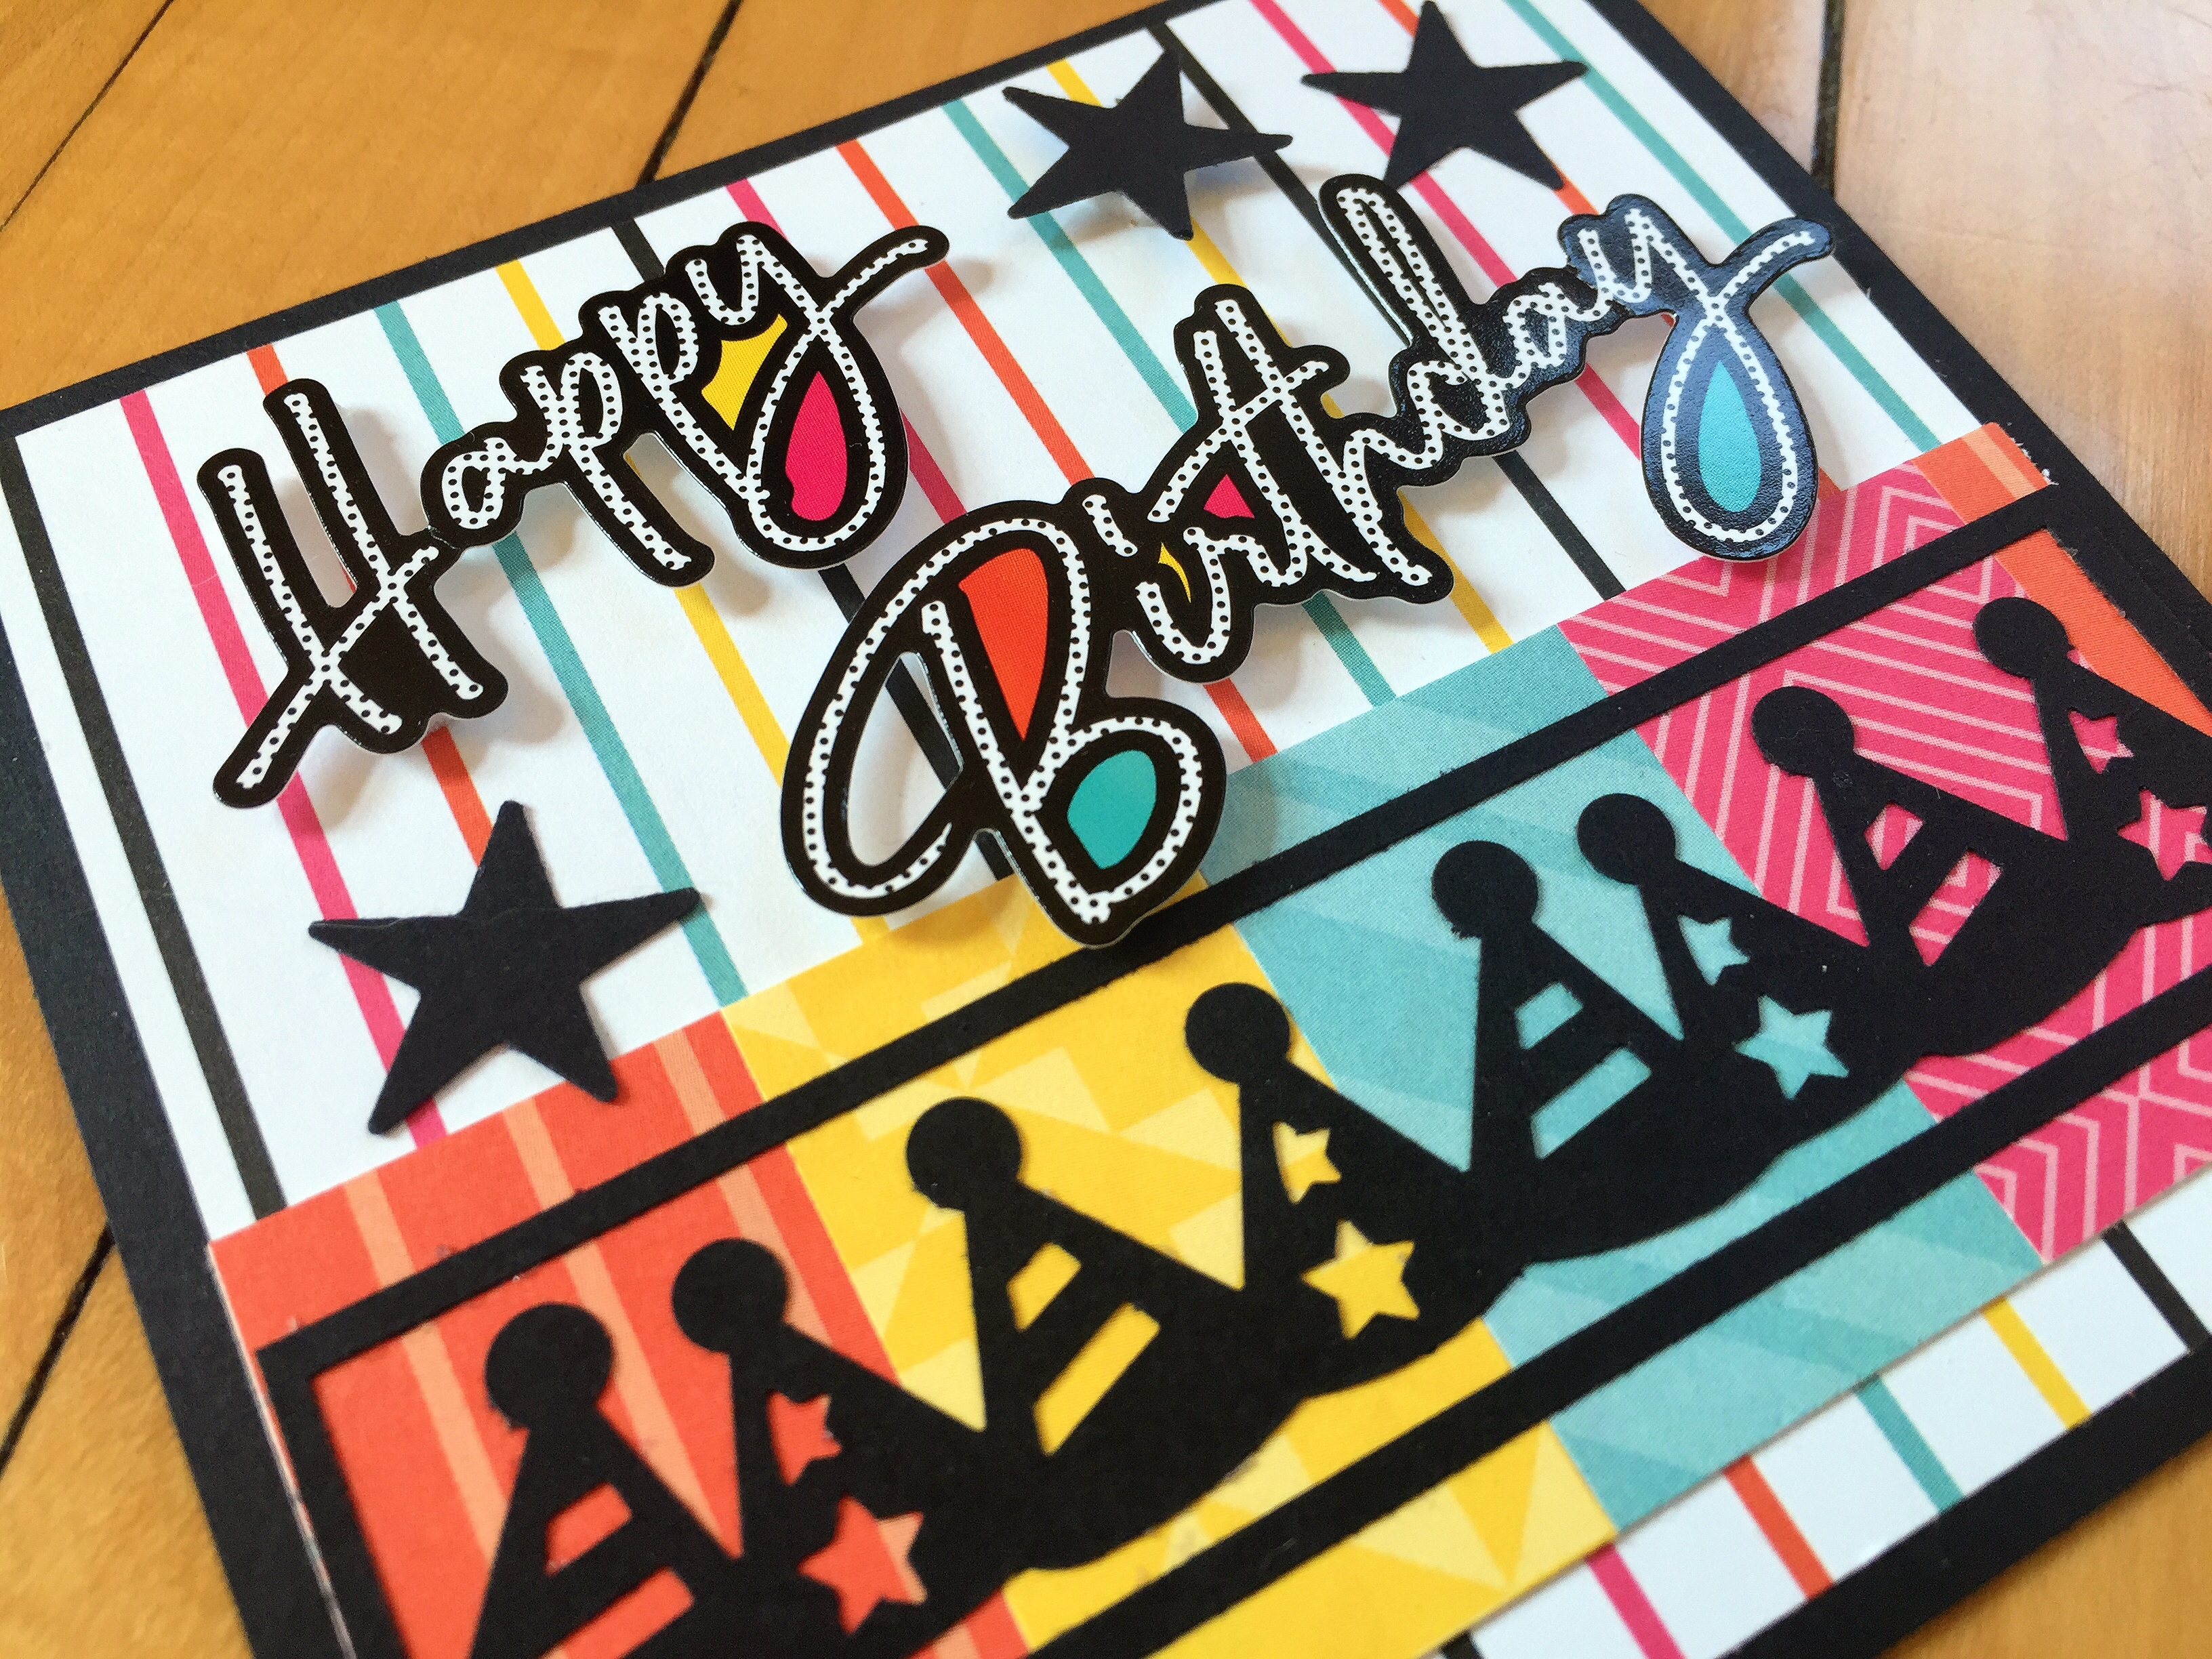
“Happy Birthday” Border (Cake My Day collection)
- Cut a 2″ x 12″ strip of striped white paper. Cut a 1-1/2″ x 12 strip each of pink, aqua, yellow and orange papers. Out of each strip, cut four 1″ x 1-1/2″ pieces. Alternating colors, adhere 3 of each color across border as shown.
- Using the star cartridge, punch once on each end with black cardstock. Switch to the party hats cartridge and punch the middle. Trim border to 1-1/8″ x 12″ and mount on top of border as shown.
- To make the Title Box, cut a piece of striped white paper to 4-1/4″ x 4″. Adhere remaining set of 4 colored pieces across bottom as shown. Using the party hats cartridge and black cardstock, make 2 punches in the middle of the the border maker. Trim out to 4-1/4″ x 1-1/8″ so that the party hats have a slim border around them. Adhere as shown. Add Happy Birthday sticker with foam squares and cut-out black stars. (Mount on card if desired.)

“Birthday Party Surprise” Border (Cake My Day Collection)
- Cut a 2-1/2″ x 12″ strip of yellow paper. Cut a 1-3/4″ x 12″ strip of colored brush strokes paper.
- Using the circle weave cartridge, punch a border with black cardstock. Cut in half lengthwise and tuck each half behind brush strokes strip so just the scallops show. Add to yellow border as shown.
- Using the party hats cartridge, punch 2 borders with black cardstock and 1 border with pink paper. Use one black border just offset behind the pink to create a shadow, and then mount them both over and beneath the second black border, offset, as shown.
- To make Title Box, cut a 3-1/2″ x 4-1/4″ piece of yellow paper, a 3″ x 3-3/4″ piece of black cardstock, and a 2-7/8″ x 3-5/8″ piece of colored brush stroke paper. Clip each corner with the 4-Way Corner & Hole Punch and assemble as shown. Cut a pink circle with the inside of the middle-sized pattern and the red blade. Trim off one side and add it to the box. Add party hat stickers with foam squares and Birthday Party! Surprise! stickers. Add cut-out stars as desired.
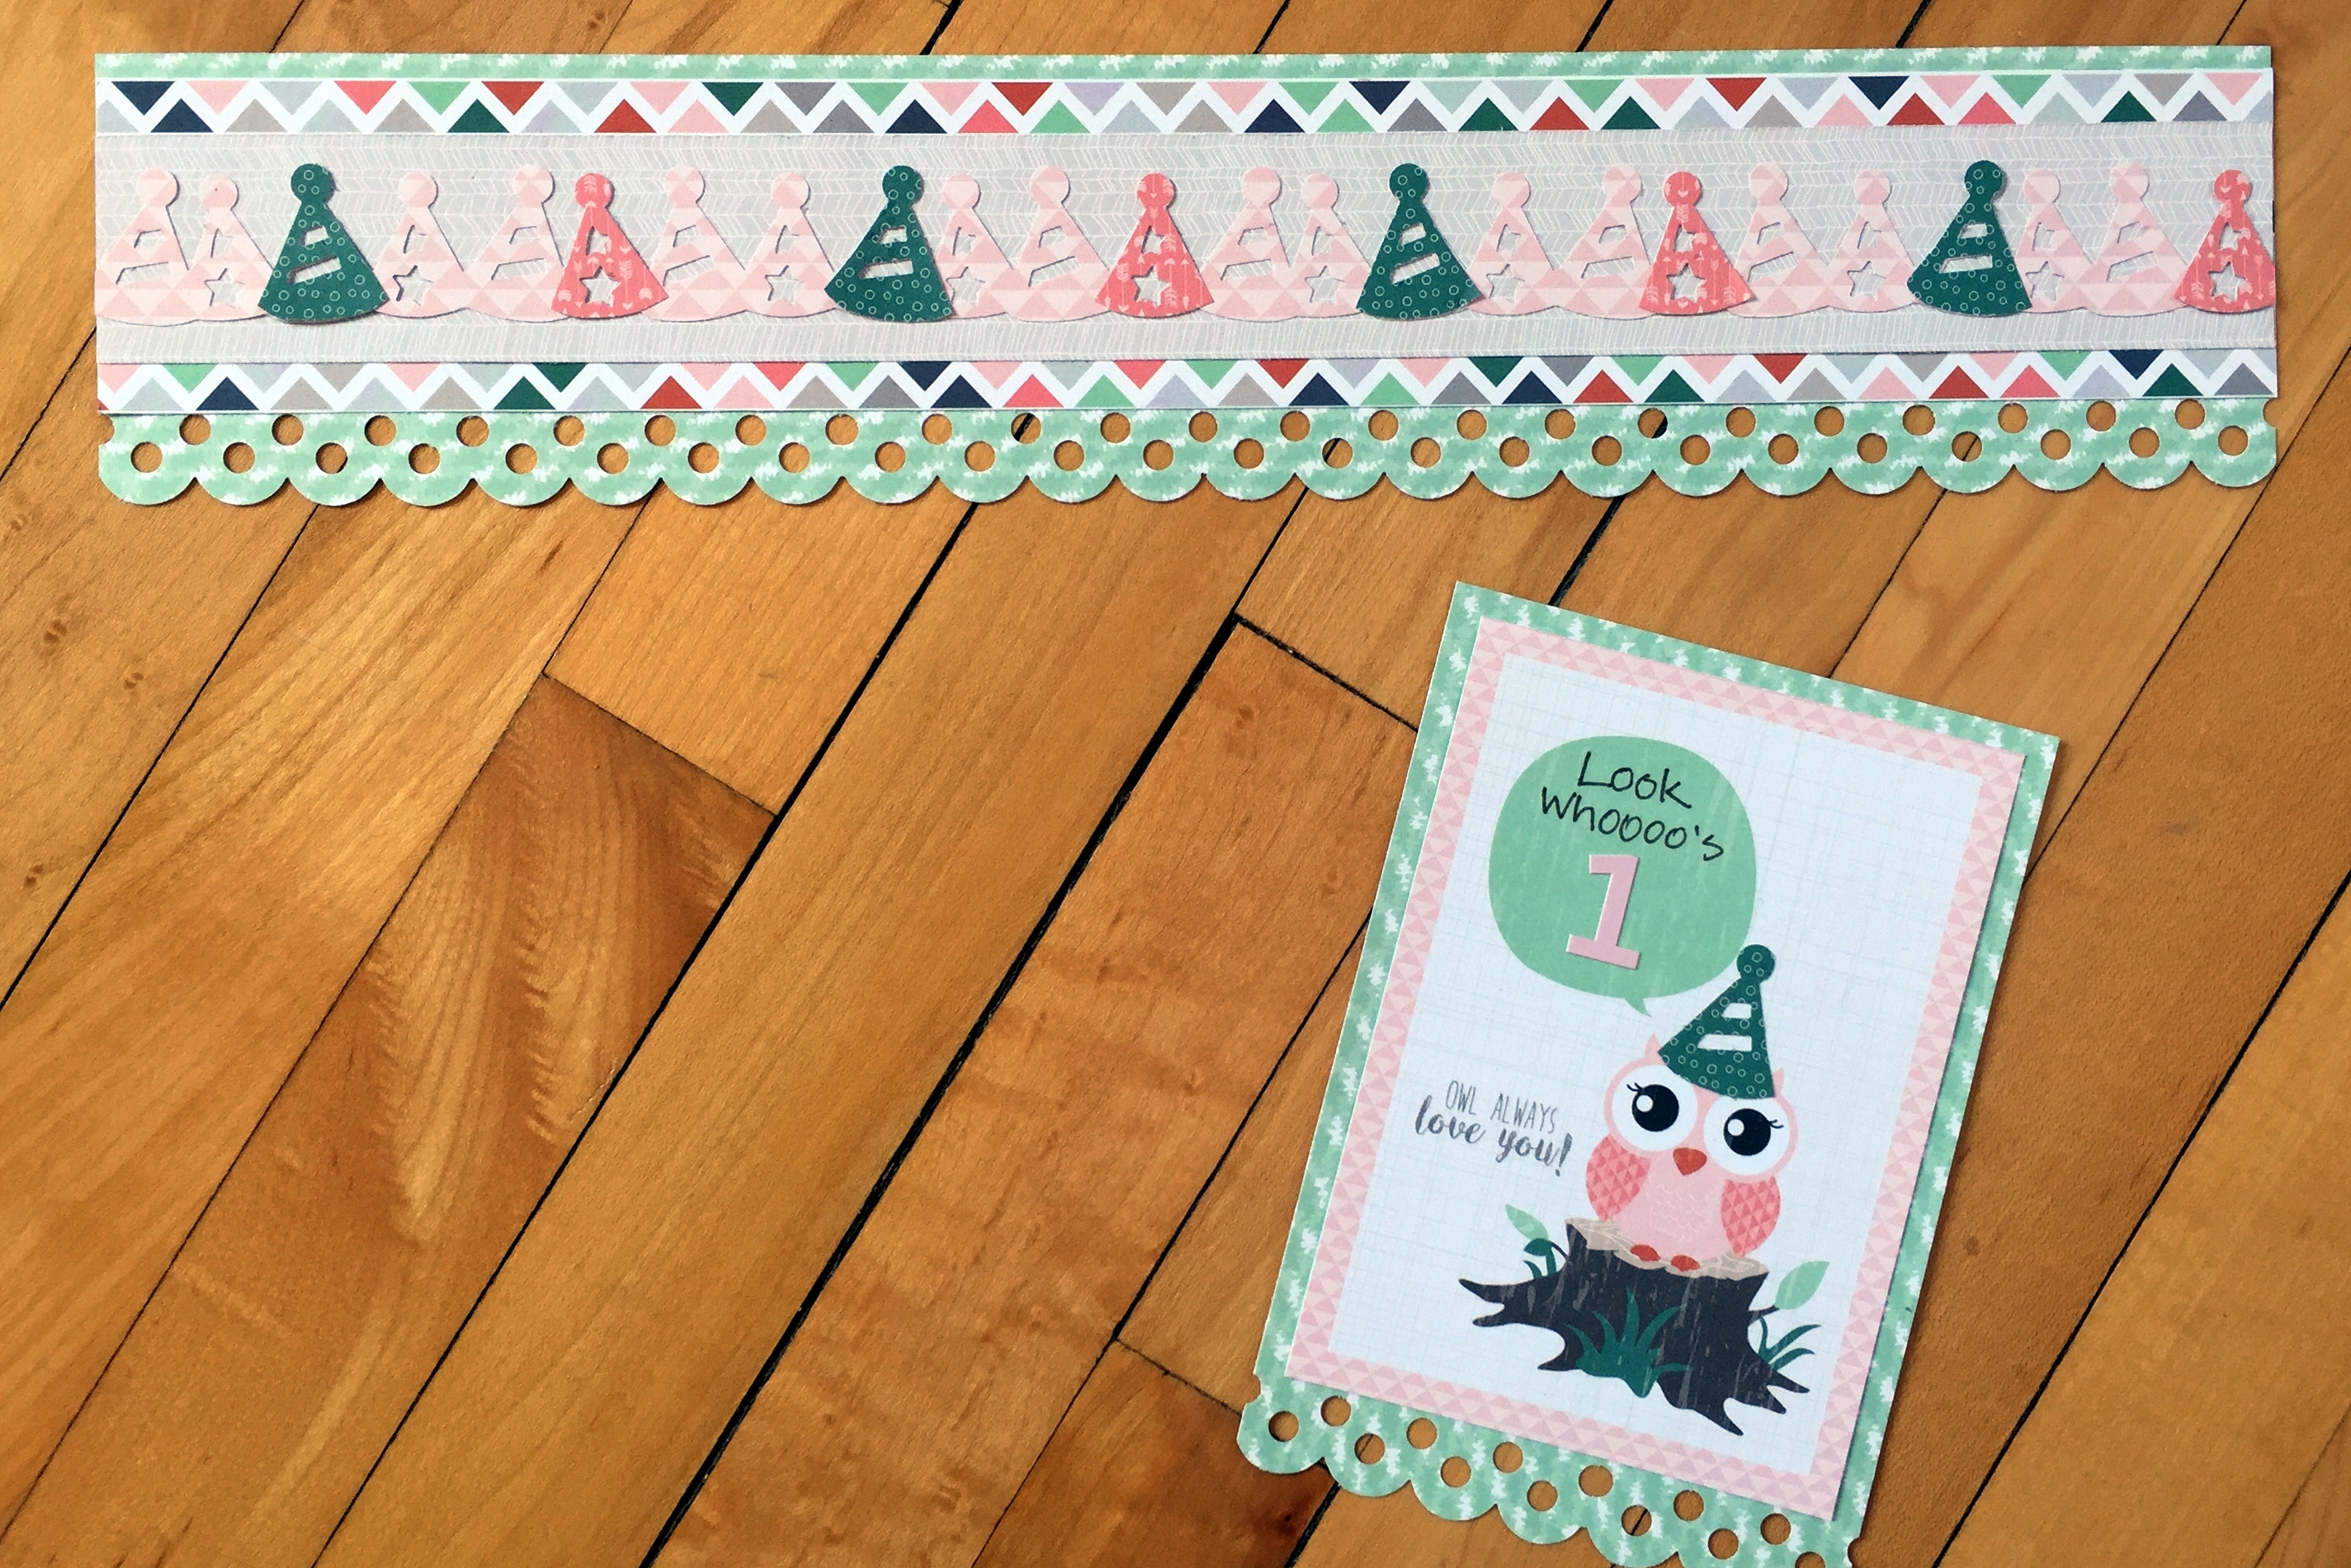
“Look Whoooo’s 1” Border (Woodland Whimsy Baby Girl Collection)
- Using the scallop dot cartridge punch a border with light green paper. Trim to 2-1/2″ x 12″.
- Cut a 1-3/4″ x 12″ strip of triangles paper. Cut a 1-1/4″ x 12″ strip of fawn paper. Apply both to border as shown.
- Using the party hats cartridge, punch a border each with light pink, coral and dark green papers. Add light pink hats to border. Trim out four hats from both coral and dark green papers and adhere on top of pink hats at regular intervals as shown.
- To make Title Box, cut a 3-1/2″ x 5″ piece of light green paper. Punch the bottom with the scallop dots cartridge. Cut a light pink mat in half (3-1/8″ x 4-1/4″) and mount on top. Add journaling and age sticker, and a trimmed out party hat for the owl.

“Happy Birthday, Handsome” Border (Woodland Whimsy Boy Collection)
- Cut a 2″ x 12″ strip of striped paper, a 1-1/2″ x 12″ strip of navy paper and a 1-1/4″ x 12″ strip of orange paper. Assemble as shown.
- Using the party hats cartridge, punch a border with both navy and light green papers. Adhere light green hats on top and offset the navy hats and add to border.
- Cut out wood word bubble from mat card. Add fox embellishment with foam squares, and star stickers. Punch out a party hat for the fox’s head.
- To make Title Box, cut a 3-1/2″ x 4-1/8″ piece of navy paper. Add a small strip of striped paper behind the top and bottom of the box. Cut the raccoon mat card to 3-1/4″ x 4″ and apply to top of navy piece. Write Happy Birthday on top, add handsome embellishment with foam squares and an age sticker to the heart.


Adorable projects!
Thanks so much, Barb!
Such clever ideas do so inspire us. Thank you.
Virginia, that’s the goal! Thanks!
Love the hat on the fox :)
Right?! Thanks, Karyn! So fun to play.
VERY NICE, THANK YOU