May 26, 2026
A Perfect Match for Your Wedding Memories
When the moment is right, everything just clicks. The Perfect Match collection was designed with that feeling in mind, bringing wedding memories together in a way that feels natural, cohesive, and easy to build.
This two-photo layout gives you a simple starting point to highlight your favorite moments side by side, while still leaving room for the little details that make them unforgettable. Think of it as a foundation that does the work of pulling everything together so you can focus on the parts that matter most, the memories themselves and the story they tell when they are placed just right.
To create this layout, you will need:
- Perfect Match Paper
- Perfect Match Variety Mats
- Perfect Match Embellishments
- Plum Solid Cardstock
- Love Doves Border Maker Cartridge
- 12-inch Trimmer
- 12-inch Trimmer Scallop Blade
- Photo Trimmer
- Original Border Maker System
- 13×13 Cutting Mat
- Cutting Mat Layout Ruler
- Repositionable Tape Runner
- Foam Squares
- Black Dual-Tip Pen
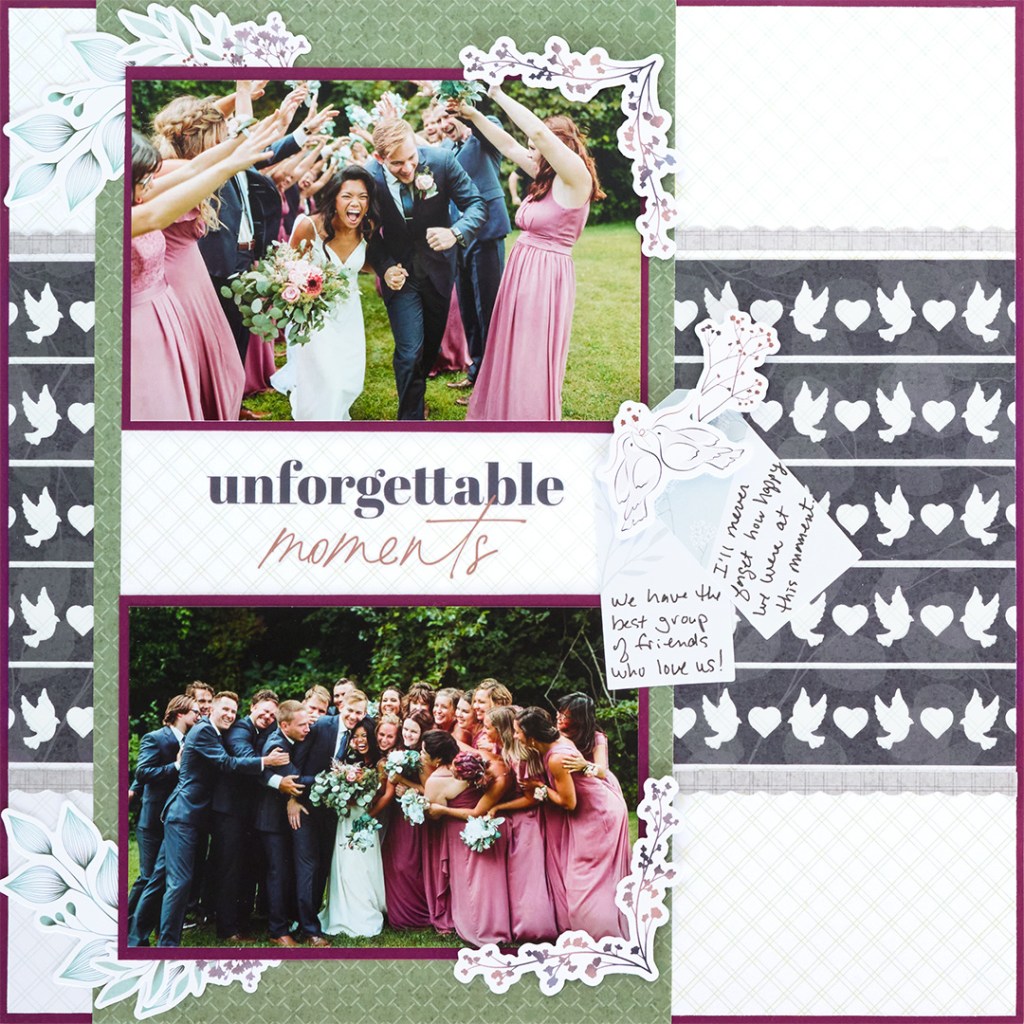

Step 1: Use a sheet of Plum Solid Cardstock as the base for this layout. Cut the white diamond designer paper to measure 11-3/4″ x 11-3/4″ and adhere it to the center of the cardstock.
Step 2: Use the Original Border Maker System with the Love Doves Border Maker Cartridge to punch 5 borders from the dark navy designer paper. Trim each border to measure 11-3/4″.
Step 3: Adhere one border in the center of the layout. Use the 13×13 Cutting Mat and Cutting Mat Layout Ruler to position the border. Adhere two borders above the center border and two borders below the center border. Leave 1/8″ in-between the borders and use the Cutting Mat Layout Ruler to help position and space the borders.
Step 4: Use the 12-inch Trimmer with the Scallop Blade to cut two 1/4″ strips. Trim both strips to measure 11-3/4″, and adhere one strip to the top of the dove borders and the other strip to the bottom of the dove borders.
Step 5: Cut a 6-3/4″ x 12″ piece from the green designer paper. Adhere this piece 1-1/8″ from the left edge of the page.
Step 6: Cut two 6-1/4″ x 4-1/4″ photo mats from Plum Solid Cardstock, and mount two photos onto the mats. Adhere the matted photos above and below the title on a variety mat. Use the 13×13 Cutting Mat to help position the photo mats on the variety mat.
Step 7: Adhere the matted panel to the center of the green piece as shown above.
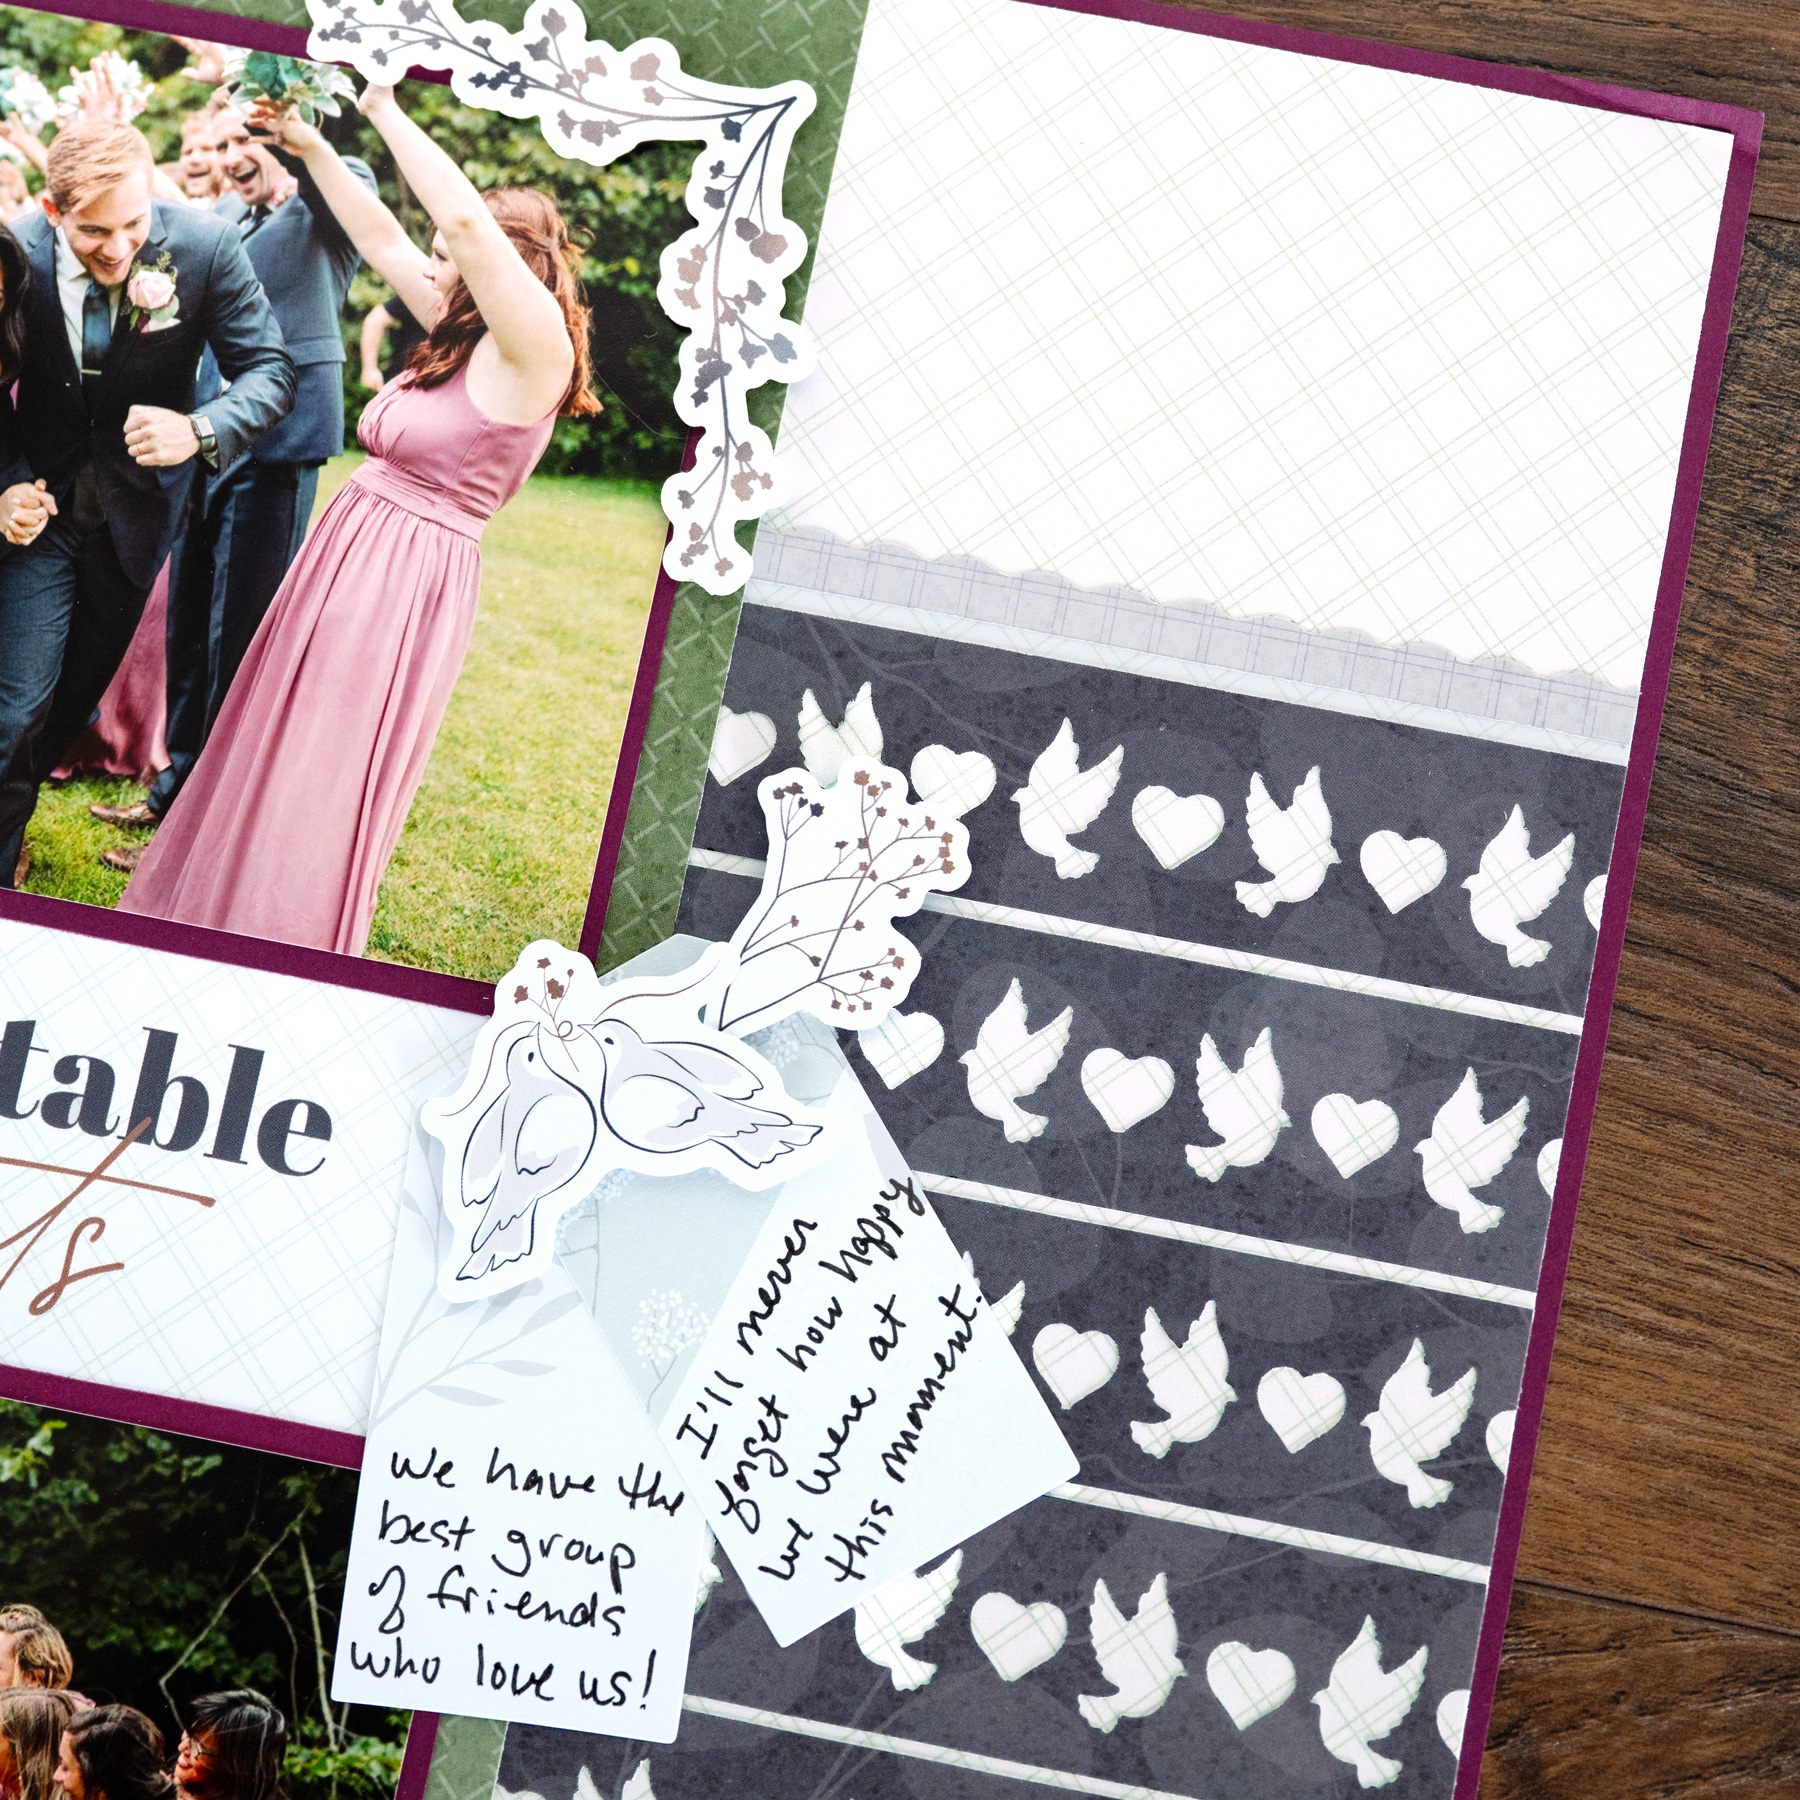
Step 8: Use the Dual-Tip Black Pen to add journaling to two tag embellishments and adhere them as shown.
Step 9: Adhere additional embellishments as shown adhering some with Foam Squares for added dimension.
And just like that, it is a perfect match for your love story. Everything comes together in a way that feels easy, balanced, and made to hold onto those wedding day moments.
P.S. Are YOU a member of the Virtual Crop Group? It’s your go-to place for MONTHLY Virtual Crops, MONTHLY Completed Album Challenges, QUARTERLY Secret Box Openings with project tutorials and so much more! We hope you’ll join our community of more than 50,000 fellow memory-keeping enthusiasts — you’ll feel right at home!

