October 28, 2026
Bats, Boos & Halloween Scrapbook Layout Inspiration
Costume parades, pumpkin carving, trick-or-treating with friends and spooky movie nights: Halloween is packed with memories worth keeping. Whether your family goes all out with frightful decor or keeps things cute and kid-friendly, a Halloween layout is the perfect way to capture the fun of the season.
We’re kicking things off with a brand-new layout featuring the Midnight Magic collection, complete with step-by-step instructions. Then we’ve gathered some of our favorite Halloween layout ideas from over the years to inspire your next project. While some of these designs feature past Creative Memories collections, don’t let that stop you! Shop your stash, mix and match your favorite papers and embellishments or recreate these ideas with Midnight Magic.
Midnight Magic Layers
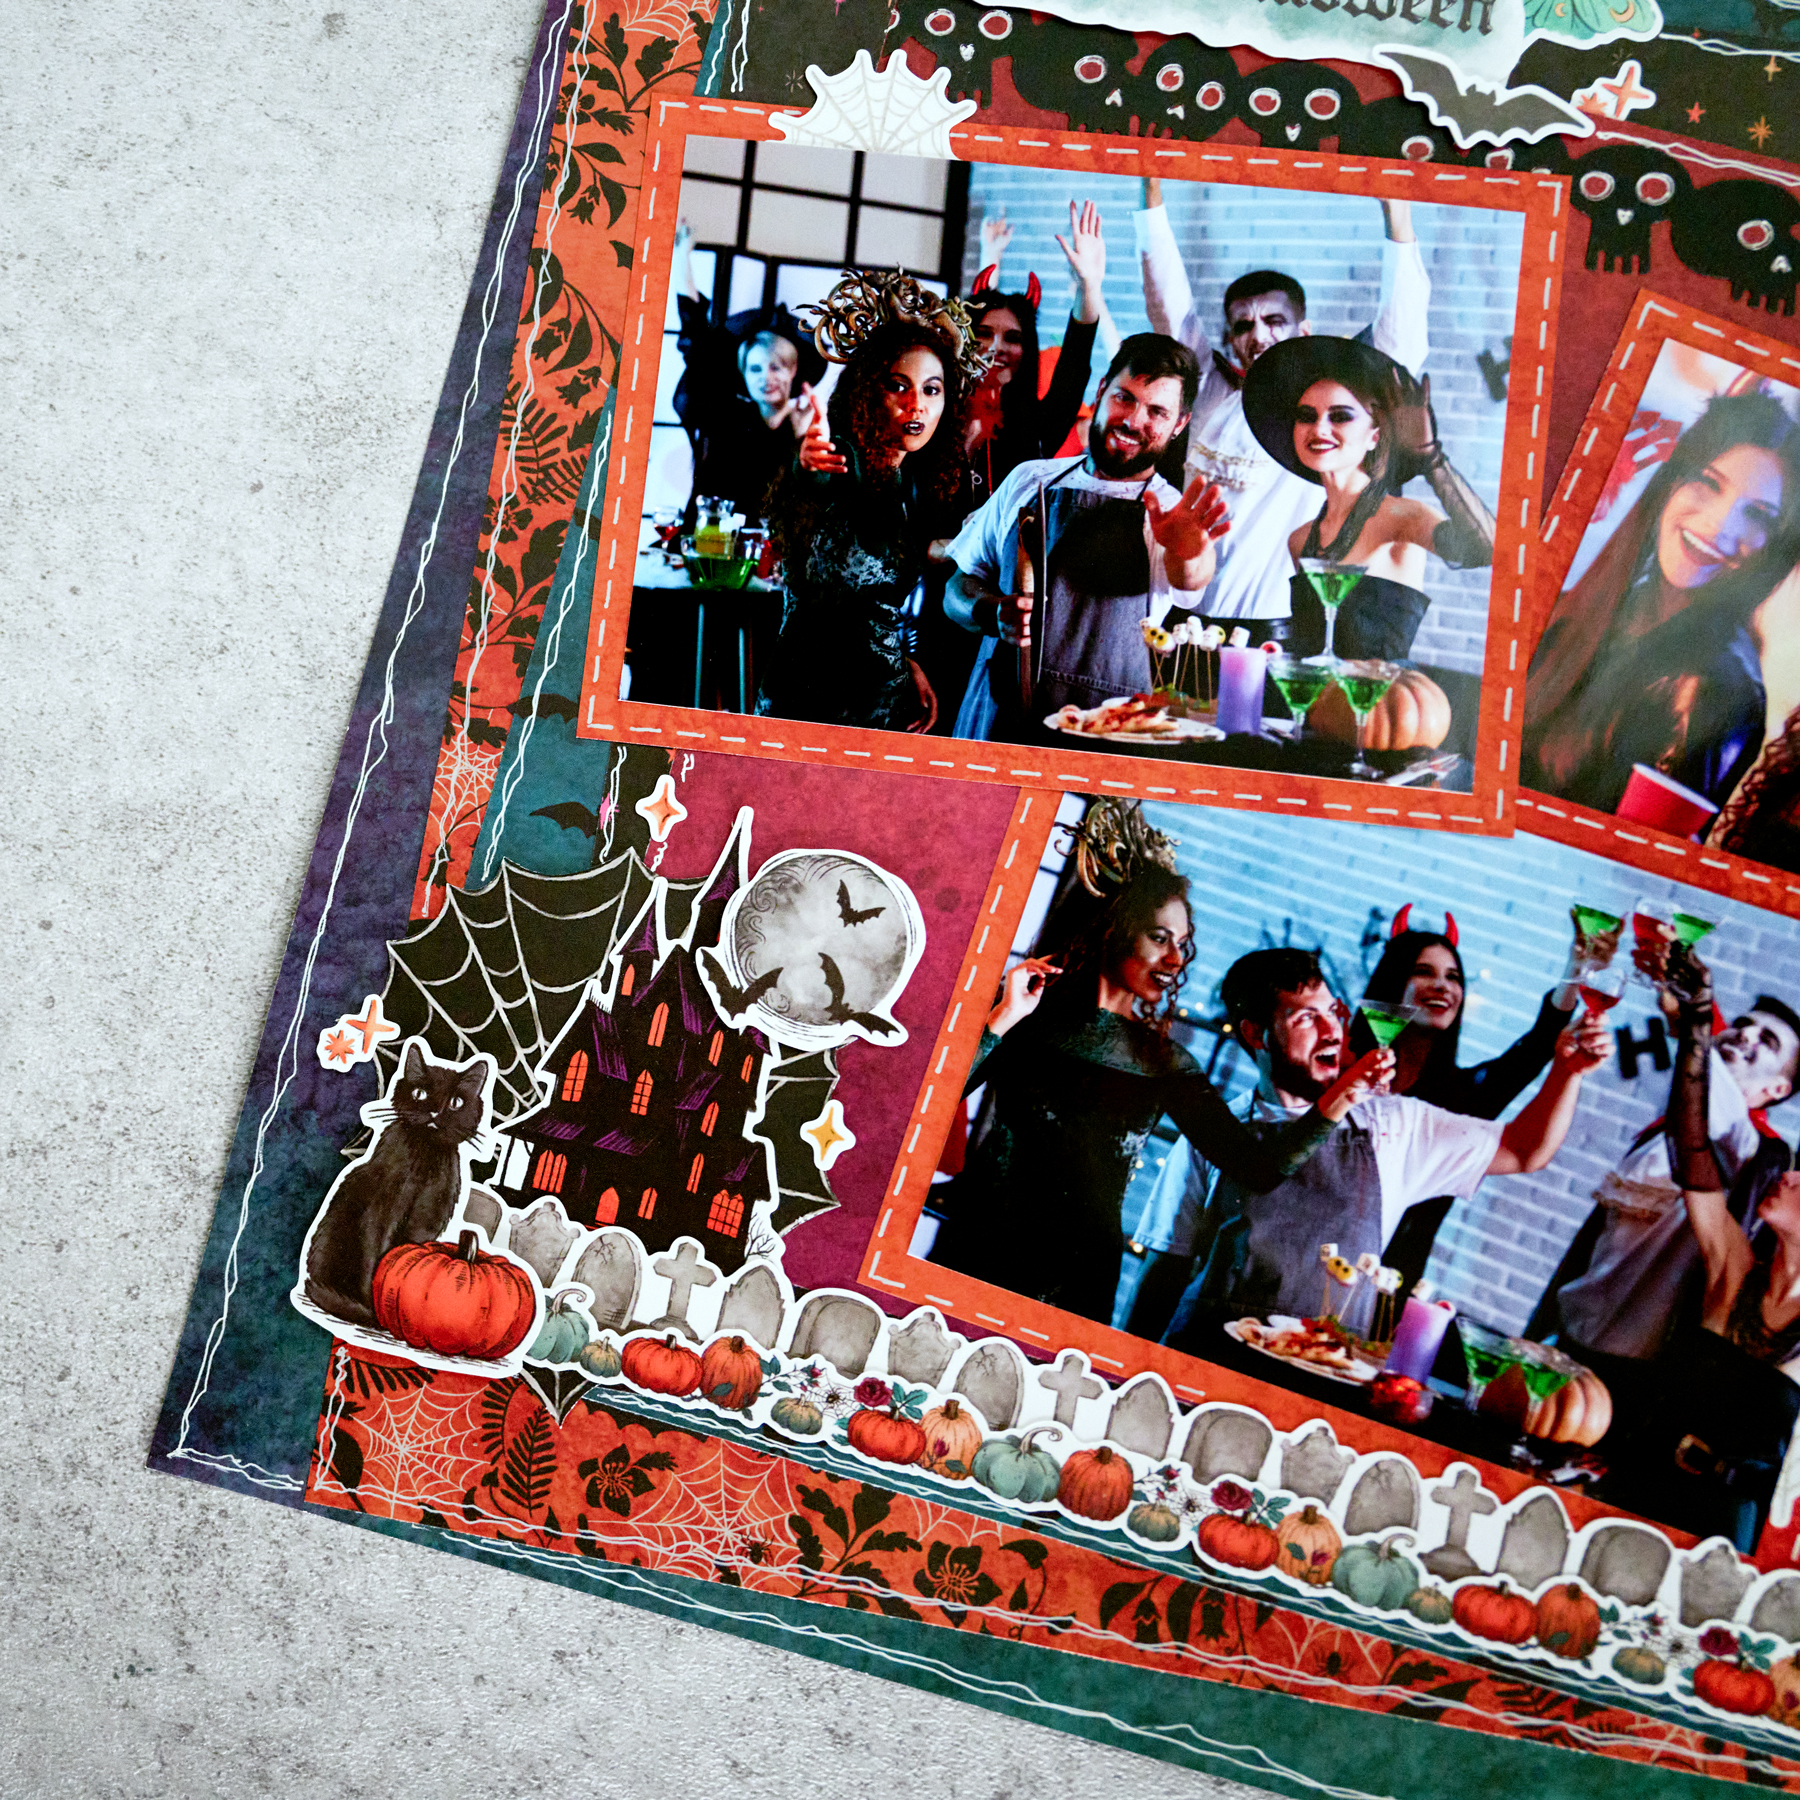
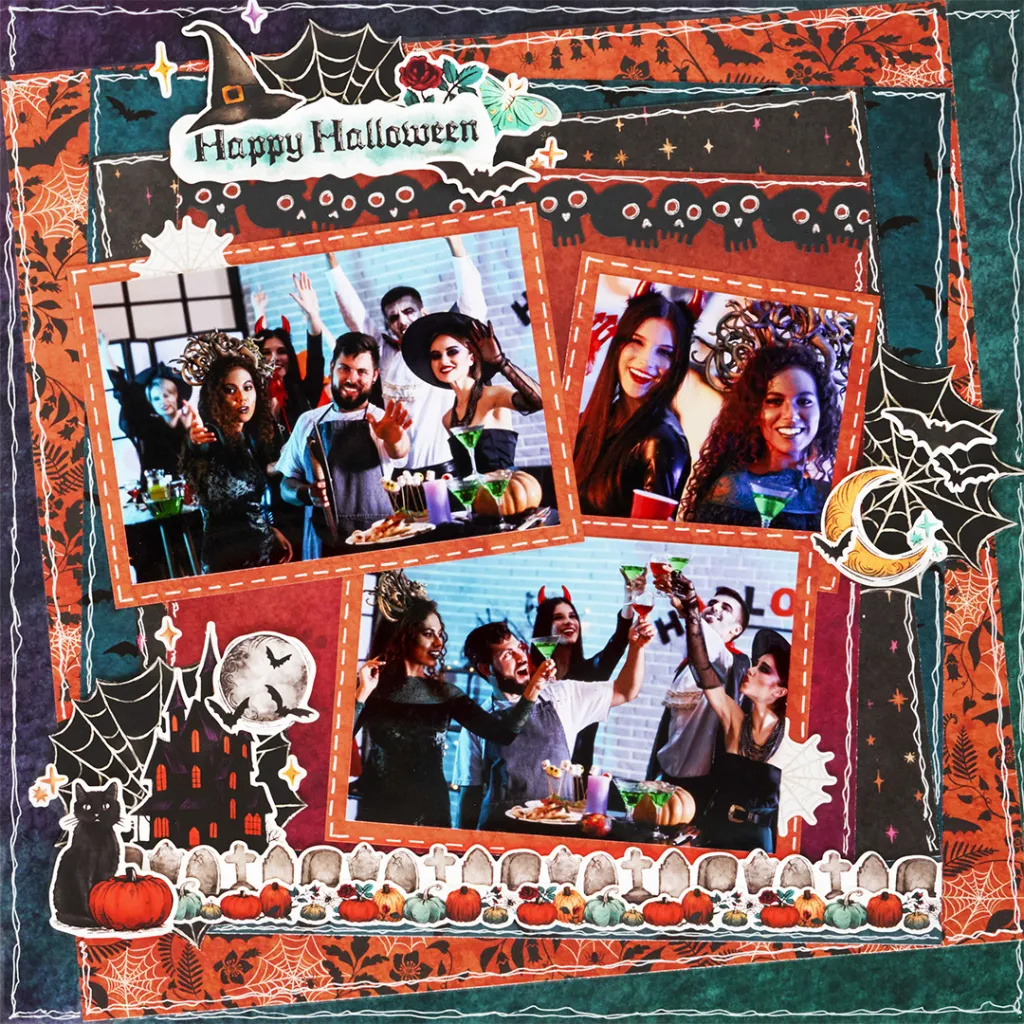
Four rotated squares of designer paper stack up for a bewitching background, while a punched skulls border, fussy-cut spiderwebs and hand-drawn cobwebs add the perfect amount of spooky to your party photos.
To create this layout, you will need:

Love this layout?

Love this layout?

Step 1: Use a 12″ x 12″ sheet of teal designer paper for the base of the layout.
Step 2: Cut an 11″ x 11″ piece from the orange bats designer paper. Rotate it so the corners touch the edges of the base, then adhere it.
Step 3: Cut a 10″ x 10″ piece from the teal bats designer paper. Rotate it so the corners touch the edges of the 11″ x 11″ paper, then adhere it.
Step 4: Cut a 9″ x 9″ piece from the black stars designer paper. Rotate it so the corners touch the edges of the 10″ x 10″ paper, then adhere it.
Step 5: Cut an 8″ x 8″ piece from the plum designer paper. Rotate it so the corners touch the edges of the 9″ x 9″ paper, then adhere it.
Step 6: Using the Original Border Maker System and the Skulls Chain Border Maker Cartridge, punch a border from Black Solid Cardstock. Trim it to 8″ and adhere it along the top edge of the 8″ x 8″ plum paper.
Step 7: Use scissors to fussy cut three spiderwebs from the spiderweb designer paper. Tuck them under the layered papers where desired.
Step 8: Cut three photo mats from the orange designer paper: two at 5-1/2″ x 4″ and one at 3-1/2″ x 3-1/2″. Mount your photos on the mats, then adhere the matted photos to the layout.
Step 9: Adhere a 10″ strip of a border sticker along the bottom edge of the teal bats paper. Layer additional stickers on the left-hand side of the border.
Step 10: Adhere any additional stickers to the layout, using Foam Squares on some for added dimension.
Step 11: Use the White Gelly Roll Pen to draw squiggly lines along the edges of the papers to look like spiderwebs and cobwebs and to define the darker papers.
Step 12: Use the White Gelly Roll Pen to draw faux “stitches” along the outer edges of the photo mats. Journal as desired.

Want to recreate this layout?
We’ve gathered all the products featured in this project in one place, making it easy to find the papers, embellishments, tools and more.
Looking for even more ideas? Let’s dig into some of our favorite Halloween layouts from the archives.
Pumpkin-Shaped Photo Collage
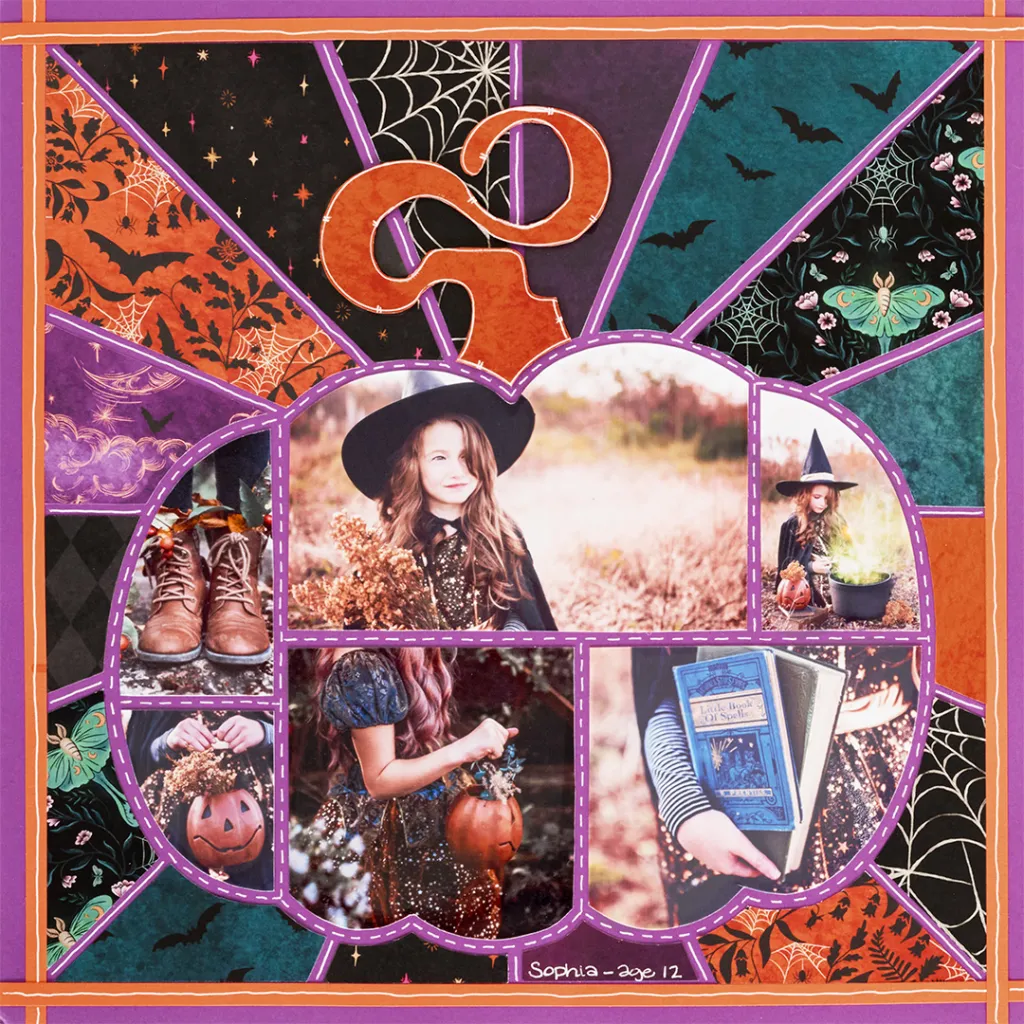
Trace, cut and piece together designer paper and photos with the Pumpkin Recipe Template for one big, happy jack-o’-lantern that shows off every costume.
Trick-or-Treat Stripes
Distressed strips of designer paper and a layered purple and green photo mat keep four photos front and center, while foil stickers add a little shine.

Frightfully Fun Vampire
A paper vampire built from cut circles and ovals steals the show, framed by punched spiderweb corners and a bats and stars border.

Spiderweb Frame
A punched spiderweb frame with a cut-out circle center surrounds three costume photos on a moonlit background. It’s spooky, sweet and surprisingly simple.

Friendly Ghost Focal Point
One oversized ghost in a witch hat fills the page with personality, with a punched spiderweb border and two simple photo mats to finish it off.

Haunted Layers
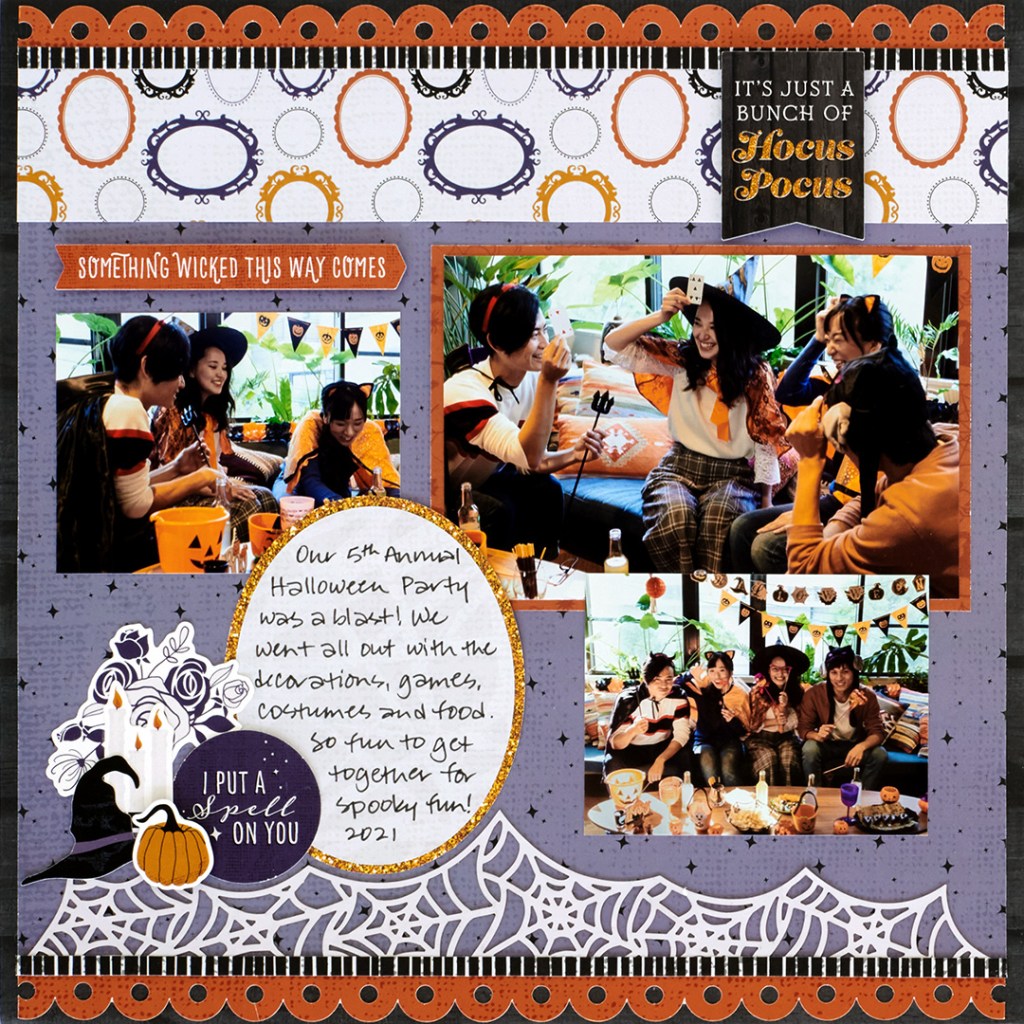
Scalloped borders, a laser-cut spiderweb strip and a glittery layered oval come together in rich purples and oranges for a page full of hauntingly good details.
Jack-o’-Lantern Lineup
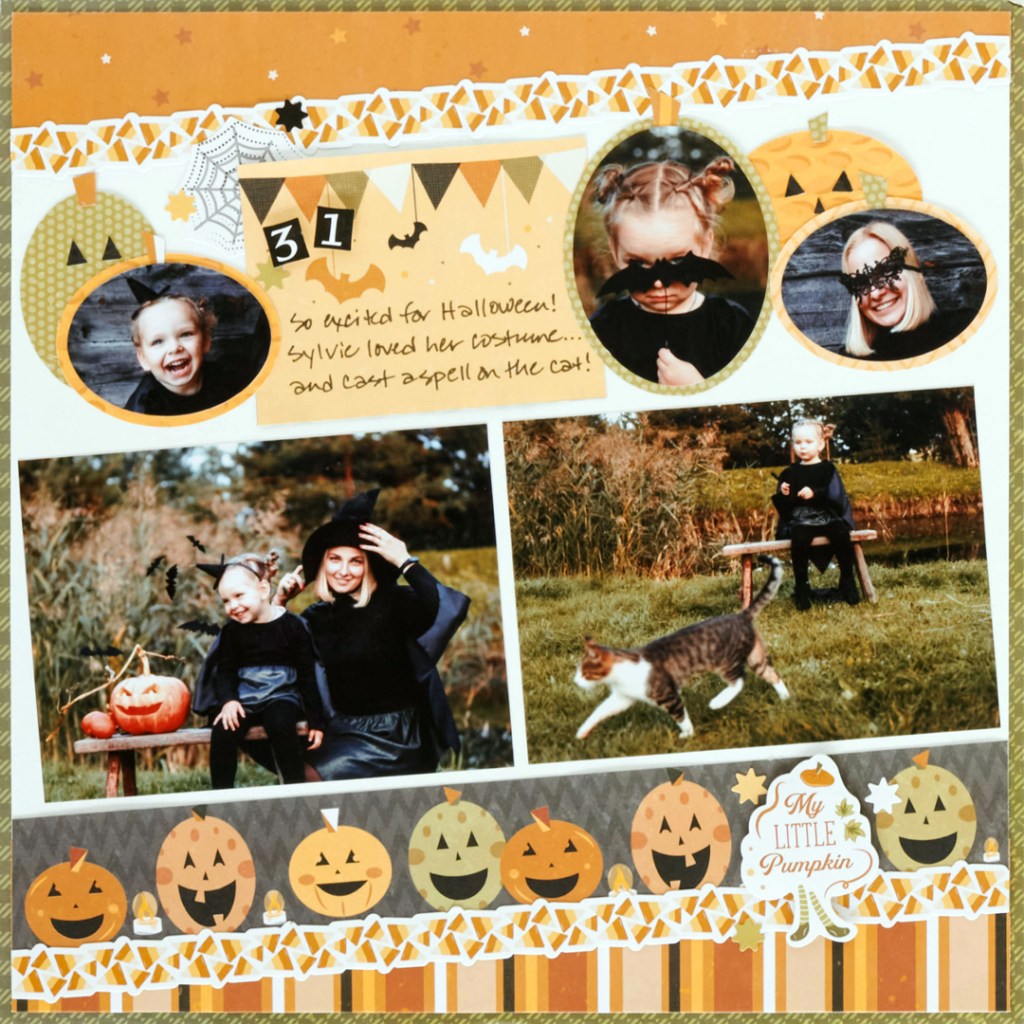
A row of oval-cut jack-o’-lanterns, some with photos tucked inside, adds playful charm to this candy corn-striped layout with room for five photos.
From costume parades to pumpkin patches, every spooky memory deserves a page. Use these Halloween layout ideas as a starting point, then layer in your own photos, papers and creativity to make them truly yours.
Happy creating and, for those who celebrate, have a happy Halloween!
P.S. Are YOU a member of the Virtual Crop Group? It’s your go-to place for MONTHLY Virtual Crops, MONTHLY Completed Album Challenges, QUARTERLY Secret Box Openings with project tutorials and so much more! We hope you’ll join our community of more than 53,000 fellow memory-keeping enthusiasts — you’ll feel right at home!

