February 11, 2018
How to Create Valentine’s Day Decorations Using the Digital Bee Mine Collection
Valentine’s Day 2018 is just around the corner! For those of you who may be planning a special evening for a special someone, a get-together with a group of friends or maybe you’d just like to surprise the kids with a fun surprise on Valentine’s Day morning, we’ve got the PERFECT project for you! What is it, you ask?
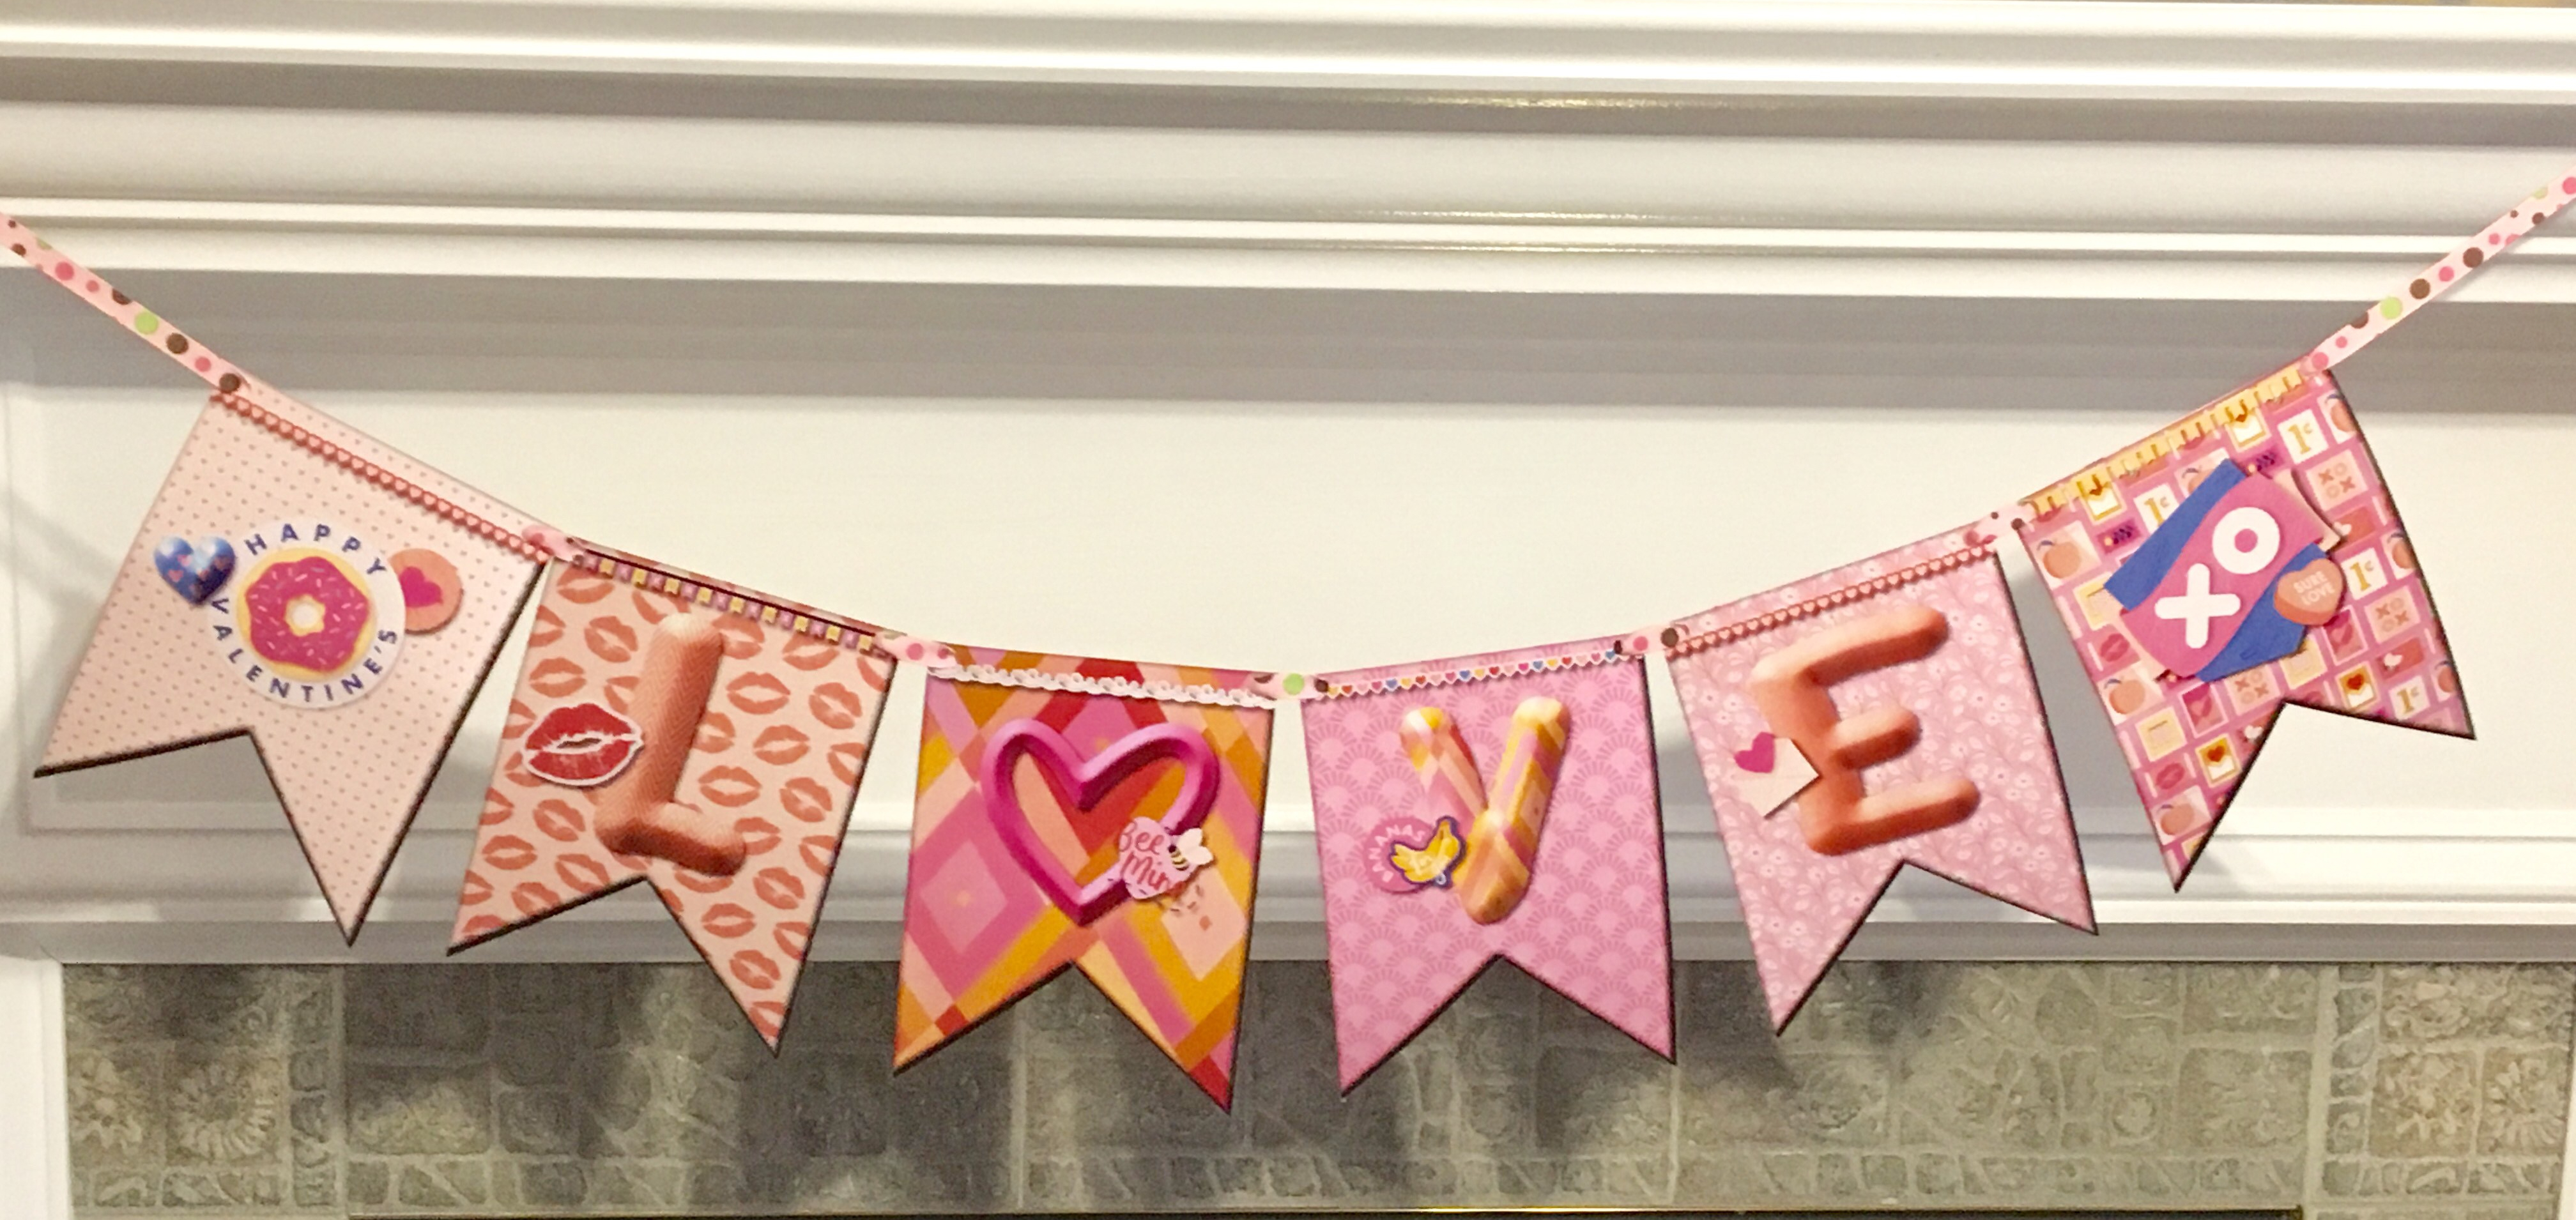
A Valentine’s Day Banner using the Digital Bee Mine Kit! The best part? You can do it all with minimal supplies or you can enhance it with fun add-ons such as embellishments. I love making these banners for my home for all of the different holidays and it worked perfectly for my LOVE banner!
To create this Valentine’s Day Banner, you will need:
- Bee Mine Digital Kit
- Scissors or 12-inch Trimmer
- Ribbon
- Hole punch
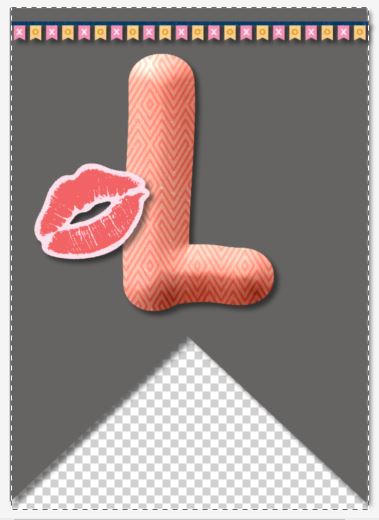
I started by making a 5×7 gray banner shape digitally. Then I copied and pasted this shape and filled the one on top with paper. I used a different paper for each banner because there are so many beautiful papers and I didn’t want to leave any out!
I also hid my background paper, which is why it is grayed out here. I will explain that later as to why I hid it.
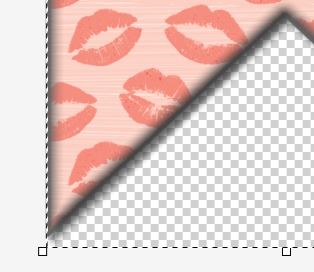
After filling the top shape with paper, I used a filter to soften the edge so that the background gray color would show around the edge and give the banner a bit of dimension and rounded edge look.

To make the letters, I used a text shape in the “Fat” font, filled each letter with a different paper from Bee Mine and added a 3D filter on the edge. I added shadows to all of the embellishments as well.


I printed each banner as a 5×7 print and then cut off the extra.

Then I punched a hole in each corner and ran a piece of ribbon through leaving extra on the end to hang it.
So, remember I mentioned I hid my background on each banner? Well here is why… I made a digital banner that I can use on my digital layouts or on a card over and over again. I saved each page of my banner in a personal art kit and then I can add them to a page or card and make a banner. If your background is not hidden, then you will have a white background on each file when you save it.
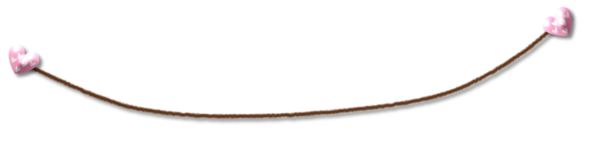
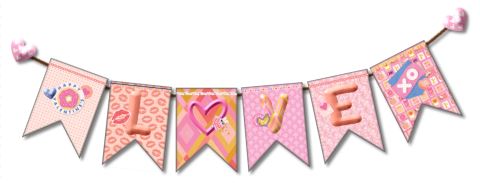
I made a string by adding a fuzzy curved line to join the banners together. I then added a heart pin to each end to anchor it and added a 3D Filter to each heart.


You can use this banner many different ways; here I added it to a photo and also repeated them to make a long banner to go across the page.

Here I made a card front to add to a piece of Cardstock. I used the banner large and joined them together to make a repeating banner.
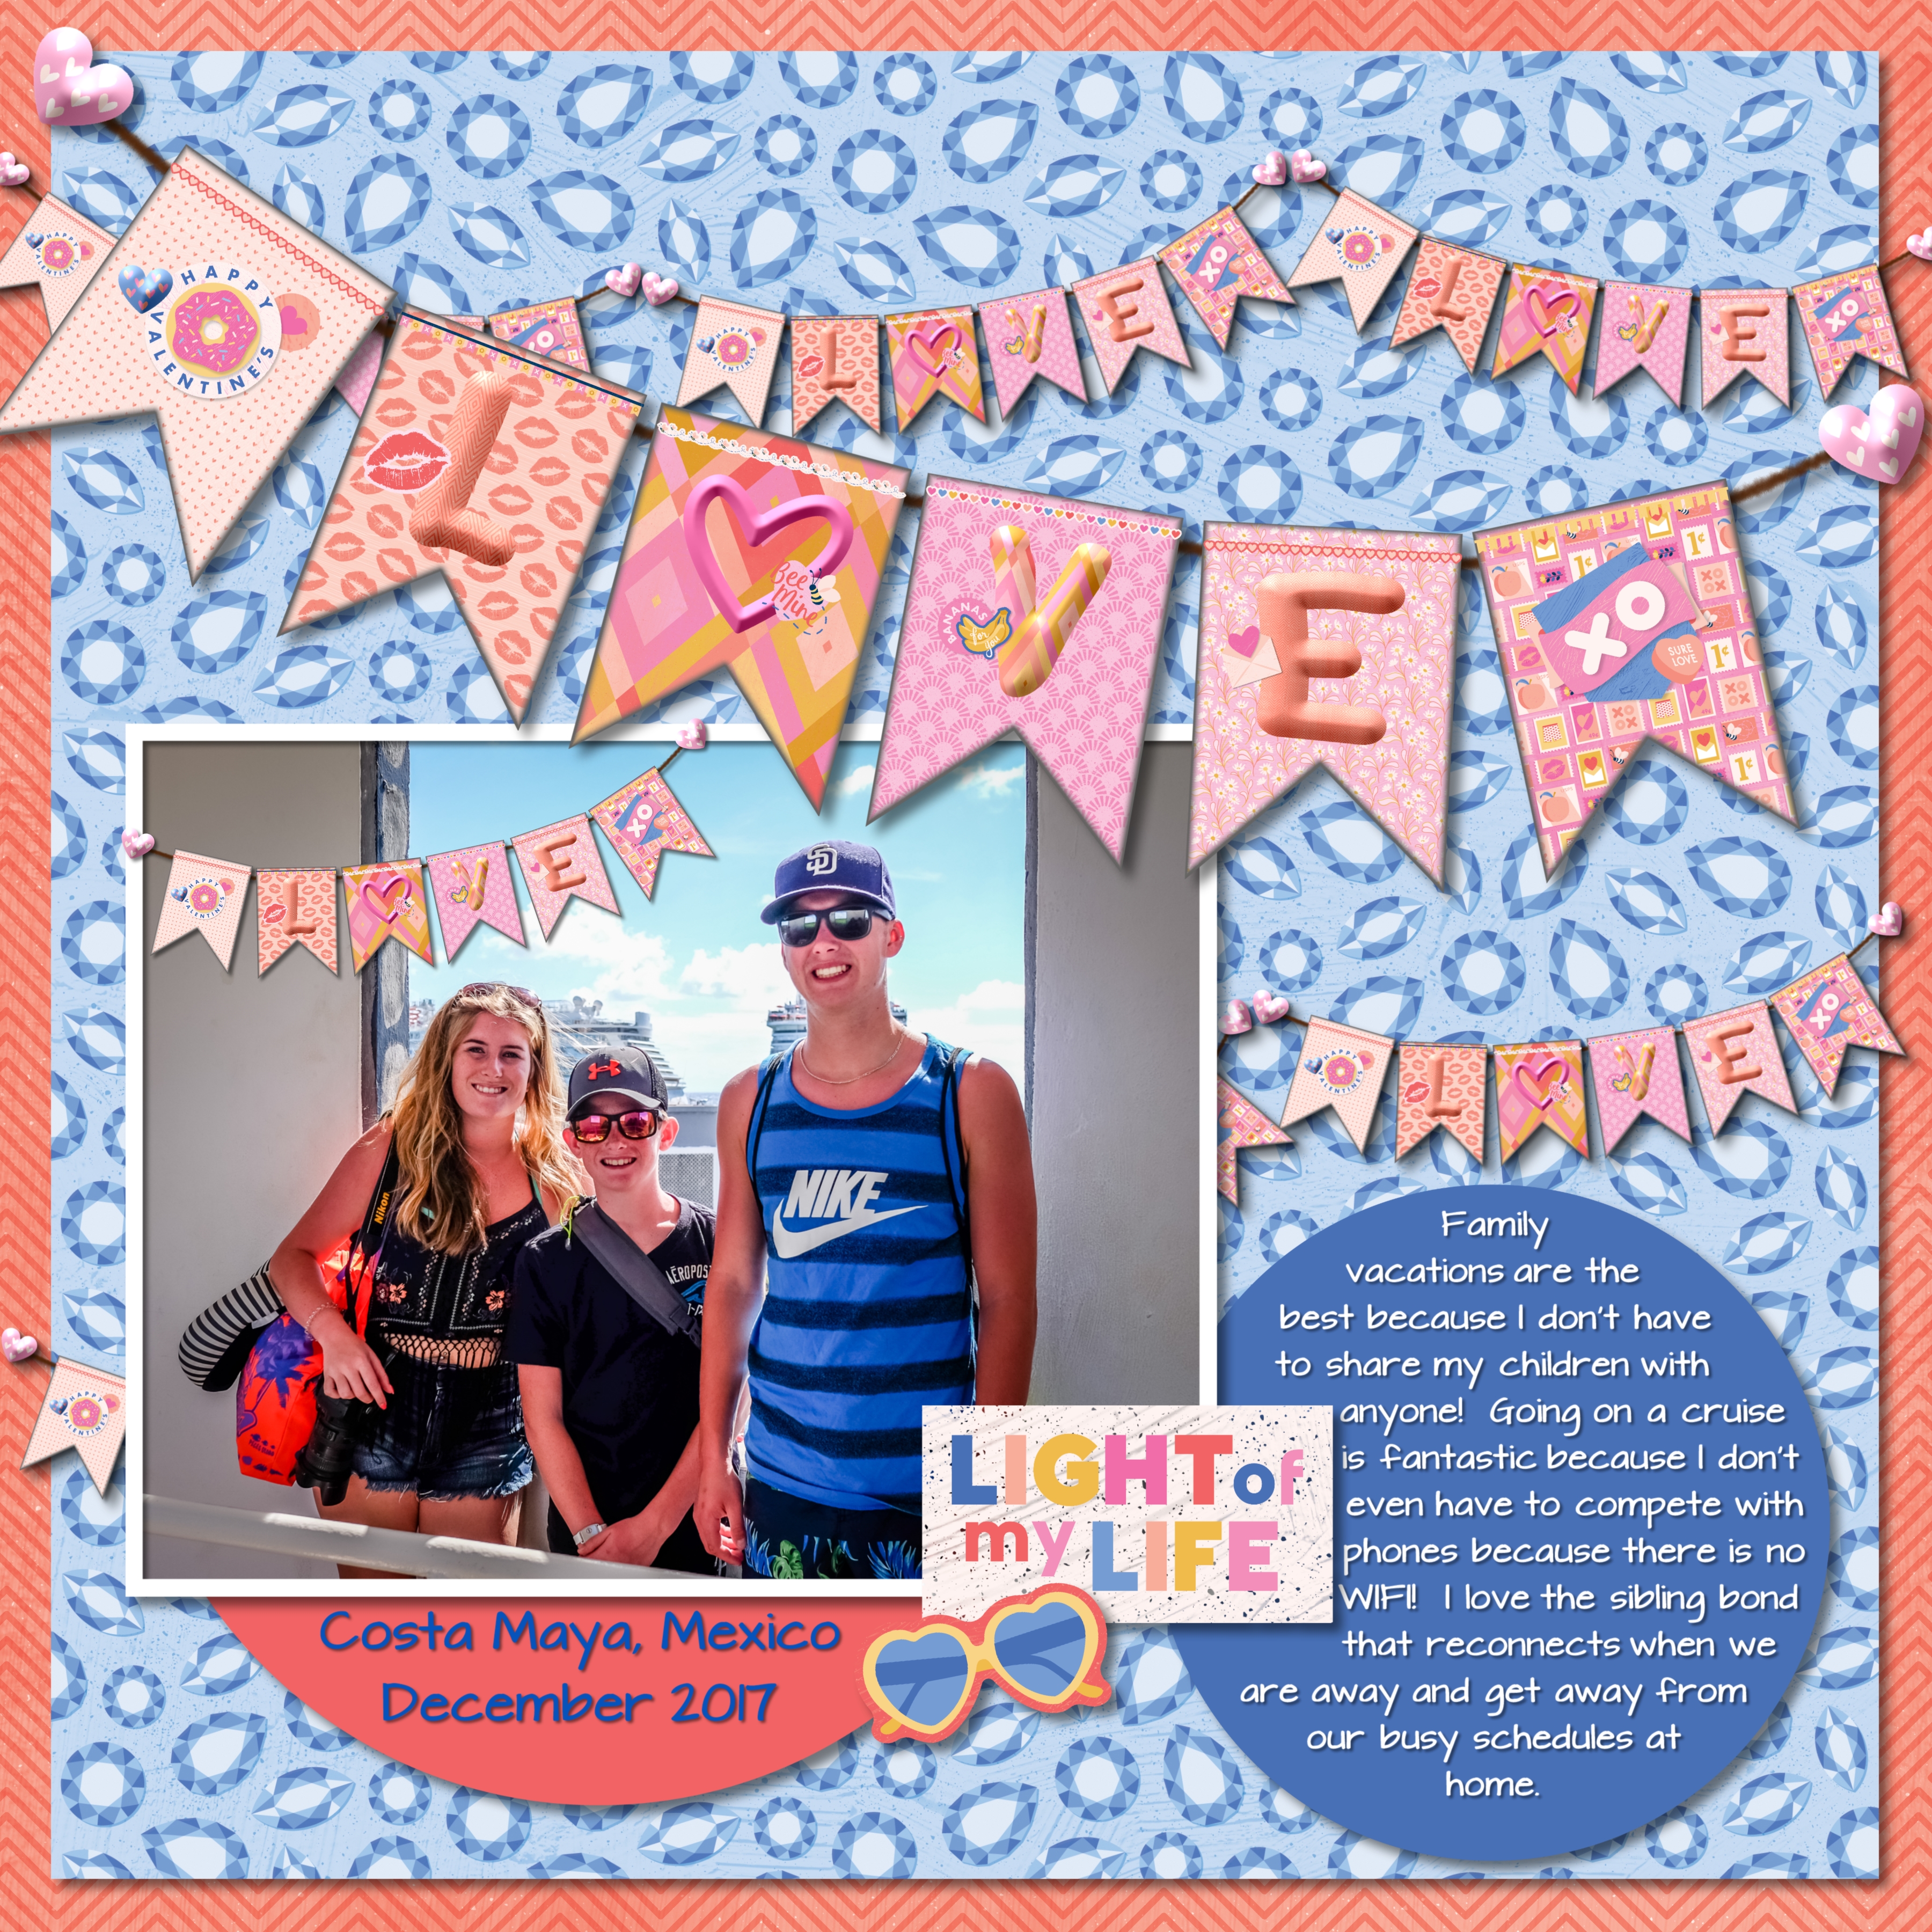
Here I have used all three of my examples on a digital page, on a photo, repeating and large. I have added heavy shadows to the banners to give them that extra pop.
Have fun creating your own banner!


Great creations and ideas! Thanks for the tips, too. :-)
Thanks Barb!
[…] Surprise your kids or special someone on Valentine’s morning with the Bee Mine Love Banner! Get instructions now! […]