February 19, 2018
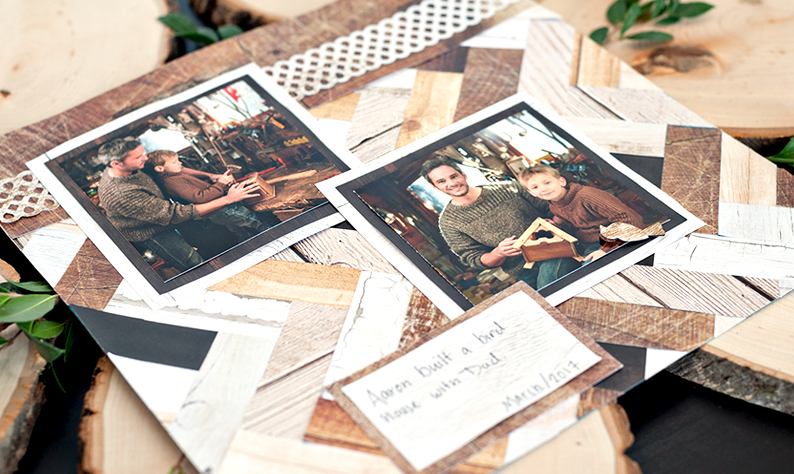
How to Create the Timber Scrapbooking Layout
When I was in my early teens, my favorite place to escape to starting in early spring and lasting through late fall was a gentle creek that flowed behind my house. It was surrounded by beautiful woods, and I’d sit on a rock and journal – just close enough that I could dip my fingers in and touch the cool, shallow water when I needed creative inspiration, and I’d admire the trees that stretched up toward the sky and seemed to reach the clouds from where I sat. From the elms and birch trees to the maples and oaks – each tree brought its own uniqueness to my secret sanctuary.
When I made this layout with the new Timber Paper Pack, I couldn’t help but realize that the stunning papers evoked a similar sentiment, bringing something extra special and personal to my memories. Today, I’d like to share this gift with you.


To create this scrapbook layout you’ll need:
- Timber Paper Pack – 6 Sheets
- White Cardstock
- Teardrop Border Punch
- 12-inch Trimmer
- Scissors
- Tape Runner
- Repositionable Tape Runner Refill
- Dual-Tip Pen
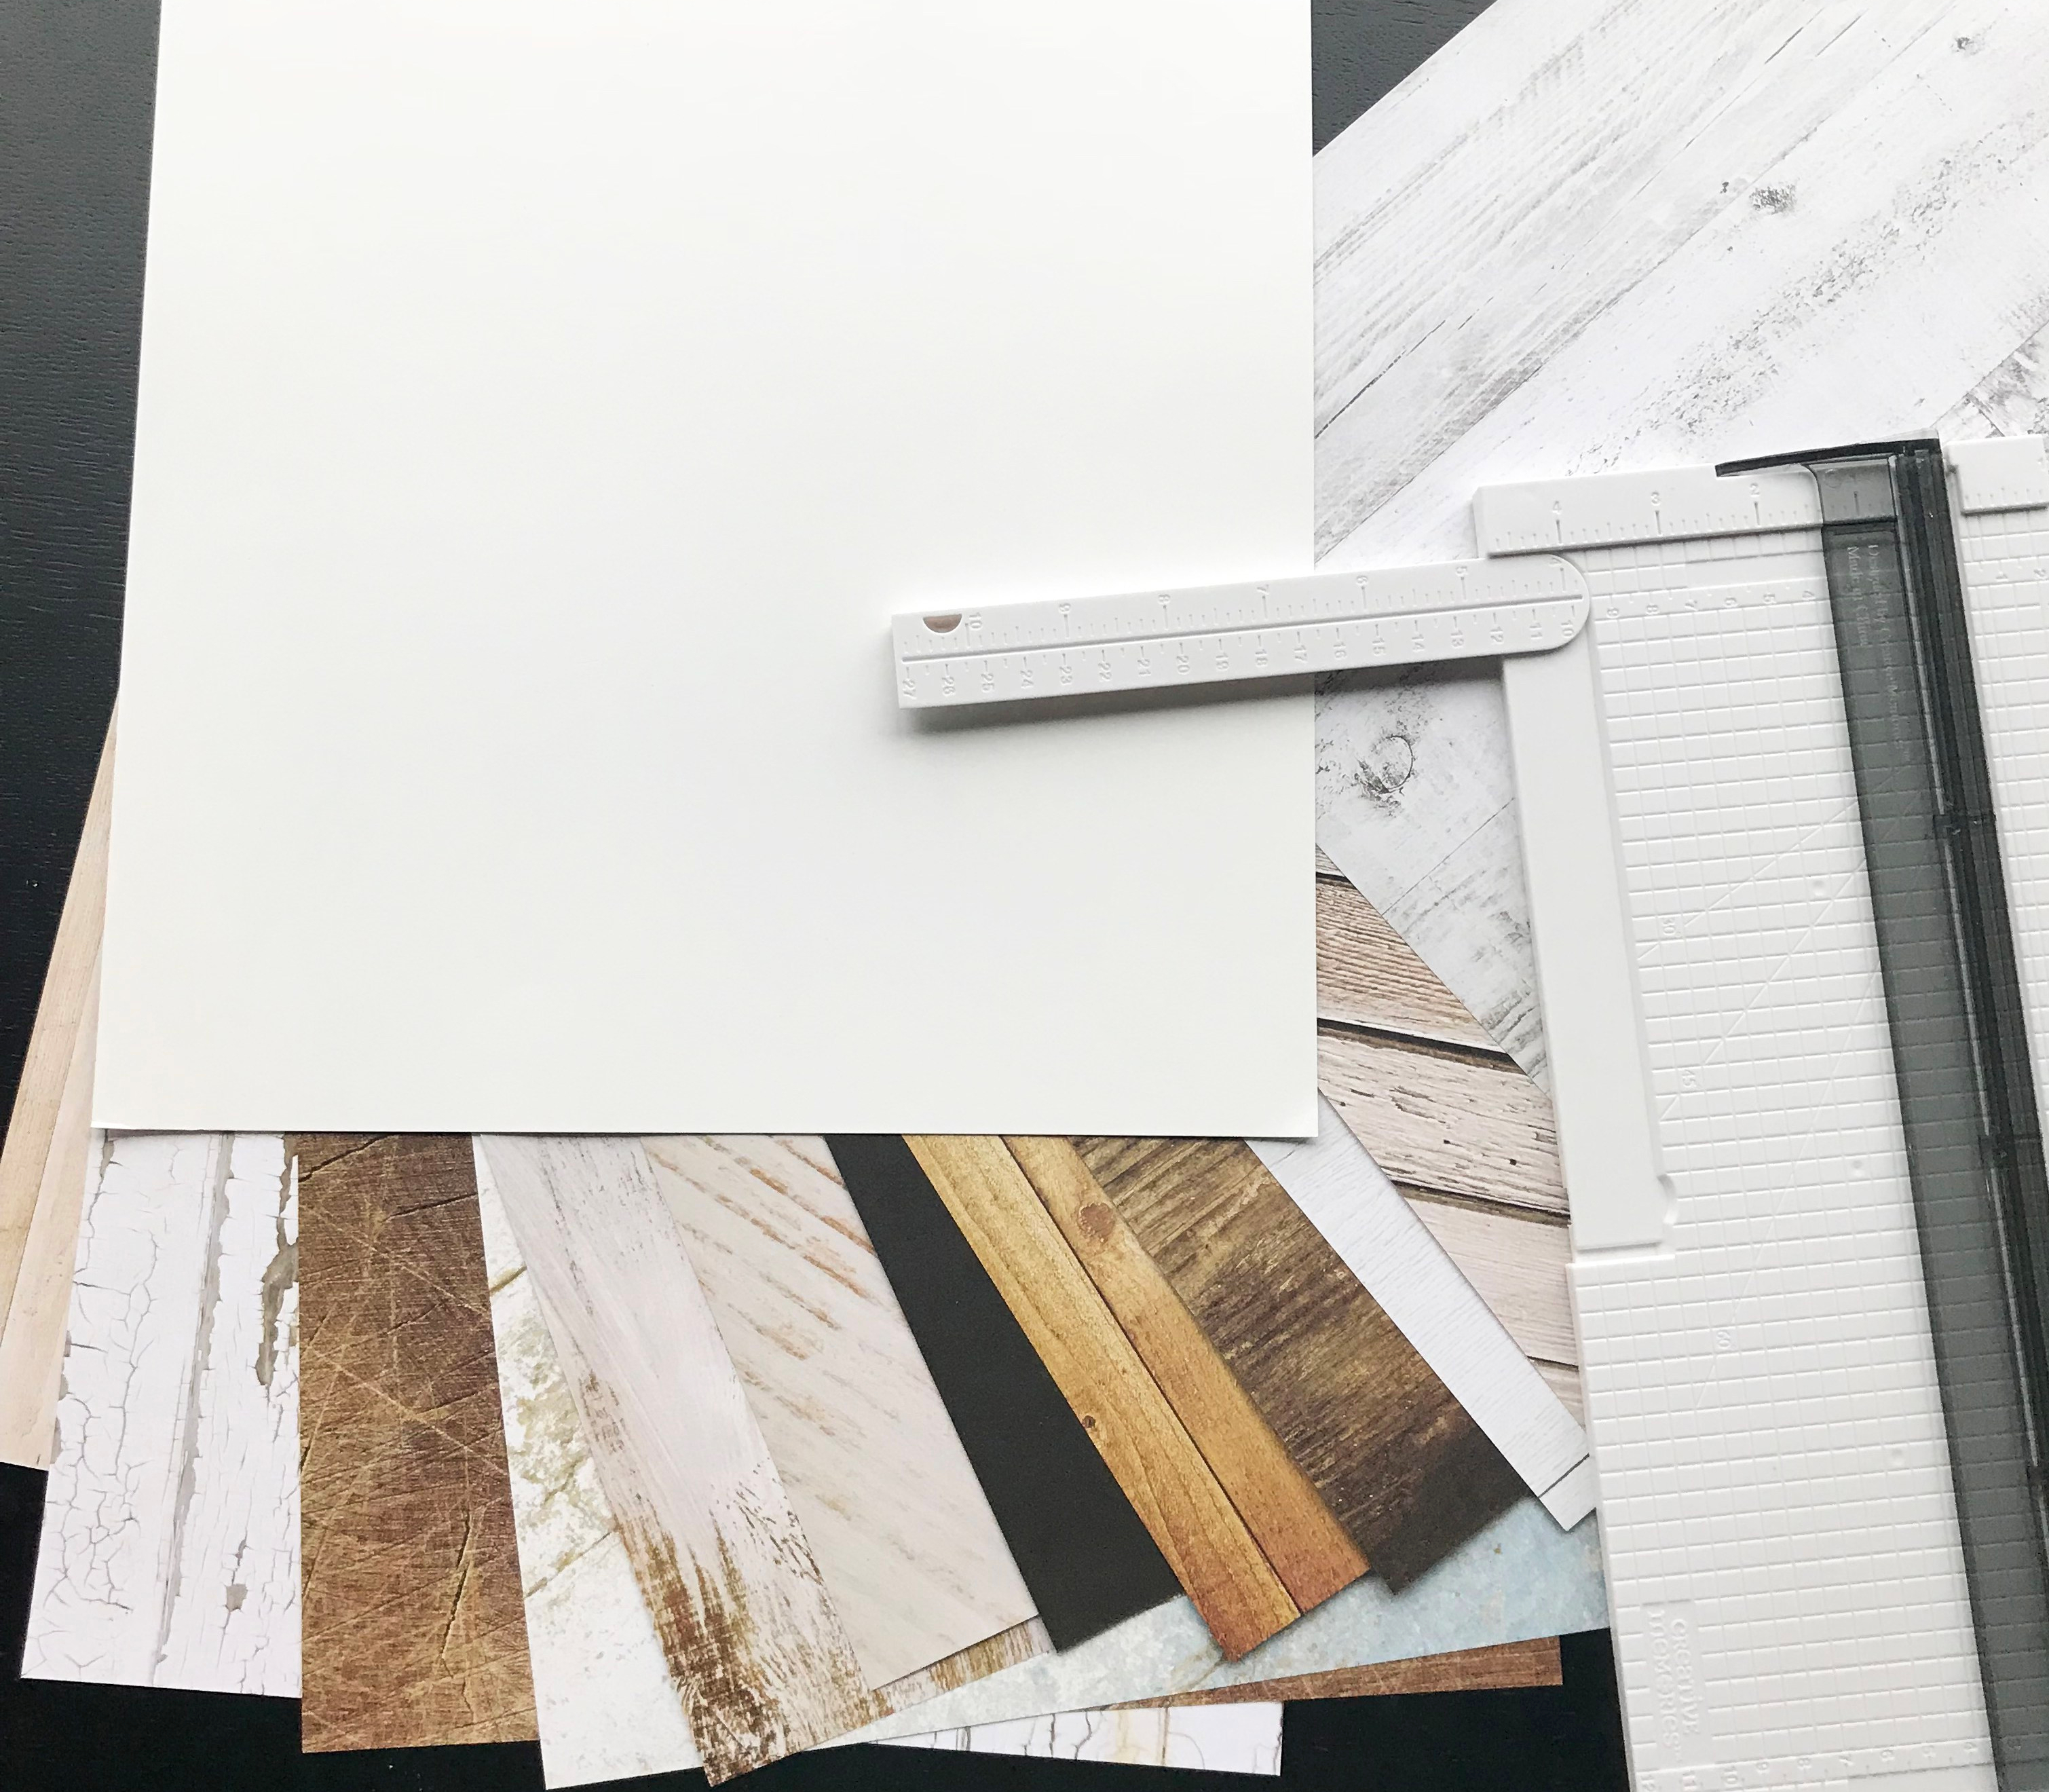
Step 1: Use Cardstock as the base for this layout. In this layout, you’ll never see the Cardstock, so you don’t need to use the white, if you don’t have any!


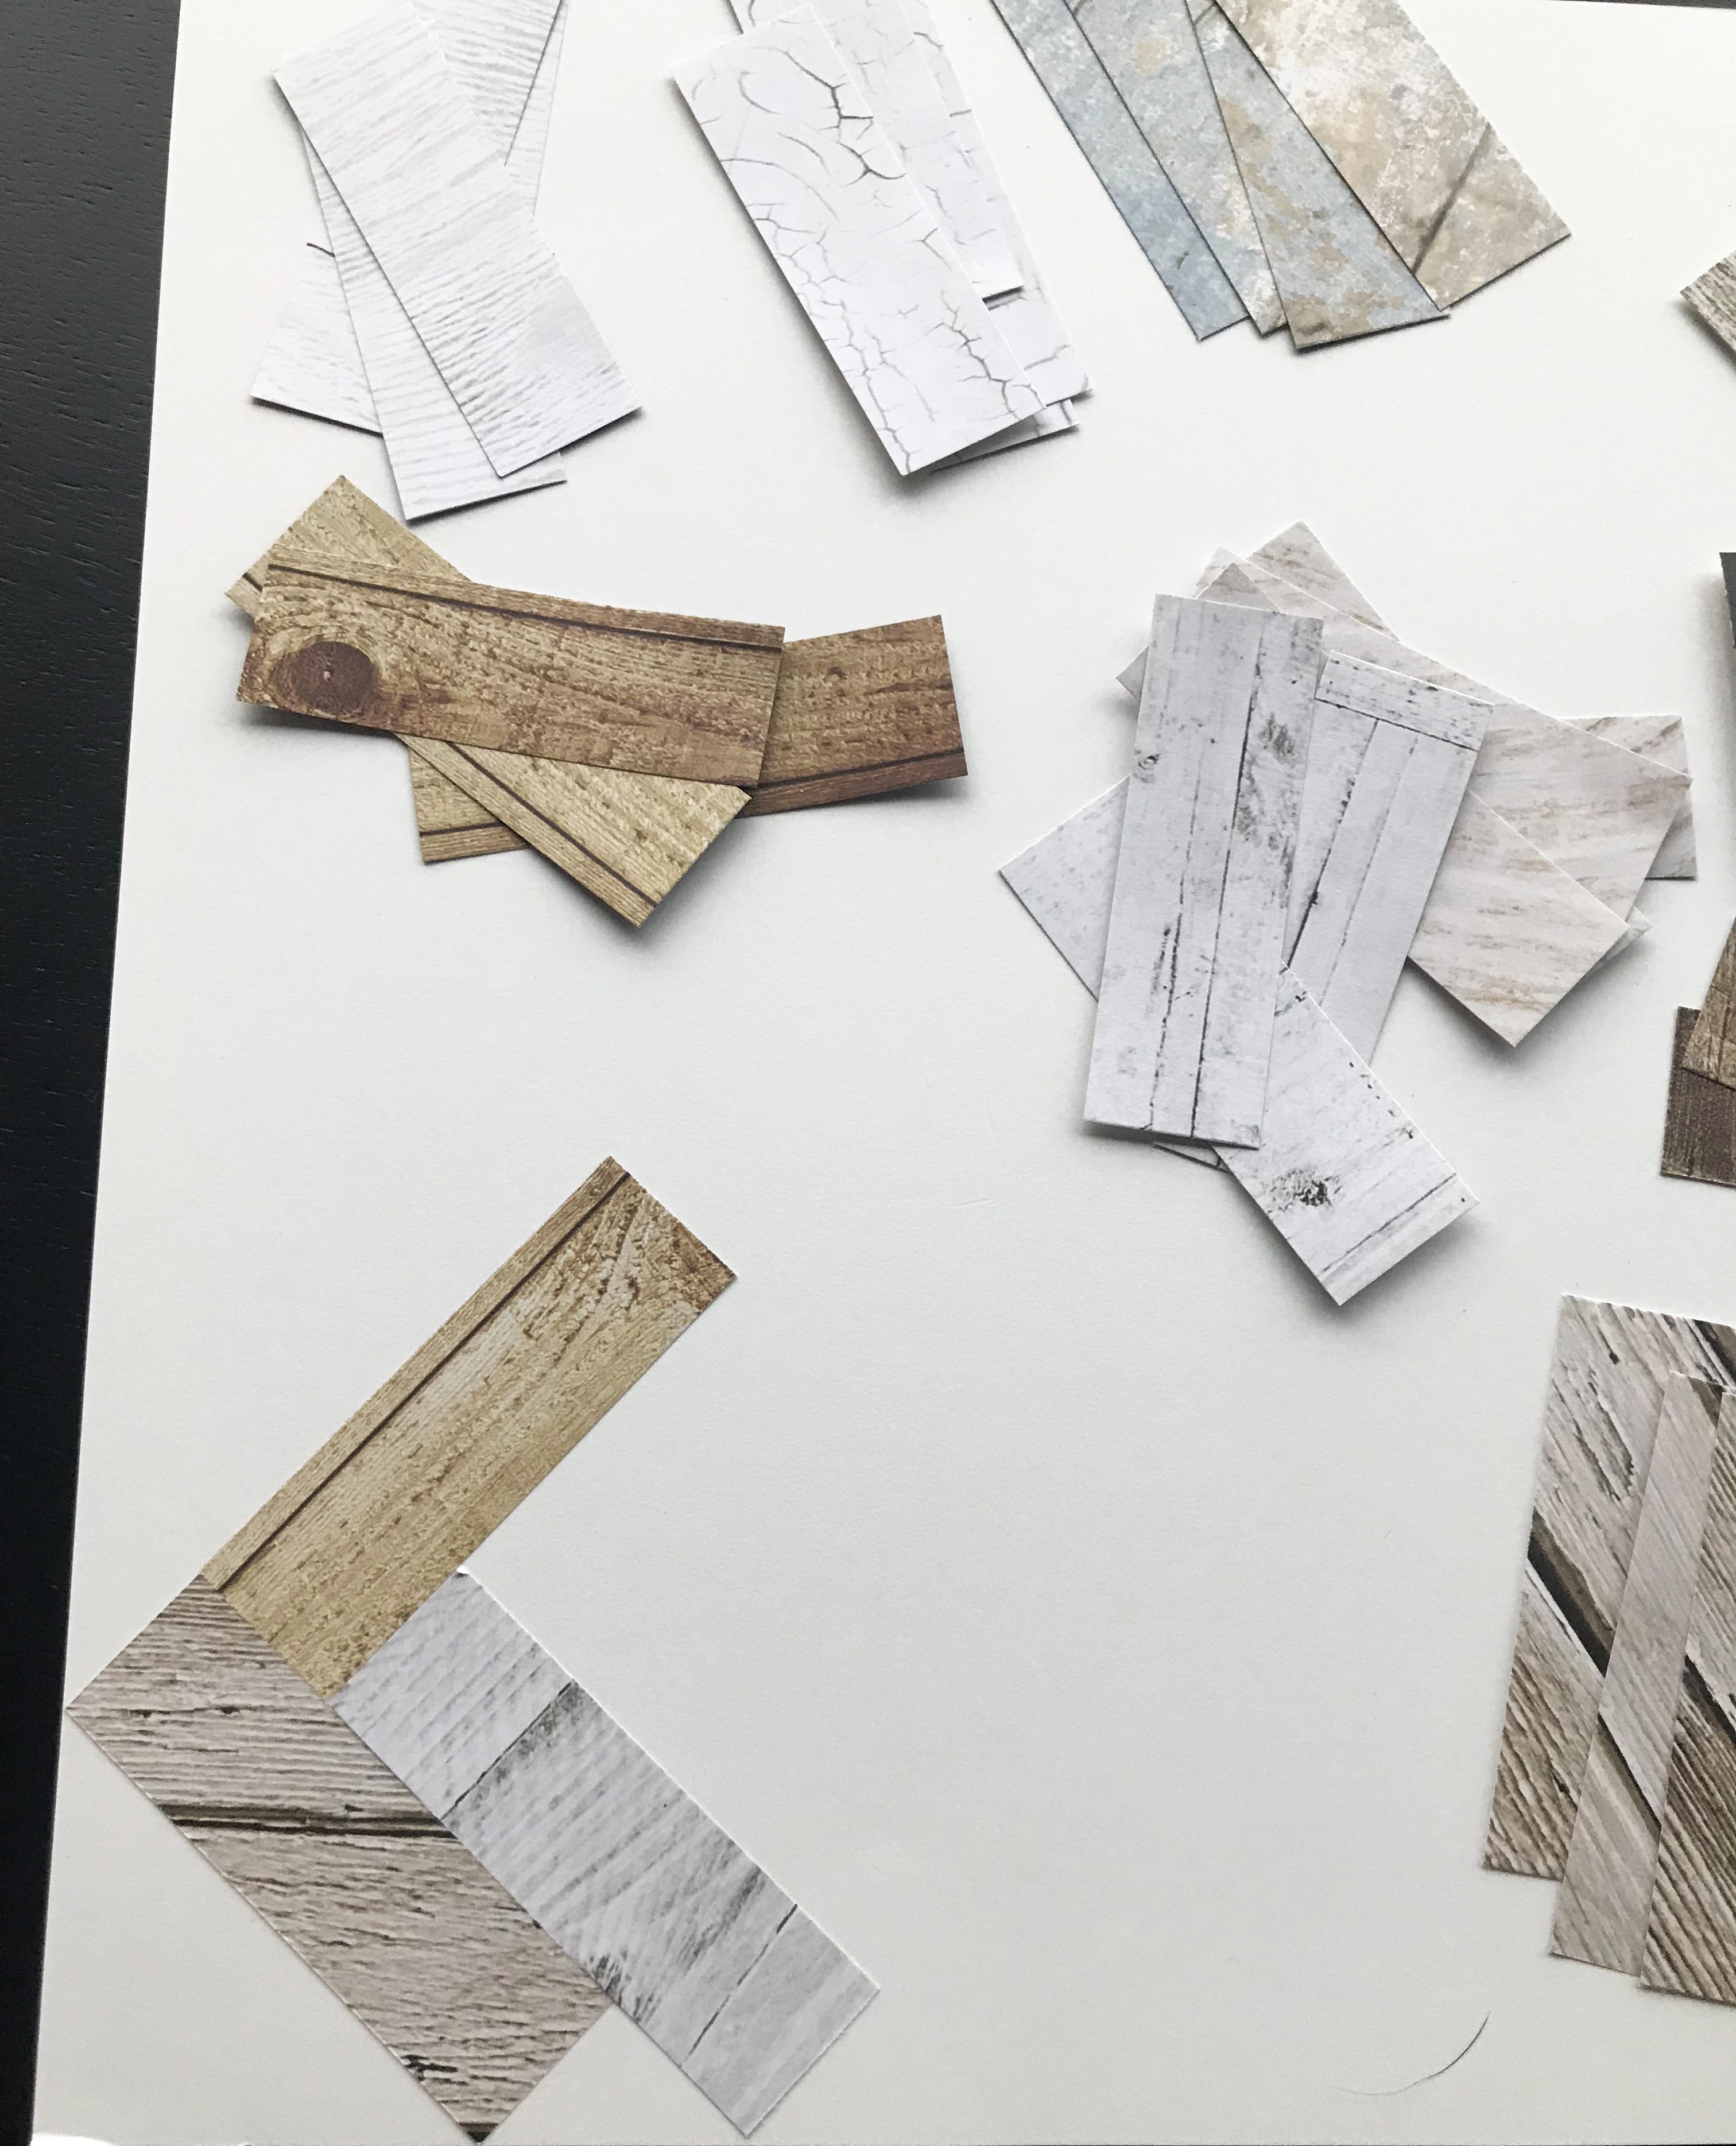
Step 2: To start, you’ll want to cut two 1″ x 12″ strips using the Trimmer from each of the six papers you have from the pack. Afterwards, you will have 12 1-inch strips of paper. Then, you will trim down these 1-inch strips into 1″ x 3″ rectangles, giving you 4 pieces that represent each designer paper.
Step 3: Take one of the darker papers and cut out a piece that measures 4″ x 12″ for the top of your layout.
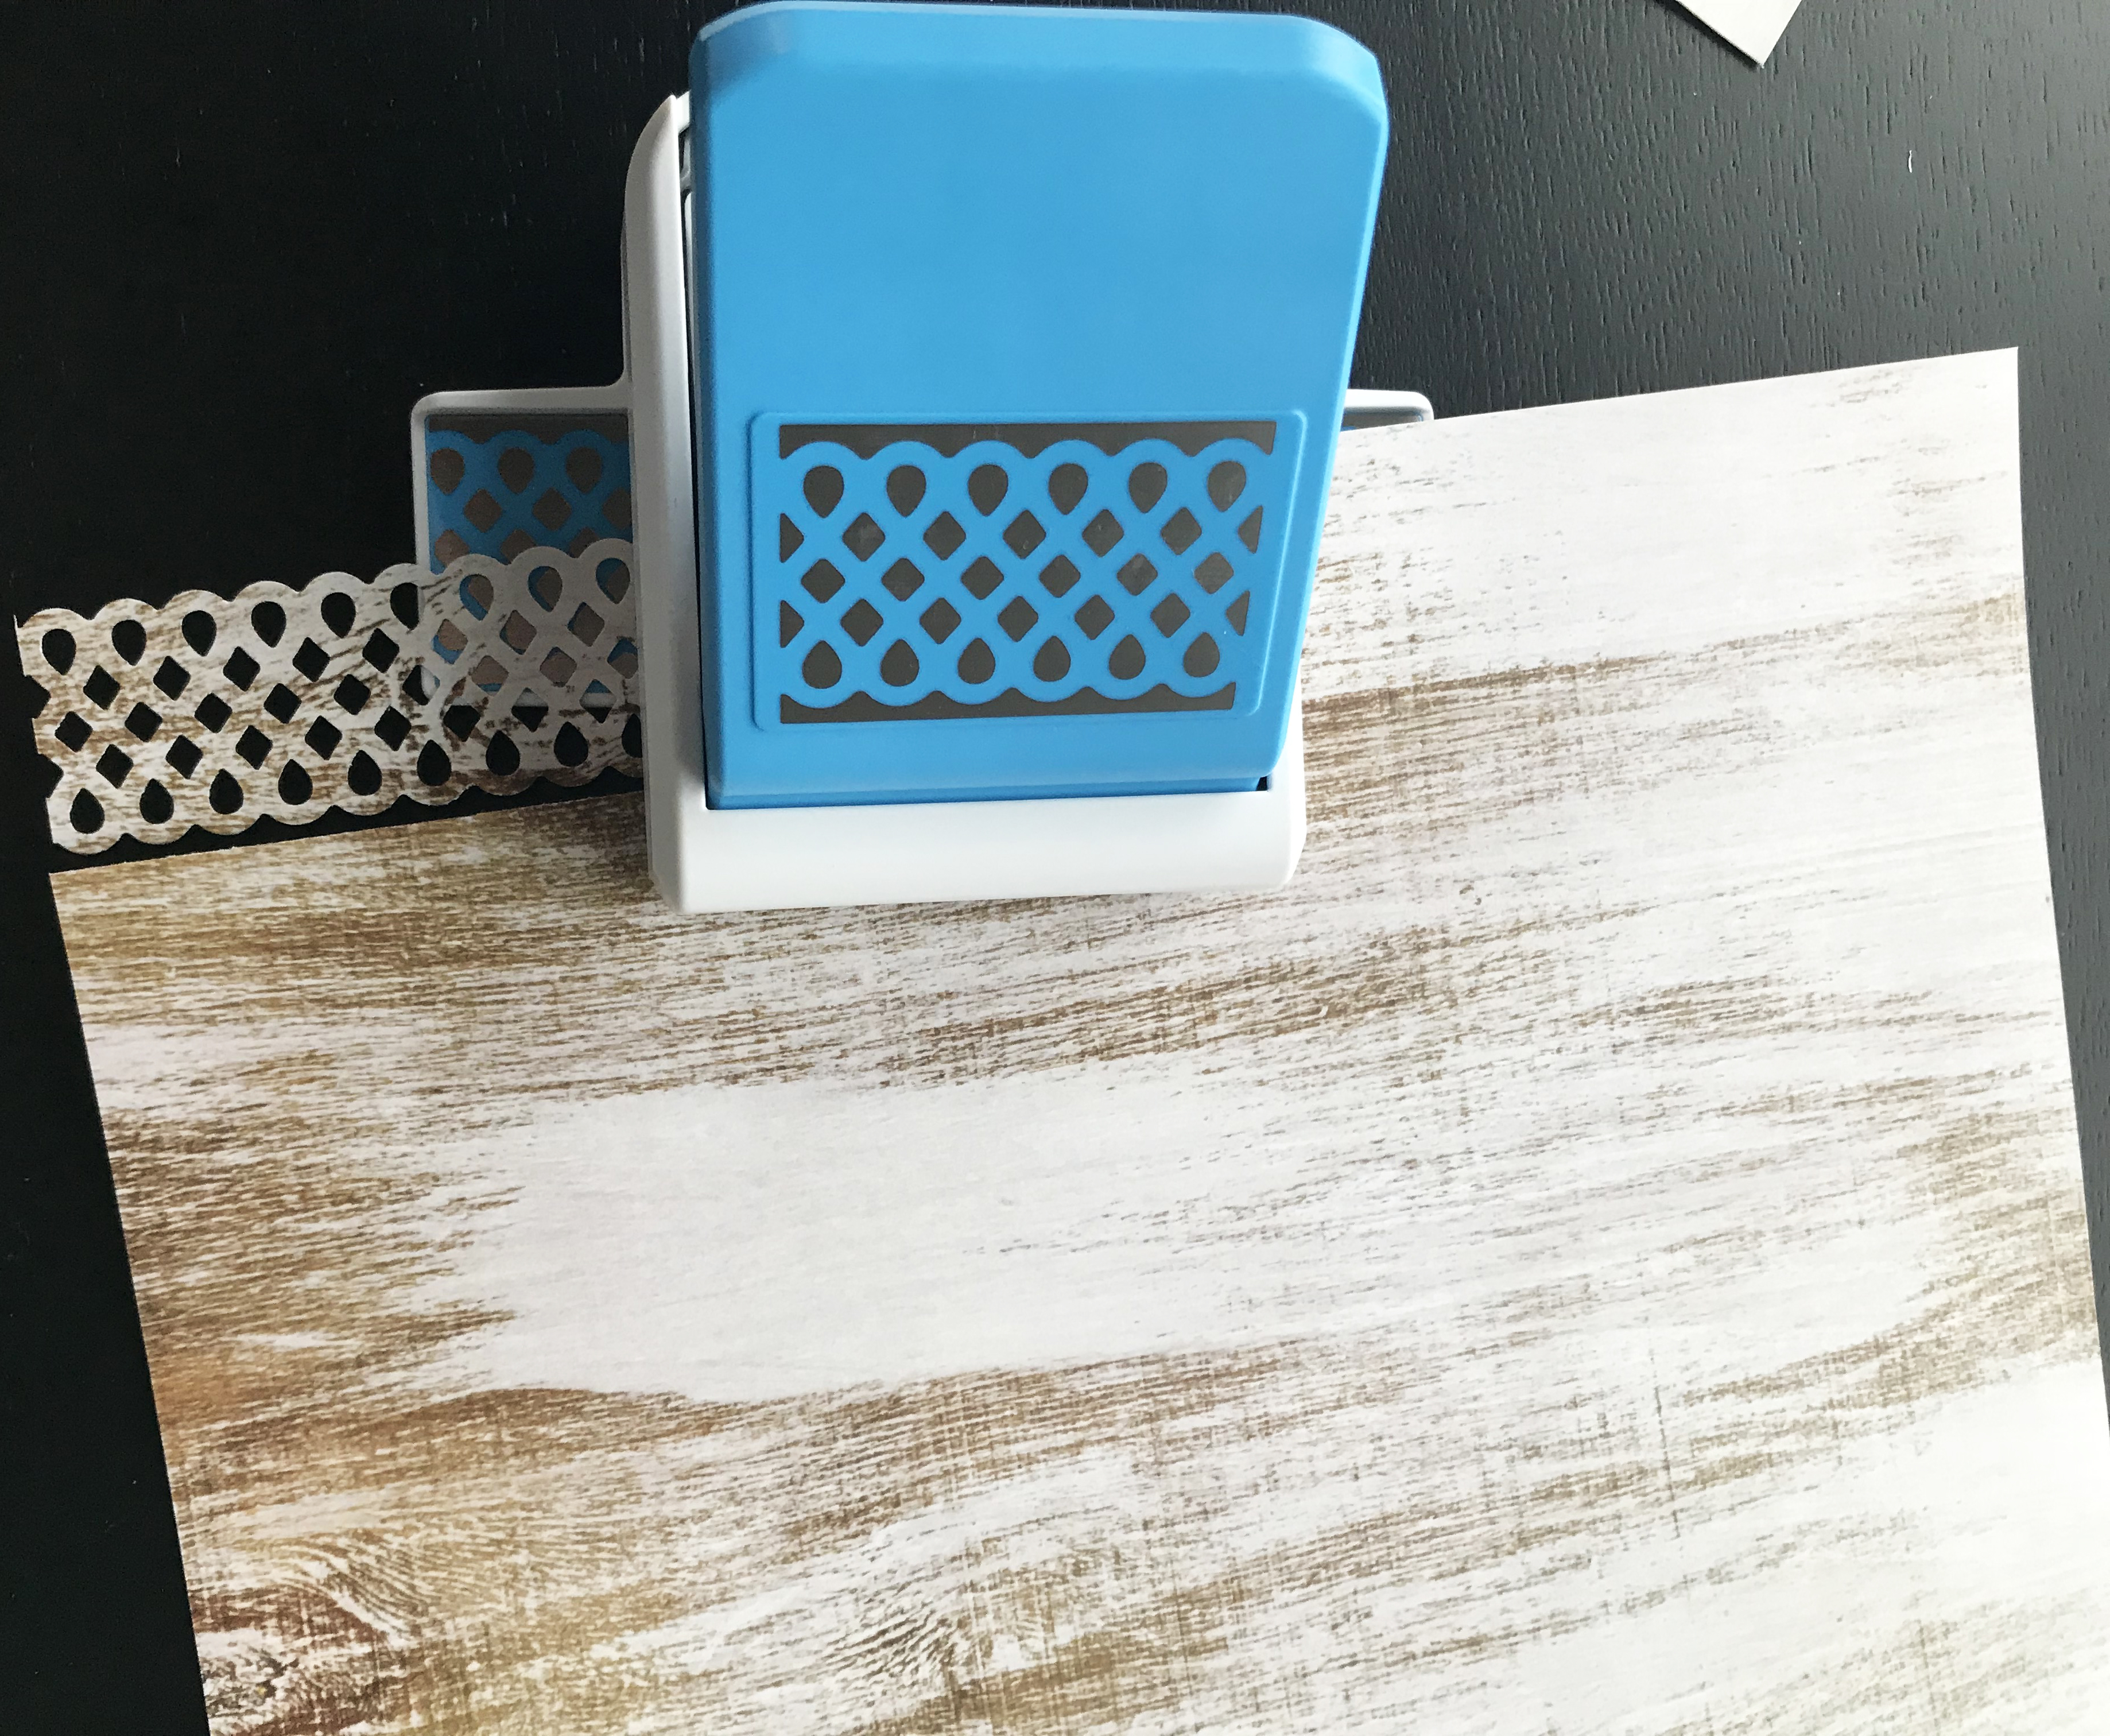
Step 4: Select a lighter piece of paper and punch out a border using the Teardrop Lattice Border Punch.
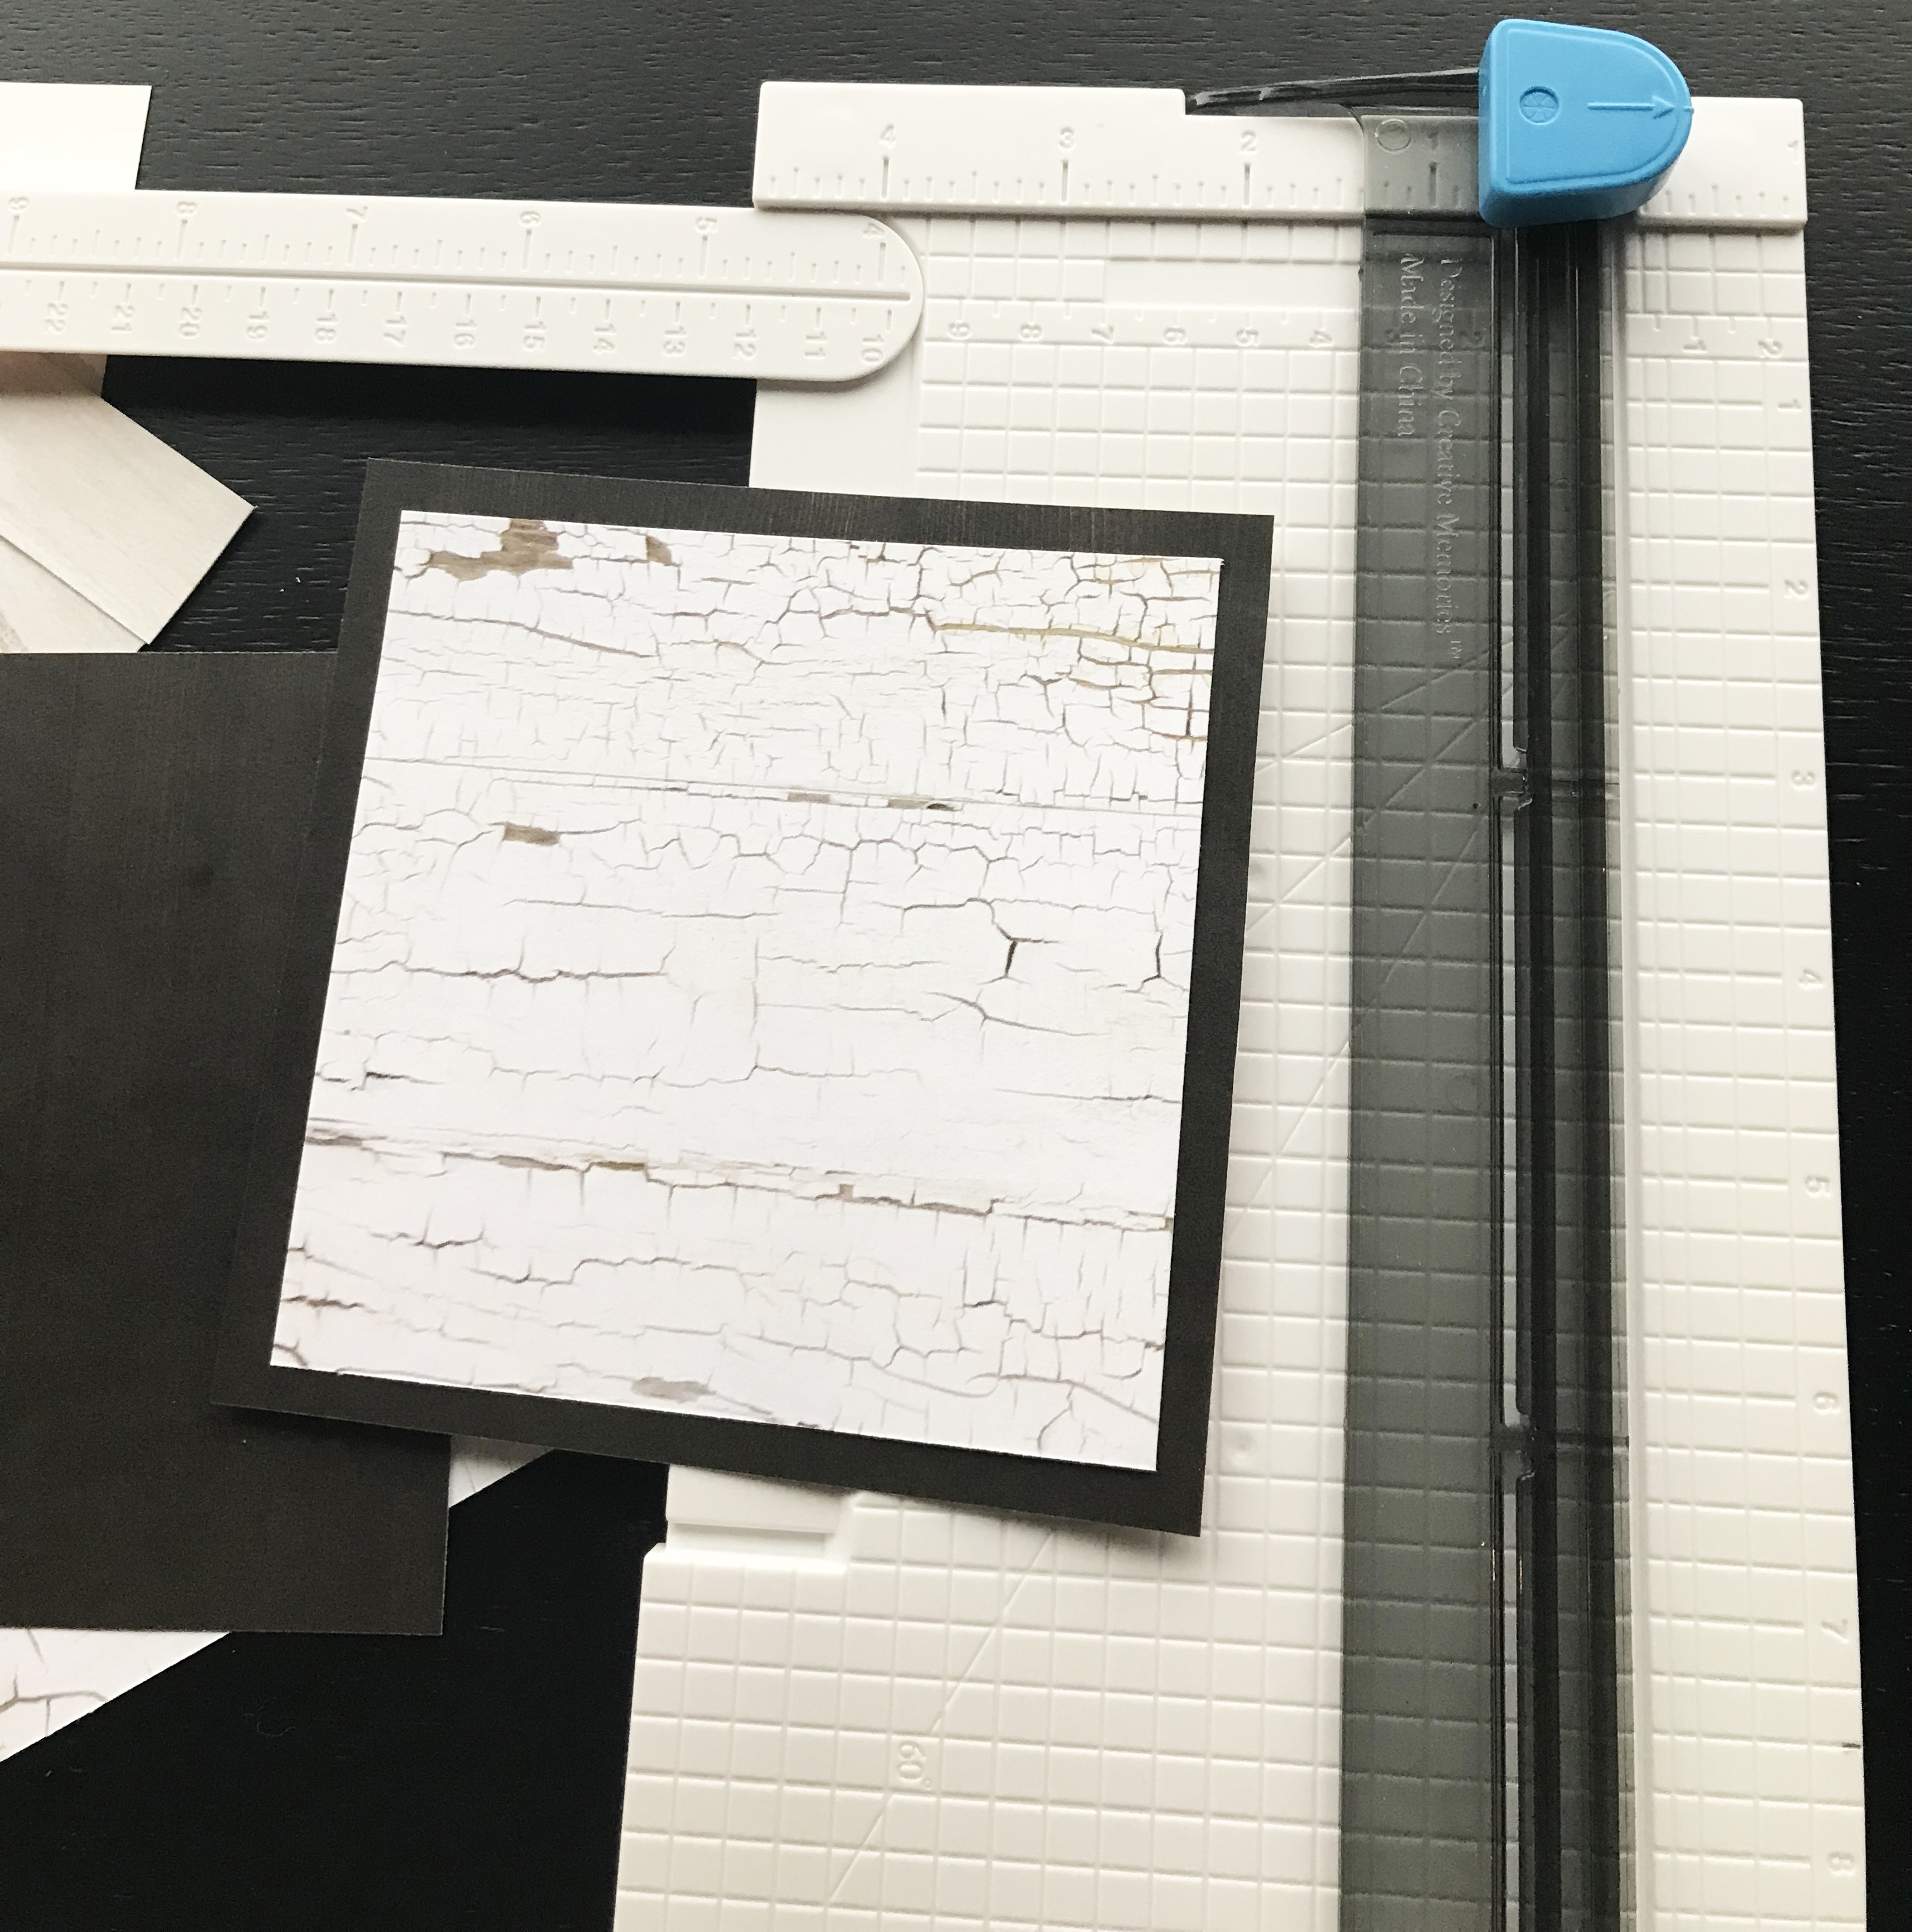
Step 5: For your photos, trim out two square mats. This will require a darker Designer Paper that measures 5″ x 5″. The top layer of the mat will include a lighter wood design that measures 4-1/2″ x 4-1/2″.

Step 6: Finally, for journaling, you will need to trim out a lighter wood design that measures 4″ x 2-1/2″ and a darker wood design that measures 3-3/4″ x 2-1/4″.
Step 7: Once everything is cut out, you’ll start at the bottom and lay out these down in the herringbone design using the Tape Runner. It will have a zipper effect. Use Repositionable Tape in case you have to move some pieces around. Please note, for the edges of the paper, use your scraps and trim them down with scissors.
Step 8: After the background is done, adhere the top border and then the Teardrop Lattice Border using Repositionable Tape.
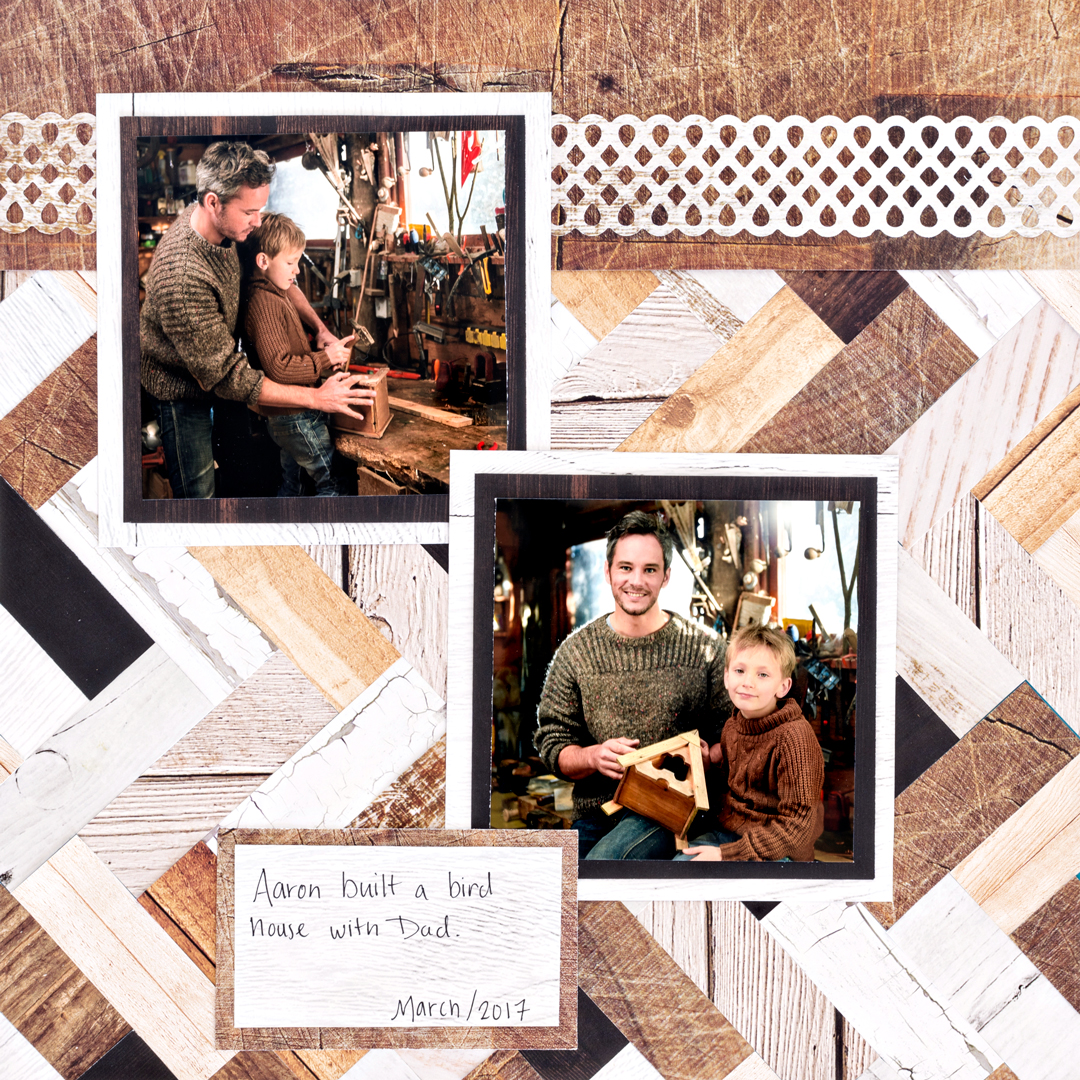
Step 9: The final step is to adhere your photo mats and journaling box. Pick out your photos (2 – 4″x4″) and you are all done!
What photos are you going to use with the Timber Paper Pack?

I love this one, printing it off now!
Great layout…admire your creativity. Just LOVE the paper
Please consider making a video for this – for doing the background. It looks super complicated.
Fantastic layout. I imagine the Timber Pack can be used for any kind of wood construction photos, cabin photos, or remodeling, camping, fishing, hiking, or even photos of barns! :-) Looks like a wonderful collection!
Love this! I created a digital page using the Cloth, Stone and Timber! It was so fun to put together from this layout!