April 11, 2018
5 Steps to Create a Baby Scrapbook Layout
Tractors, trucks, trains and toys – there’s nothing quite like little boys! Document those special moments of your little boy with this adorable baby scrapbook layout that you can complete in just a few simple steps. Let’s get started!

What You’ll Need to Create This Layout:
- Little Lamb Baby Boy Paper Pack – 2 Sheets
- Little Lamb Baby Boy Stickers
- Little Lamb Baby Boy Variety Mat Pack – (3) 4-1/2″ x 6-1/2″ & (1) – 4″ x 6″
- Little Lamb Embellishments
- 4-Way Hearts and Stars Corner and Hole Punch
- 12-inch Straight Trimmer
- Scissors
- Tape Runner
- Foam Squares
Step 1: Choose a piece of Designer Paper as the base for this layout. This layout uses the gray shaded gingham design.


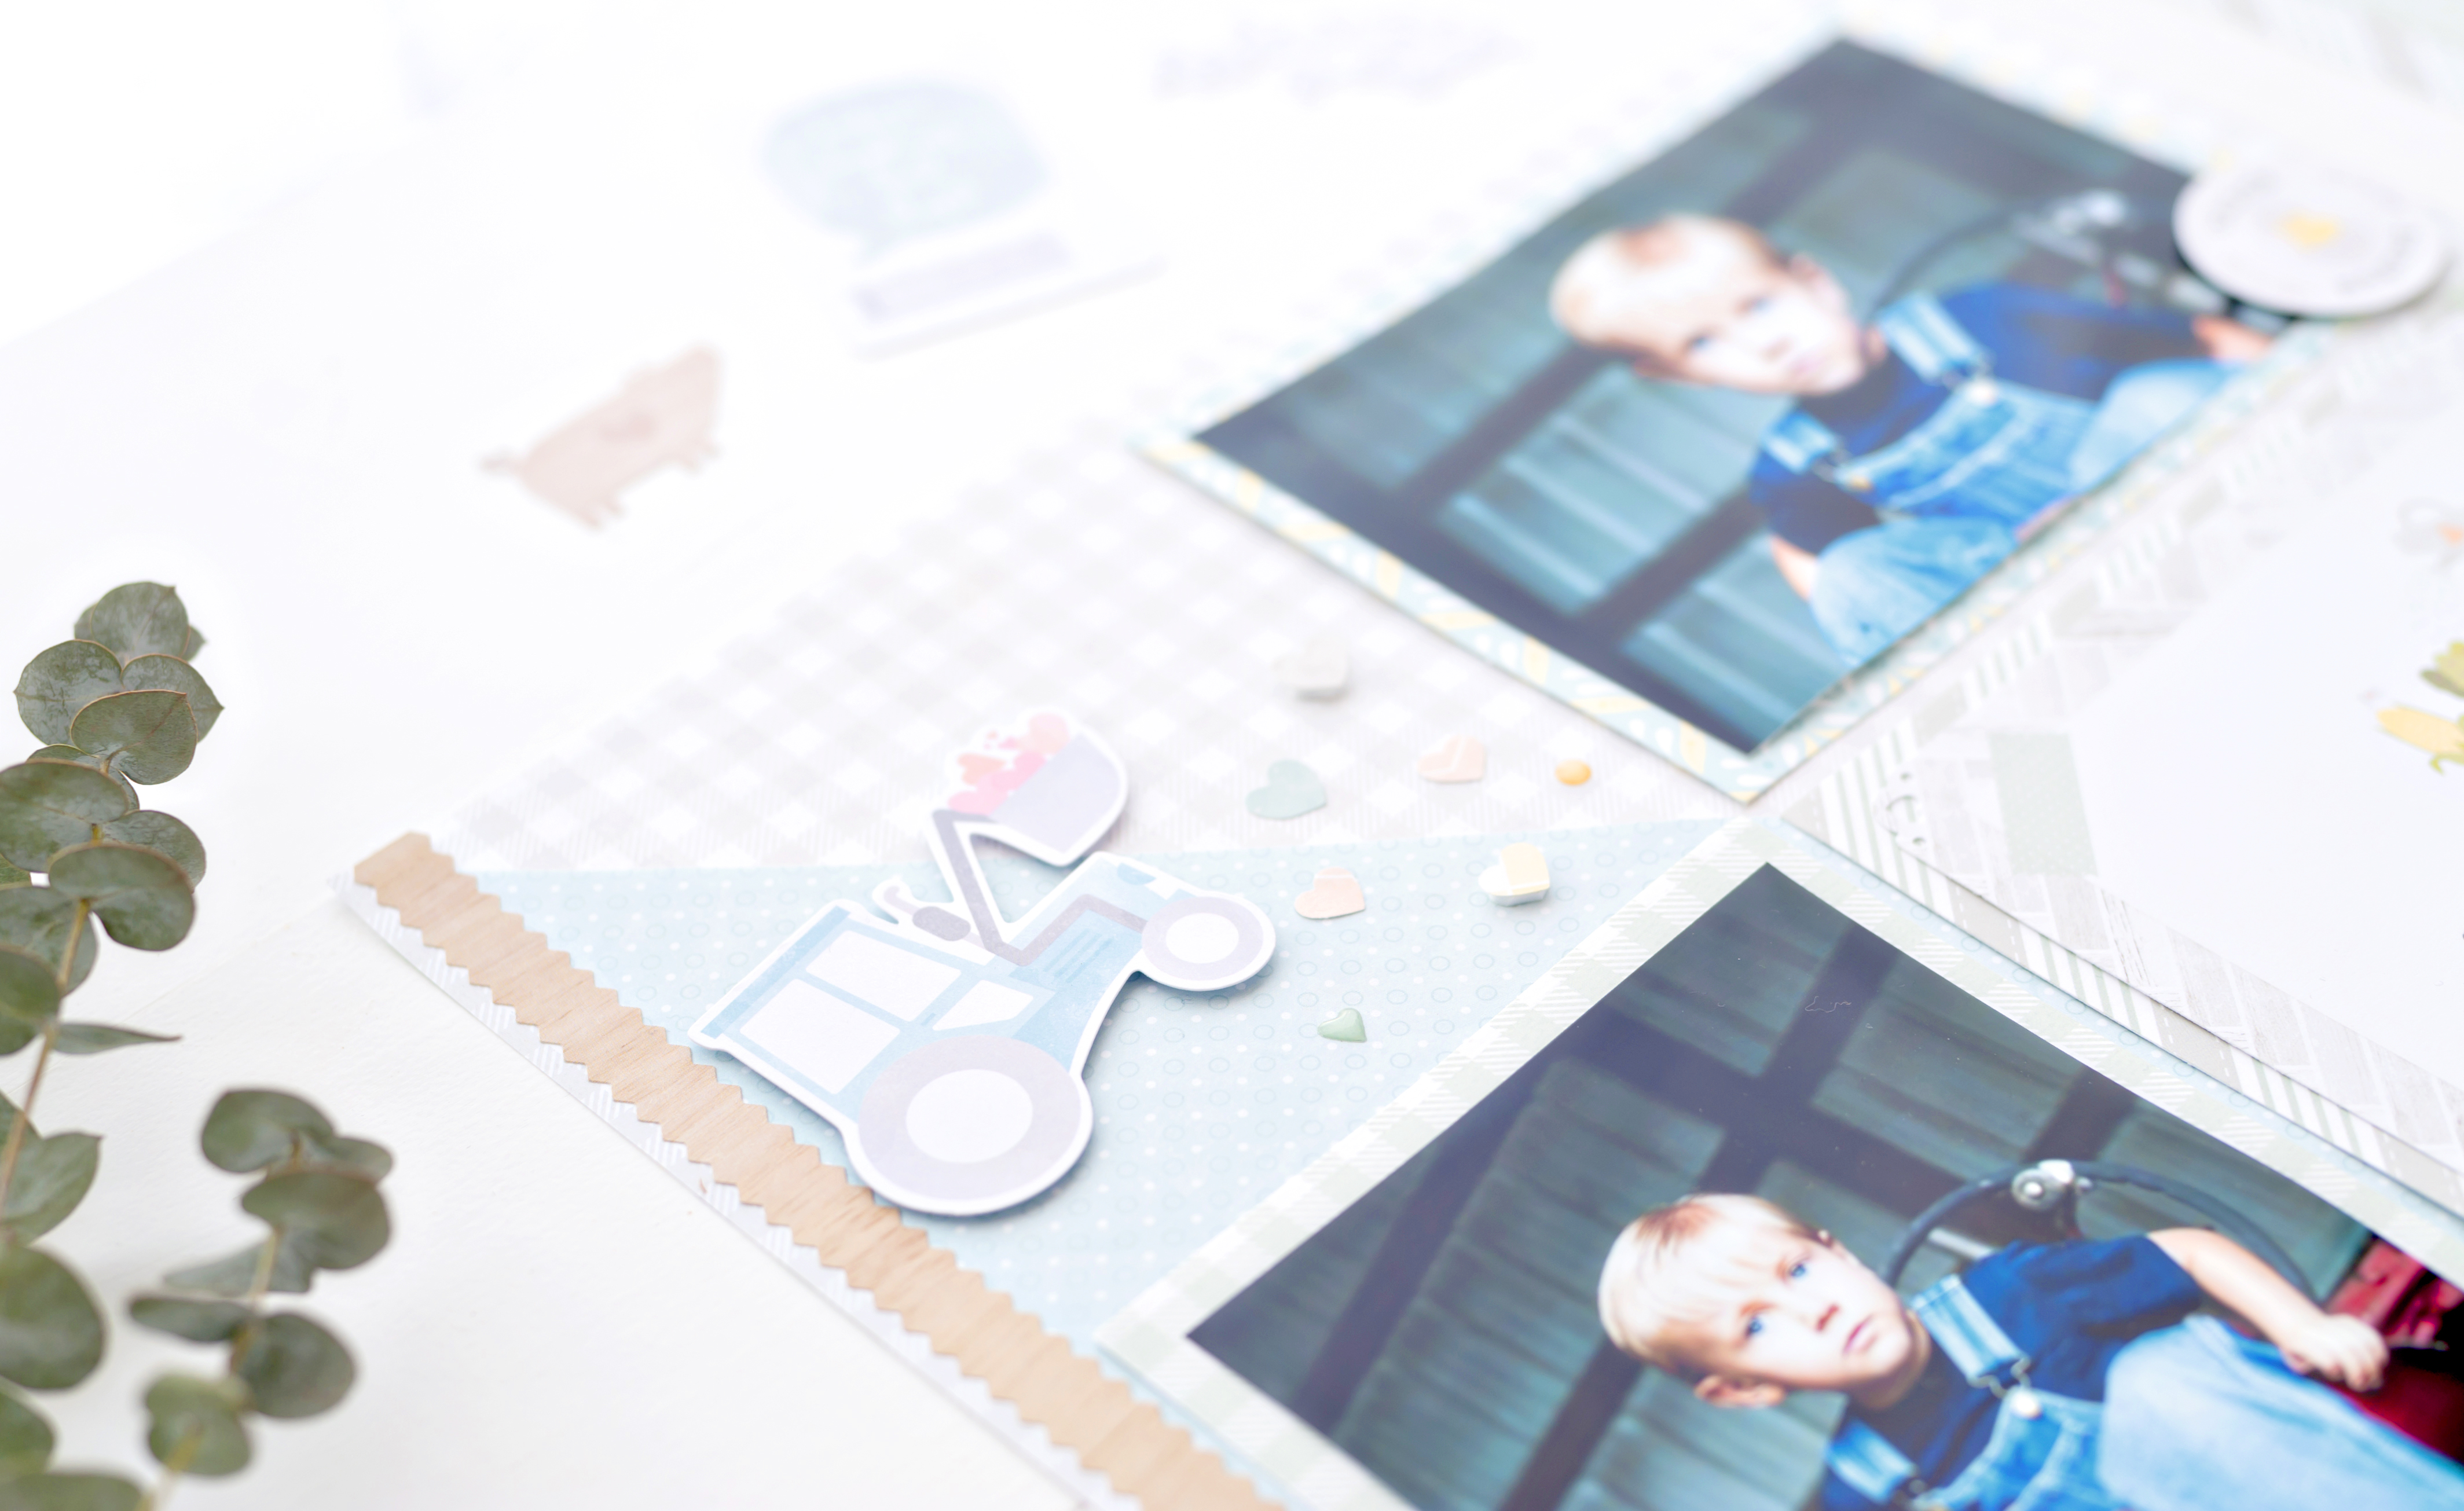
Step 2: Take another sheet of Designer Paper and cut it down with your 12-inch Trimmer to measure 11-1/2″ x 11-1/2″. Fold this piece of paper diagonally, so it is now in a triangle shape. This will create an angled fold in the center of your paper. Use your Scissors and trim down this line, making two separate triangles.


Step 3: Utilize your Tape Runner to adhere your triangle to your layout, ensuring the “L” shape of the triangle is in the bottom left-hand corner. After you adhere your triangle, spruce up your layout with a border from your sticker pack.
Step 4: Then, you can adhere your Mats following the layout. Decorate the corners of your mats as desired using the 4-Way Hearts and Stars Corner and Hole Punch.
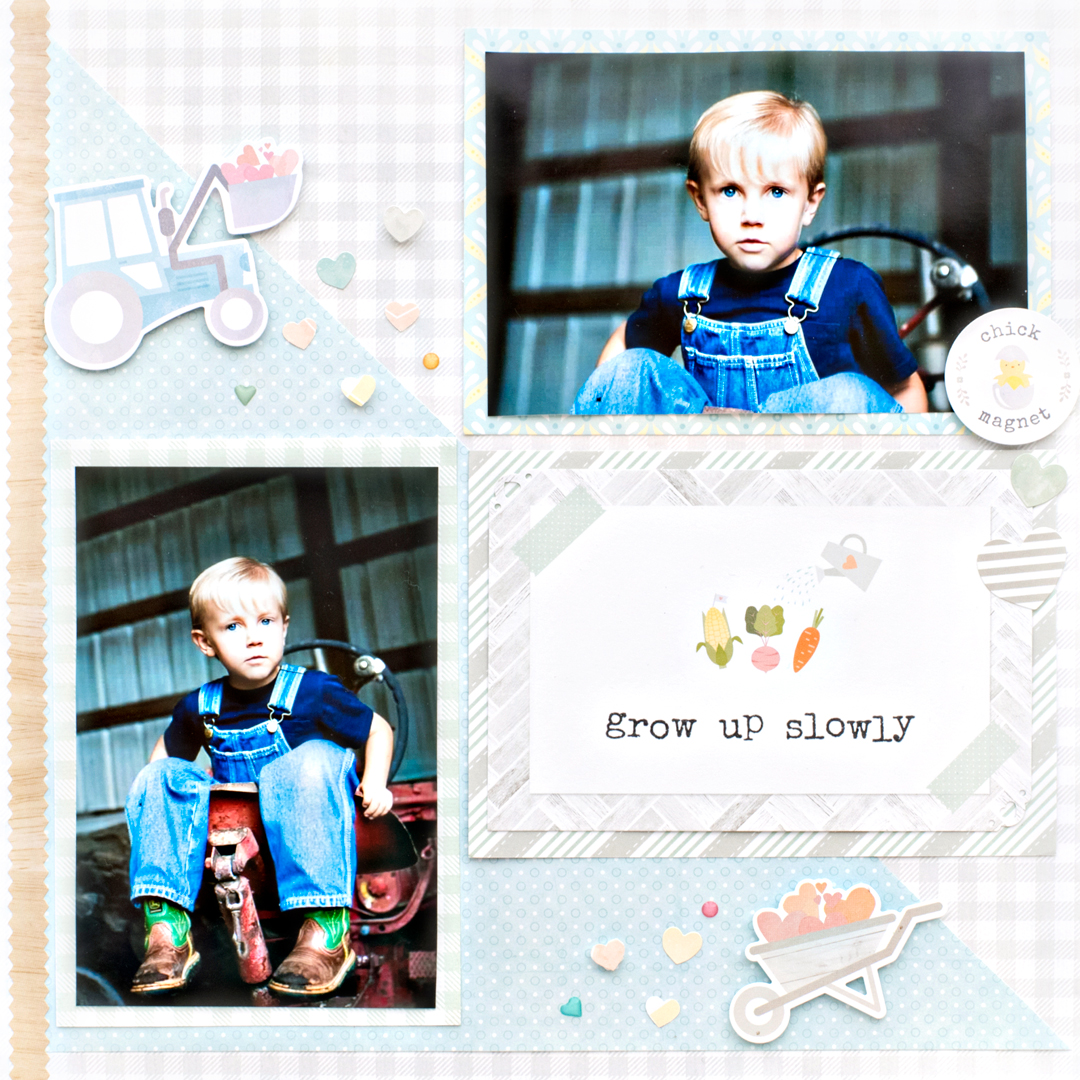
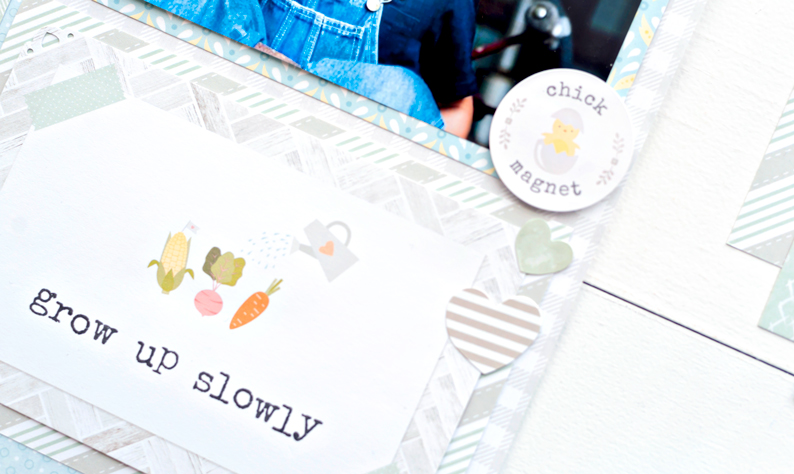
Step 5: Gather your photos and adhere them to the page as desired. You will need (2) 4″ x 6″ photos. Using your Foam Squares, adhere the Stickers and Embellishments to dazzle up your design and you are all done!
Comment below and tell us what you think of this mat pack layout!

Just the cutest! This paper pack really lets the photos pop!
It really does!