April 14, 2018
DIY Project: Paper Flowers Using Full Bloom

Would you like to learn a quick paper craft technique that will create beautiful flowers that you can use for party decorations or wall art? You’re in luck because we’ve got just the thing for you! Check out this easy tutorial to learn a fun paper craft project!
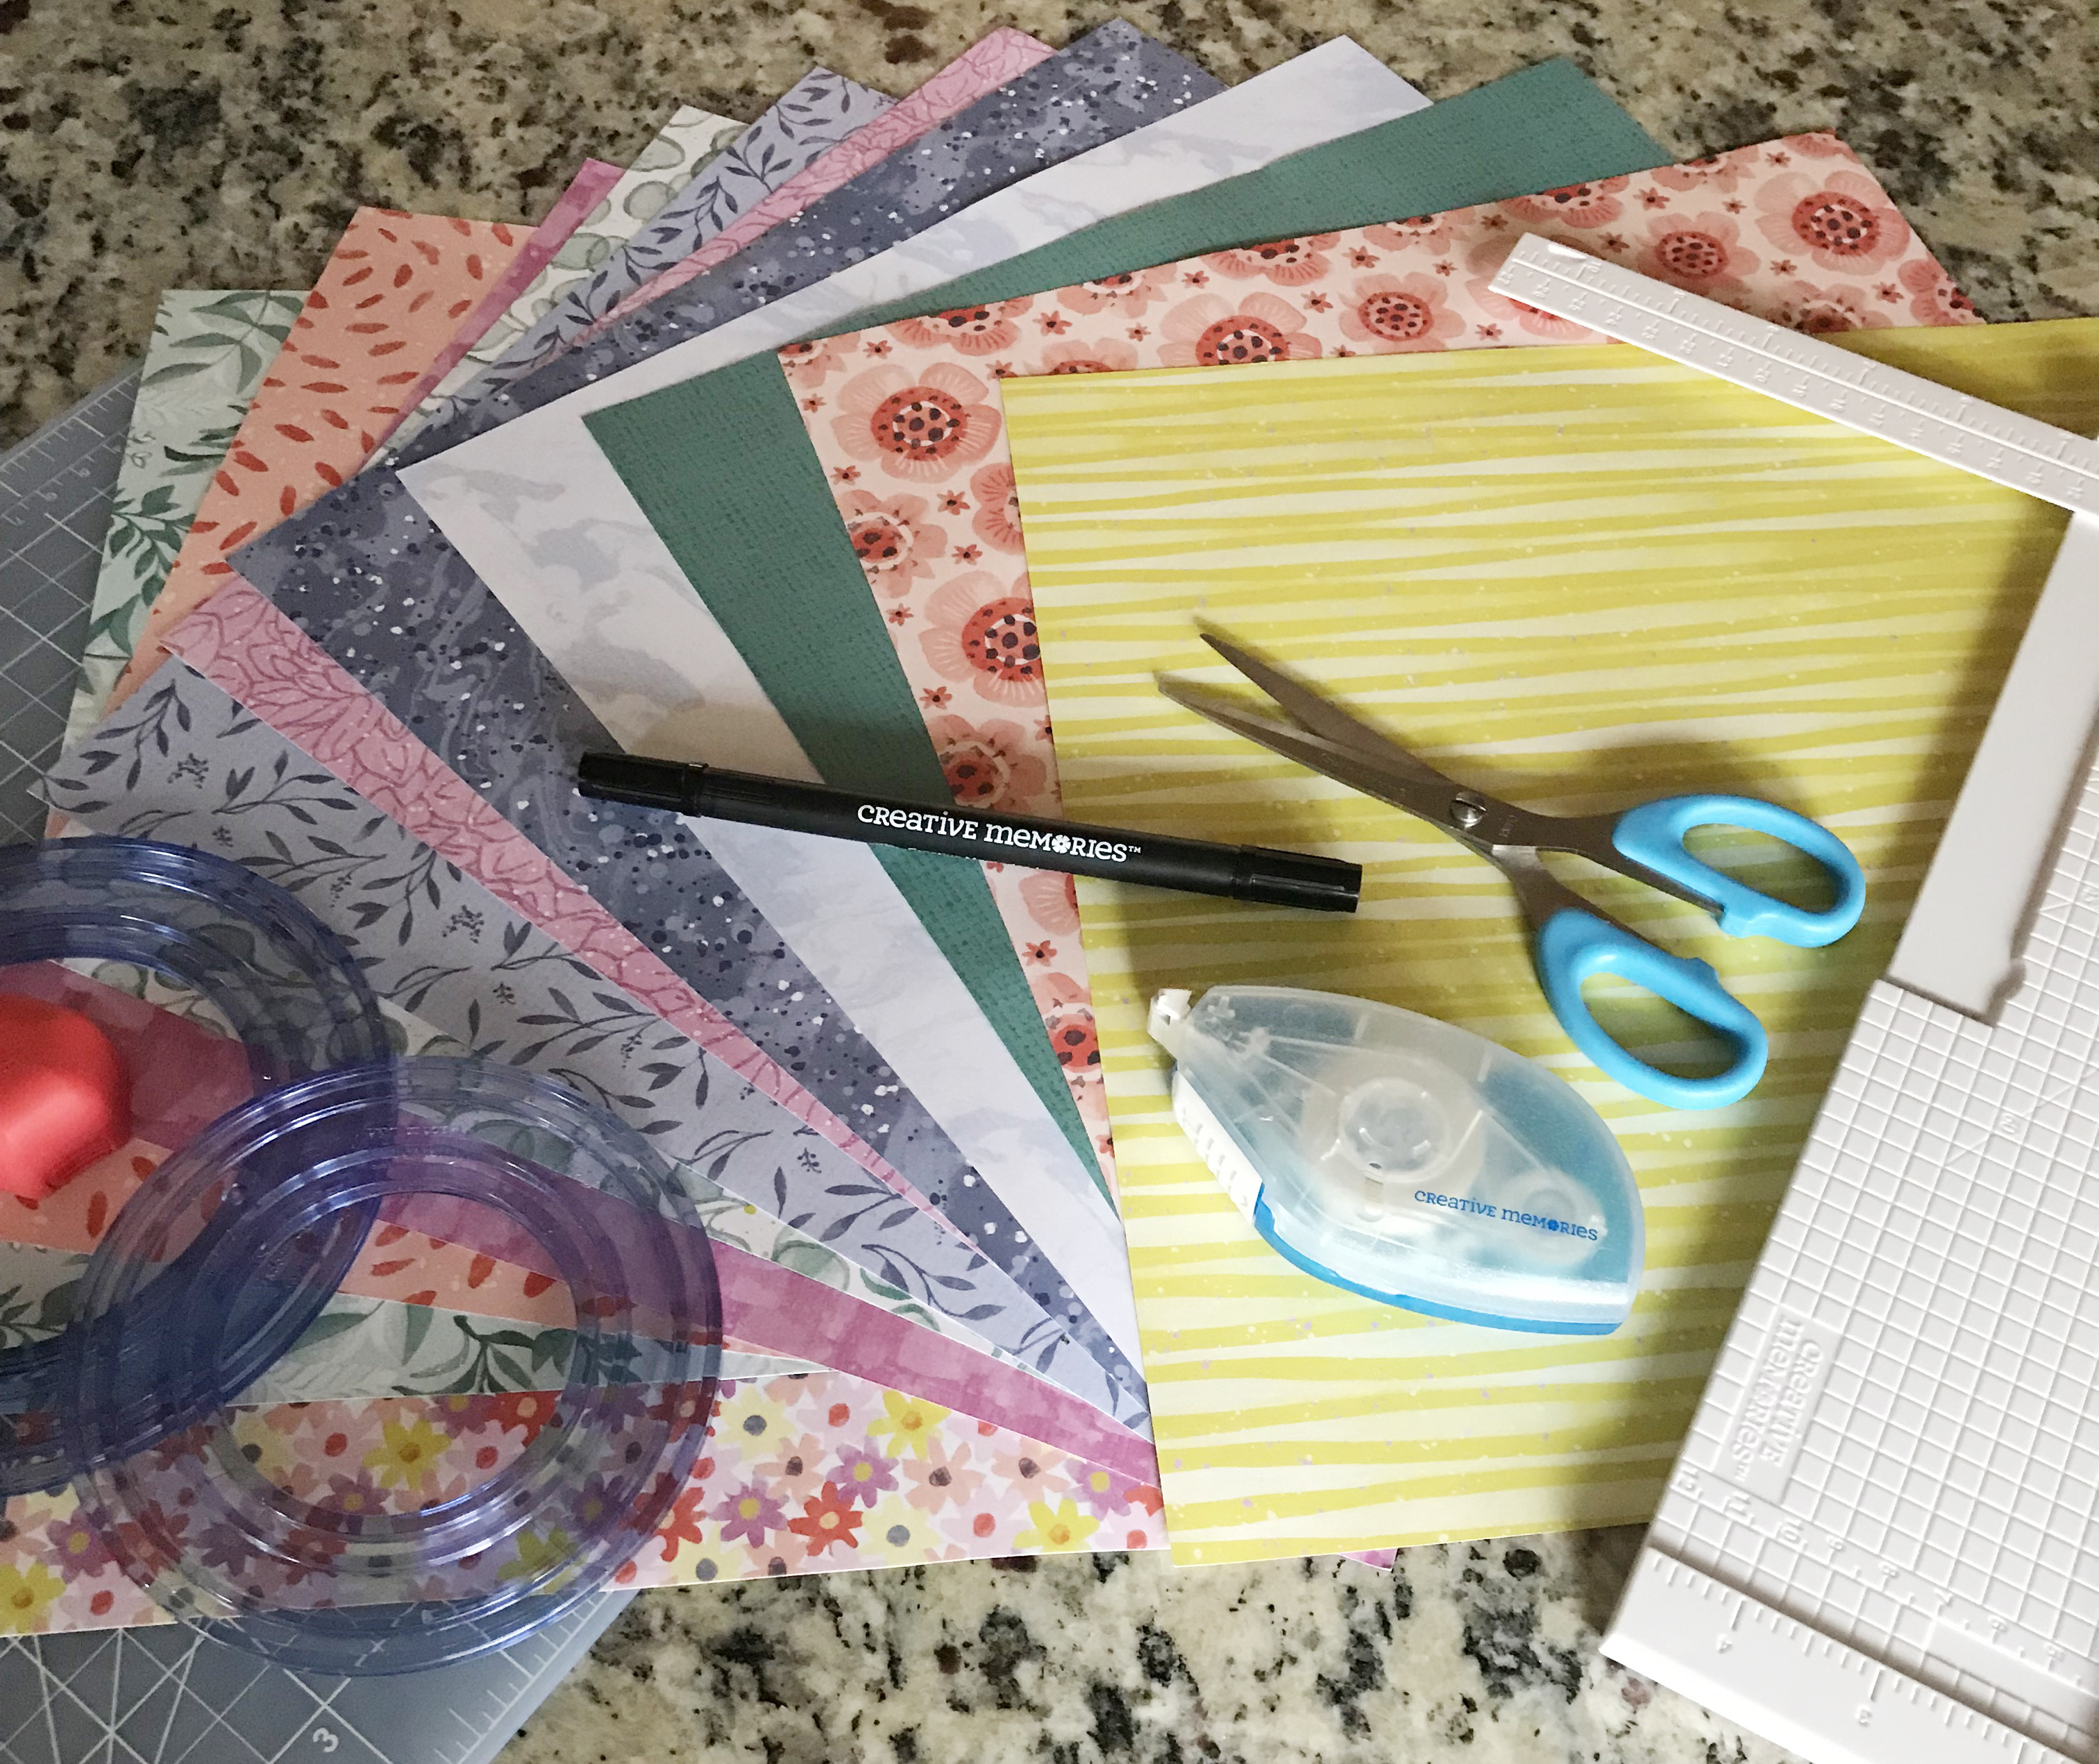
What You’ll Need to Create This Project:
- Designer Paper Pack (6 Sheets, one to represent each design) – We used Full Bloom
- Tape Runner
- Custom Cutting System with the Red Blade and the Large & Medium Circle Patterns
- Scissors


Step 1: Place one of each of the pieces of paper underneath the middle and large sizes of the Circle Custom Cutting System. You will utilize the Red Blade and cut out a circle with either size of the circles.


Step 2: After you cut out various circles, you will need to draw a spiral with a minor hook on the end, like shown in the image. No worries about perfection, it is going on the opposite side of what you will see! Utilize your scissors to cut out the spiral.


Step 3: Once your circle is in a separated spring-like spiral design, run your Tape Runner on the hook of the spiral before you start rolling it in. You’ll want to start rolling up the spiral from the outside in, as shown in the images. NOTE: You might need to utilize your Tape Runner to make sure the flowers stay intact.


Repeat the above steps as many times as you’d like, until you have your desired number of flowers. Optional: Use the green patterned Designer Papers to make leaves using your Creative Memories Scissors.

This is great for party décor, to use as bows on gifts, perfect for a shadow box in your home décor, or perfect for a colourful spring wreath!
Comment below to let us know if you will be trying this project out!

Love seeing all your posts, going to try them
Very, very pretty! Perfect for Spring as shown.
Yes! I want to make a spring wreath as a hostess gift for my sister -in-law. It will be perfect!
Awesome – Glad to hear it! :)
[…] Paper Flowers Wreath – Get Steps at Creativememories […]