June 30, 2018
Military Scrapbook Layout Honoring Brave Son
“The Land of the Free and the Home of the Brave.” Many of us have family or friends who have served our country and the Brave Paper Pack is a perfect backdrop to capture those honorable memories. Here is a little inspiration for some patriotic military layouts from Independent Advisor Billie French using the Brave Paper Pack.
Billie’s Inspiration: “The Brave Paper Pack inspired me to pull these photos from 2012 out. ‘Brave’ would be the exact descriptor of my son during this time of his very young life. His Junior year of high school we received news that his father had terminal cancer. My son, knowing the difficulties that laid ahead, left his school and friends and moved far away to be with his father. A few short days after he graduated, his father, also a veteran, passed away. A few short weeks later my son left for boot camp. During those last two years of high school and the beginning of his service, I found it so hard to just breathe. He was so far from home and going through so much. With all the training I had received, there was not a single thing I could do to stop or shelter him from this. On that day in Fort Jackson, you could see the young man who wanted more than anything to have his dad there too, but even more so, a young man who knew he was going to continue to move forward in life. On that day, this mom caught her breathe again. The Brave layout reminded me how pivotal moments can be. Scrapbooking allows us to celebrate those we love by capturing all the moments that tell their story.”

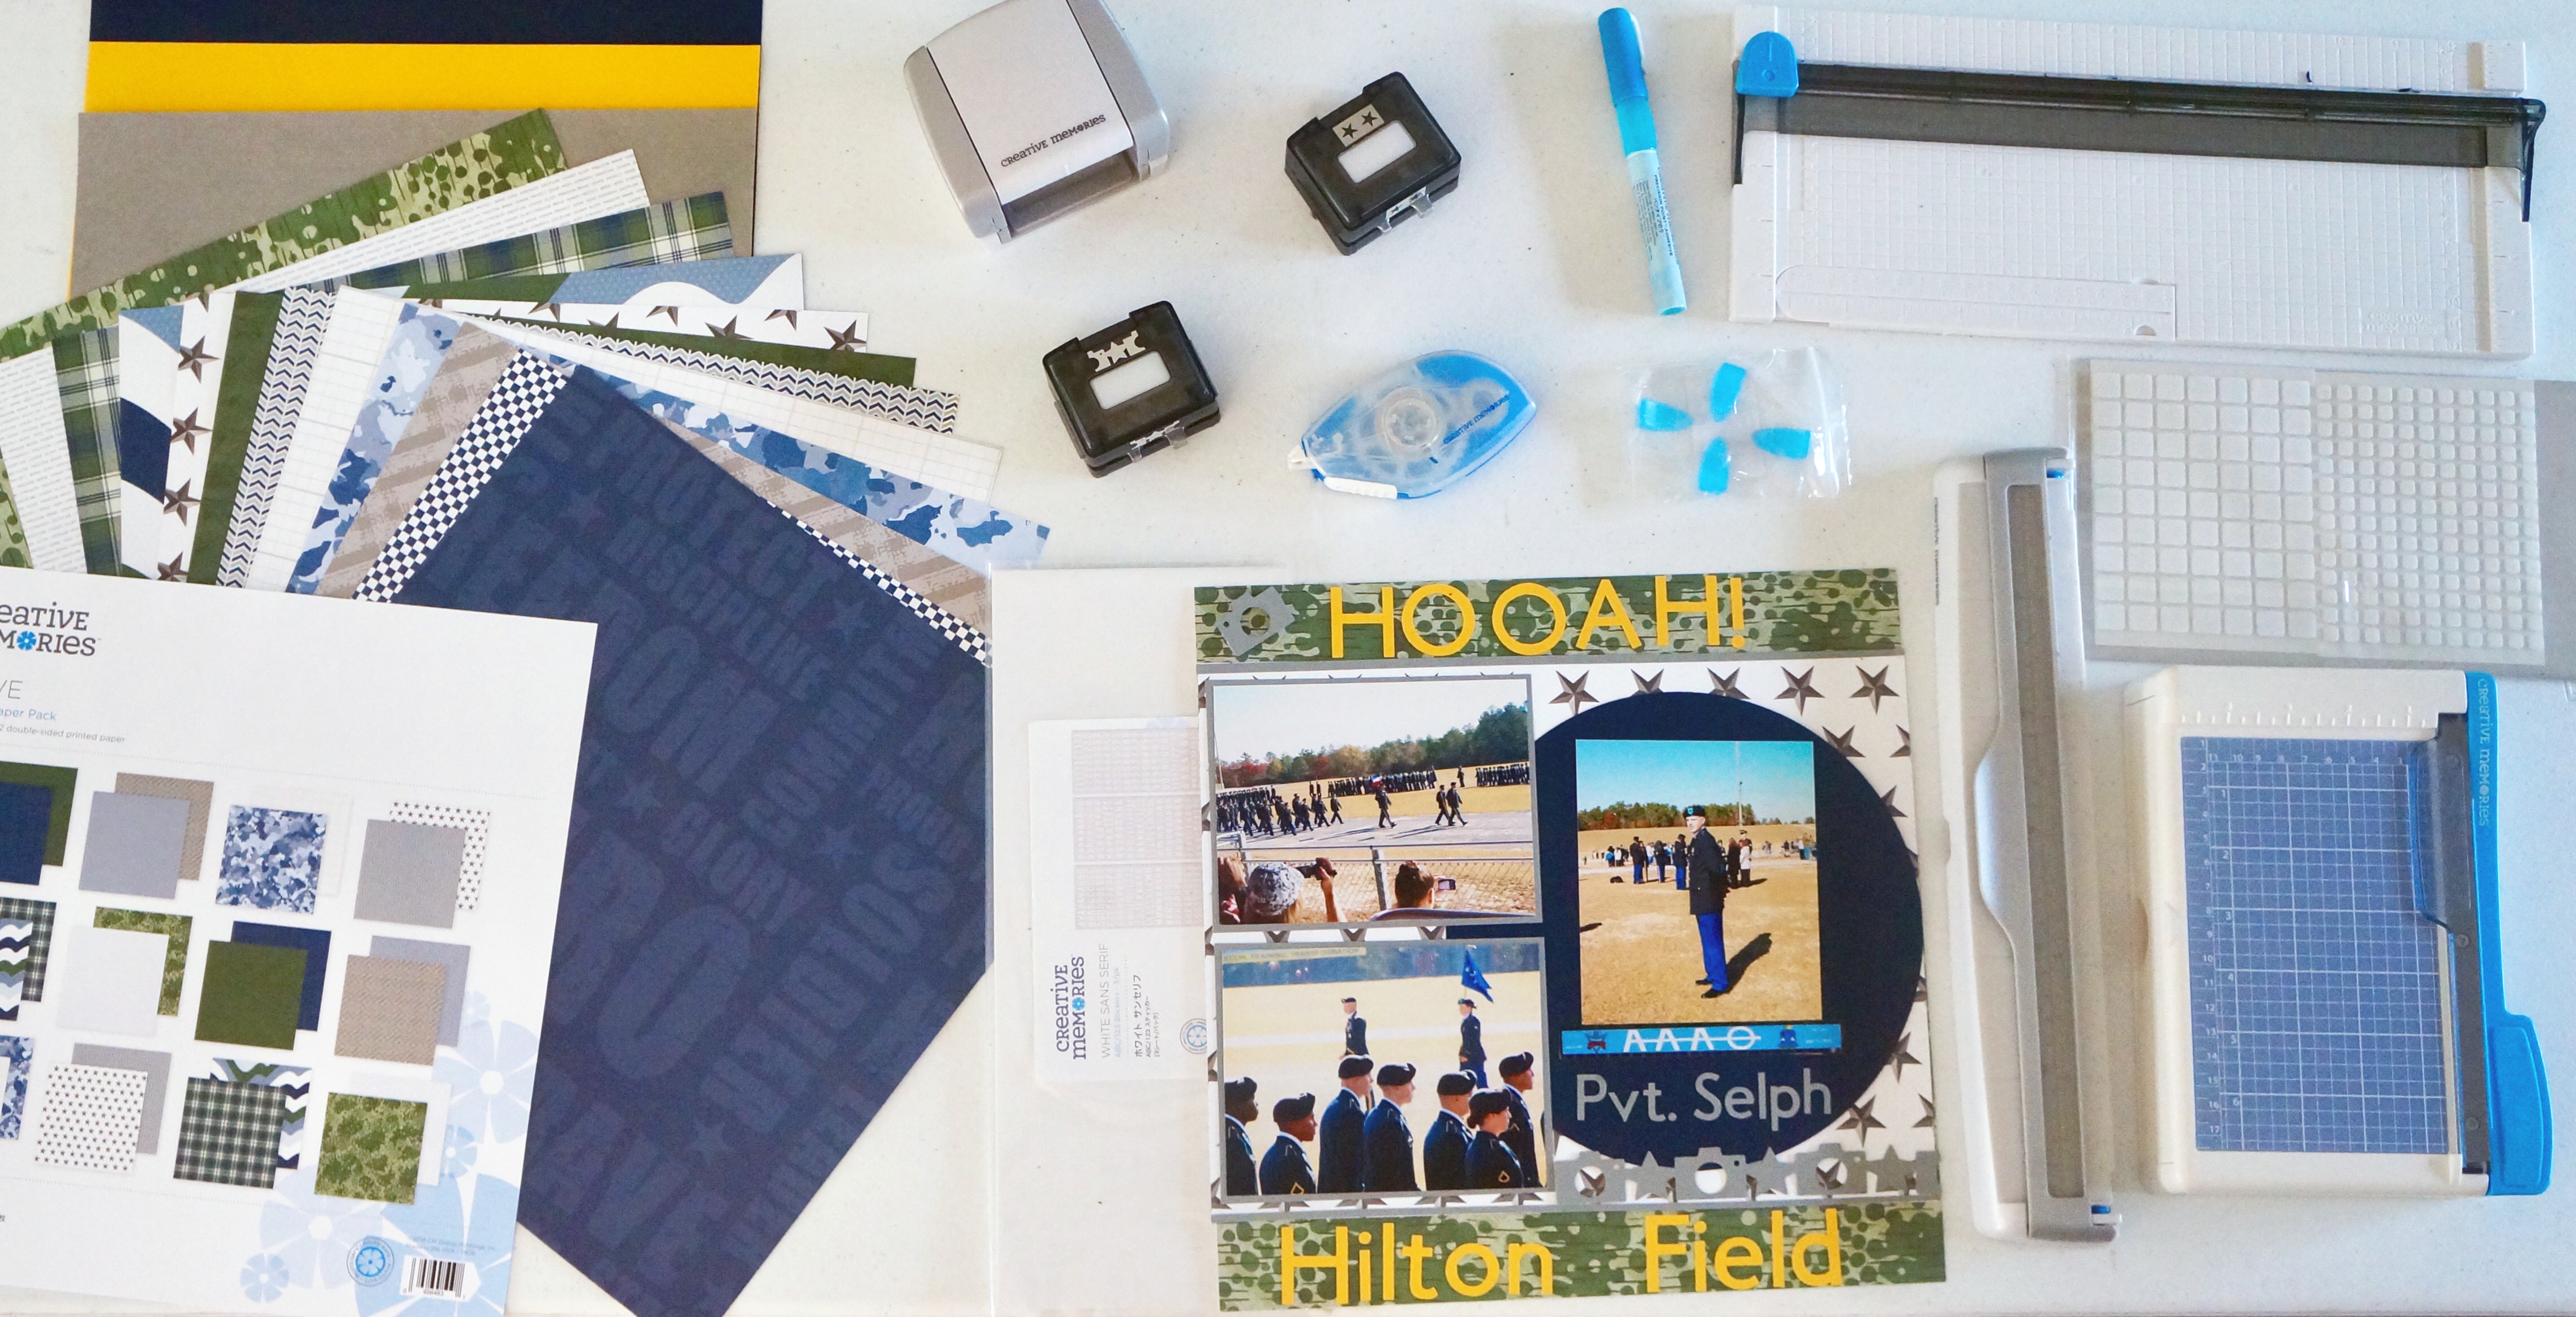
To create these layouts, you will need:
- Brave Paper Pack
- Cardstock: Gray, Navy, Goldenrod, Cranberry, Cloud
- ABC/123 Stickers
- Original Border Maker System with the Camera Chain Border Maker Cartridge
- 12-inch Straight Trimmer
- 12-inch Decorative Trimmer
- Personal Trimmer
- Multi-Purpose Tool
- Tape Runner with Repositionable Adhesive
- All-Purpose Scissors
- Foam Squares
Mighty Fine U.S. Navy Day Layout
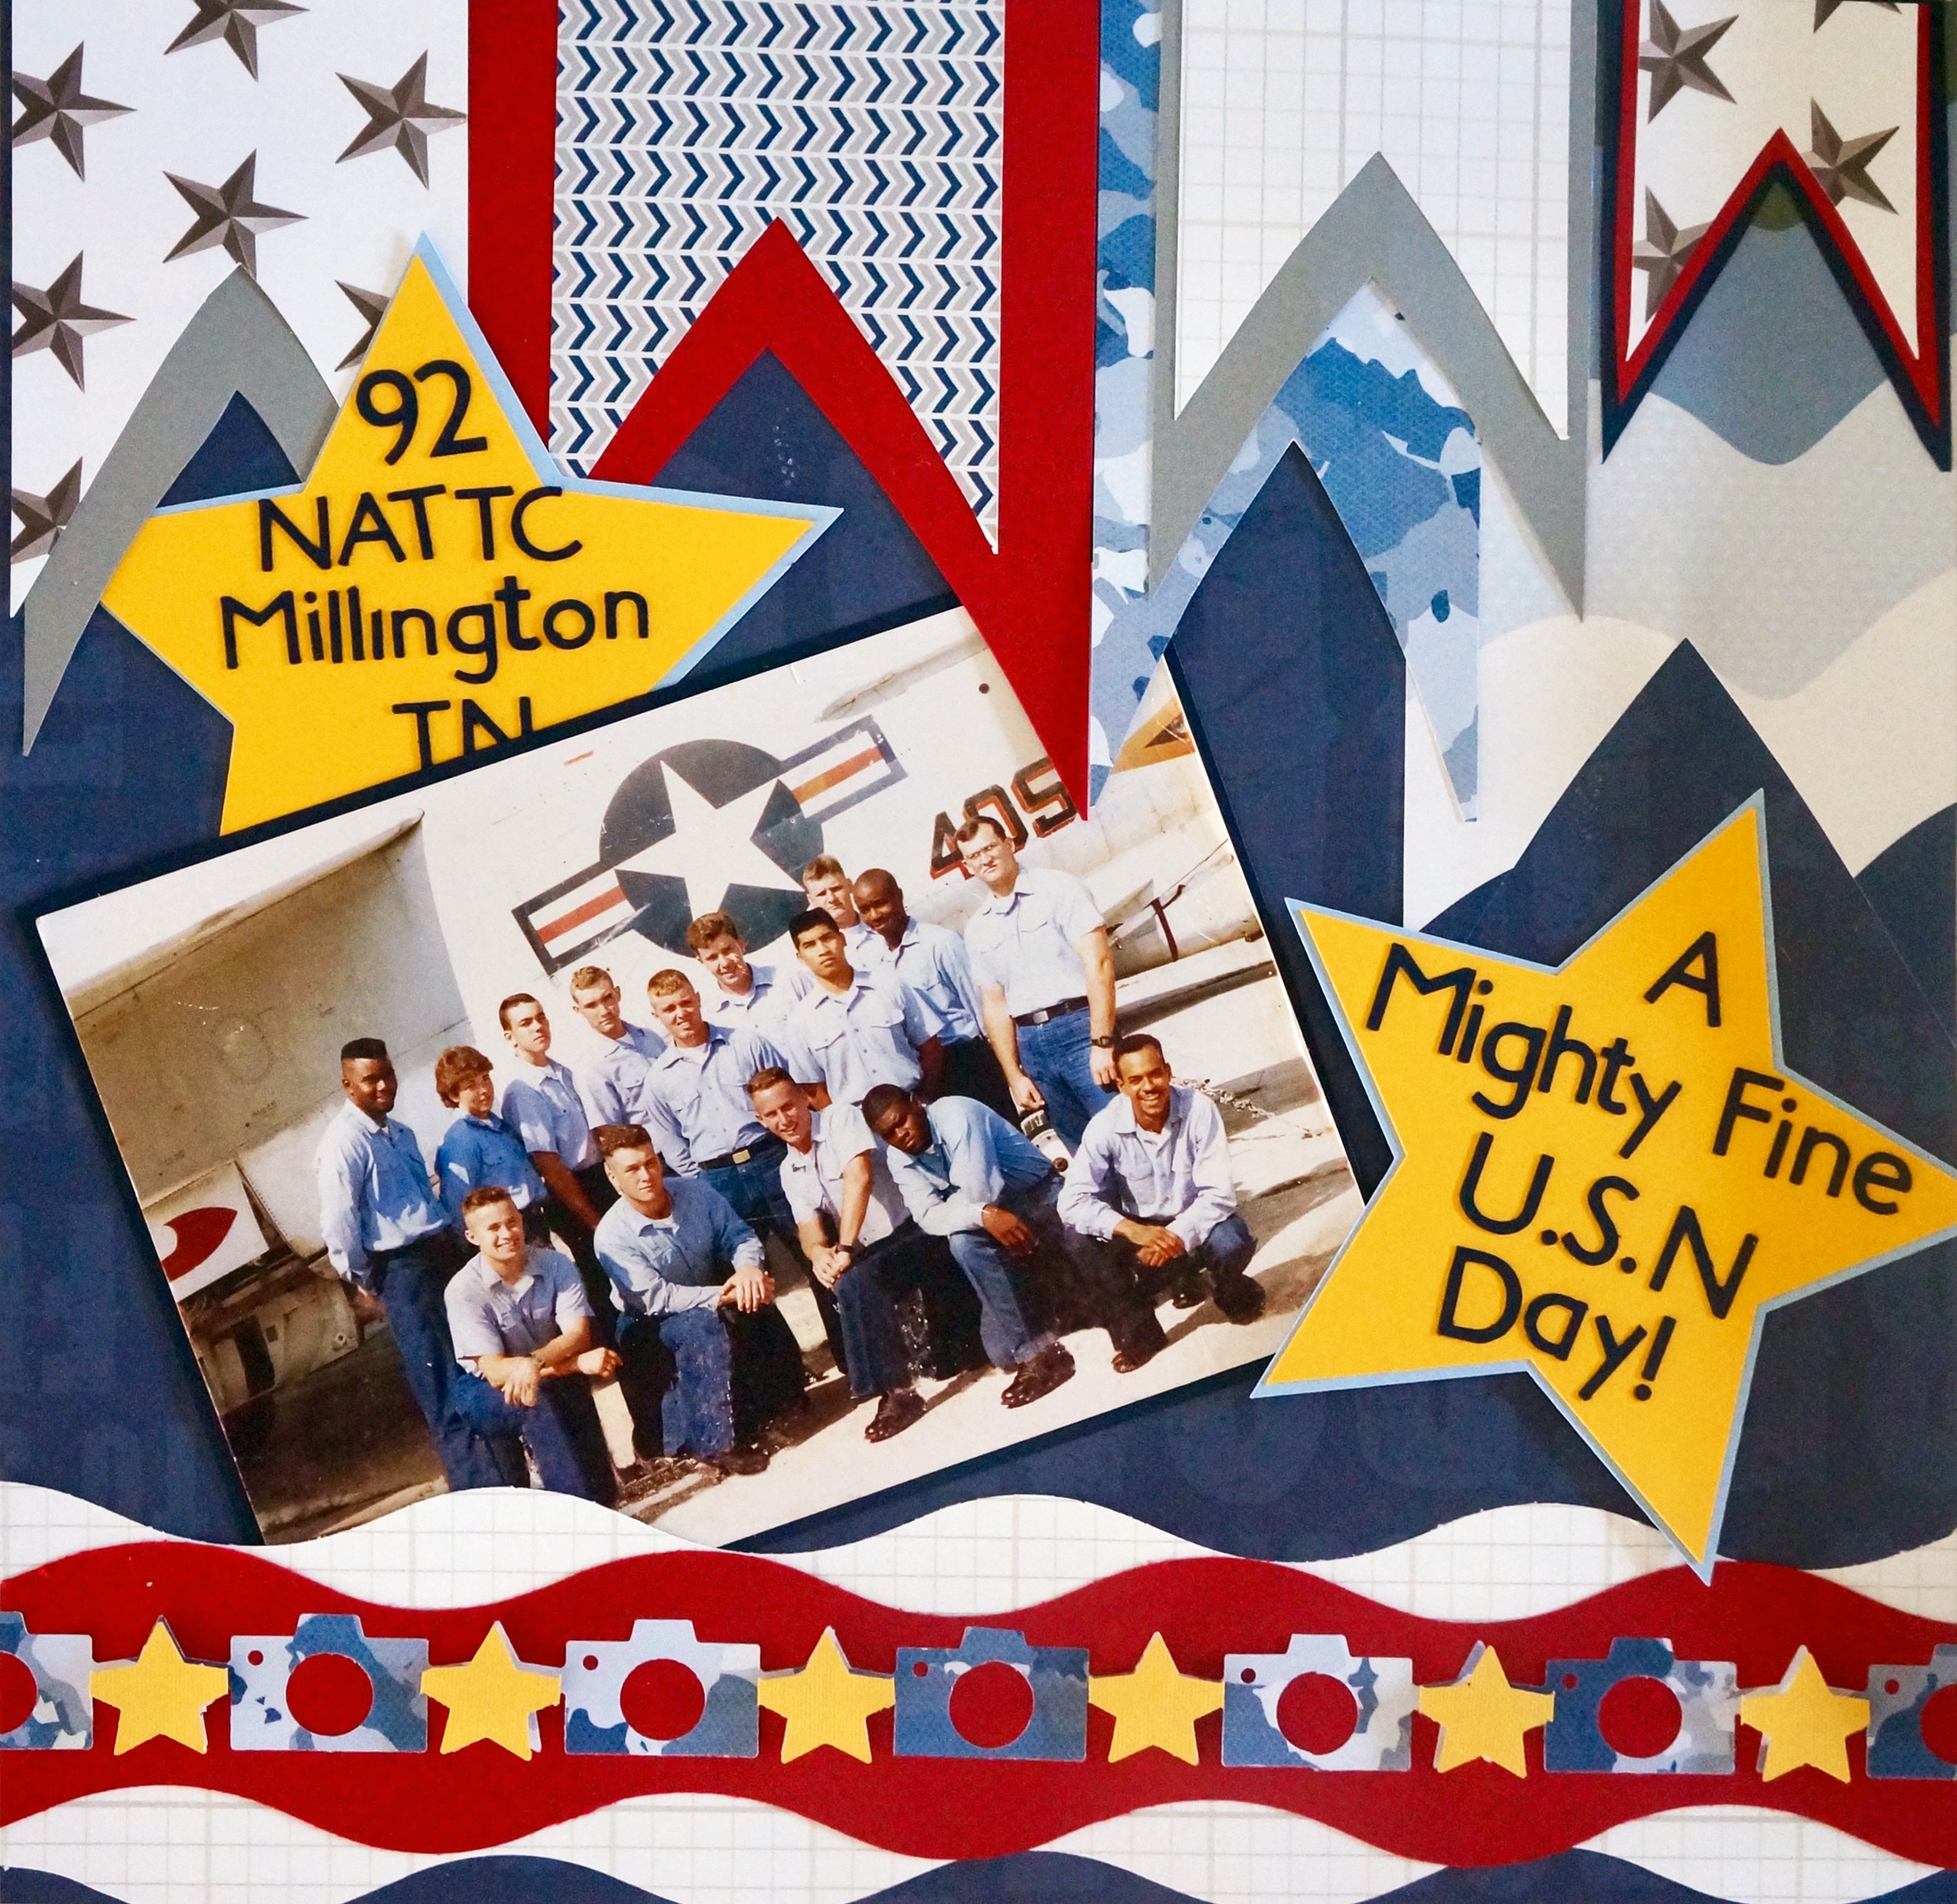
Step 1: Choose one of your four designer sheets as the base for your layout.
Step 2: Use the Personal Trimmer and the 12-inch Straight Trimmer to trim your photo(s) and mat(s) to desired size(s). Center the photo(s) on mat(s) and adhere together using your Tape Runner.
Step 3: Next, you will want to decide how many banners to create and what sizes. Using the Straight Trimmer, cut varying widths and lengths making rectangles from different designer papers. For matting these pieces, cut various Cardstock colors slightly larger than the designer sheets on all sides. To create the banners, gently fold one end, using scissors to cut at an angle for the “v”. Assemble the banners as desired and adhere to the top of the page.
Step 4: Create a template by drawing a star shape and then cut out using a scissors. Cut various sizes to mat the stars as desired.
Step 5: Using the 12-inch Decorative Trimmer, cut two border pieces using a piece of designer paper and Cardstock. The designer sheet border is wider than the centered Cardstock piece. The centered piece needs to be at least 1-1/8″ wide to layer the border onto it. Using a Tape Runner, center and adhere the thinner strip onto the wider strip.
Step 6: Using the Camera Chain Border Maker Cartridge, punch a border from a sheet of designer paper. Adhere to the center of the previous wave border strip. Cut another border using a piece of Cardstock to use for the stars. Use Foam Squares to adhere to stars onto the previous border. Adhere this border to the bottom of your page.
Step 7: Place your photos and stars in the desired locations on page and adhere using a Tape Runner.
Step 8: Journal using a Dual-Tip Pen or use ABC/123 Stickers to add a title or story.
Hilton Field HOOAH Layout
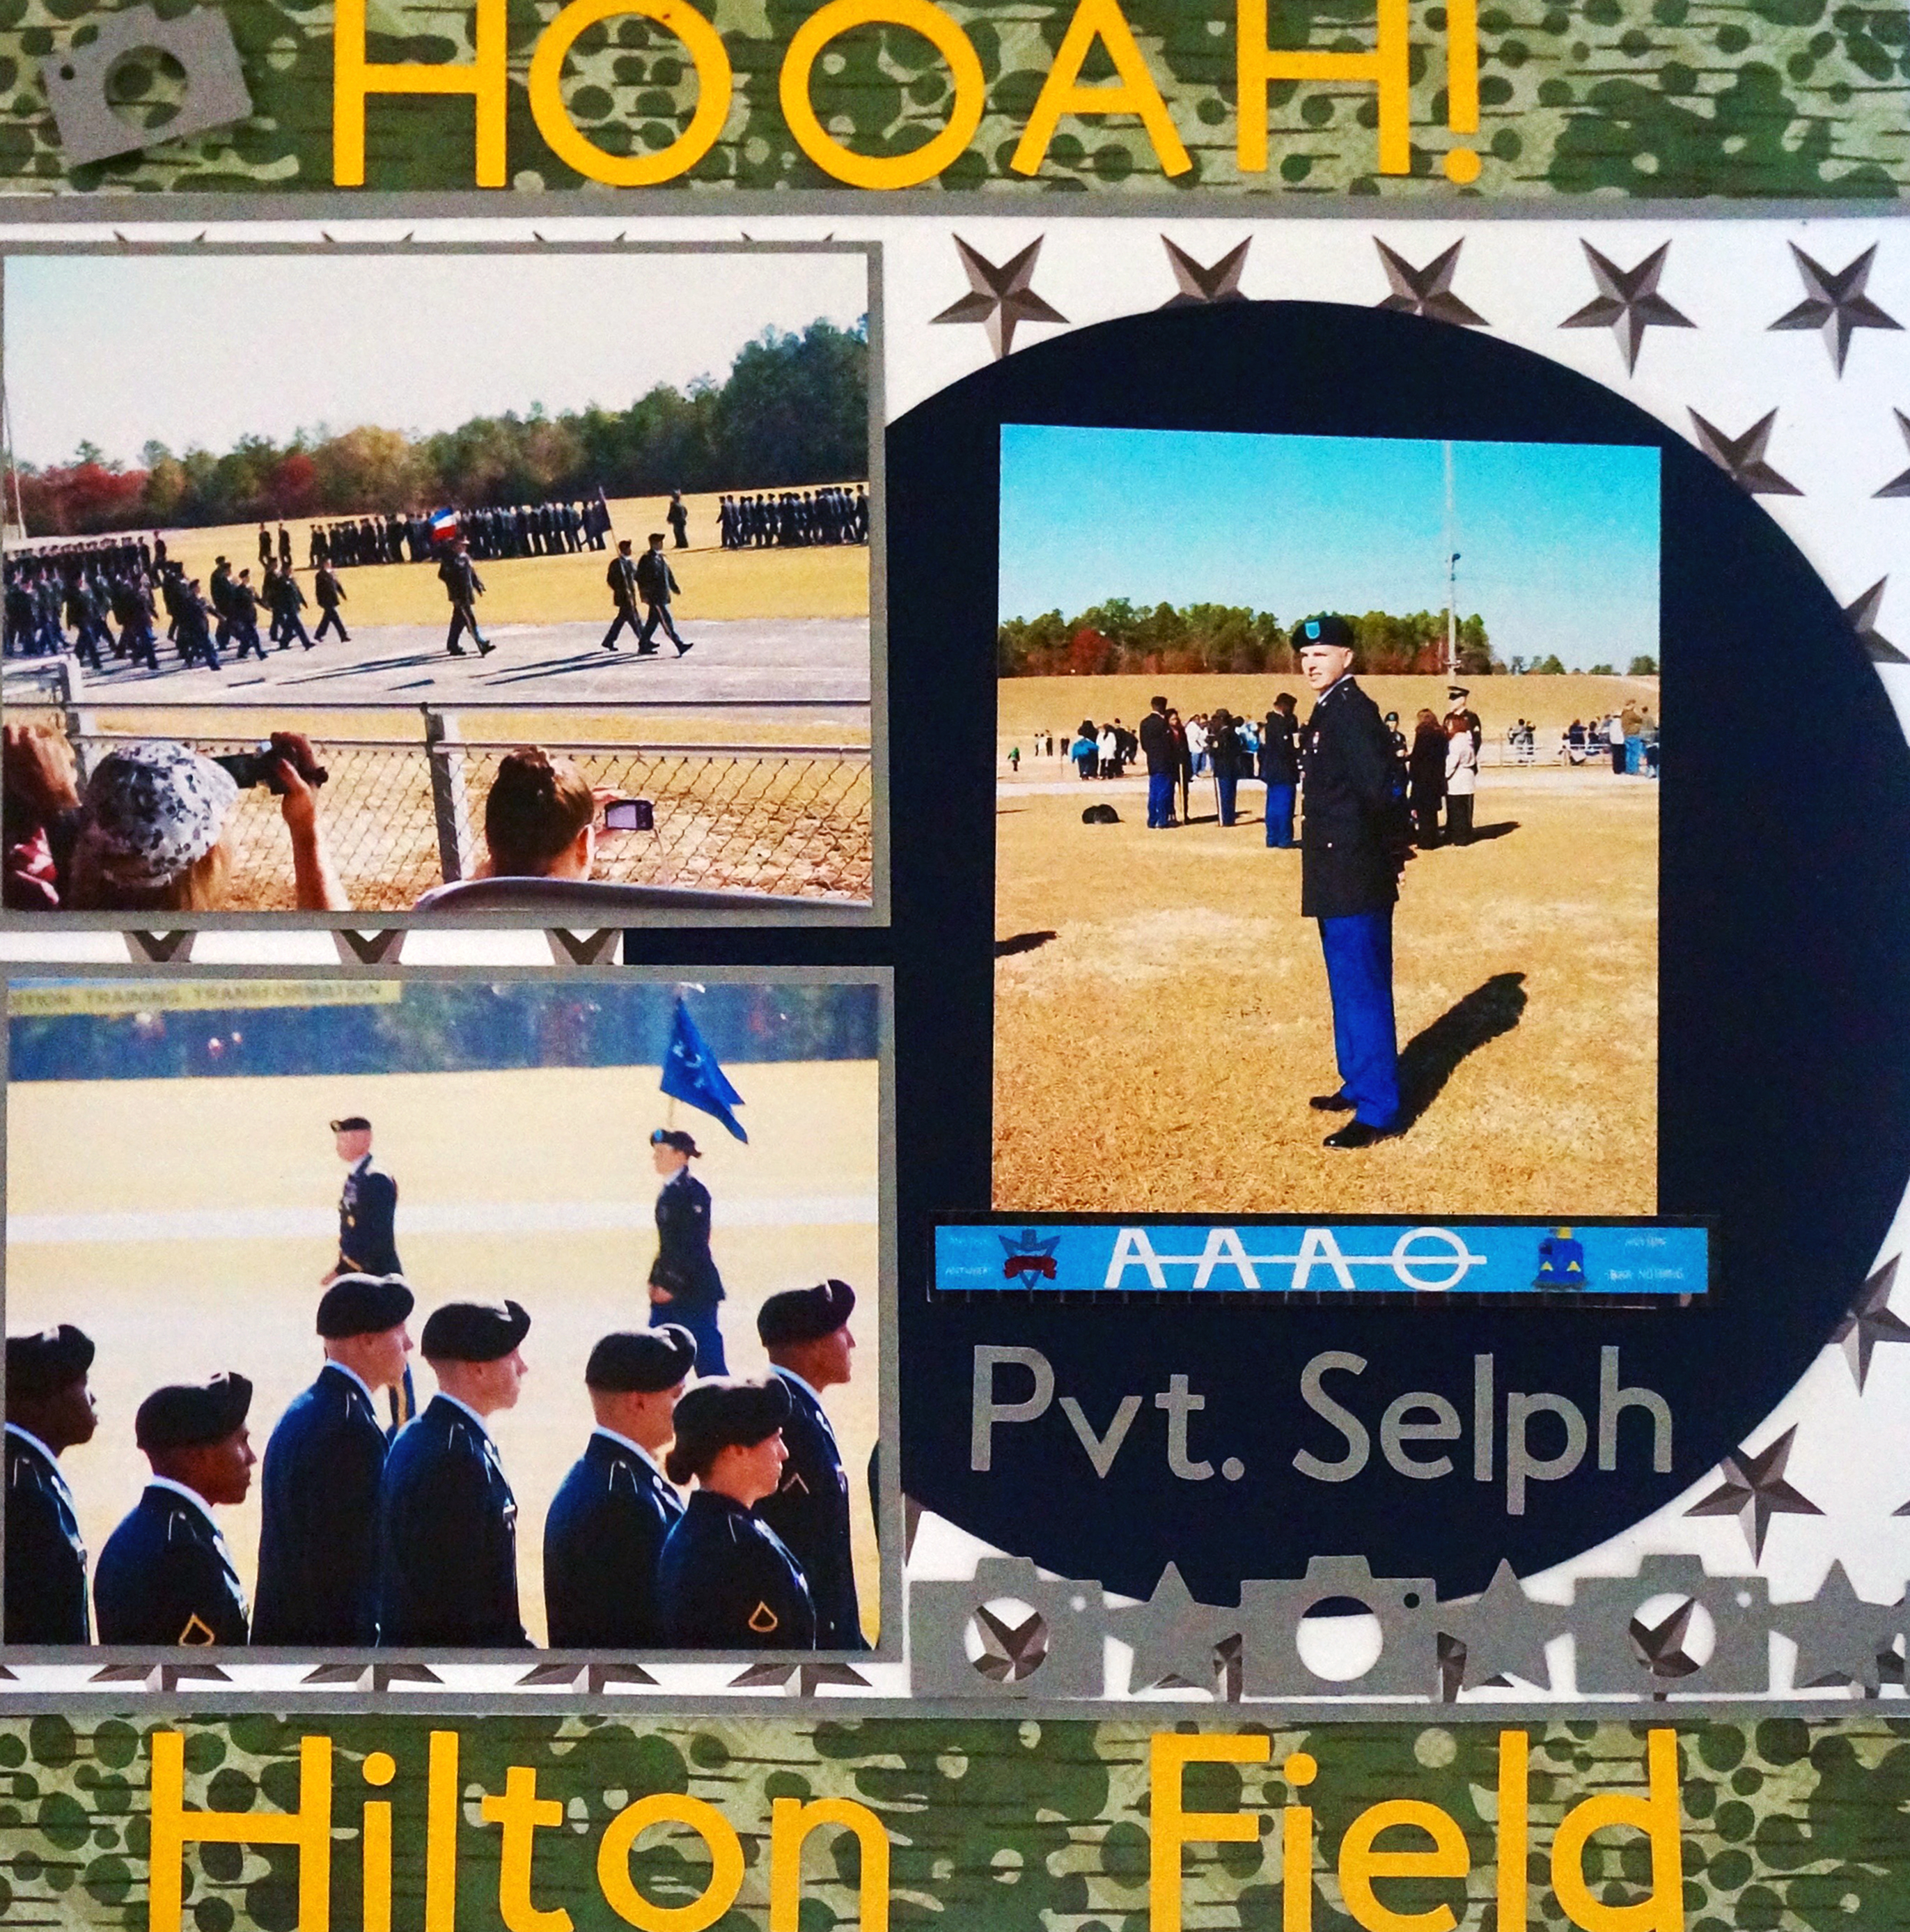
Step 1: Choose one of your four designer papers as your background.
Step 2: Using the 12-inch Straight Trimmer and a second designer sheet of Brave designer paper, cut a piece to measure 9″ x 12″. Using your Tape Runner, center and adhere this piece to background page.
Step 3: Using your Scissors, cut an 8″ circle from the Navy Cardstock. Adhere the circle to right side of the page.
Step 4: Cut a 2 strips of Gray Cardstock to measure 1/4″ x 12″. Adhere with Repositionable Adhesive to the top and bottom of the the 9″ x 12″ piece.
Step 5: Using the Personal Trimmer and the 12-inch Straight Trimmer and Gray Cardstock to trim your photos & mats to desired size. Adhere your photos to mats, arrange on the page and adhere as desired.
Step 6: Using the Original Border Maker System, Camera Chain Border Maker Cartridge and Gray Cardstock, punch a 12″ border. Adhere the border to the page using Tip: Don’t forget the extra pieces & Foam Squares make excellent embellishments!
Step 7: Using the Repositionable Tape Runner to adhere to the page in desired spots. Use a Scissors to trim down and the Multi-Purpose tool to help with placement.
Step 8: Finish by adding a title with ABC/123 Stickers and journal as desired.
Comment below and tell us your thoughts on Billie’s story and if you have a family or friend in the military that you are going to use the Brave Paper Pack for!

Thank you for sharing your story and photo’s ! I had tears streaming down my face. My son was in the Air Force for a short time and I know it is hard on Mom’s and the rest of the family. Thank you son and his crew for their service. And Hugs to you !
thank you for sharing part of your story..it is beautiful. We, too, are a military family and know too well the pride and heartache. Thank you for your dedication and courage to share and special thanks to your son and his dad for their dedication and sacrifices.
Hugs right back! And thank you to your son!
Such a touching story, thanks for sharing. Wonderful job on putting it on paper!
Thank you for your comments? I truly appreciate them.
It’s hard to put thought & emotions like that into words and put it out there exposed. When you are doing something to share you want it to be upbeat;0) Life is all those moments and I am gratefully blessed for each one! ( the bottom pic is yours truly back in my USN days?)
Amazing story. I have no children and no military affiliation yet you wrote so poignantly I could feel every word in my heart as if I lived it. Thank you for the raw experience. Do you write of life like that often? Snippets like that are so powerful.
[…] Get Directions! […]