March 1, 2019
Add Some Edge to Your Projects with this Fun Scrapbook Border

Scrapbooking with friends is a great way to find new layout inspiration and avoid dreaded scrapper’s block (the term for when you can’t think of ideas for your next page or design). Doing a small project together, such as a border, is a great way to try out new techniques and see how we all do things a little bit differently. It’s also a lot of fun! No matter what type of page you’re creating, any layout can benefit from a nice border!
This post gives you a fun scrapbook border idea that’s even more fun to create with a group! The next time you are together with friends, everyone can gather a few extra papers, stickers and embellishments and add them to a table for everyone to choose from.

To create this border, you will need:
- Banner Flag Punch
- Variety of designer papers
- Variety of cardstock
- Variety of stickers
- Variety of embellishments
- Foam Squares
- Repositionable Tape Runner
Shop products by clicking your country’s icon below:


Step 1: Begin by choosing two pieces of designer paper and cardstock.
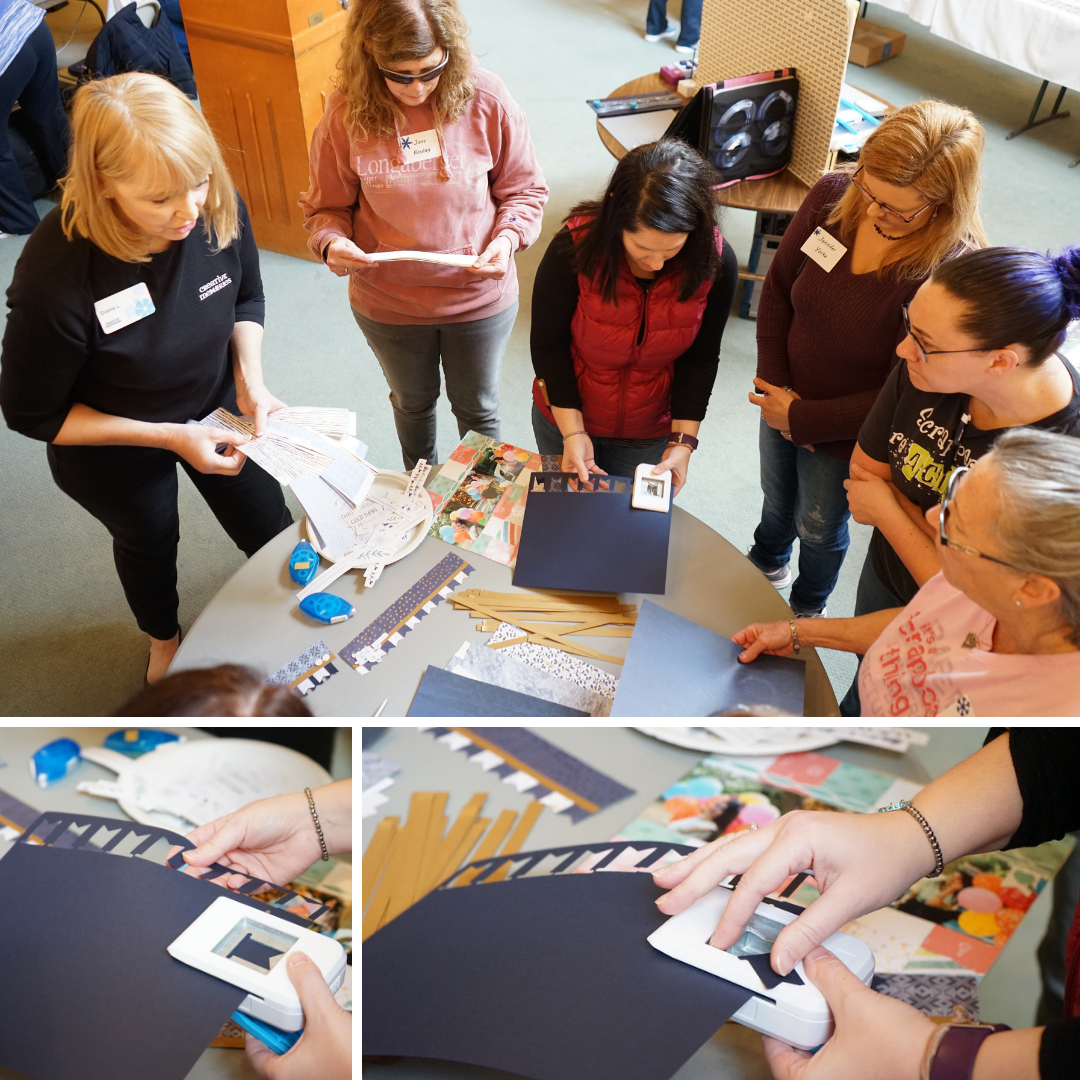
Step 2: Use the Banner Flag Punch to punch out nine flags from your cardstock. Refer to the image above to see how to hold the punch so you can get the most punches from your sheet.
Step 3: Punch out eight flags from one of your designer papers. (Note: You can use the images of our borders as inspiration and you could choose to punch a different number of flags. There are infinite ways to create this border!)
Step 4: Trim your other designer paper to 3″ x 12″ to be the base of your border.
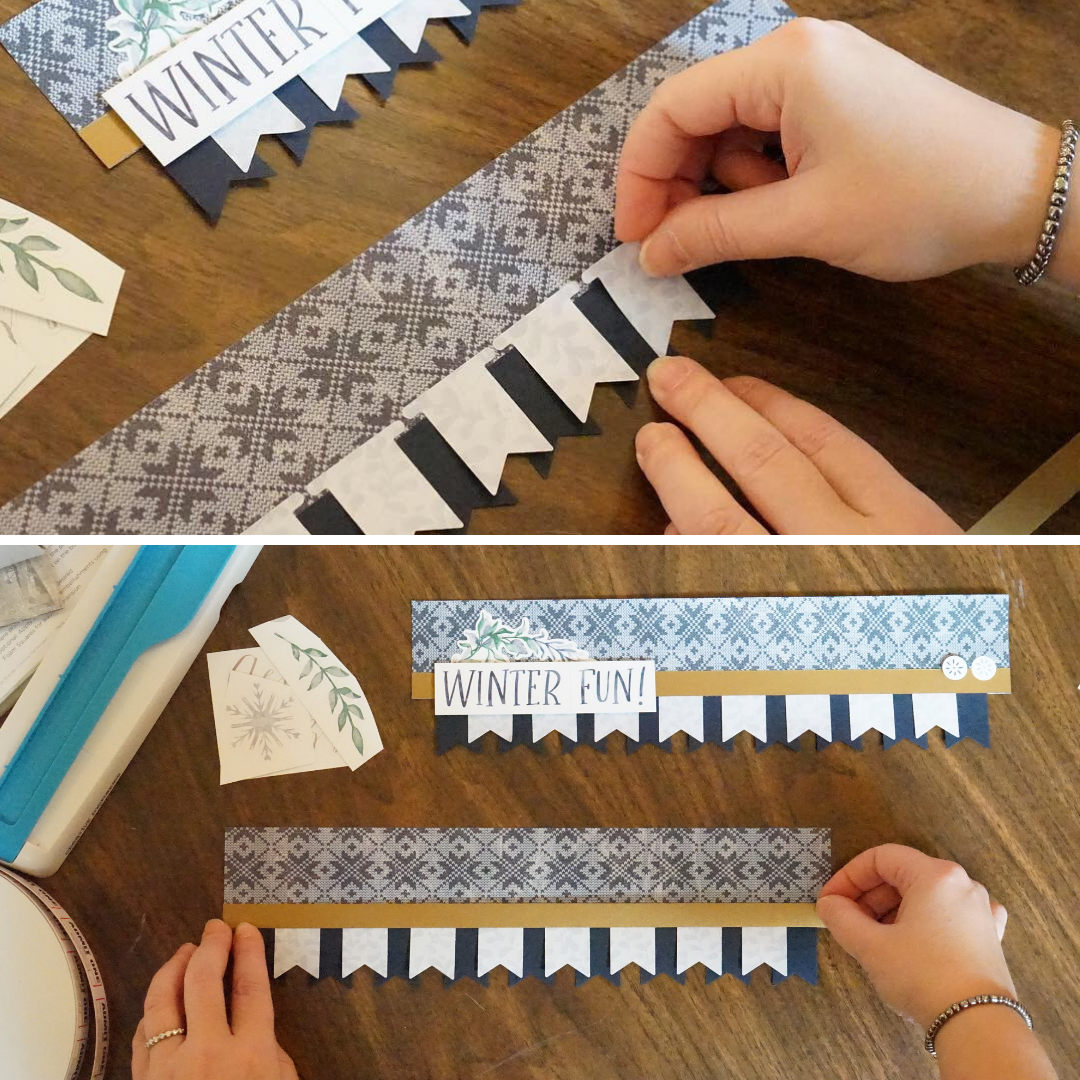
Step 5: Then, arrange your flags down to the bottom of this designer paper before you start to tape them down. This allows you to determine your final placement. You can refer to the images in this blog post as you are placing down your flags. You will notice below that we had a few samples to copy. Place your cardstock flags down first and place them on the edge of your border strip (bottom right photo). Or, alternate the cardstock and designer paper flags side-by-side (bottom left photo).

Step 6: Once you have determined your final placement, use the Repositionable Tape Runner to adhere the flags down. You will only need to put tape on the top edge of the flags.
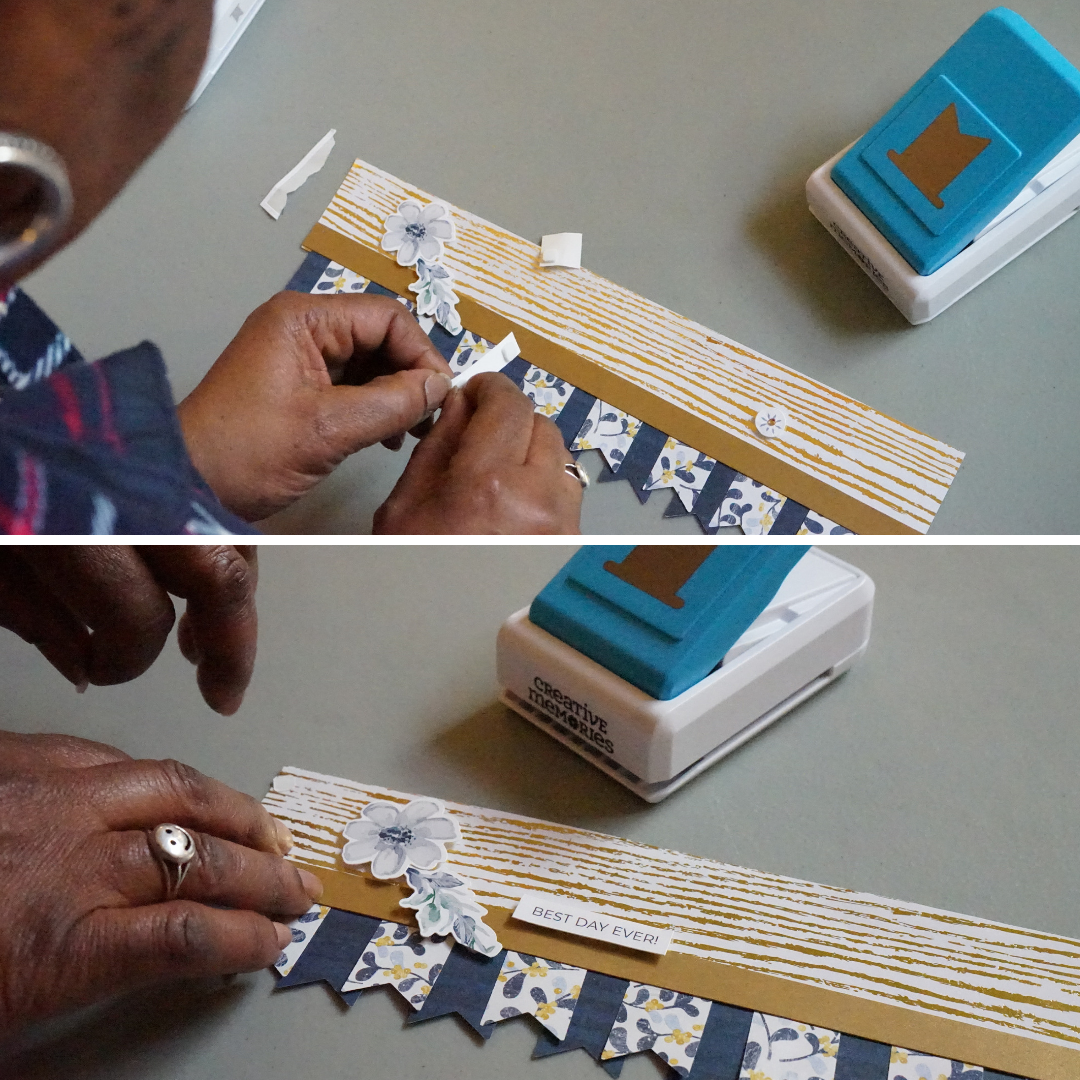
Step 7: From your other piece of cardstock, trim a piece to measure 1/2″ x 12″ and use the Repositionable Tape Runner to adhere it over the edges of the flags to give the flags a nice clean look at the edge of your border.
Step 8: Choose your stickers and embellishments for your border. Use your Foam Squares to give some stickers or embellishments a “pop.”
When you have finished your borders, don’t forget to take photos with your friends and tag us (@CreativeMemories) on Facebook or Instagram. We would love to see what you inspire each other to create! What types of projects do you like creating with friends? Let us know in the comments below!

They look amazing. I love how you show us how to do step by step borders.
Hi Karen – Glad you like it! It’s an easy way to make a border with any collection :)
I also love that you give step by step directions as well as measurements need, these are the things that seem to be missing in a lot of “how to make projects” I will be looking for more of your stuff.
Thank you for this idea. I love it!
I would love to recreate this but don’t have the punch…and don’t want to pay the ebay prices! What is size banner that the punch made?