April 24, 2019
Create a Military Scrapbook Layout To Celebrate Our Armed Services

On April 25, Australians across the country celebrate those who have served to protect at Anzac Day services and marches. Independent Advisor Megan Crowley from Australia created this beautiful military-inspired layout featuring the Camouflage Paper Pack and Tulips Border Punch to preserve her family’s memories of Anzac Day commemorations. Take a look below!
Megan’s Inspiration
I chose these photos and this layout to highlight my boys’ involvement in Anzac Day, 2018. They represented their Athletics club at the Cranbourne Anzac Day service and laid a wreath at the service. Both of my grandfathers were service men and my grandmother was a nurse in the wars. It is important to me that my boys learn our heritage and carry on our traditions so we do not forget the service that these men and women gave our country. Lest we forget.
To create this scrapbook layout you’ll need:
- Camouflage Paper Pack or (Shop Canada | Shop Australia)
- Black, Gray, Red and White Cardstock or (Shop Canada | Shop Australia)
- ABC/123 Stickers or (Shop Canada | Shop Australia)
- Decorative Stickers or (Shop Canada | Shop Australia)
- Tulips Border Punch or (Shop Canada | Shop Australia)
- Banner Flag Punch or (Shop Canada | Shop Australia)
- Tape Runner with Repositionable Adhesive or (Shop Canada | Shop Australia)
- Foam Squares or (Shop Canada | Shop Australia)
- Red Dual-Tip Pen from the Pens & Pouch or (Shop Canada | Shop Australia)


Steps to Make the Border:
- Using the Black, Red and Gray Cardstock, punch three borders using the Tulips Border Punch. Cut the red and black borders to measure 12″ x 2″ and 12″ x 2-1/2″ for the gray border.
- Using Foam Squares, adhere the black and gray border strips together with the black as the “shadow.” Adhere the red border to the gray and black with Repositionable Adhesive.
- Using Black Cardstock, cut a 12″ x 1/4″ strip and adhere it across the red border piece.
- Using Black Cardstock and the Banner Flag Punch, punch banners as shown and adhere to the border using Repositionable Adhesive.
- Embellish as desired with stickers and/or letters.
- Repeat to make a second border
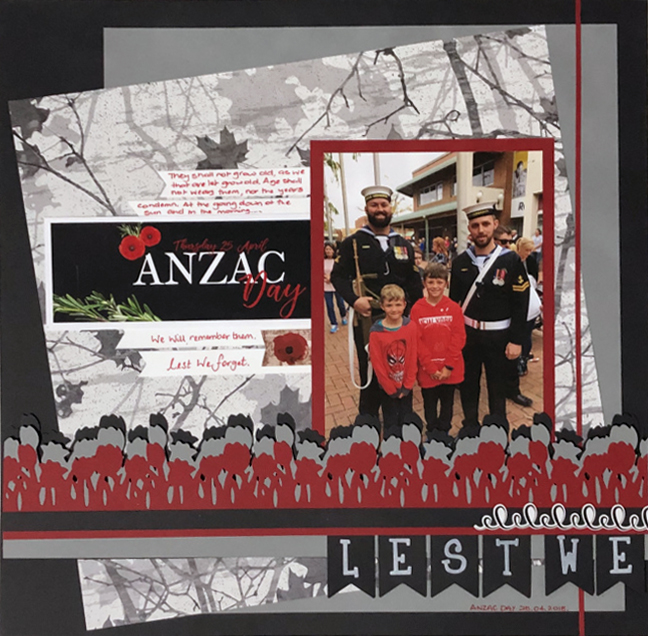
Steps to Make the Left Page:
- Use a piece of Black Cardstock as your base (or refill pages, whichever you prefer).
- Use the remaining Gray Cardstock from above and cut so that it measures 9-1/2″ x 11″. Adhere to the base.
- Using a sheet of gray camouflage patterned paper, cut to measure 10″ x 10″. Adhere at an angle to the base as shown.
- Using the Red Cardstock, cut a piece to measure 6-1/2″ x 4-1/2″ for a photo mat. Add a photo that measures 6″ x 4″.
- Adhere the border created above on the layout photos as shown.
- Journal and decorate the page as desired.
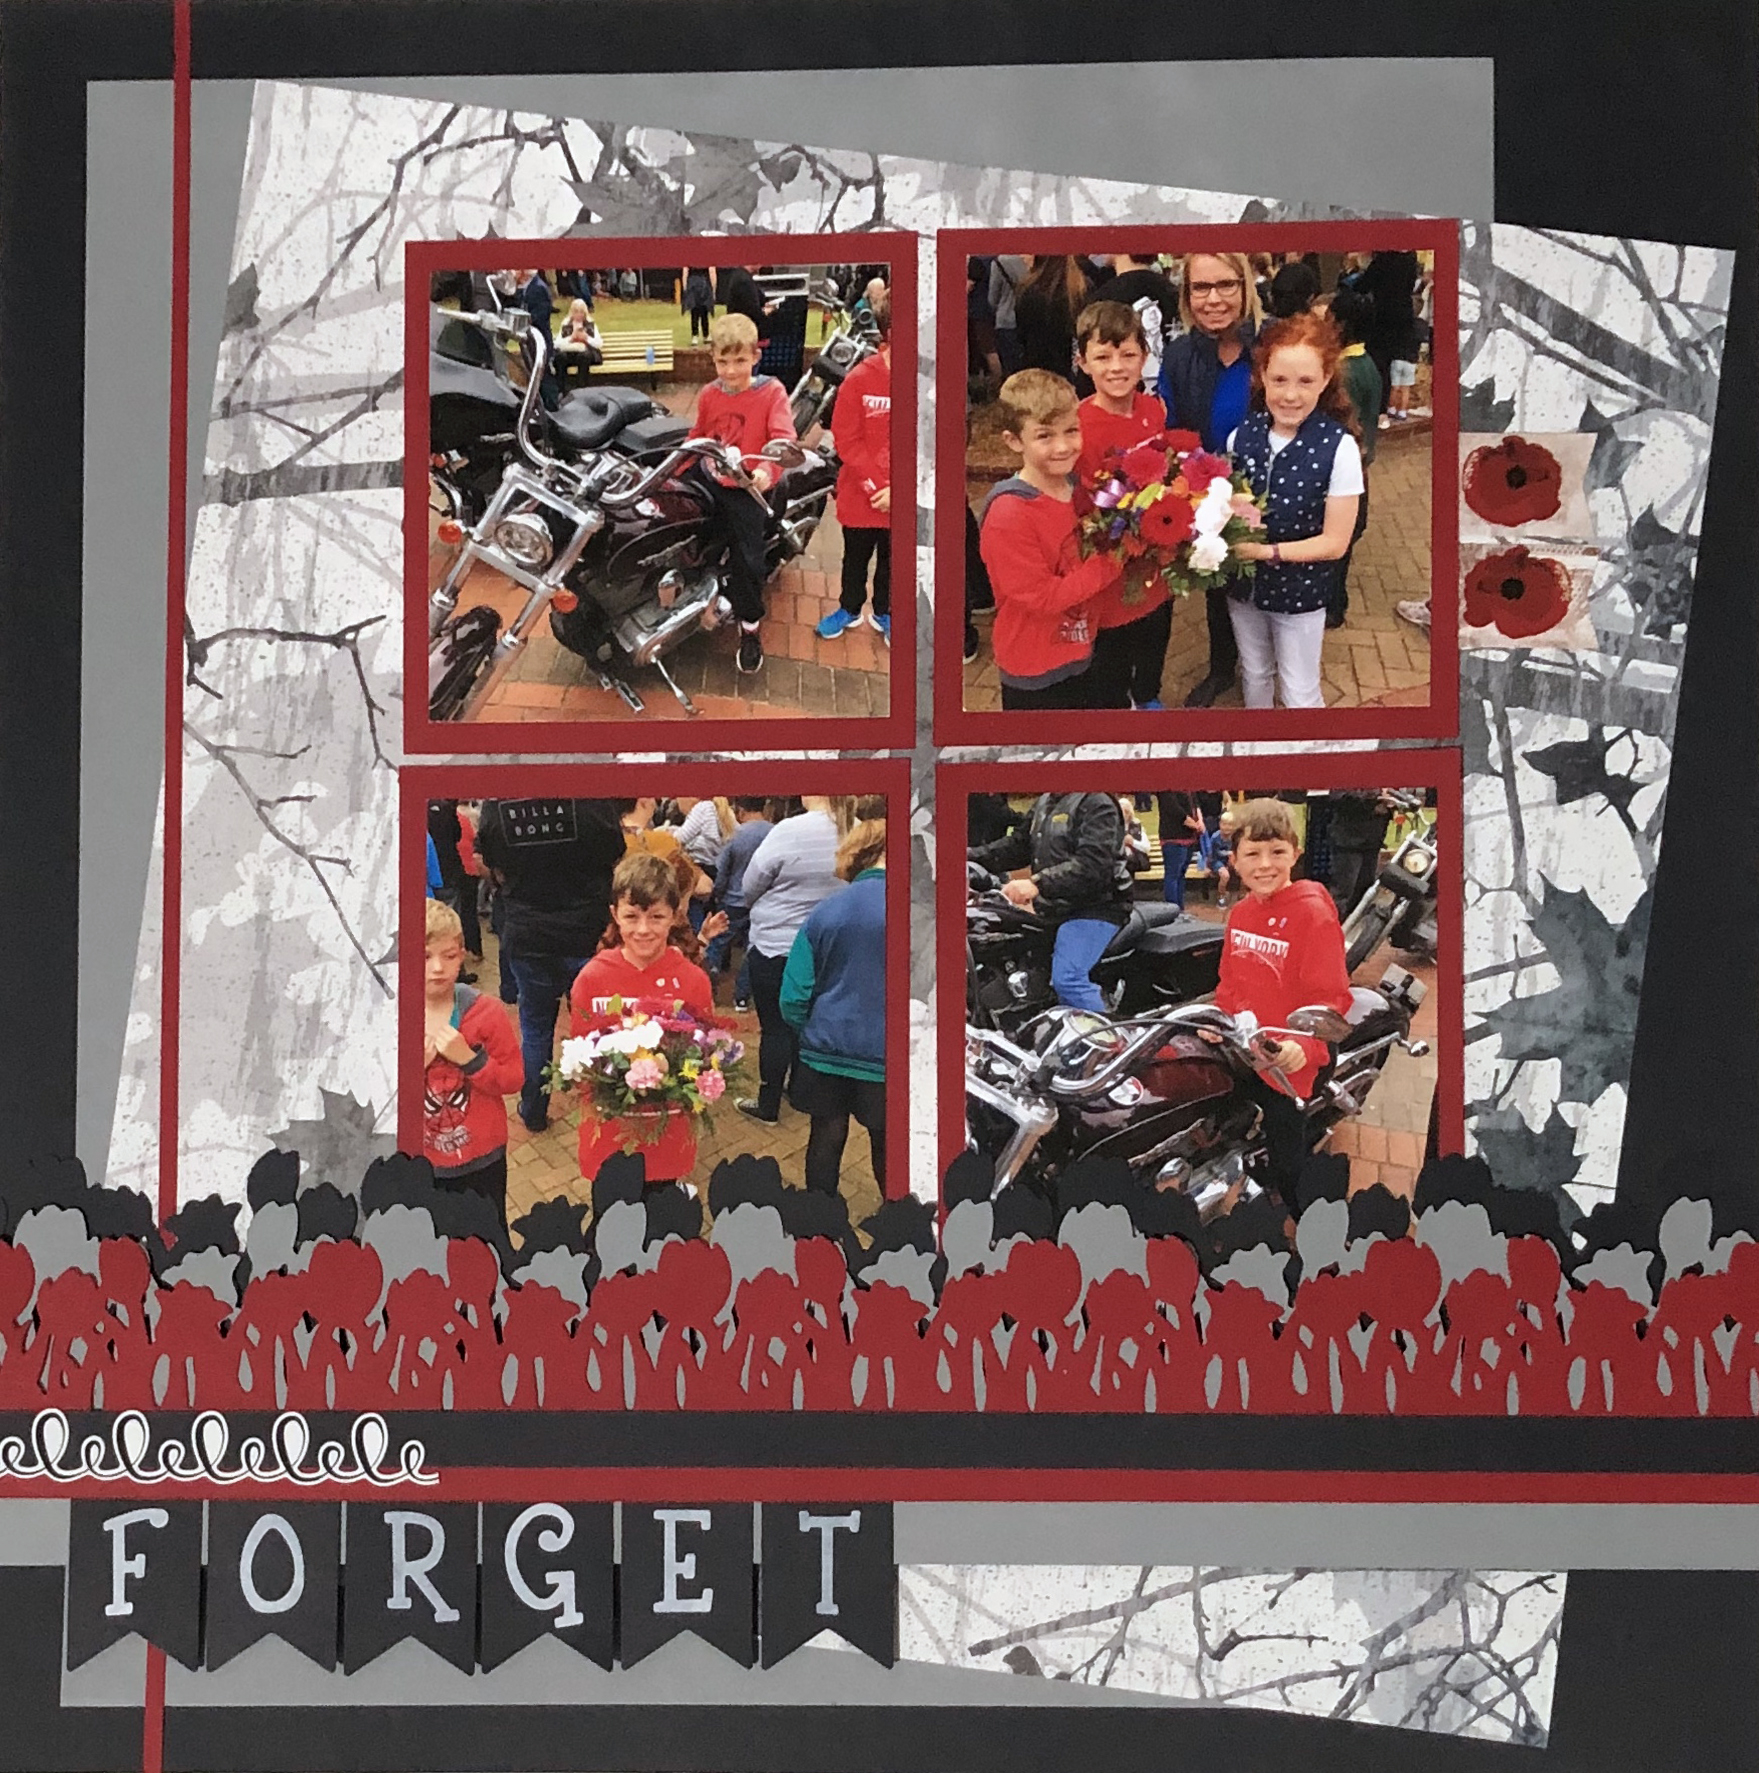
Steps to Make the Right Page:
- Repeat the first three steps from the left-side instructions listed above.
- Using the Red Cardstock, cut (4) 3-1/2″ x 3-1/2″ squares and adhere to the base as shown. Add four photos that measure 3″ x 3″.
- Adhere the border created above as shown on the layout photos.
- Journal and decorate the page as desired.
Anzac Day is about showing appreciation to the armed forces, and creating a military scrapbook layout like this one is just one of the many ways that you can commemorate those who make the ultimate sacrifice for your country. What types of layouts have you made to show your appreciation for military? Let us know in the comments below!

I have inherited many black and white photos of my Dad’s tour in Korea. I like your red accents, good idea for making my black and whites POP! Thank you.
What a great idea . I had 4 of my uncles serve in the military and have never done any pages to honour them in that way . We always remember them on Remembrance Day and at family gatherings , but doing a page in their honour would be so much nicer and longer lasting. Thank you for the suggestion.
Megan, you are an inspiration to us all.
Beautiful and meaningful layouts. <3
Thankyou this is truely beautiful.?
Thankyou Megan, these pages are beautiful
Such a beautiful layout
I like how you used flowers on a more masculine themed page. Also it never would’ve occurred to me to use gray for one of the “shadow” borders – that looks so cool!
[…] Get instructions for how to create this layout in this blog post. […]
This is such a classy layout. Love the touch of color with the black, white and gray. Beautifully done and so meaningful!