May 13, 2019
Showcase Your Memorabilia with this Travel Scrapbook Layout
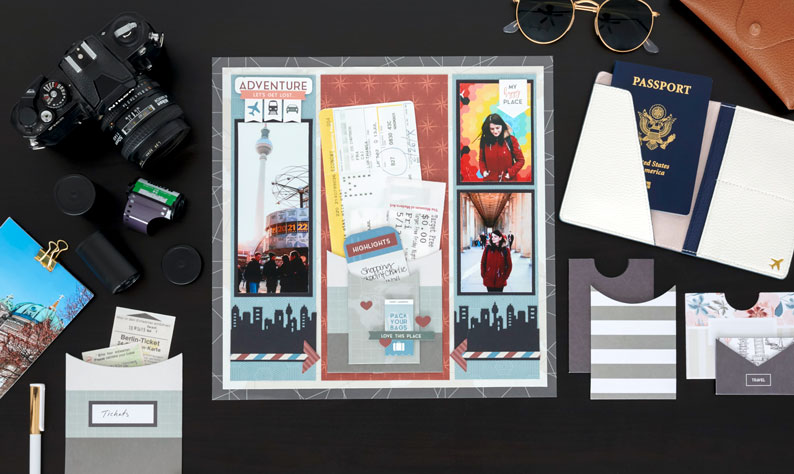
What types of items do you take home with you once your travels are finished? Are you someone who likes to keep tickets, stubs or small photos as souvenirs? If so, you’re going to LOVE the Travel Log Pocket Embellishments! They’re new to CM and are an awesome way to display memorabilia on your scrapbook pages and add a piece of the place you were visiting to your layout! Check out this travel scrapbook layout that prominently features two ways you can use these embellishments!
To create this layout, you will need:
- Travel Log Paper Pack or (Shop Canada | Shop Australia)
- Travel Log Banner & Tag Embellishments or (Shop Canada | Shop Australia)
- Travel Log Stickers or (Shop Canada | Shop Australia)
- Travel Log Pocket Embellishments or (Shop Canada | Shop Australia)
- Cityscape Border Punch or (Shop Canada | Shop Australia)
- 12-inch Trimmer or (Shop Canada | Shop Australia)
- Tape Runner or (Shop Canada | Shop Australia)
- Foam Squares or (Shop Canada | Shop Australia)
- Black Dual-Tip Pen or (Shop Canada | Shop Australia)

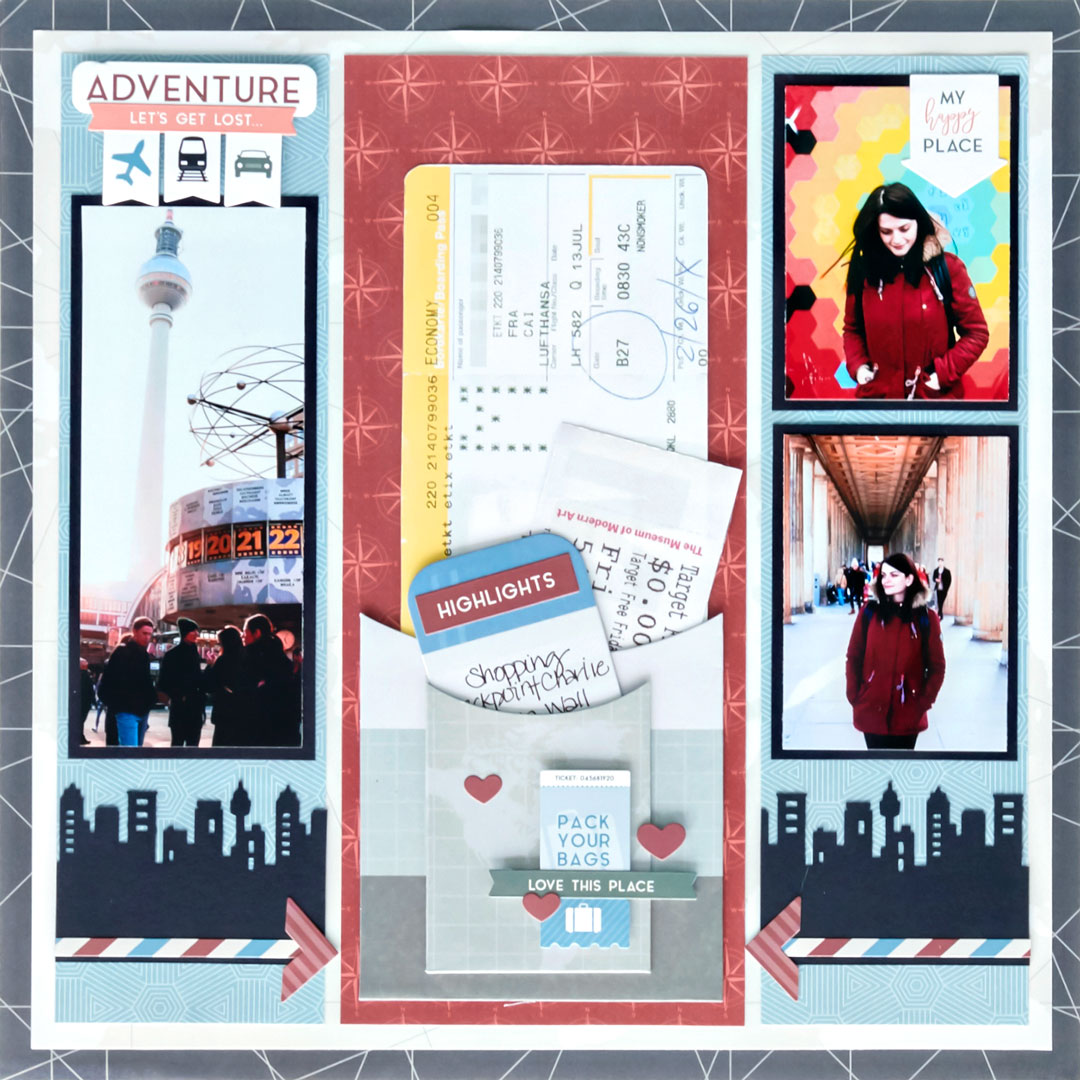
Step 1: Use the gray patterned paper as the base for this layout.
Step 2: Cut a piece from the cream patterned paper to measure 11-1/4″ x 11-1/4″. Adhere to the layout.
Step 3: Cut a piece from the red patterned paper to measure 4-1/2″ x 10-3/4″. Adhere to the middle of the layout.
Step 4: Cut two pieces from the blue patterned paper to measure 3″ x 10-3/4″. Adhere to the right and left of the previously adhered red paper.
Step 5: Using Black Cardstock, punch a border with the Cityscape Border Punch. Cut the border into two 3″ strips and adhere to the blue paper as shown.
Step 6: Cut three photo mats from Black Cardstock to measure 2-3/4″ x 6-1/4″ and (2) 2-3/4″ x 3-3/4″. Adhere to the blue paper. Then, add photos that measure 2-1/2″ x 6″ and (2) 2-1/2″ x 3-1/2″.
Step 7: Adhere a small pocket embellishment to the top of a large pocket embellishment. Adhere to the red paper.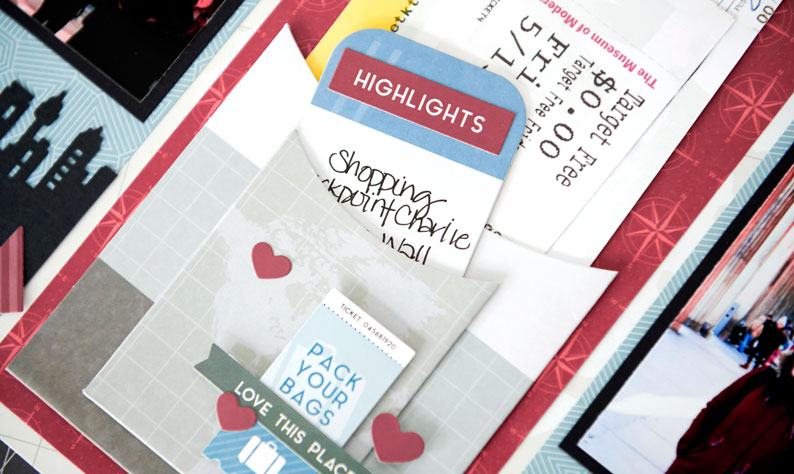
Step 8: Add memorabilia to the large pocket and a tag journal card to the small pocket.
Step 9: Add stickers and embellishments, adding Foam Squares on some for added dimension.
With the Travel Log Pocket Embellishments, you can add bits and pieces of your journey to your page in a fun and innovative way! What types of items will you put inside your Pocket Embellishments? Let us know in the comments below!

These are some really neat scraping ideas and can’t weight to make my pages.
How do you use this in addition to a page protector? Or, omit the page protector from these pages?
The memorabilia would stay safe and secure under the Page Protector. Should any one wish to look closer at the memorabilia in the future, they could slip the Page Protector off to access the memorabilia. Another option would be to adhere the pocket embellishment on top of your Page Protector for easy access to the memorabilia. We always recommend use of Page Protectors on any pages that feature photos.
Thank you for your explanation.
I am with Becky Green – How do you use this layout with page protectors? Otherwise, it looks great!
I also would like to know how or if you use a page protector. Do you use them under a protector or on top like the plastic pockets?
I have using an exacto knife and a small 1/8 in punch made a slits in my page protectors to expose elements. For this layout I would make 2 slits exposing the top 1/4 inch of the pockets and their contents. the rest of the page remains covered. The punch may not be necessary if you expose part of the travel log pockets. Otherwise if you suspect lots of tension on your slit, by finishing each end with a circle punch the protector will no longer tear.
[…] Learn how to create this layout in this blog post! […]