June 13, 2019
Bring Love to Life with this Two-Page Wedding Scrapbook Layout
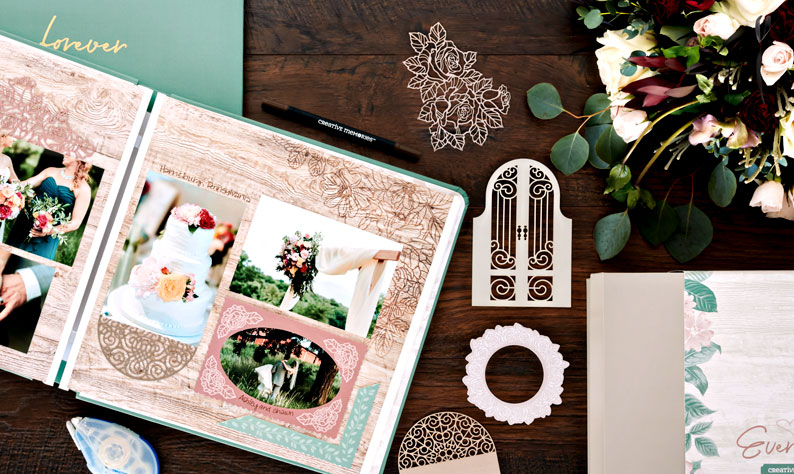
There is so much joy and beauty that goes into a wedding. It’s a beautiful day shared with so many people, but so often for the bride and groom, the day flies by. They’re lucky if they even get a piece of their own wedding cake! To capture the bliss of that bustling day, it’s always a good idea to take plenty of photos so you can turn them into a special wedding scrapbook layout. It’s the perfect way to commemorate every loving moment of that lovely day. Need ideas to get you started? Take a look at this two-page wedding scrapbook spread and feel the love!
To create this layout, you will need:
- Ever After Paper Pack or (Shop Canada | Shop Australia)
- Ever After Laser Cut Frames or (Shop Canada | Shop Australia)
- Ever After Stickers or (Shop Canada | Shop Australia)
- Dark Green Cardstock or (Shop Canada | Shop Australia)
- Border Maker System with Heart Chain Border Maker Cartridge or (Shop Canada | Shop Australia)
- Custom Cutting System with Circle Patterns or (Shop Canada | Shop Australia)
- 12-inch Trimmer or (Shop Canada | Shop Australia)
- Tape Runner or (Shop Canada | Shop Australia)
- Repositionable Tape Runner Refill or (Shop Canada | Shop Australia)
- Foam Squares or (Shop Canada | Shop Australia)
Check out the Ever After collection in the video below!

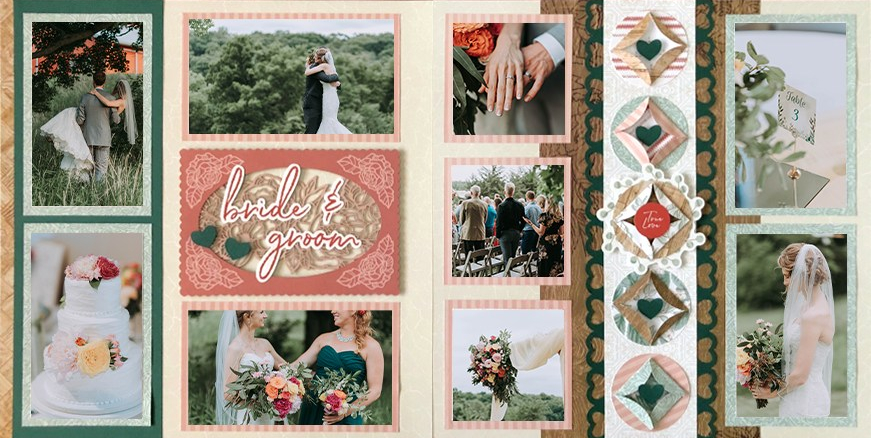
Step 1: Use the tan patterned paper as the base for both sides of the spread.
Step 2: Cut a piece of the wood patterned paper to measure 6″ x 12″. Adhere it to the middle of the right side of the spread.
Step 3: Cut a piece of Dark Green Cardstock to measure 4″ x 12″. Adhere it to the left side of the spread.
Step 4: Cut four pieces from the mint patterned paper to measure 3-1/2″ x 5-1/2″. Adhere them to the spread.
Step 5: Cut two pieces from the pink striped paper to measure 6″ x 3-1/2″. Adhere them to the left side of the spread. Cut three pieces from the pink striped paper to measure 3-1/2″ x 3-1/2″. Adhere them to the right side of the spread.
Step 6: Cut a piece of the white patterned paper to measure 2-1/2″ x 12″.
Step 7: Punch two borders from the Dark Green Cardstock using the Heart Chain Border Maker Cartridge. (Make sure to save the punched hearts!) Adhere the borders along the back edge of the white patterned paper. Adhere this to the middle of the wood patterned paper.
Step 8: Using the Custom Cutting System, cut ten circles from varied patterns of paper, using the inside of the medium circle with the Green Blade.
Step 9: Adhere five of the circles to the top of the strip of white patterned paper. Adhere five more circles (adding adhesive to the middle of each circle only) to the tops of previous circles. Fold the edges in as shown.
Step 10: Adhere the previously punched hearts to the middle of each circle using Foam Squares.
Step 11: Layer the laser cut frames, adding Foam Squares behind the corners to adhere.
Step 12: Adhere stickers for the title and punched hearts with Foam Squares. Journal as desired.
An occasion as wonderfully-happy as a wedding deserves a layout that’s just the same. What do you love most about this wedding scrapbook layout? What moment will you always remember from a wedding you’ve attended? Let us know in the comments below!

Thank you so much.