December 27, 2019
Create Shimmery DIY Party Decor with Cheers and Graduation Theme Packs
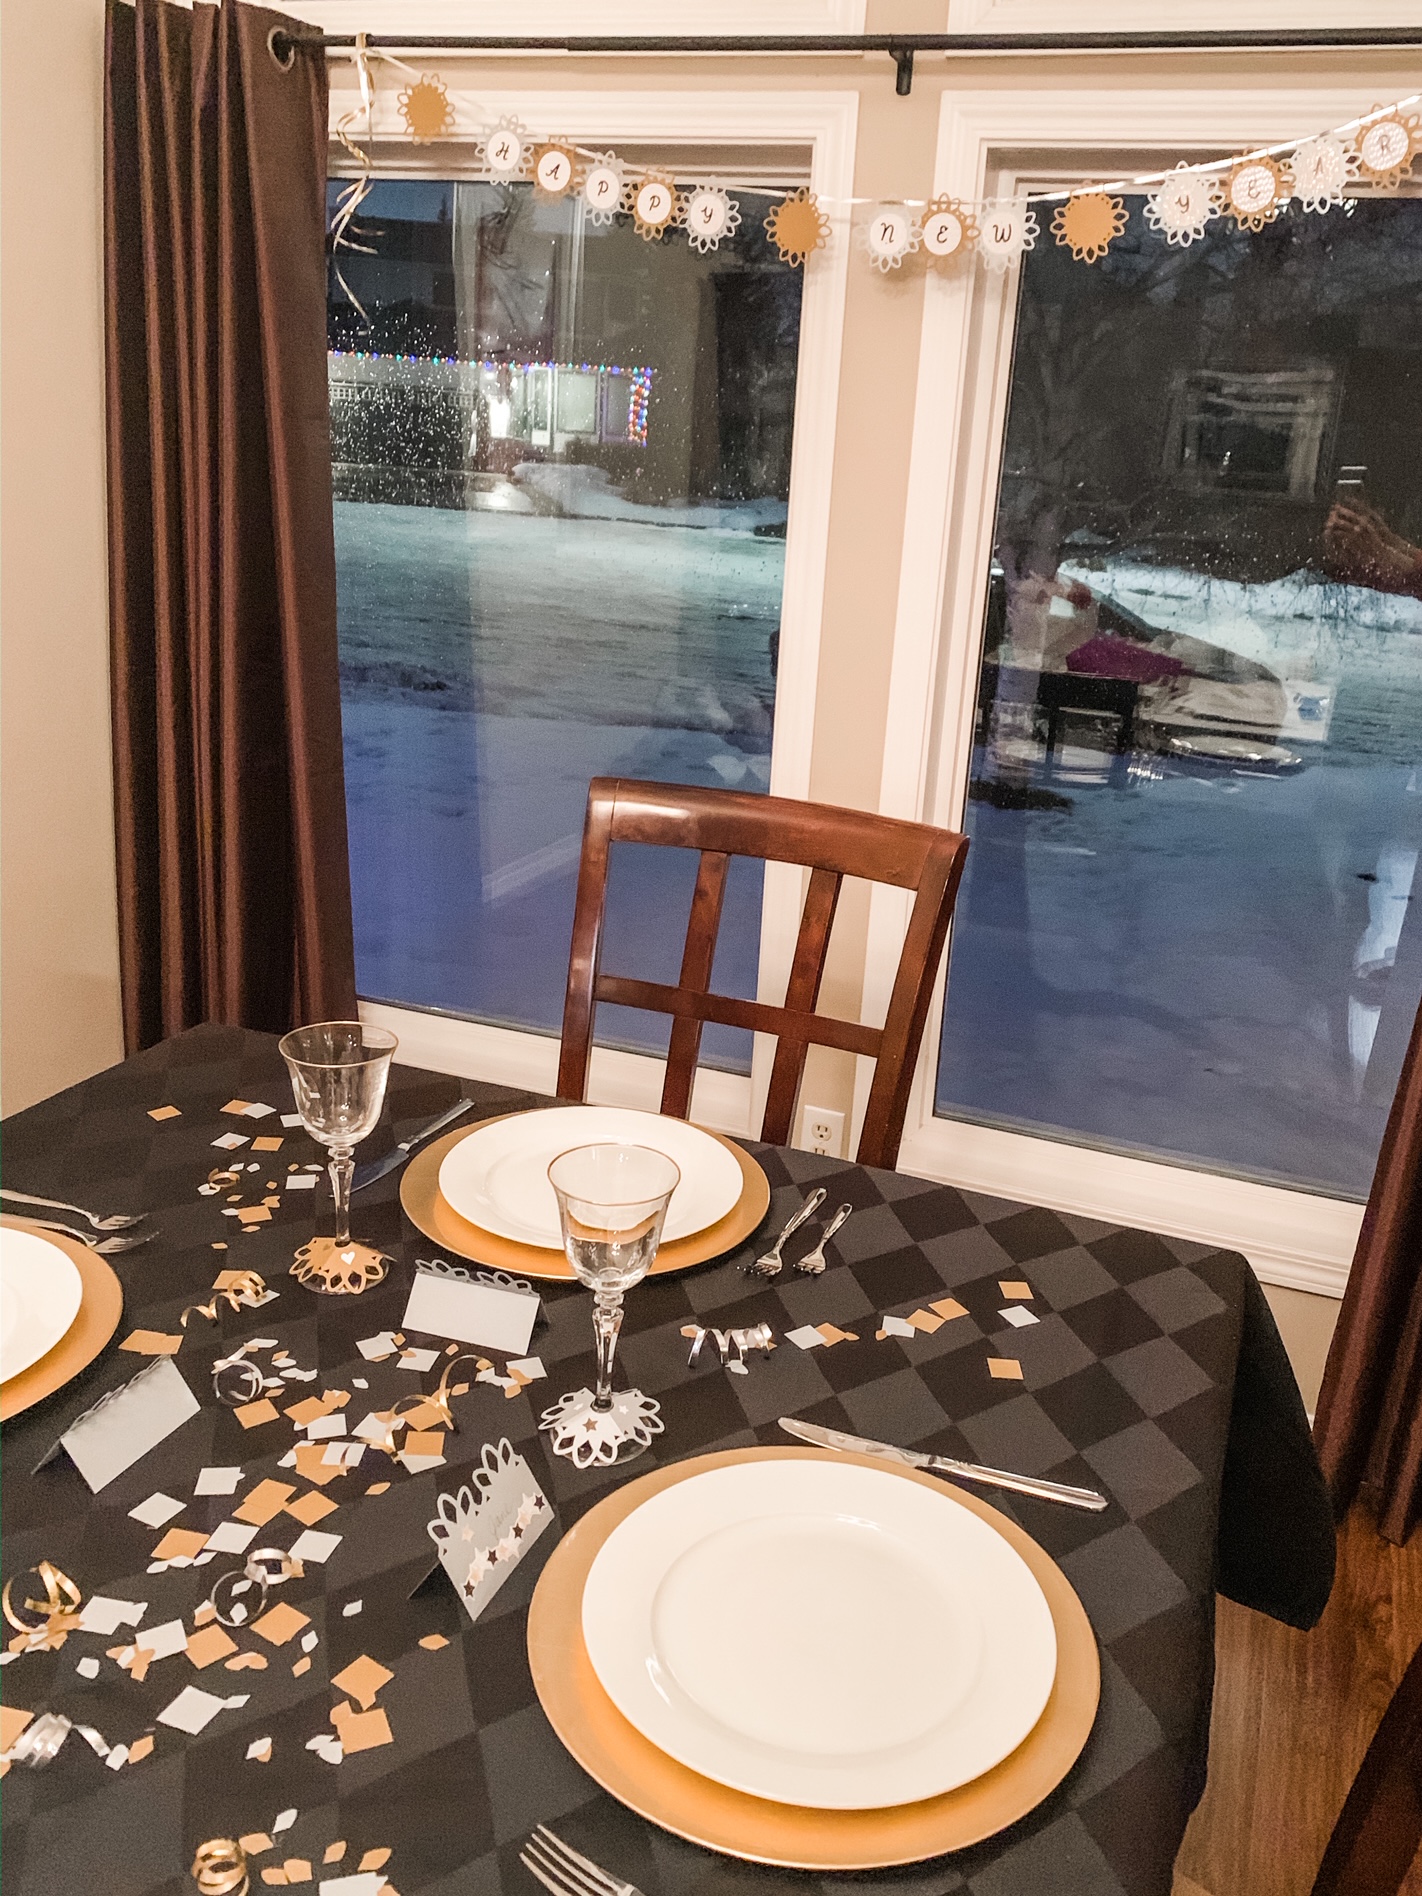
Whether you’re having an epic New Year’s Eve gala or a quiet dinner party to celebrate the coming of the new decade, you’ll definitely want to have some elegant party decorations for the occasion! And when you combine the new Cheers and Graduation Theme Packs with some shimmery cardstock and a few handy tools, it’s easier than ever to create countdown-worthy DIY party decor to ring in the new year! Check out these ideas and start making some for your own get-togethers!
Happy New Year Banner

To make the banner, you will need:
- Cheers Theme Pack or (Shop Canada | Shop Australia)
- Graduation Theme Pack or (Shop Canada | Shop Australia)
- Bronze Shimmer and Platinum Shimmer Cardstock or (Shop Canada | Shop Australia)
- Black Script ABC/123 Stickers or (Shop Canada | Shop Australia)
- Petal Frame Punch or (Shop Canada | Shop Australia)
- Custom Cutting System with Circle Patterns or (Shop Canada | Shop Australia)
- Custom Cutting System Mat or (Shop Canada | Shop Australia)
- 12-inch Trimmer or (Shop Canada | Shop Australia)
- Tape Runner or (Shop Canada | Shop Australia)
- Repositionable Tape Runner Refill or (Shop Canada | Shop Australia)
- Silver and/or Gold Ribbon

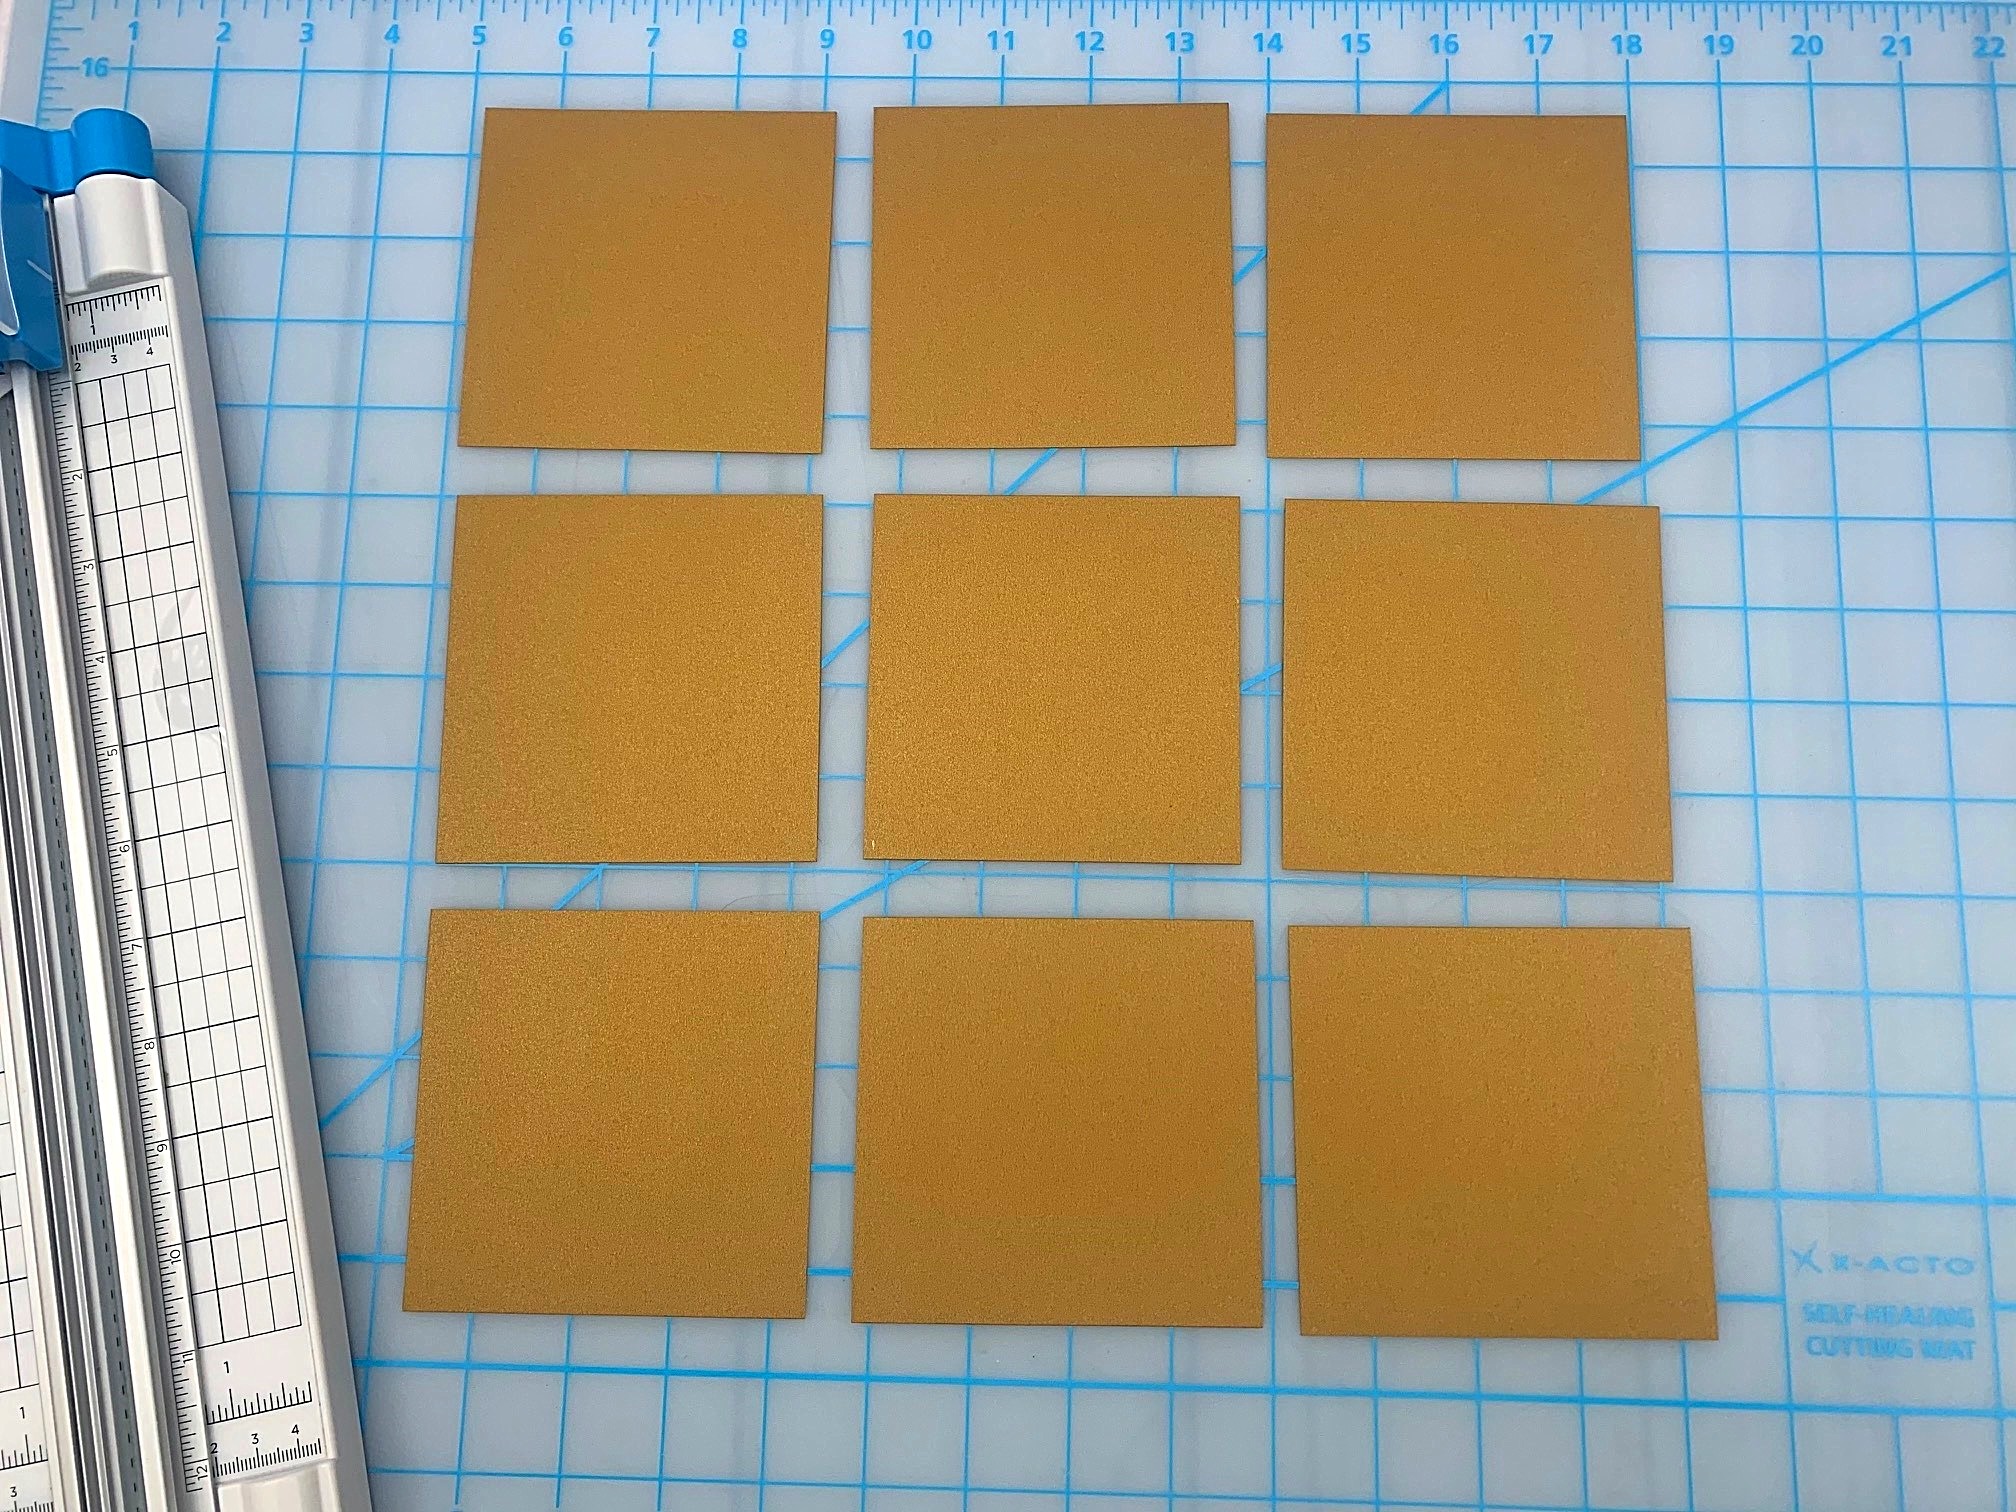
Step 1: You will be cutting and punching one Petal Frame shape to use as the base for each letter of your banner. For “Happy New Year,” you will need 12 squares measuring 4″ x 4″. Make sure to add an extra shape for the beginning and end of the banner, as well as in-between each word. The banner shown above and below uses 16 shapes in total. Cut the number of squares required with the 12-inch Trimmer from Platinum and Bronze Shimmer Cardstock.
Tip: You can get nine squares measuring 4″ x 4″ from one sheet of 12″ x 12″ cardstock.
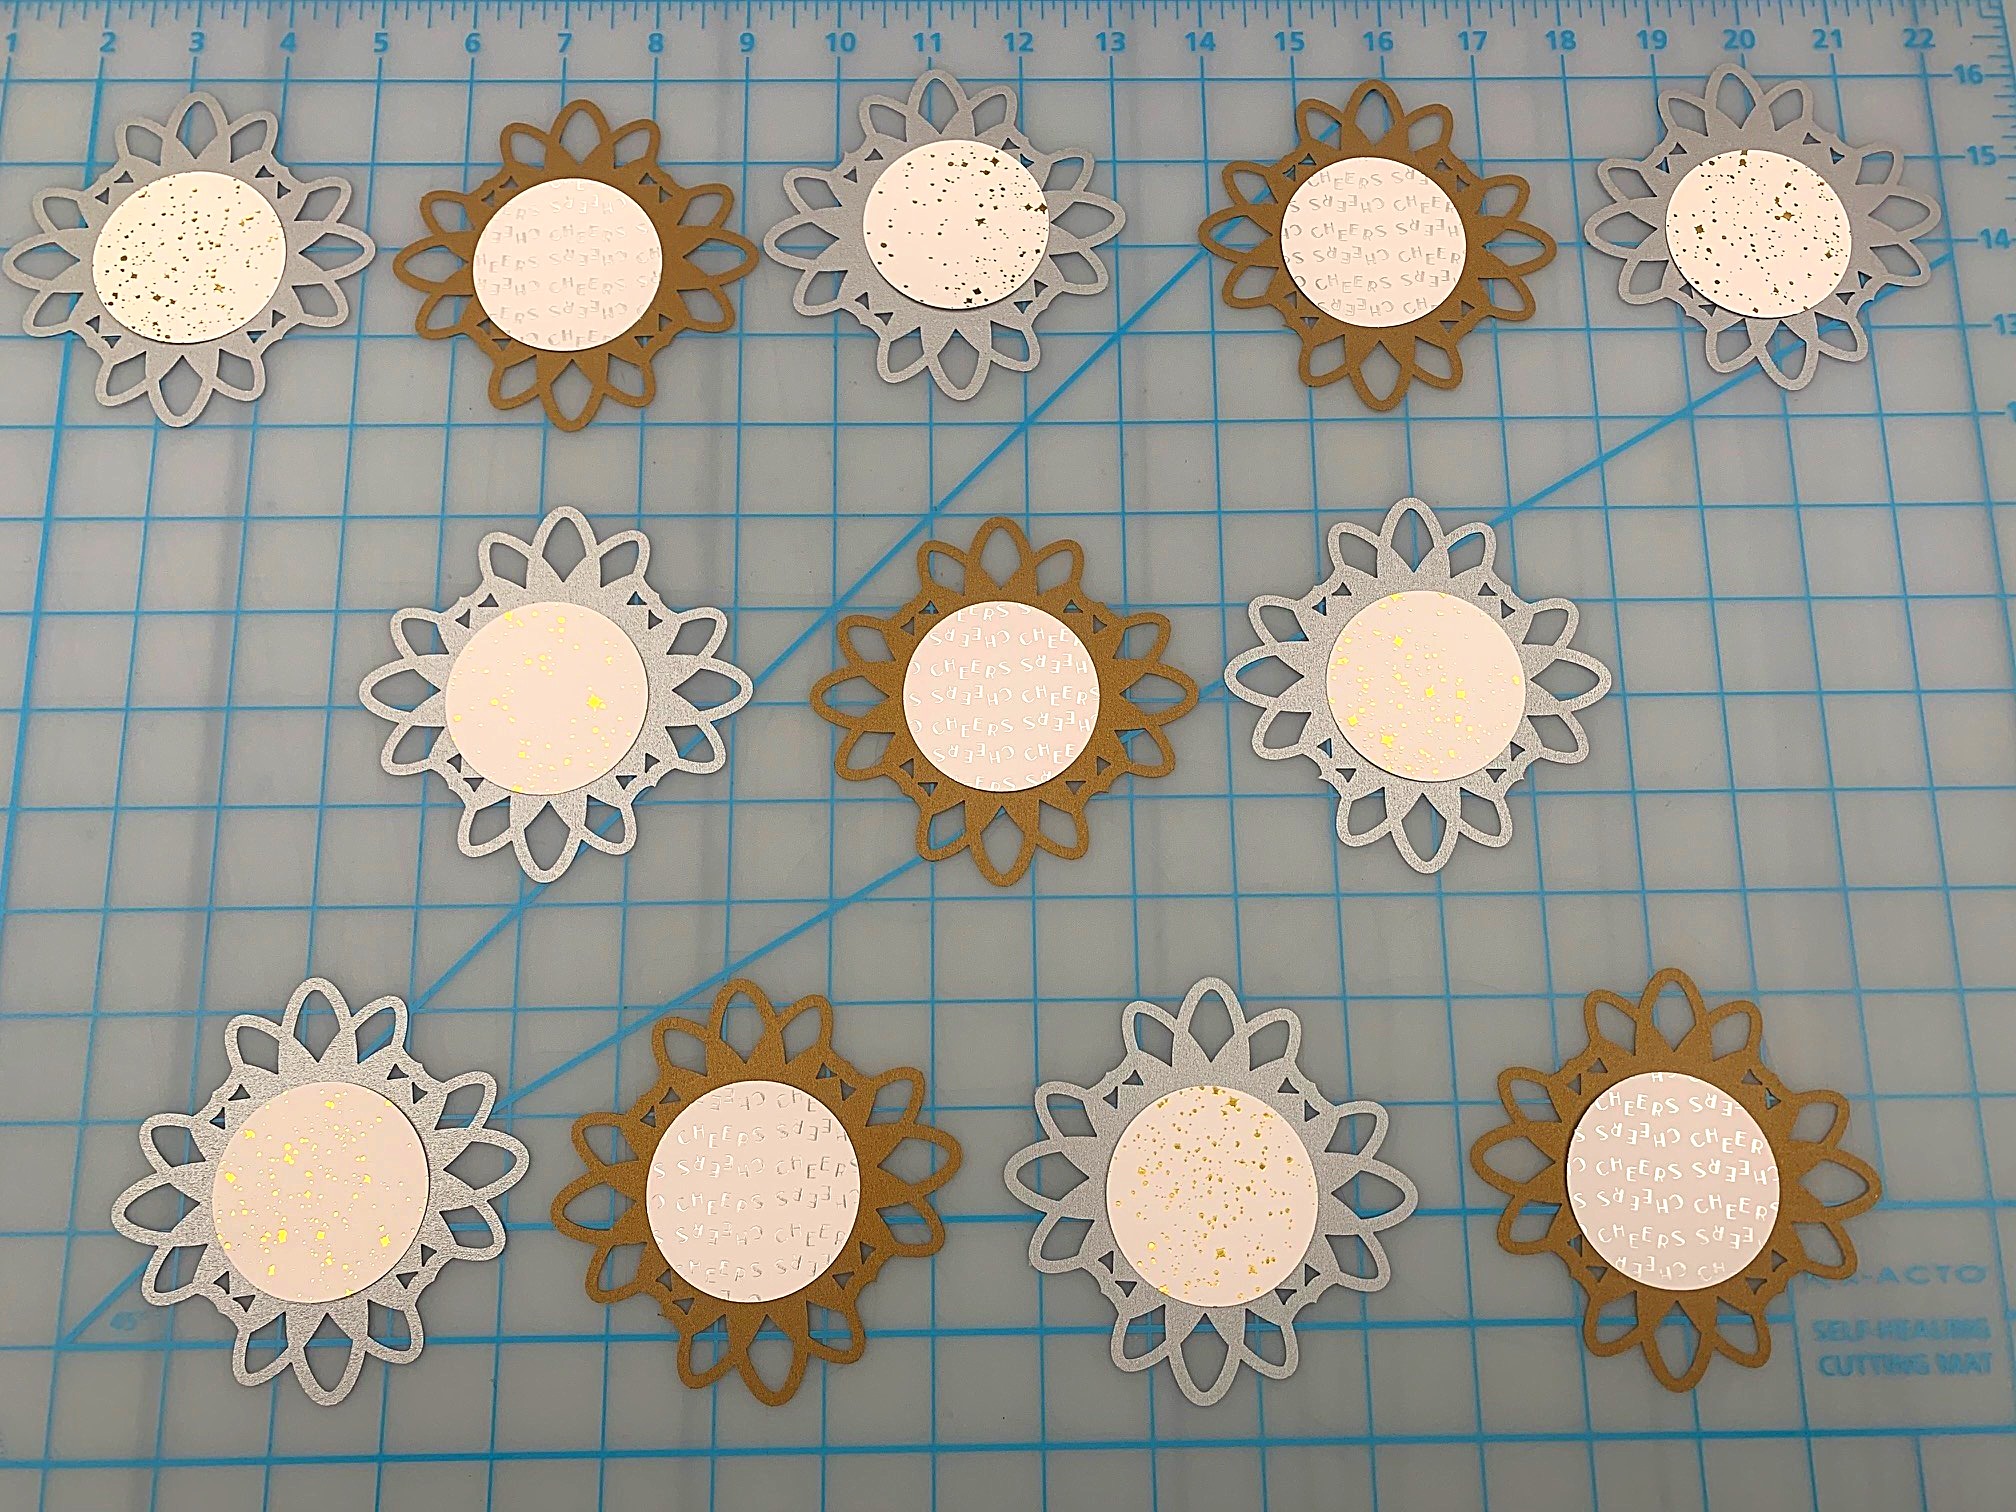
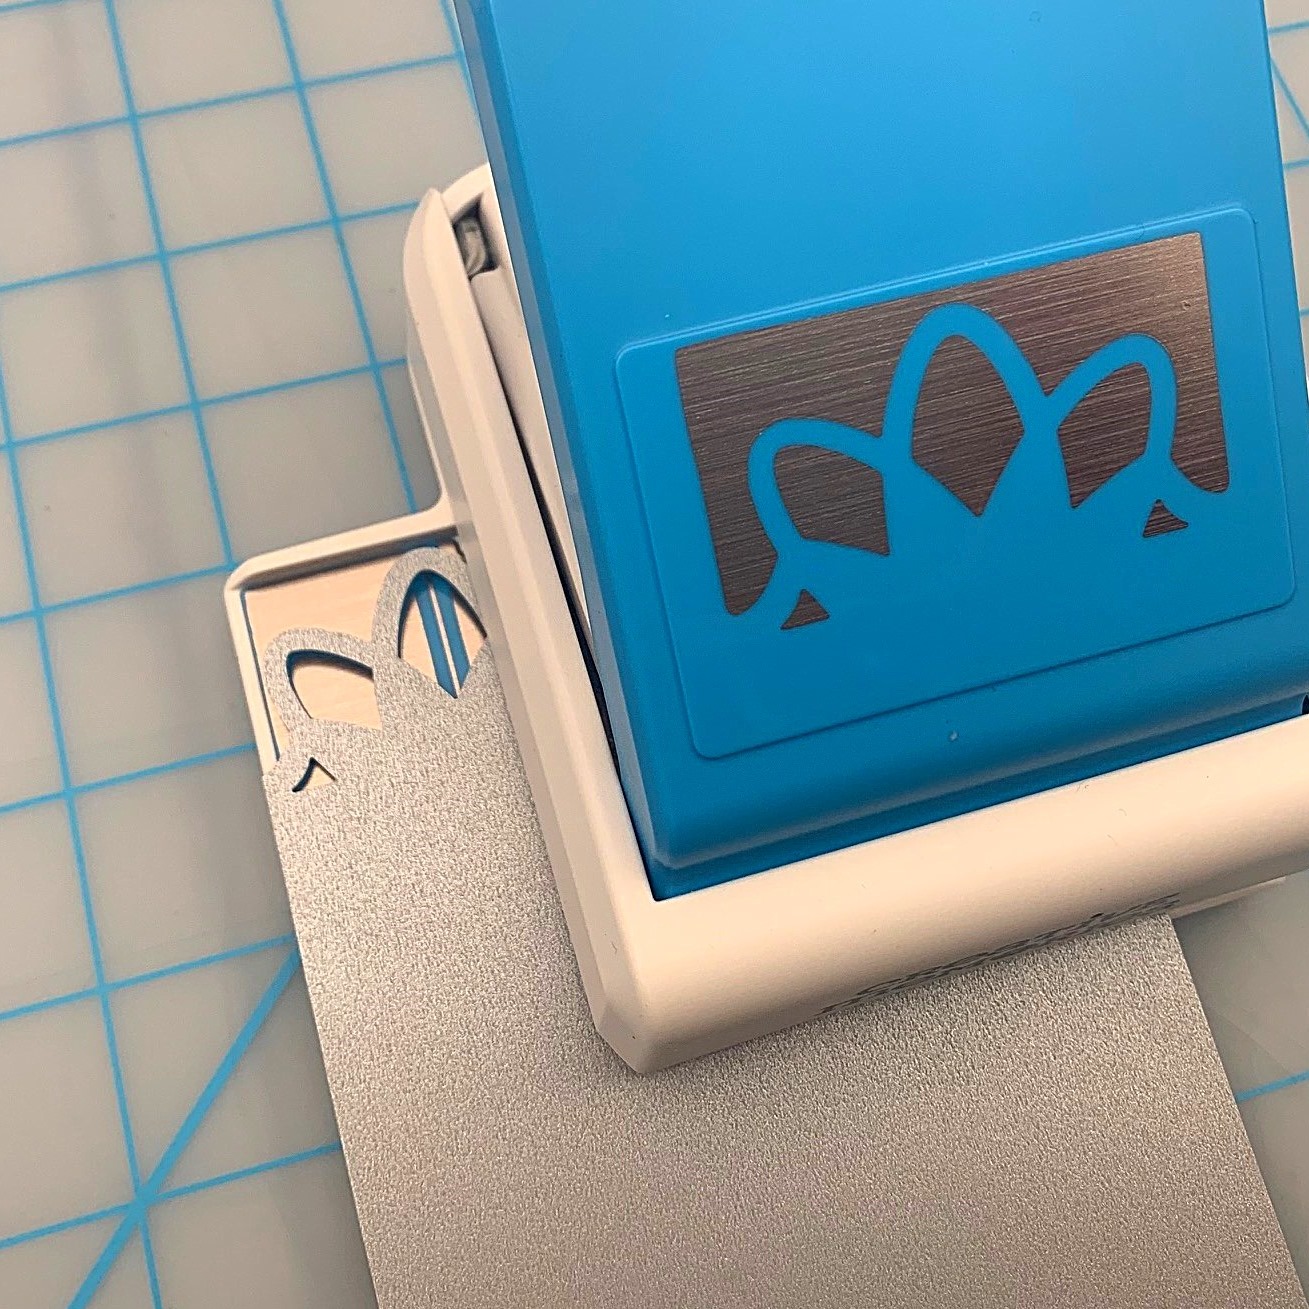
Step 2: Use the Petal Frame Punch to punch each square into the rounded petal frame shape. Check out this video to see how to create the petal frame shape.
Tip: Save the small squares and “petals” that are created as you punch to use as shimmery table confetti. Discard the smaller and misshapen bits.


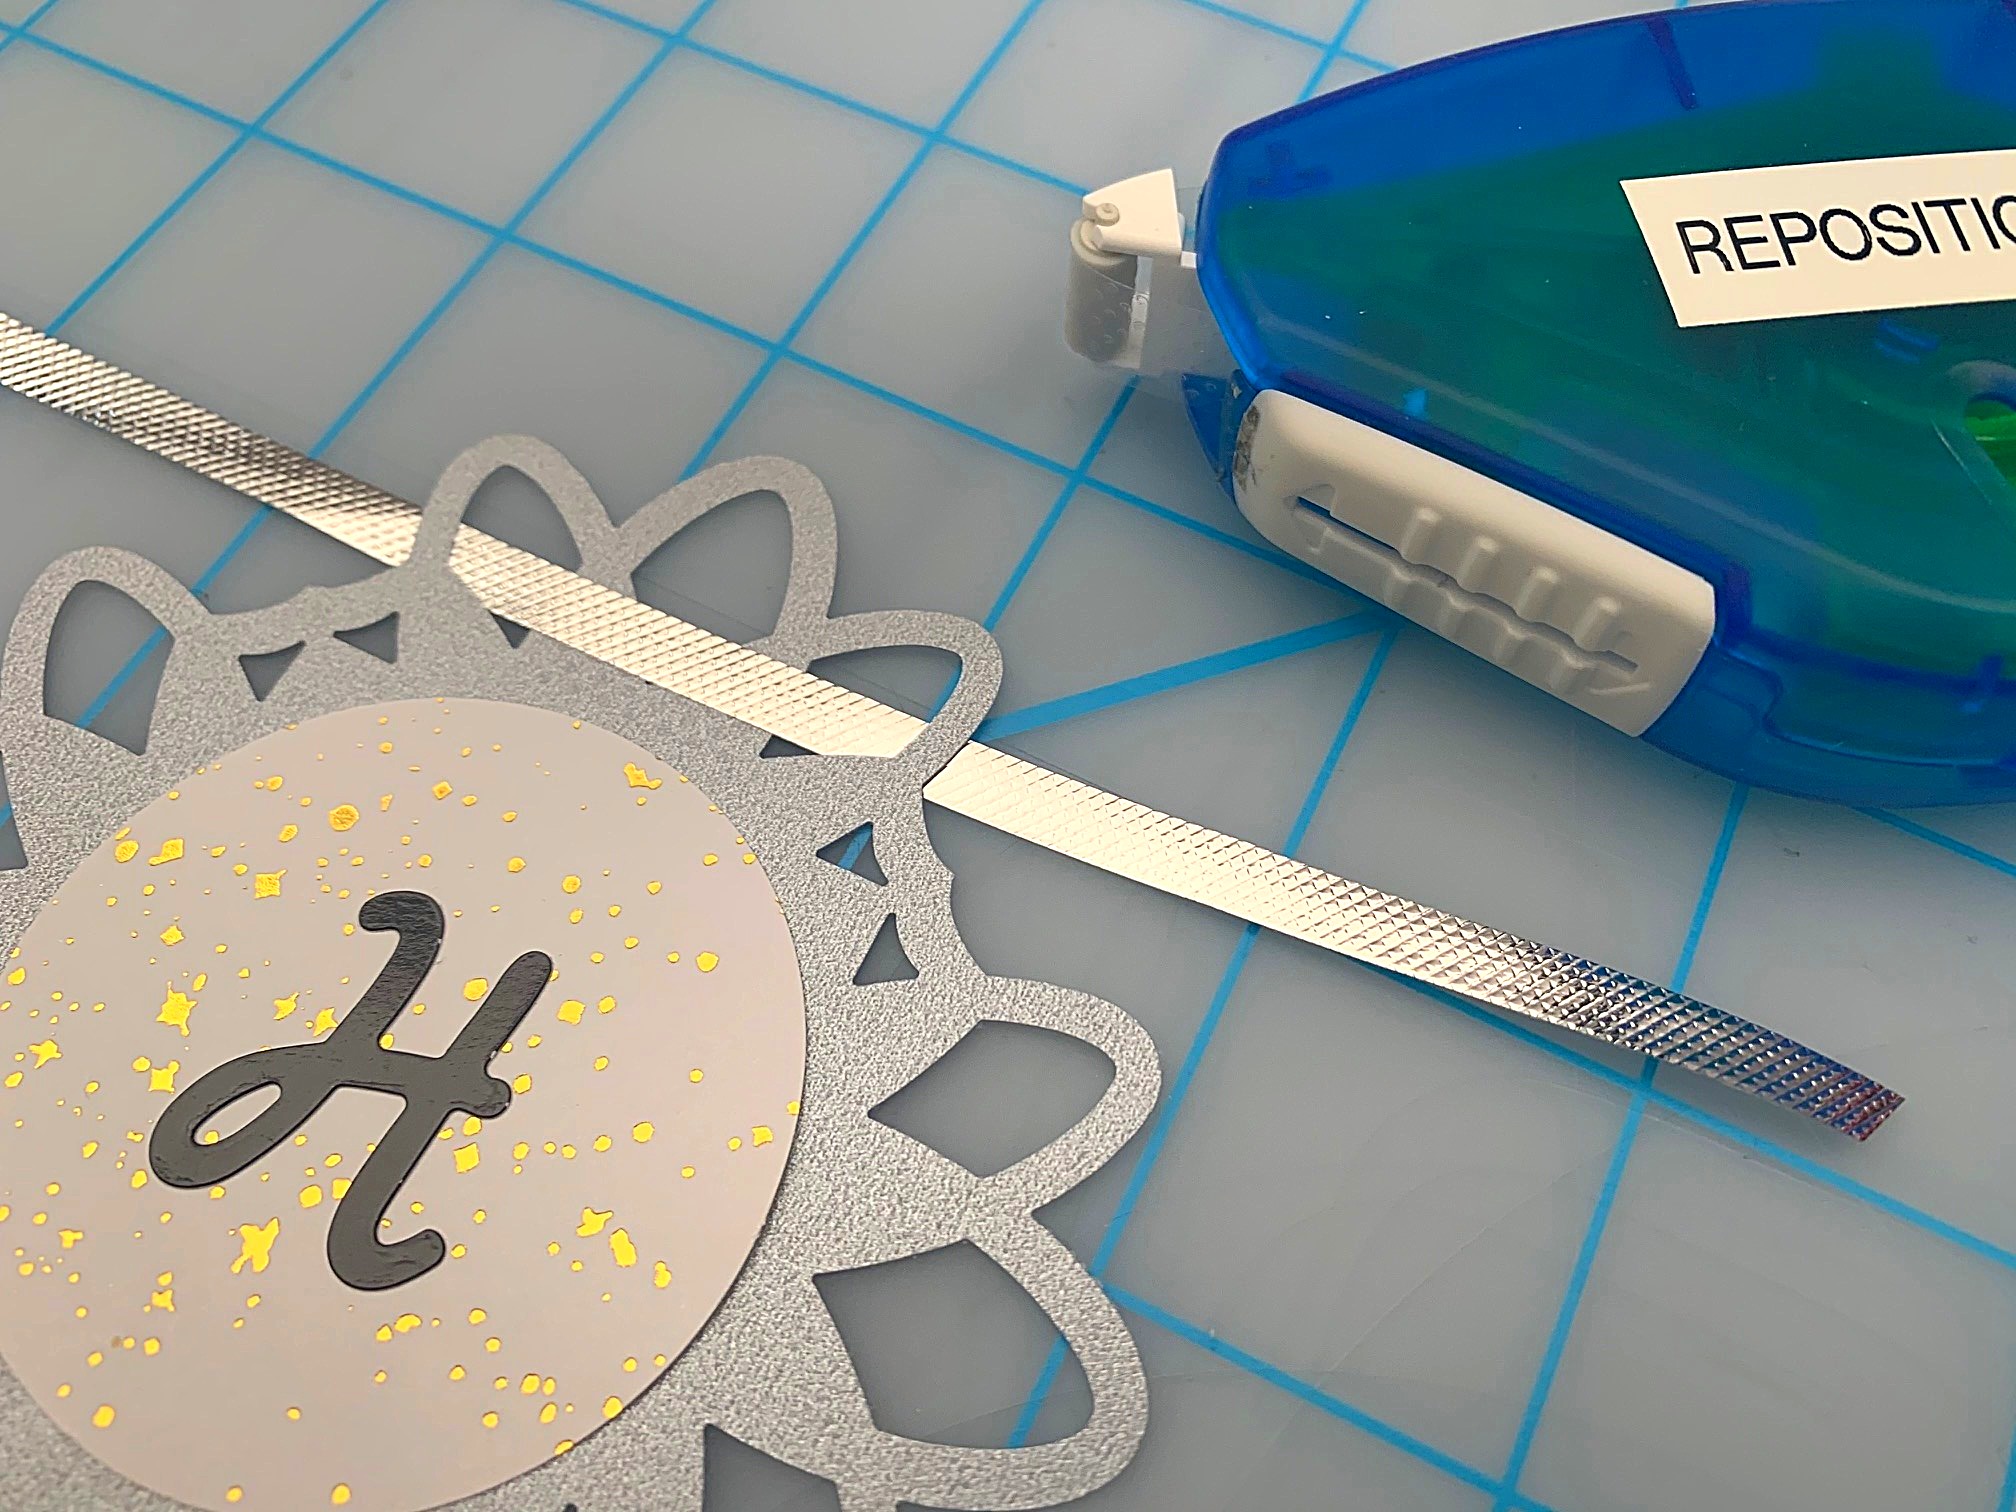
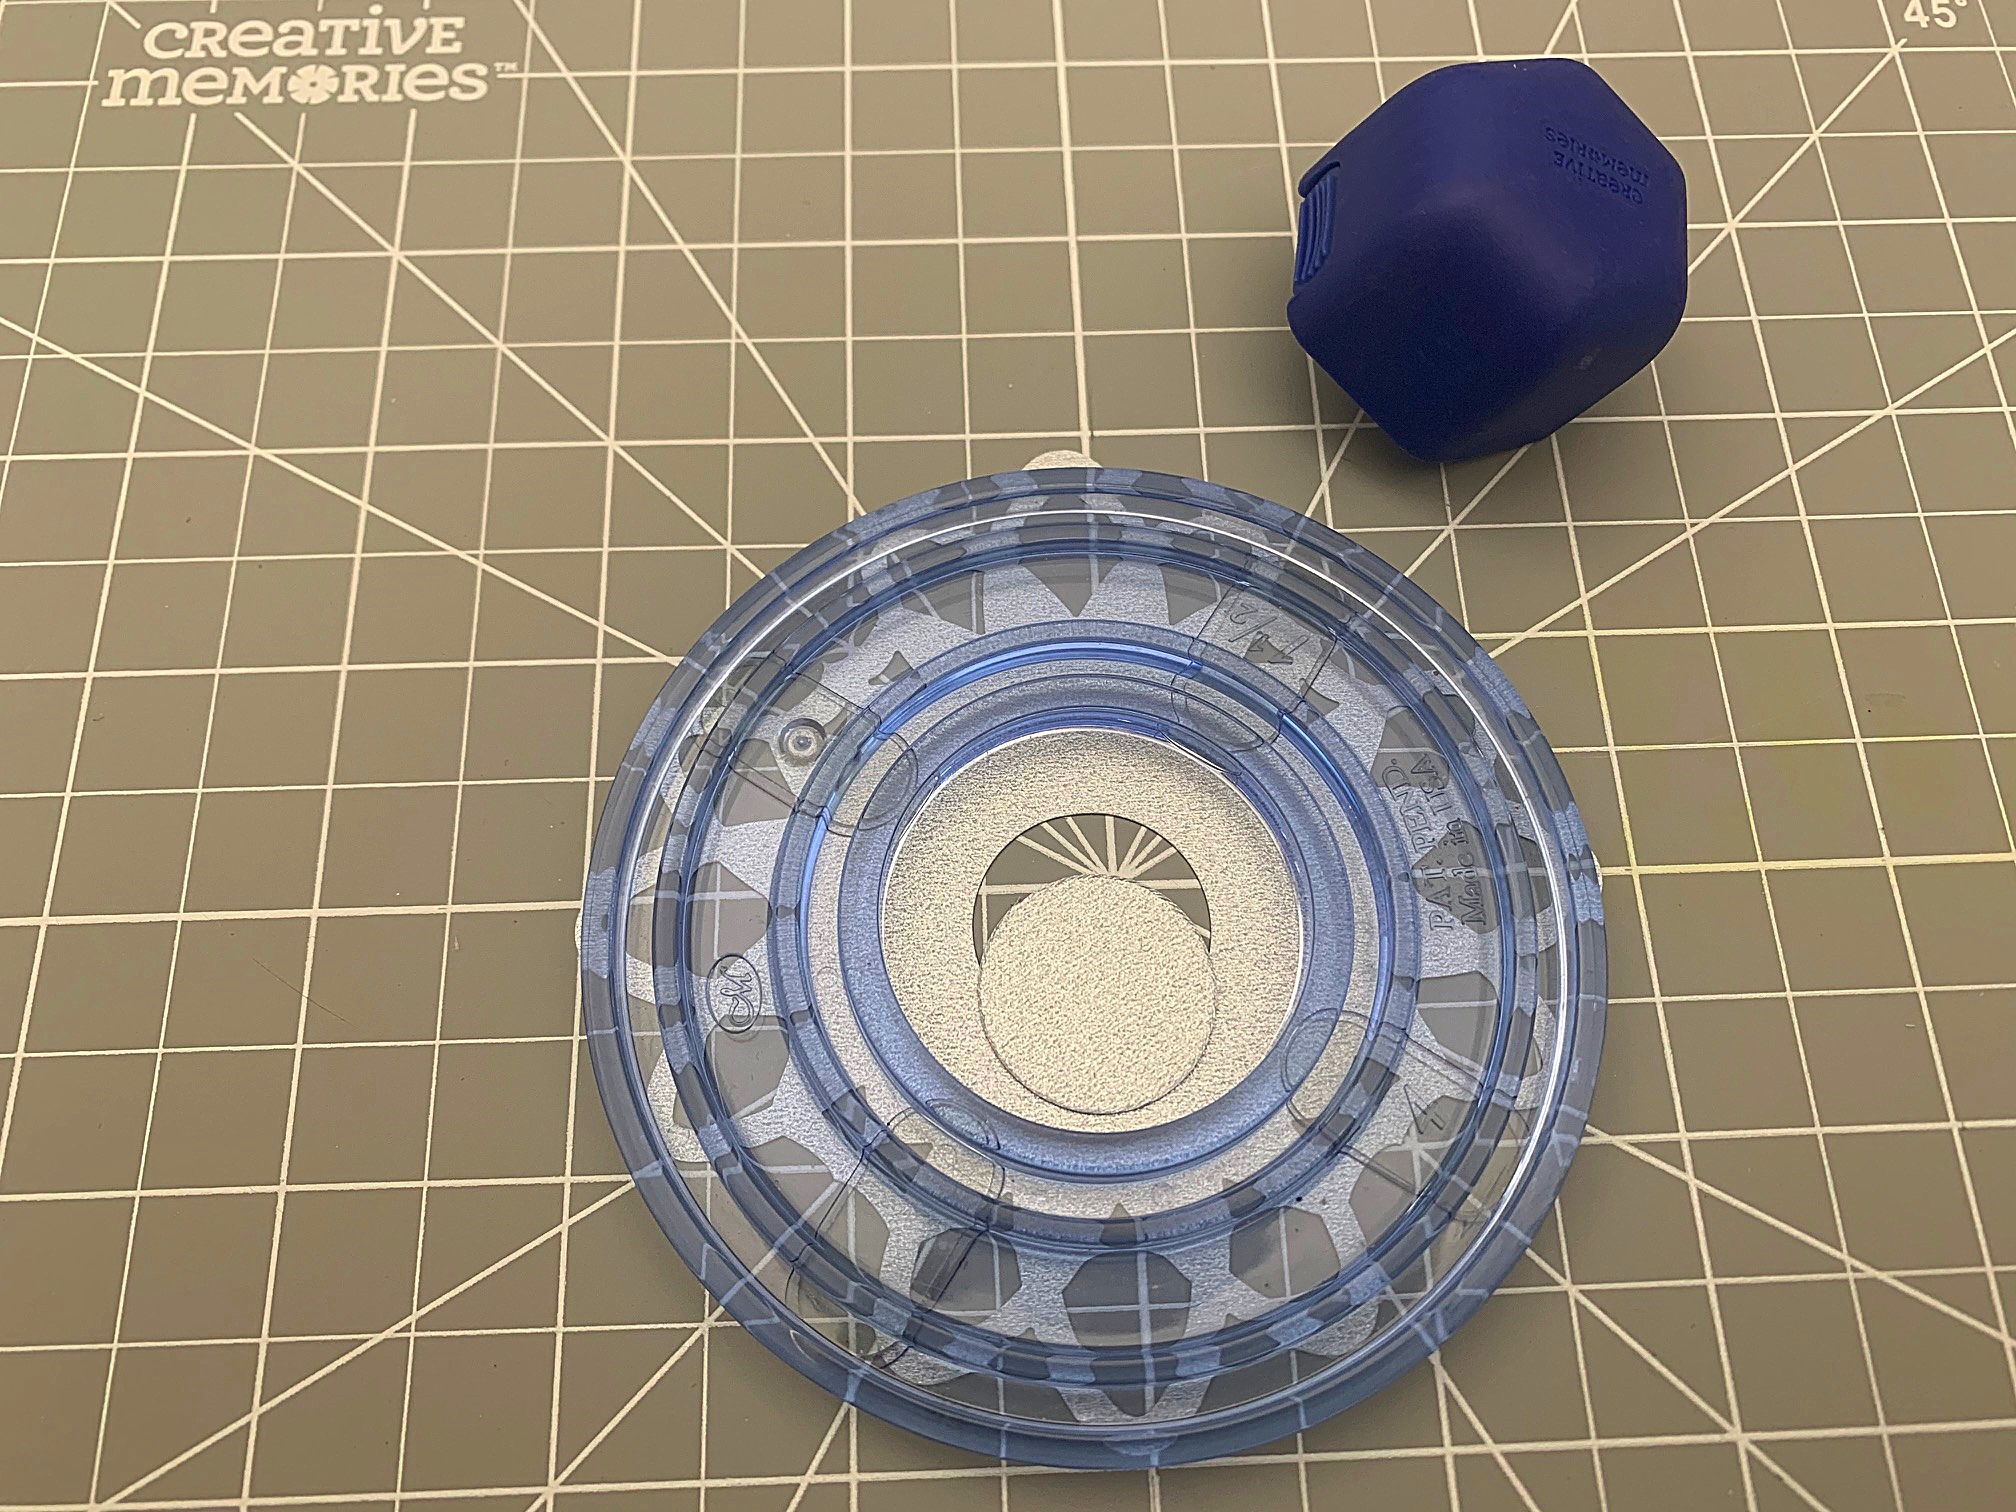
Step 3: Use the Custom Cutting System Mat, the inside of the medium sized Custom Cutting System Circle Pattern and the Blue Blade to cut 2″ circles from the foiled papers in the Cheers and Graduation Theme Packs. Cut the same number of circles as letters for your banner. Adhere one foiled circle to a petal frame shape with the Tape Runner. Adhere the gold foiled paper circles to the Platinum petal frame shapes and the silver foiled paper circles to the Bronze petal frame shapes for a fun contrast.

Step 4: Arrange the petal frame shapes so one corner is at the top. Adhere the Black Script ABC/123 stickers on top of the circles to form the words.
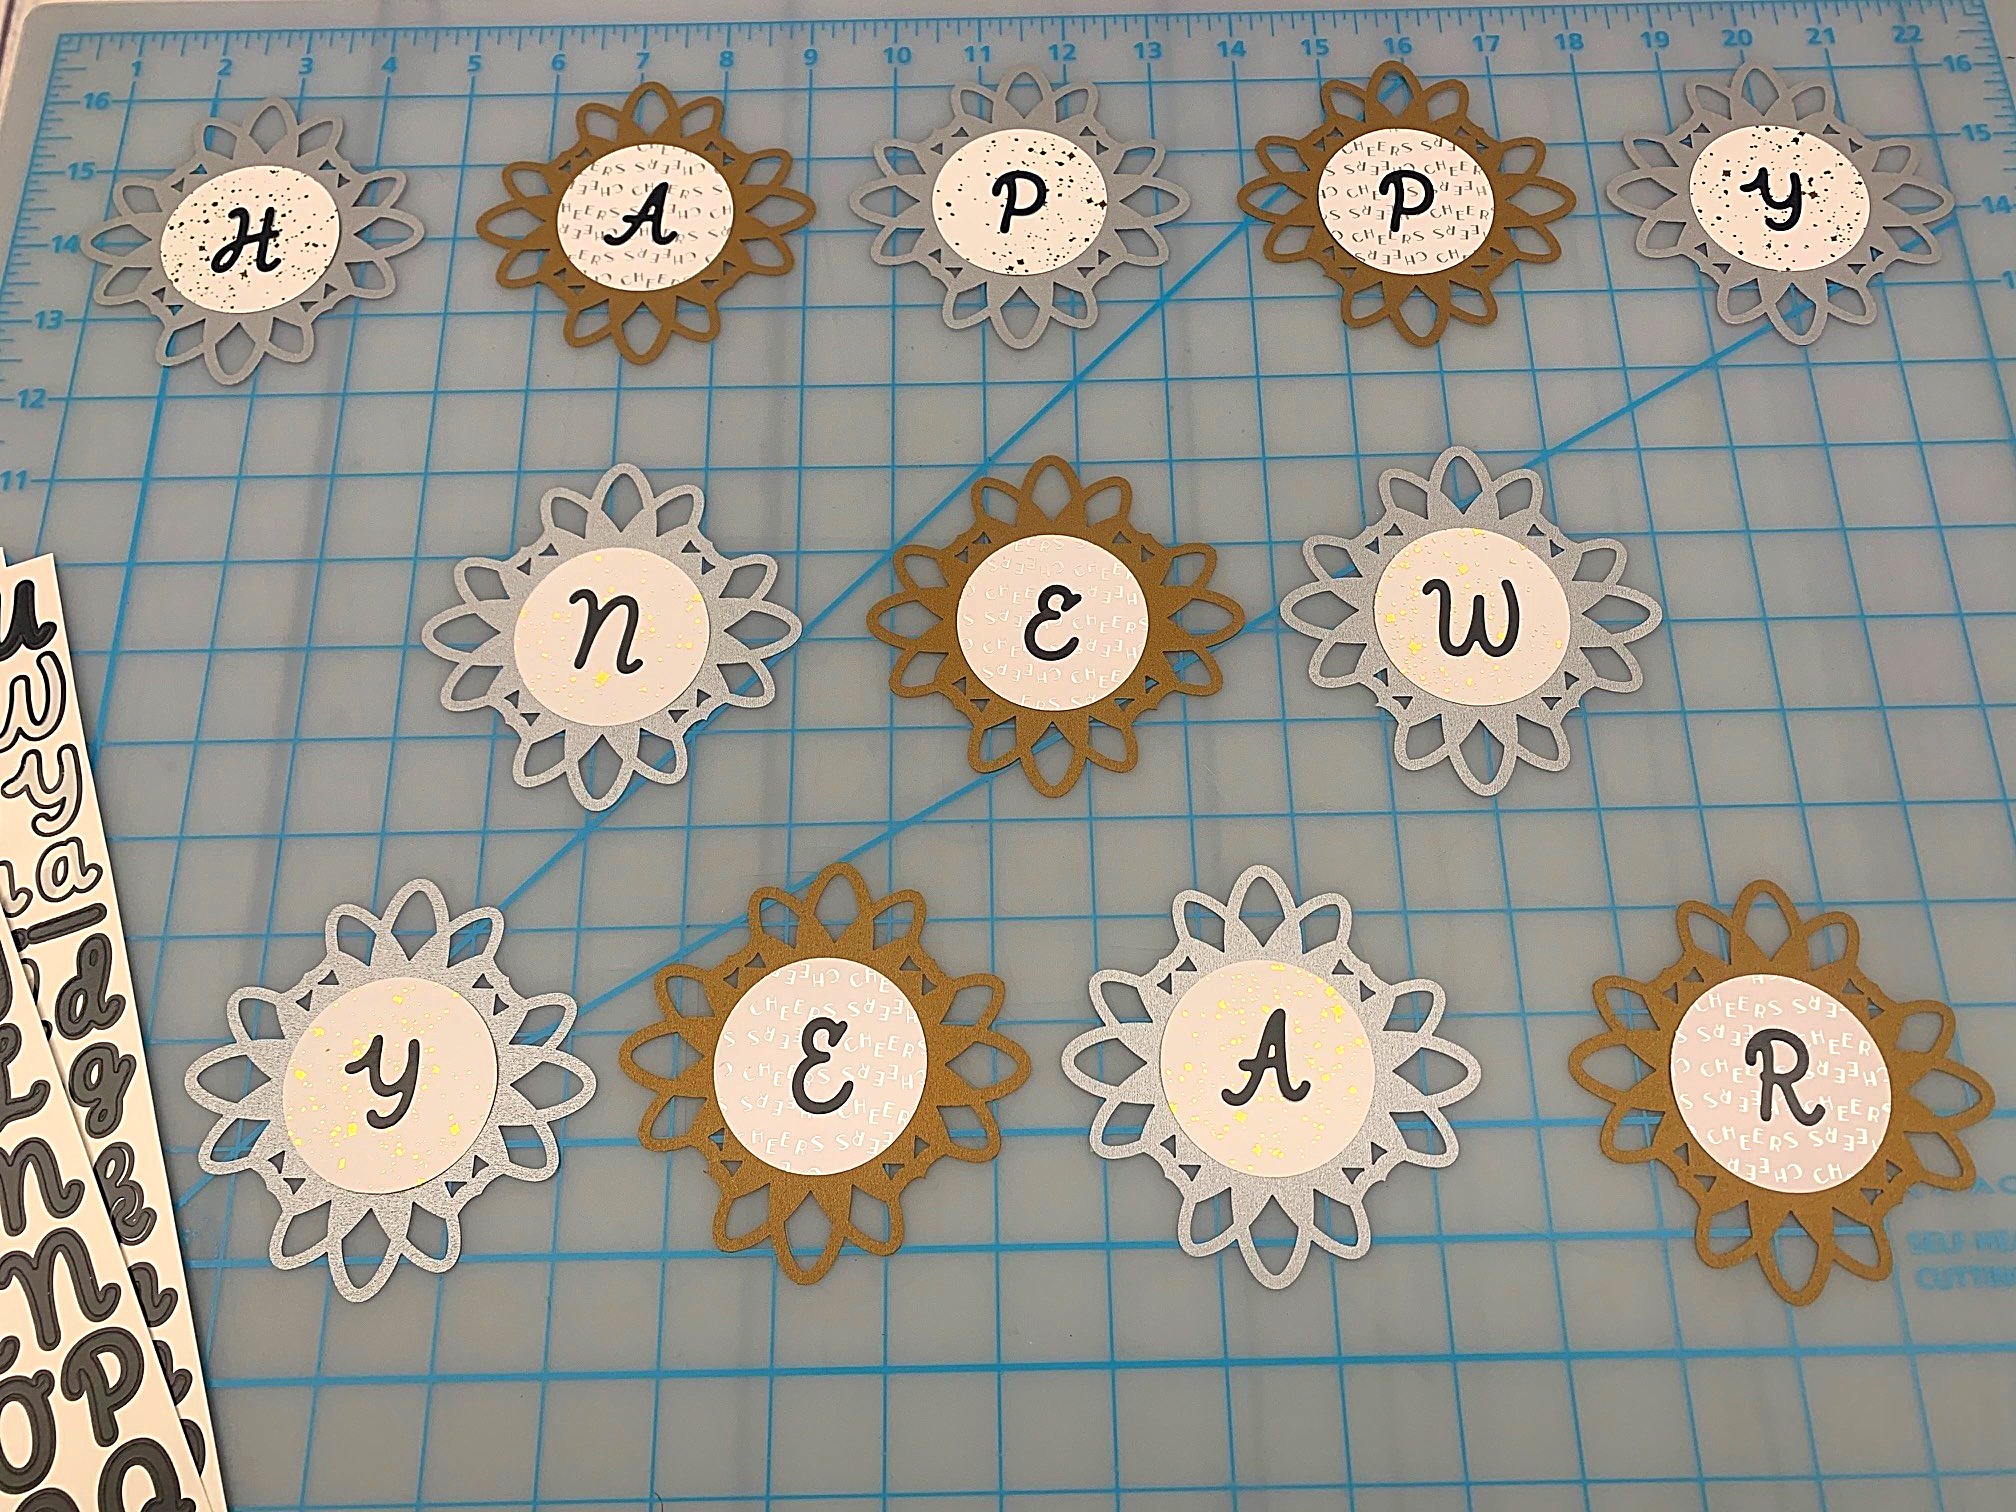
Step 5: Weave ribbon through the petals on either side of the corner that’s at the top to create the banner. Tip: If the shapes slide along the ribbon after you hang it, you might want to adhere the ribbon to the petal shape at the back with a bit of Repositionable adhesive.
Step 6: Leave a generous amount of ribbon on each end to hang your banner with. You can tie it to hooks or a curtain rod or tape it in place on a wall. Adjust the individual petal frame shapes so the banner is even. Add some curls of ribbon hanging down from each end for a finishing touch.

Stem Glass Decoration
To make the stem glass decorations, you will need:
- Stickers from the Cheers Theme Pack or (Shop Canada | Shop Australia)
- Stickers from the Graduation Theme Pack or (Shop Canada | Shop Australia)
- Bronze Shimmer and Platinum Shimmer Cardstock or (Shop Canada | Shop Australia)
- Petal Frame Punch or (Shop Canada | Shop Australia)
- Custom Cutting System with Circle Patterns or (Shop Canada | Shop Australia)
- 12-inch Trimmer or (Shop Canada | Shop Australia)
- All-Purpose Scissors or (Shop Canada | Shop Australia)
- Black, Gold or Silver Metallic Dual-Tip Pens or (Shop Canada | Shop Australia)
Step 1: For each stemmed glass decoration, you will need one square of cardstock measuring 4″ x 4″. Use the 12-inch Trimmer to cut as many squares as needed from Platinum or Bronze Shimmer Cardstock.
Step 2: Punch each 4″ x 4″ square with the Petal Frame Punch, as shown in step 2 of the Happy New Year Banner instructions above.
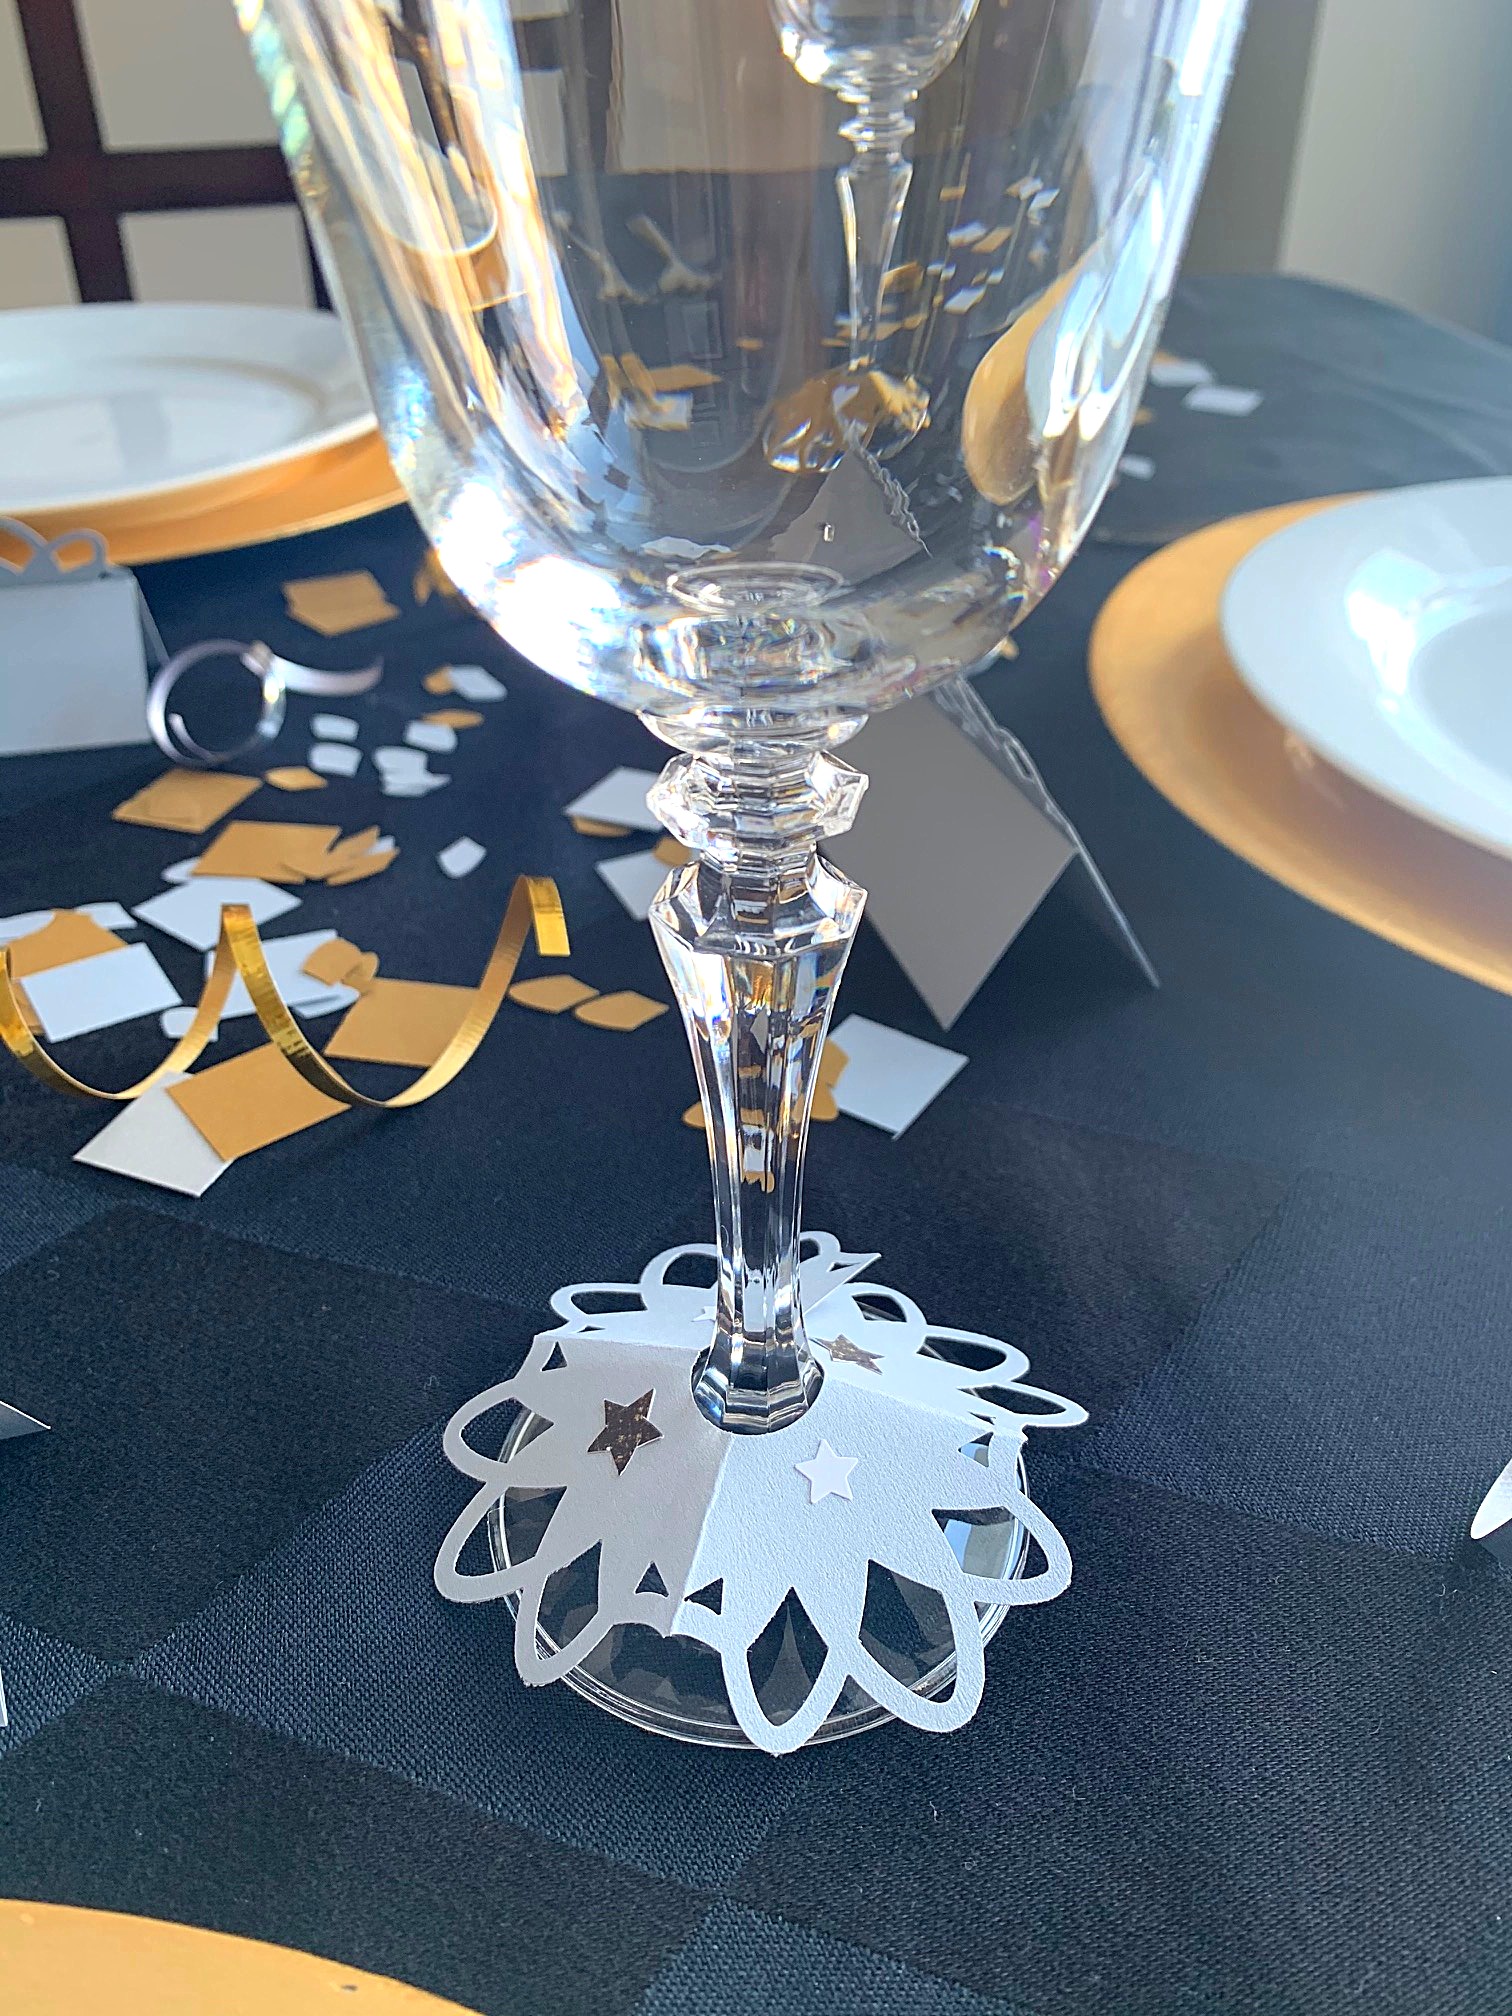
Step 3: Use the Custom Cutting System Mat and the inside of the smallest Custom Cutting System Circle Pattern and the Blue Blade to cut 1″ circles from the middle of each petal frame shape. Use All-Purpose Scissors to cut from the outside edge of the petal frame shape into the middle circle. Repeat for each glass decoration required.

Step 4: You can add these to your glasses by sliding the stem through the cut slit. If desired, decorate each petal frame shape with stickers and/or write the name of each guest with a Dual-Tip Pen. Tip: Depending on the shape of the glass, your decoration may not lay flat. Try folding the decoration in half and then in half again – the fold lines will help the decoration “drape” over the base of the glass.
Table Place Cards
To make the table place cards, you will need:
- Stickers from the Cheers Theme Pack or (Shop Canada | Shop Australia)
- Stickers from the Graduation Theme Pack or (Shop Canada | Shop Australia)
- Bronze Shimmer and Platinum Shimmer Cardstock or (Shop Canada | Shop Australia)
- Petal Frame Punch or (Shop Canada | Shop Australia)
- 12-inch Trimmer with Straight and Scoring Blades or (Shop Canada | Shop Australia)
- All-Purpose Scissors or (Shop Canada | Shop Australia)
- Tape Runner or (Shop Canada | Shop Australia)
- Black, Gold or Silver Metallic Dual-Tip Pens or (Shop Canada | Shop Australia)
Step 1: For each place card, you will need one piece of cardstock measuring 4″ x 6″. Use the 12-inch Trimmer to cut as many pieces as needed from Platinum or Bronze Shimmer Cardstock. Tip: You can get six rectangles measuring 4″ x 6″ from one piece of 12″ x 12″ cardstock.

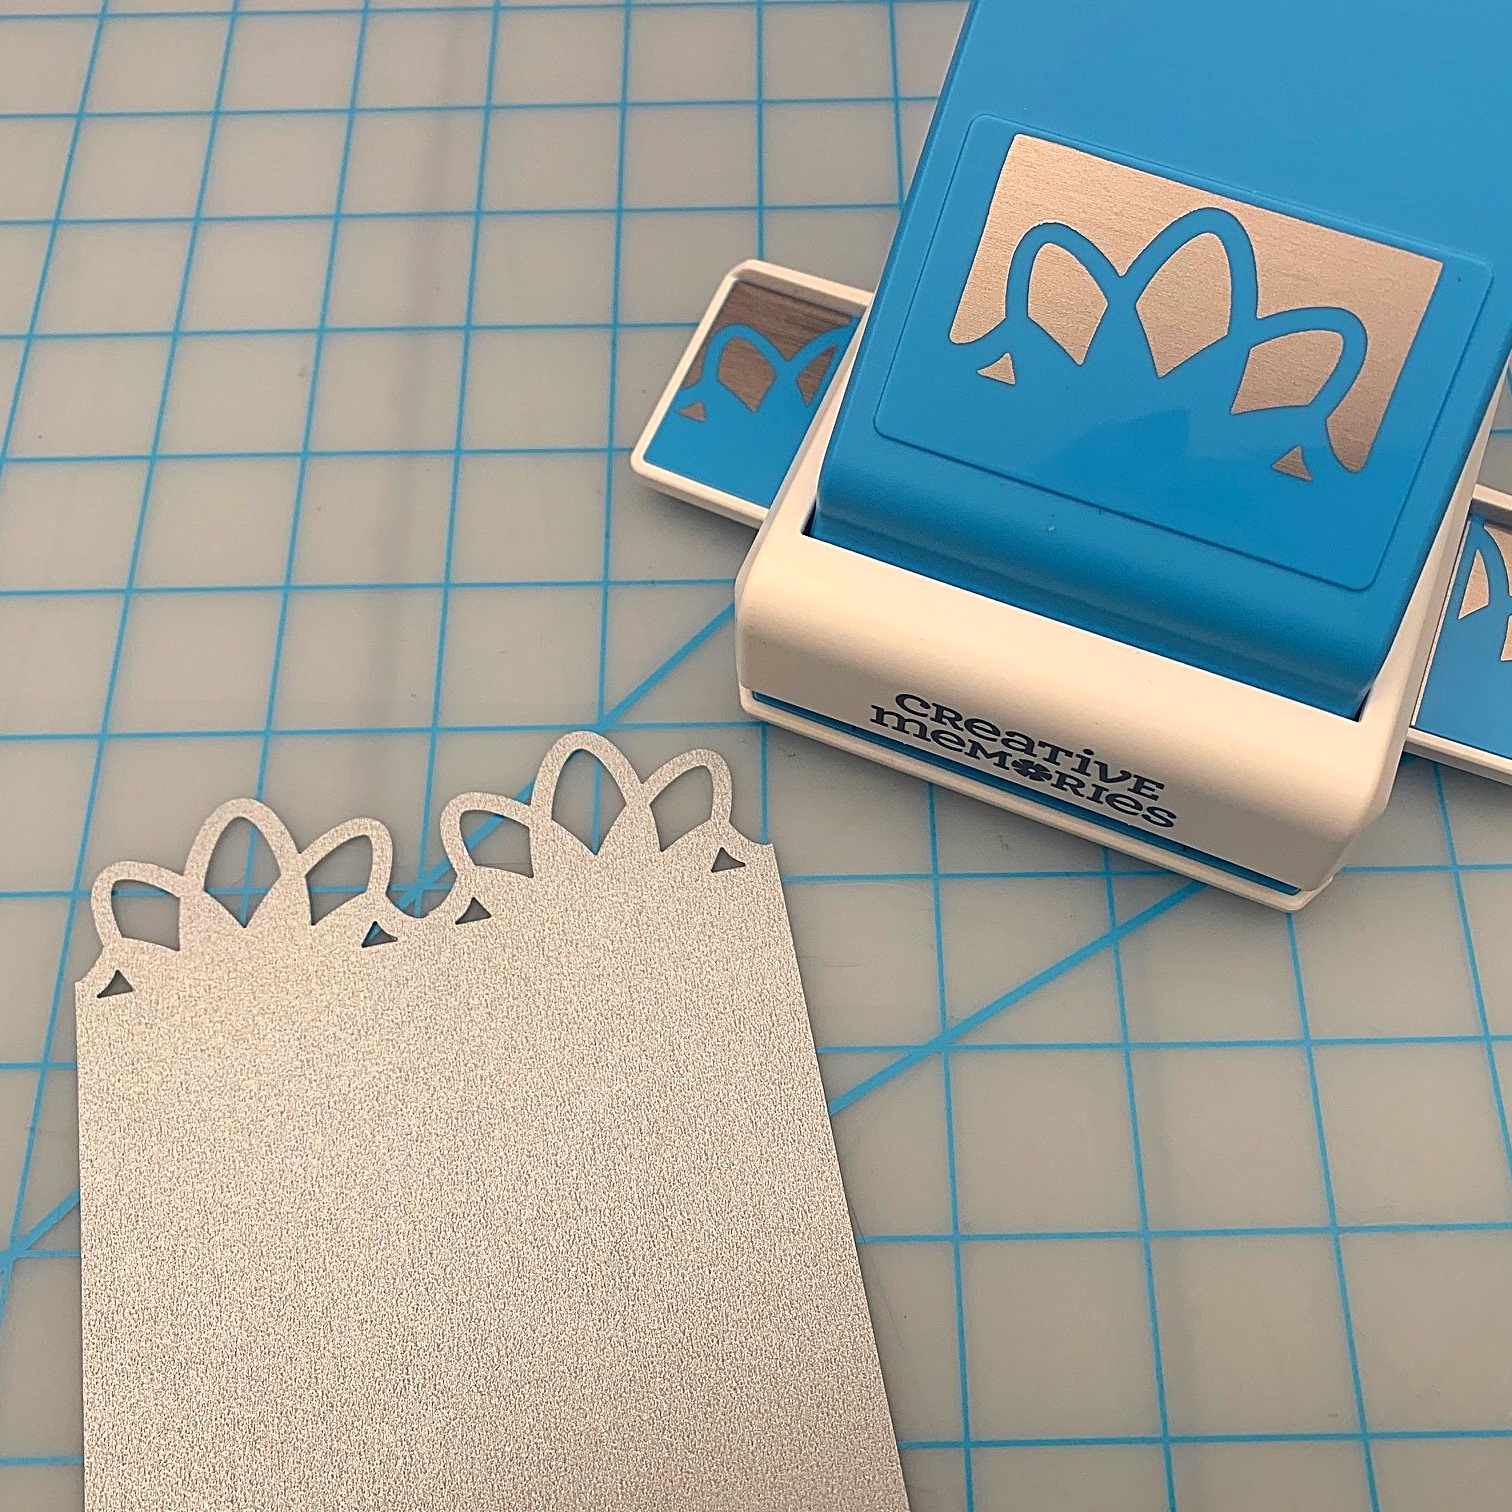
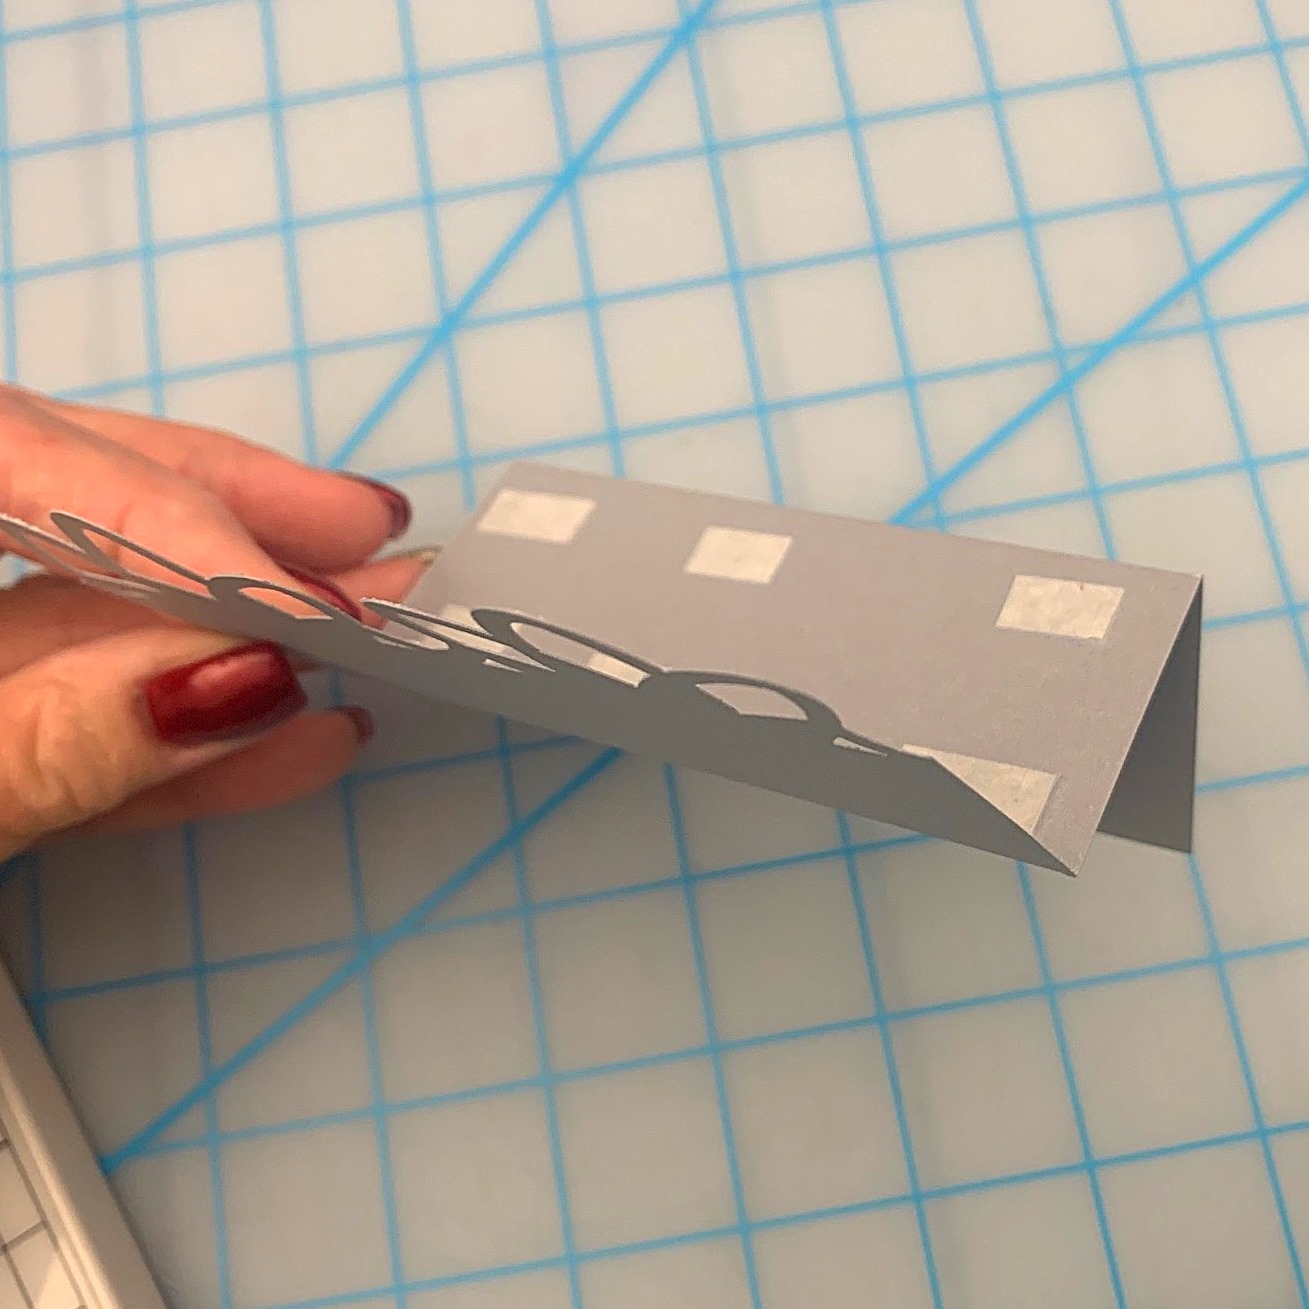
Step 2: For each place card, place the 4″ edge of the cardstock rectangle in the Petal Frame Punch, starting at one of the black lines on the base plate. Punch, then move the cardstock to align with the image printed on the base plate. Punch a second time to create a petal border along the top edge of the place card.

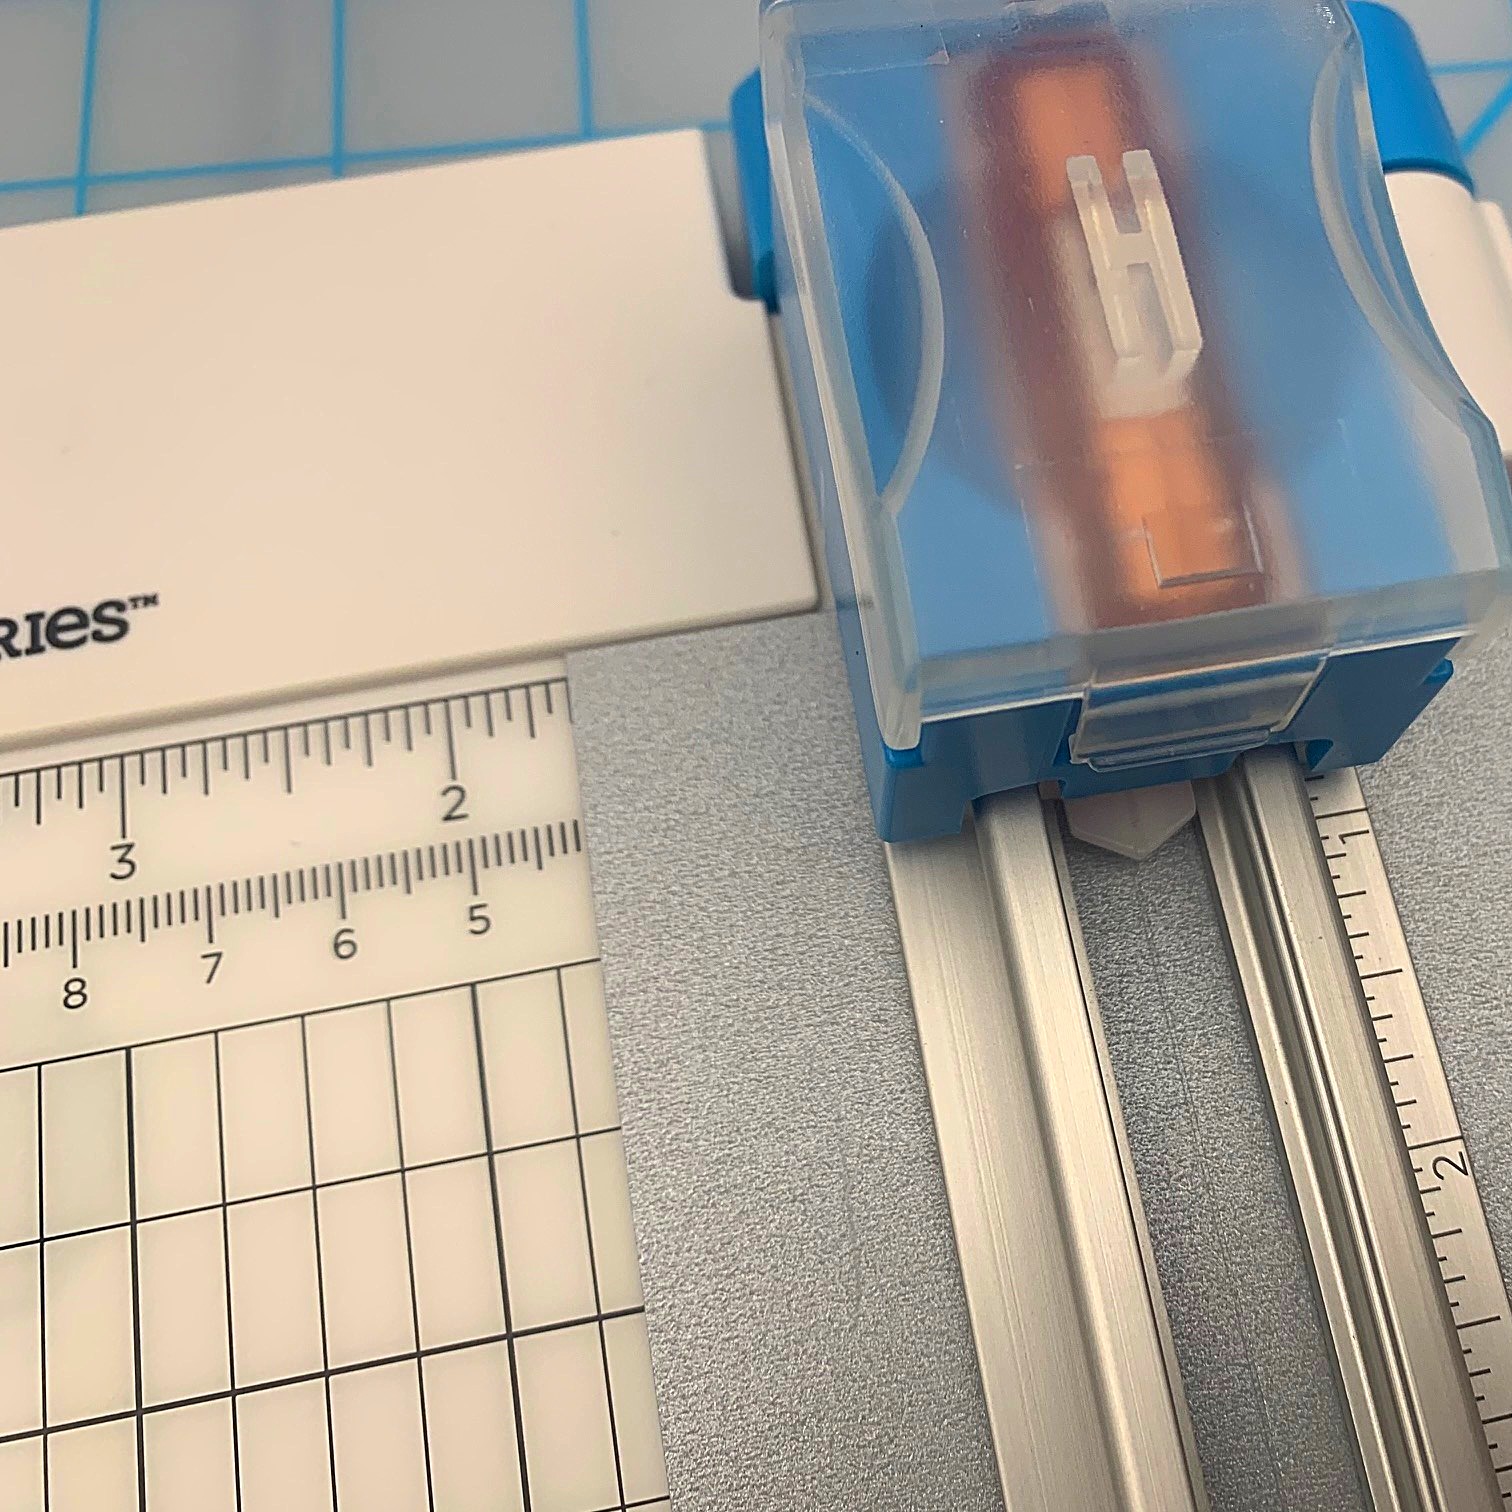
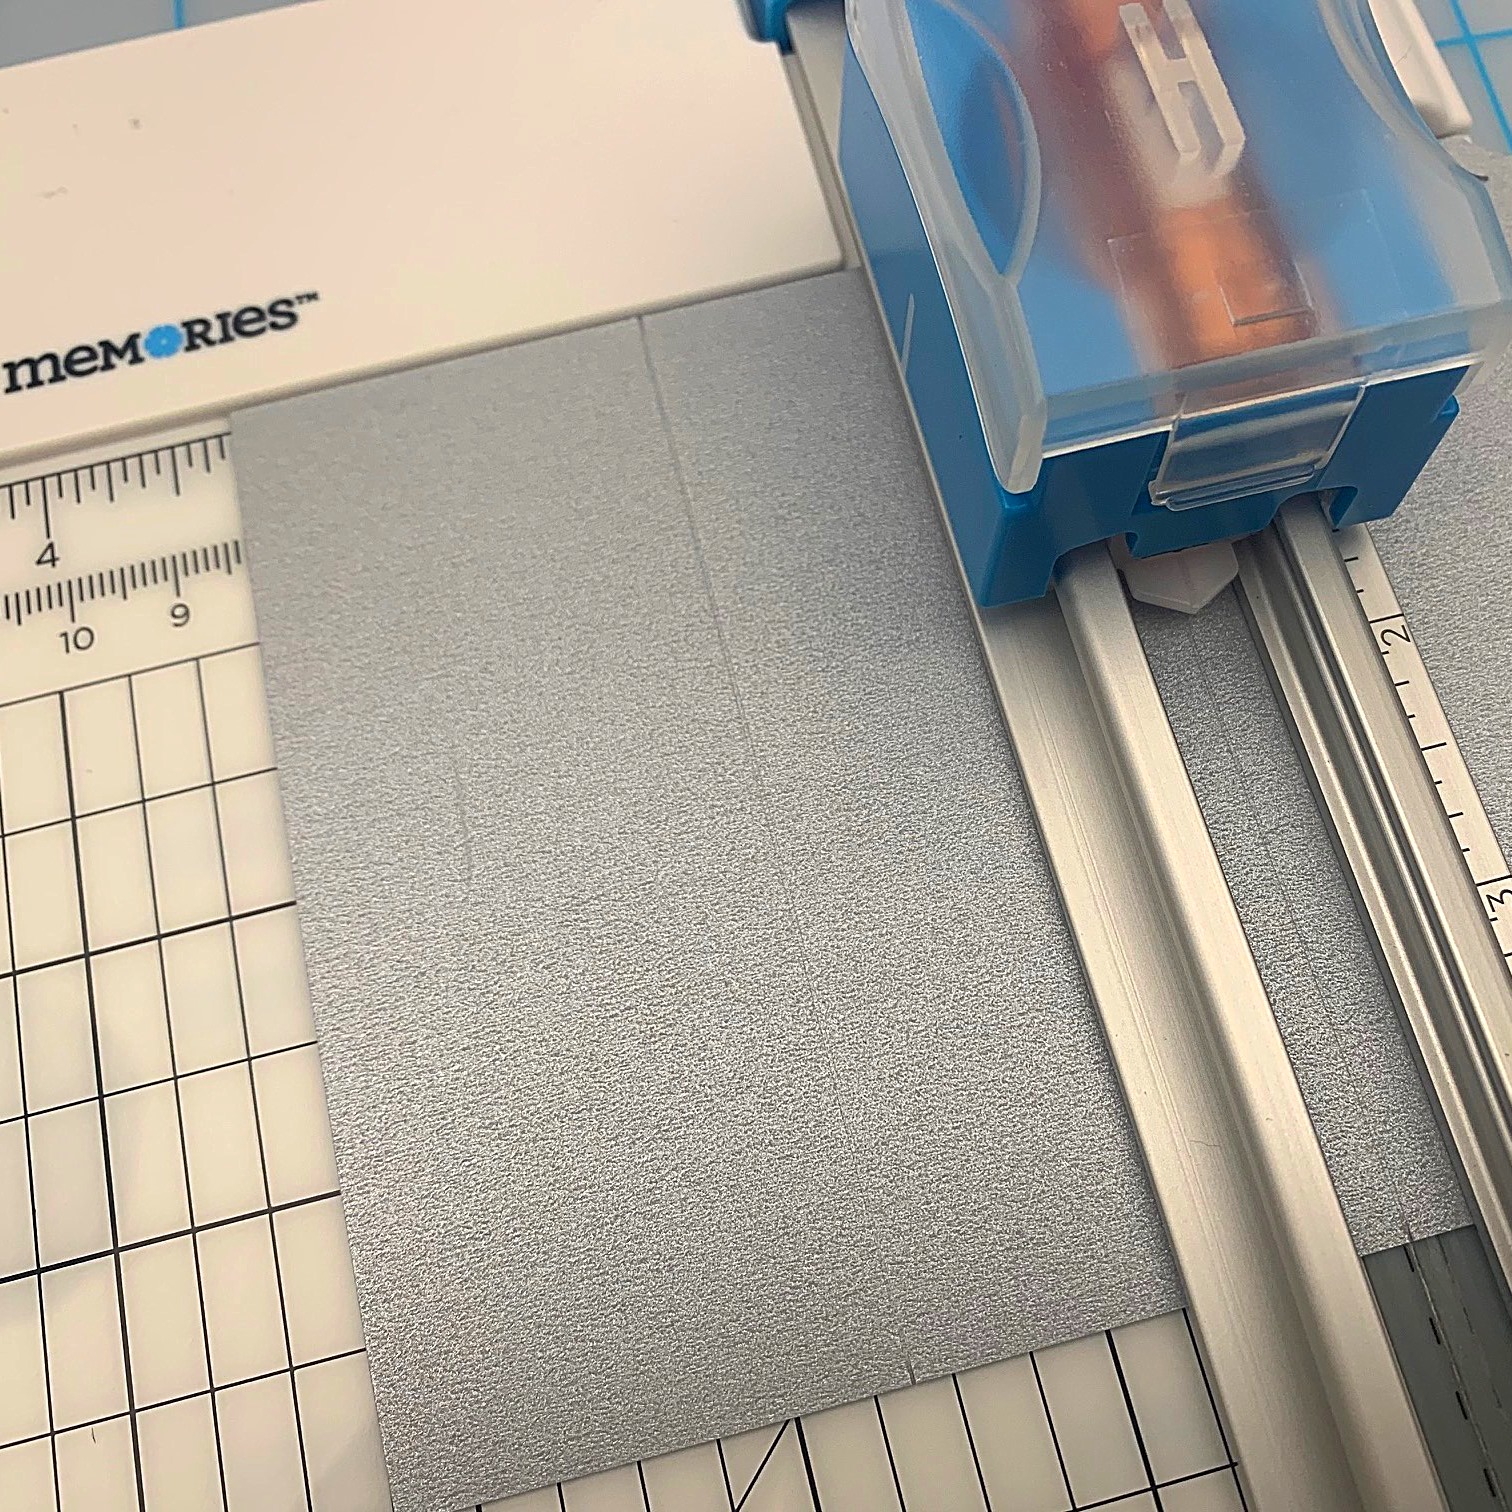
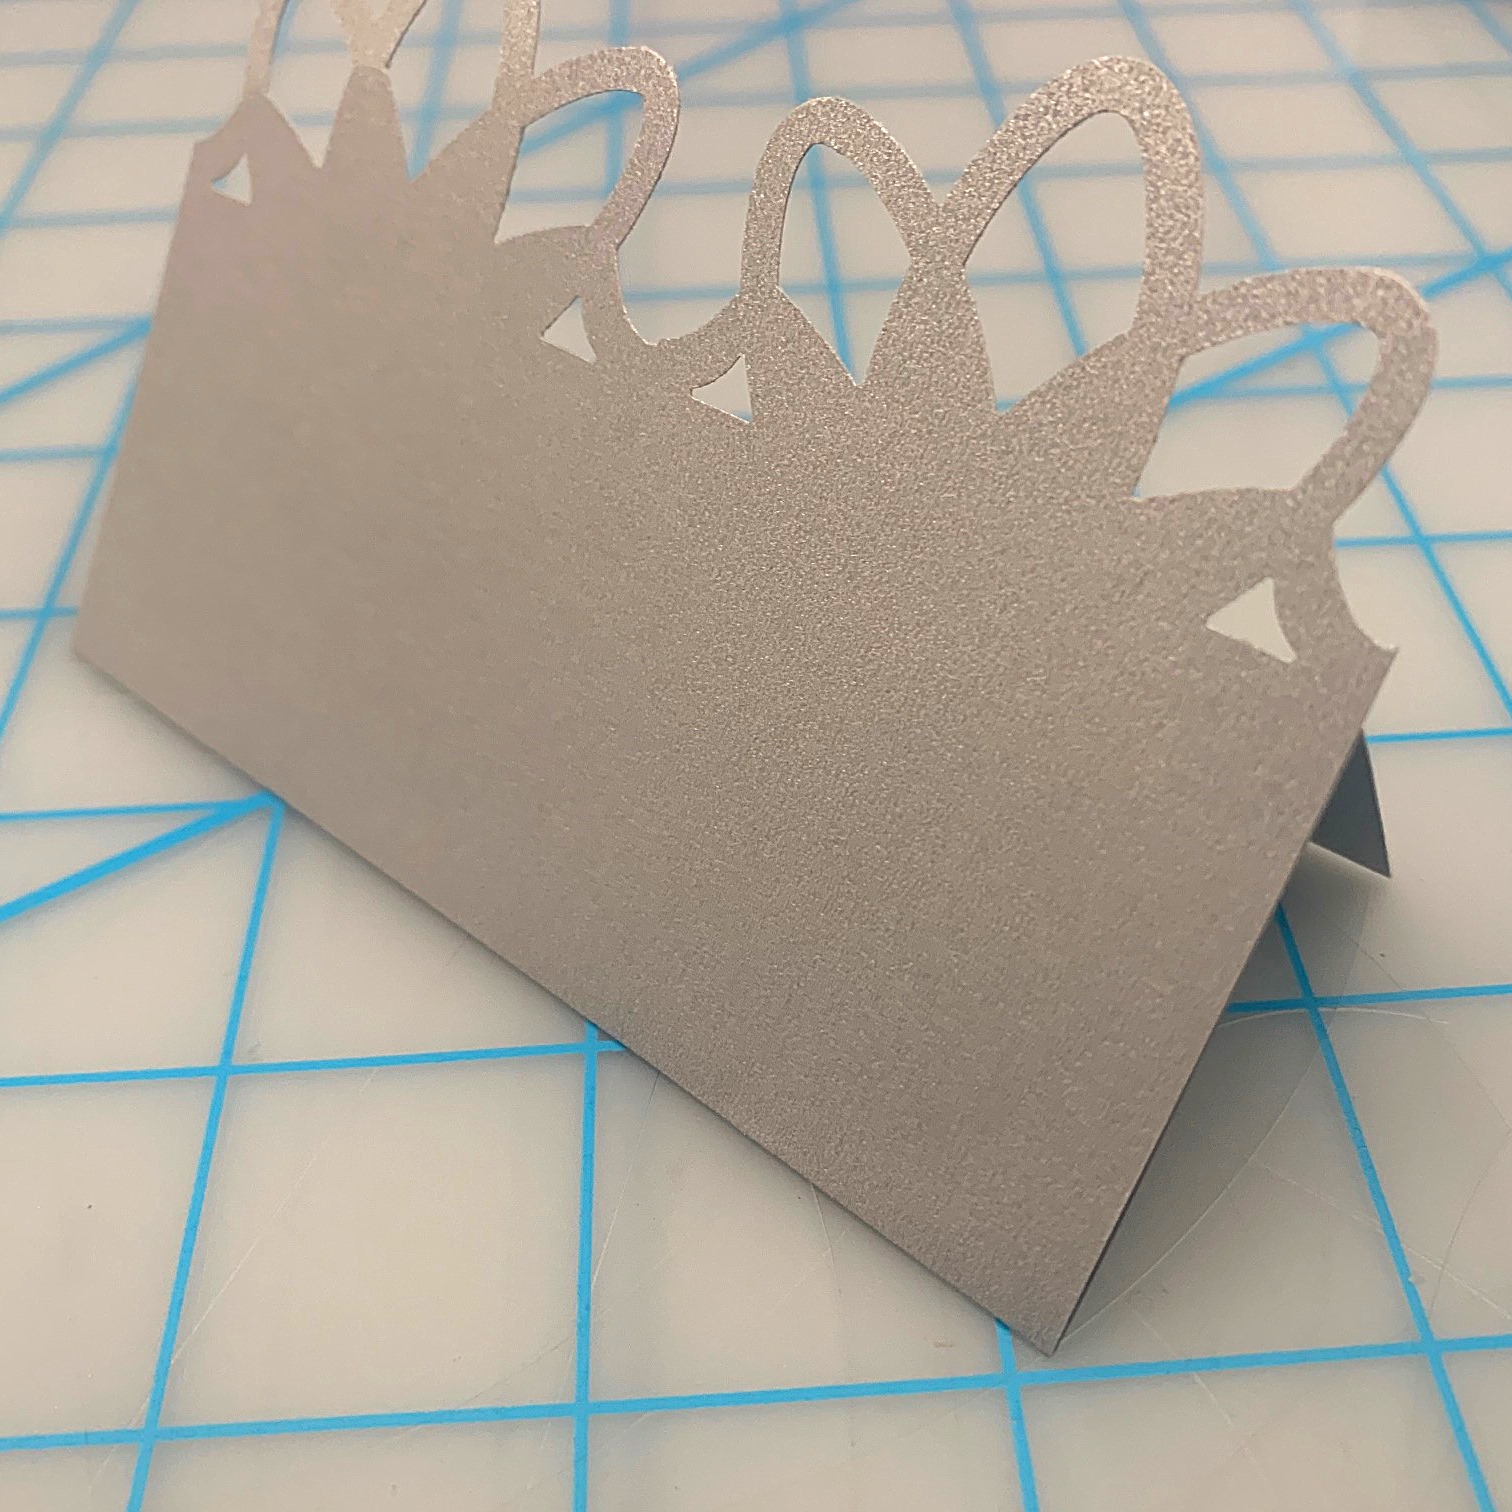
Step 3: Place the 6″ edge of the rectangle along the top edge of the 12-inch Trimmer. With the Scoring Blade in the housing, score the place card at 1-5/8″ and again at 3-1/4″. Accordion fold the card so the petal border is facing the top. Adhere the back of the top fold to the front of the middle fold. You will have a tent card with the petal border at the top. Repeat for each place card required.

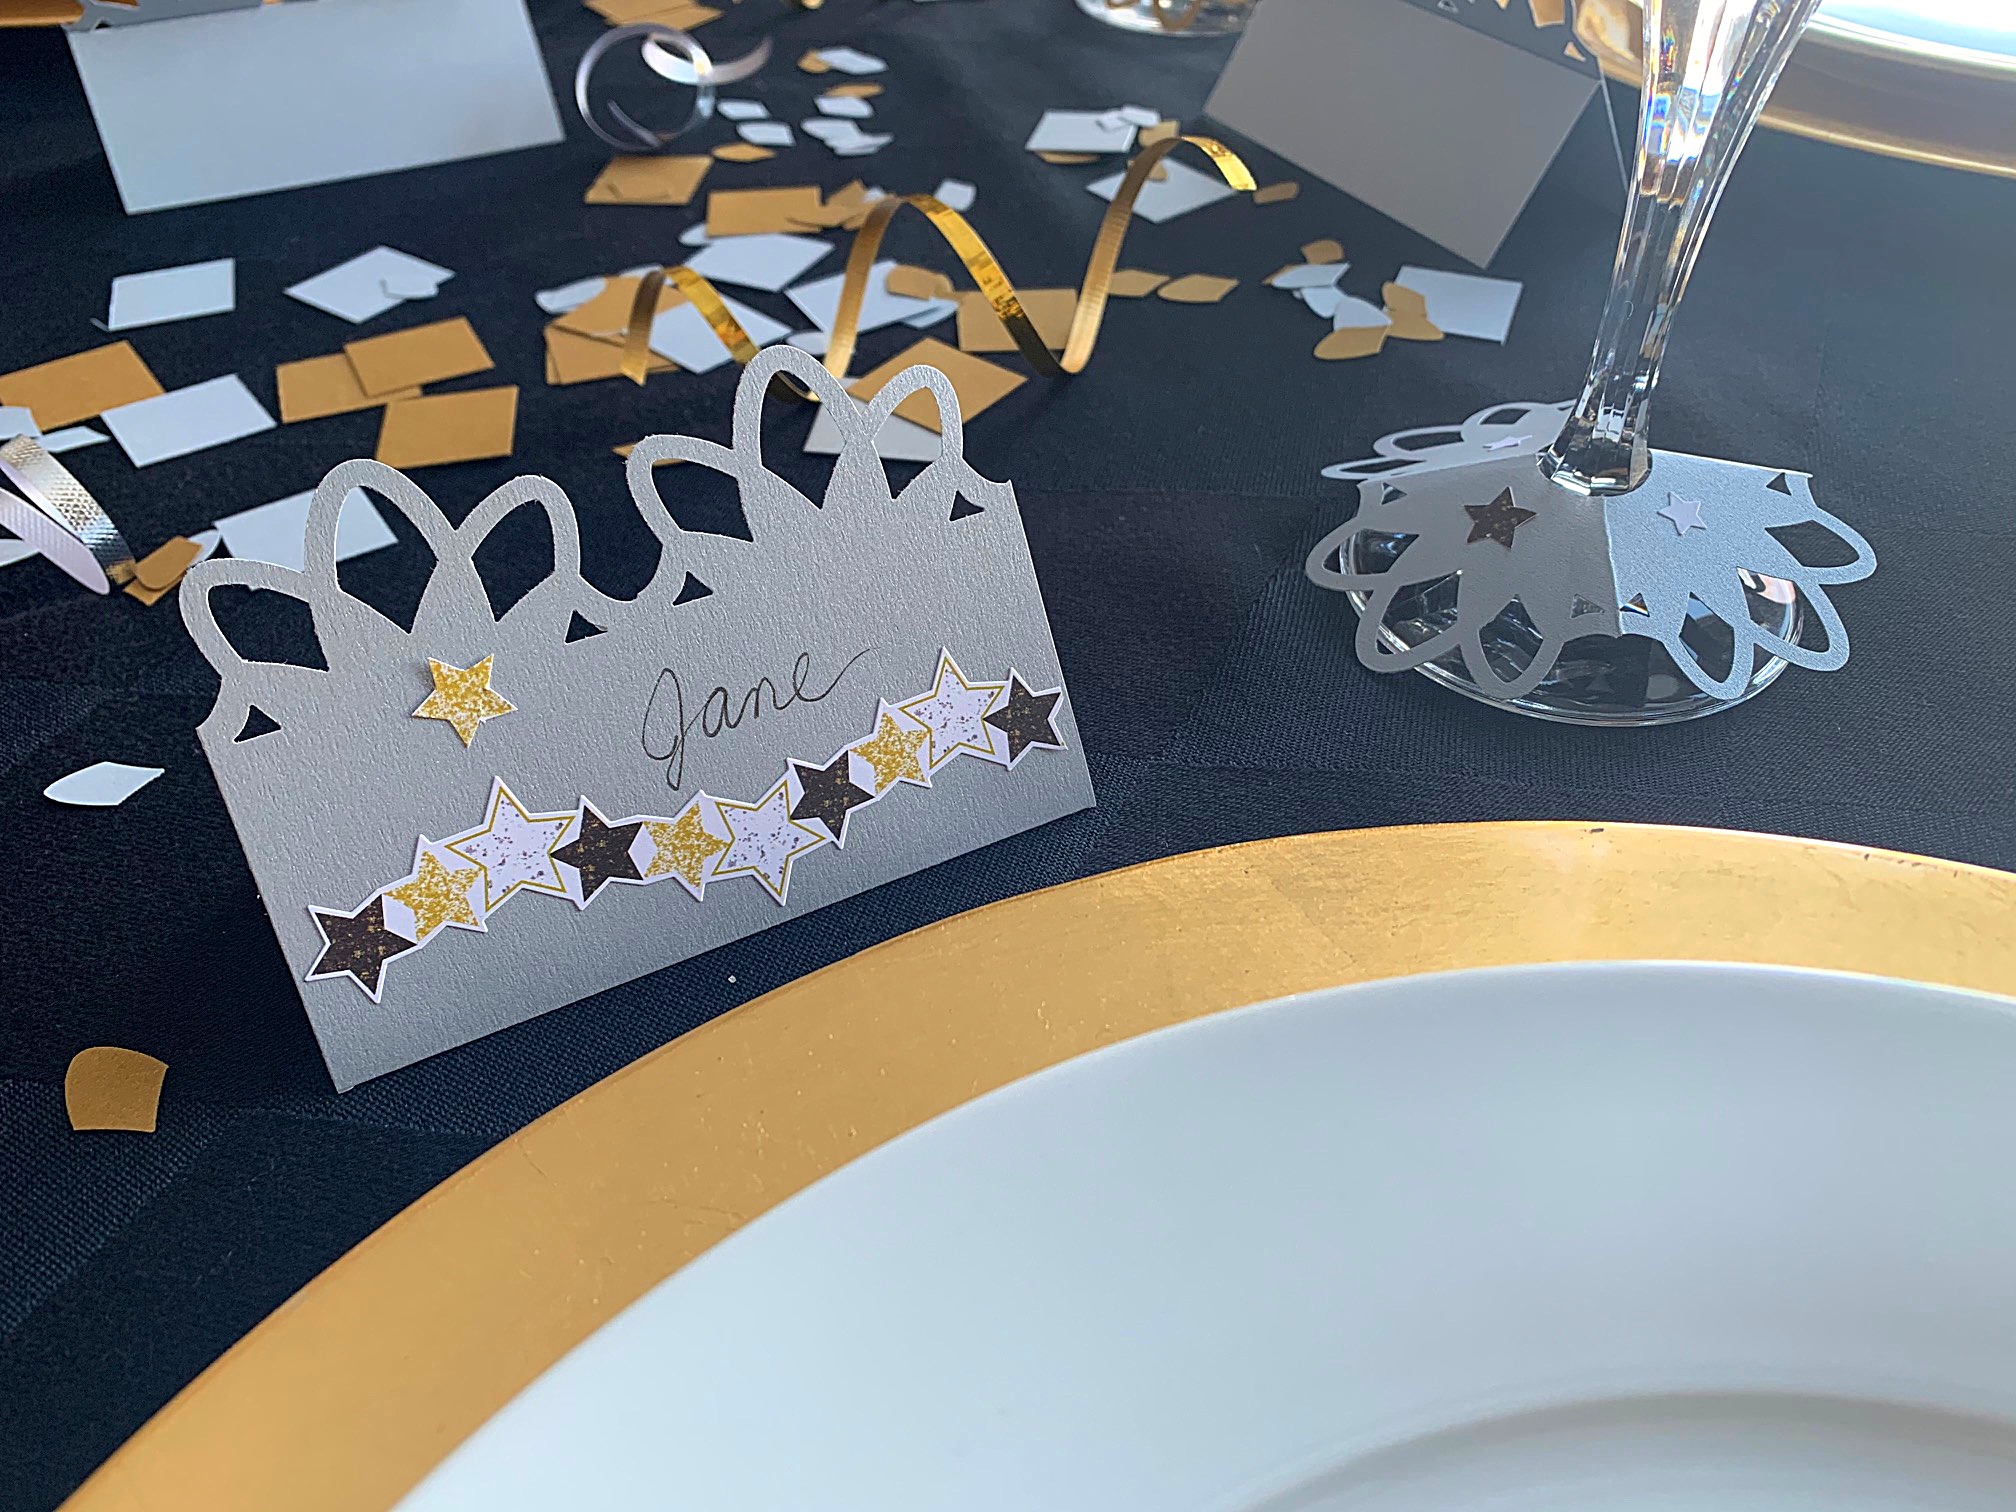
Step 4: Choose a border sticker from the Cheers or Graduation Theme Packs. Use All-Purpose Scissors to cut it into three equal lengths of approximately 4″ each. Add the border sticker piece and any other stickers you like to each place card.
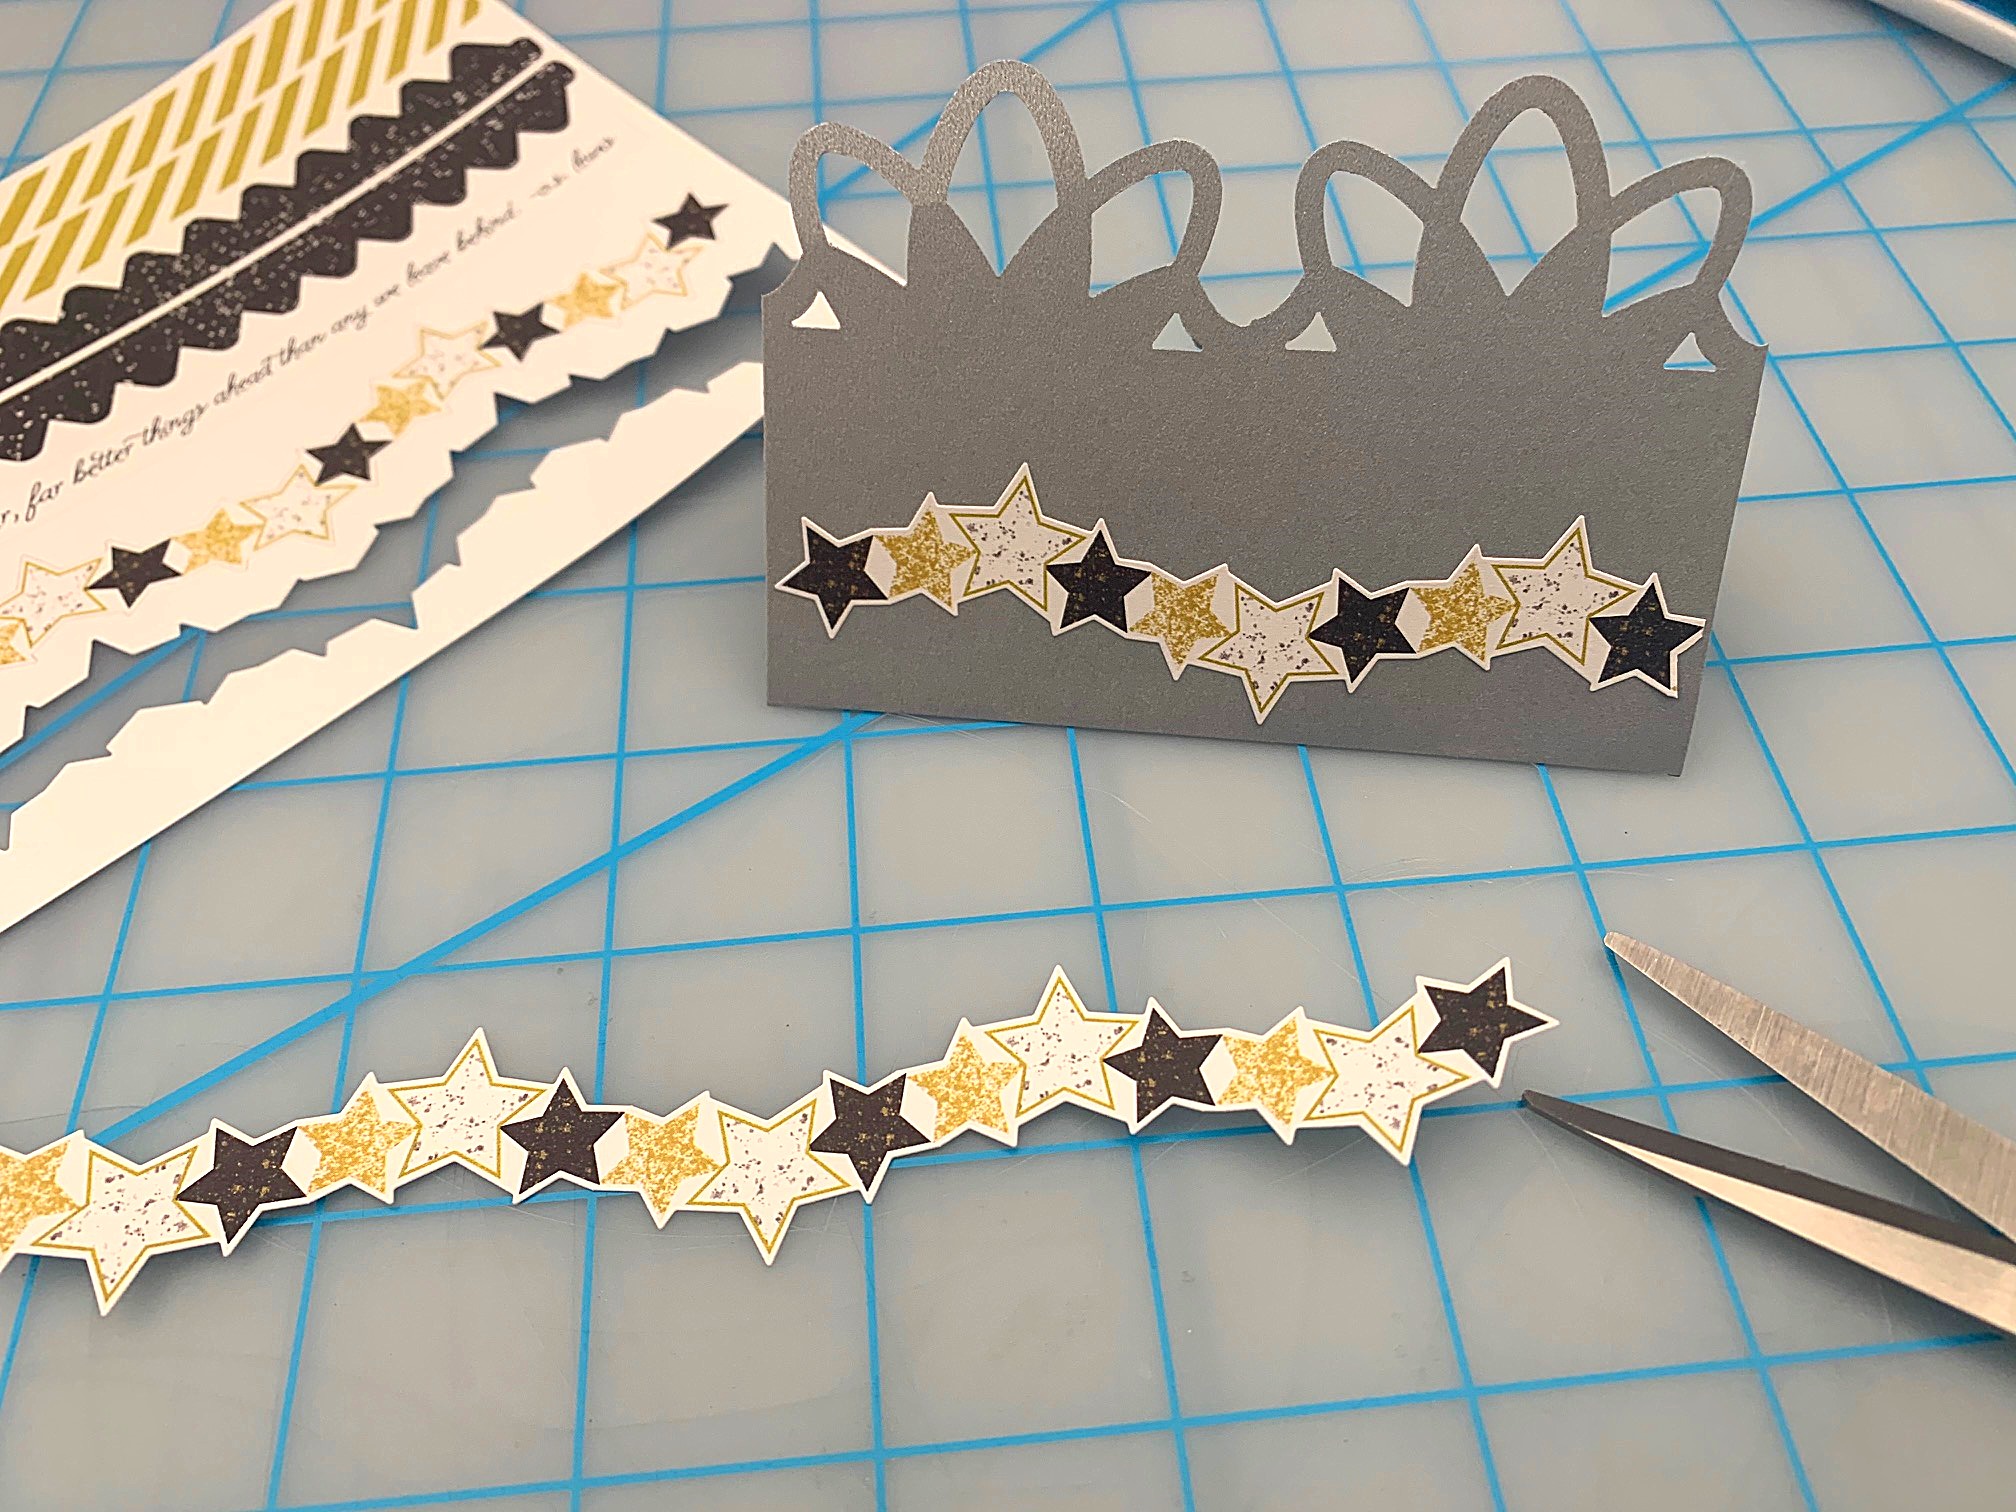
Step 5: Write the name of each guest on a place card with a Dual-Tip Pen and set the table for a wonderful New Year’s celebration!
What are your New Year’s plans? Will you be making these DIY party decor pieces? Whatever your plans for Dec. 31 may hold, here’s wishing you all the best in 2020!

This looks fantastic!!!
Awesome! The end results are beautiful!