January 15, 2020
Let Your Imagination Loose with this Rainbow Scrapbook Layout

As adults, we have been “trained” to reel our imagination in and live within the constructs of reality. However, when you take a step outside of routine or hang out with a child, you can see some amazing results! Blog contributor Sherry Lewis recently spent some time with her great-niece, Adeline, who gave her the inspiration to create this rainbow scrapbook layout. Check it out and get creative!
Sherry’s Inspiration:
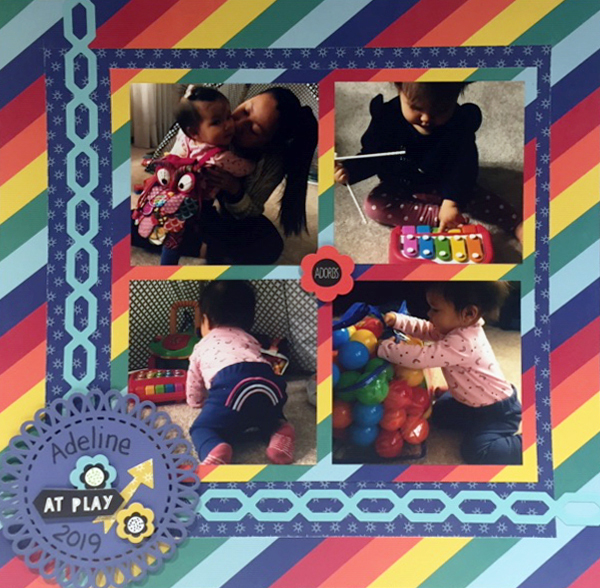
Our adorable, adorable great-niece, Adeline, inspired me to create this Playtime page featuring her cute rainbow outfit playing with her birthday toys.
To create this layout, you will need:
- Playtime Theme Pack or (Shop Canada | Shop Australia)
- Keepsakes Laser Cut Embellishment Accents or (Shop Canada | Shop Australia)
- Original Border Maker System with Cable Chain Border Maker Cartridge or (Shop Canada | Shop Australia)
- 12-inch Trimmer or (Shop Canada | Shop Australia)
- Tape Runner or (Shop Canada | Shop Australia)
- Repositionable Tape Runner or (Shop Canada | Shop Australia)
- Foam Squares or (Shop Canada | Shop Australia)
- Black Dual-Tip Pen or (Shop Canada | Shop Australia)
Step 1: Choose the navy star patterned paper as the base for this layout.
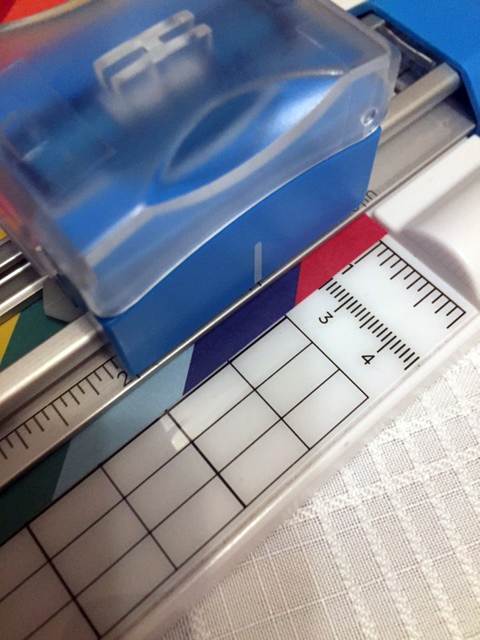

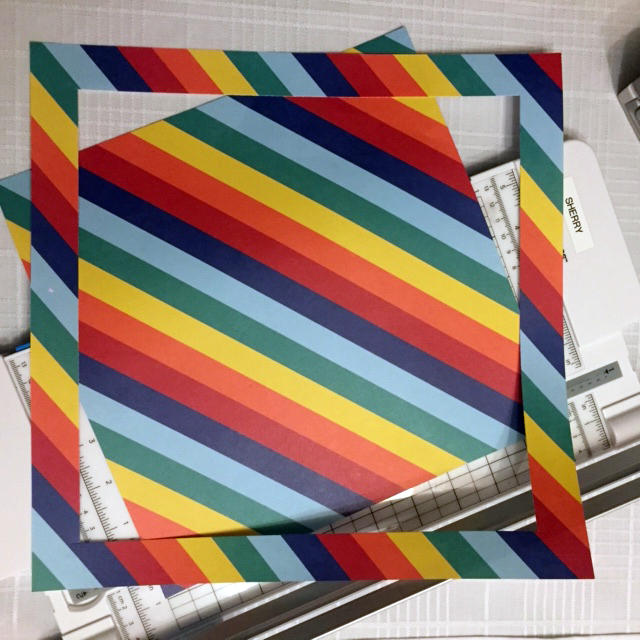
Step 2: Use the rainbow patterned paper with the 12-inch Trimmer and guides. Place the paper at 1″ using the guide, press the blade down 1″ from the top and continue until you reach 11″. Turn the paper and start a cut at 1″ down from the top and continue until you reach 11″. Repeat to make a frame. Adhere to the background paper.
Step 3: Cut the inside piece of the frame to make an 8-1/2″ x 8-1/2″ square. Place it in the top right corner inside the page frame, showing some star paper.

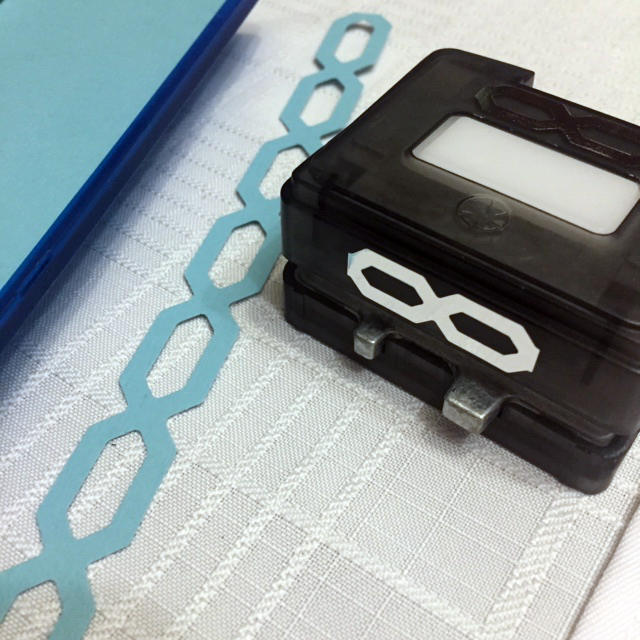

Step 4: Using a piece of Aqua Cardstock, punch two borders using the Border Maker System and the Cable Chain Border Maker Cartridge. Adhere to the page using repositionable adhesive.
Step 5: Using Foam Squares, adhere a Keepsake Laser Cut Embellishment to the bottom corner. Apply stickers to go with your theme.
What types of projects will you create with this fun rainbow scrapbook layout? Let us know in the comments below!

So cute!