June 3, 2020
Punch Up Your Layouts With These Scrapbook Border Ideas

It’s incredible to see how many different creative possibilities scrapbooking provides. No matter what you’re feeling or special moments you just experienced, you can probably find a way to express it on a scrapbook page. Blog contributor Krislyn was able to bring some fun (and original!) scrapbook border ideas to life, and by using different papers and products, each one has its own unique look and personality! Check them out!
Krislyn’s Inspiration:
Playing with punches is one my favorite things to do! I especially love finding new and unexpected ways to use them.
Here, I’ve created a couple of borders using the Embossed Locomotive Punch, Train Tracks Border Punch and On the Road Border Maker Cartridge. First, I used them with the Planes, Automobiles and Trains collection, but then I recreated the same borders using the Little Dreamer collection — same borders, but totally different looks and themes!
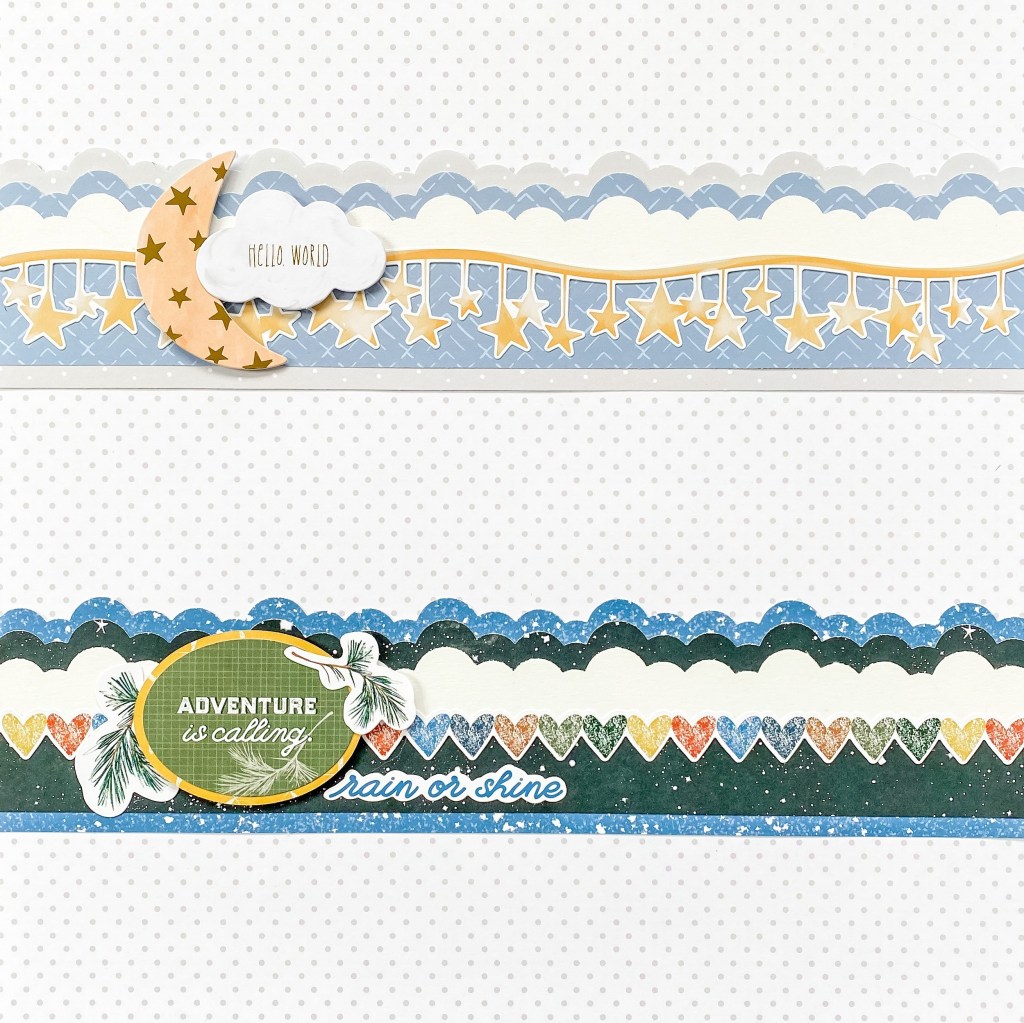
Next, I paired the Clouds Border Maker Cartridge with the Little Dreamer collection for a sweet baby border. When I recreated the same border using the S’more Memories collection, it became a night sky adventure!
Finally, I “re-tooled” the campfire border I created using the S’more Memories collection. I swapped out the campfire for the Airplane Punch, traded the ovals for airplane “windows” and made it a travel border!
To create these borders you’ll need:
- Planes, Automobiles and Trains Paper Pack & Stickers or (Shop Canada | Shop Australia)
- Little Dreamer Paper Pack, Tone-on-Tone Paper Pack, Foiled Embellishments & Designer Stickers or (Shop Canada | Shop Australia)
- S’more Memories Paper Pack & Stickers or (Shop Canada | Shop Australia)
- Navy, Black, Blue, Scarlet (and any color) Cardstock or (Shop Canada | Shop Australia)
- Train Tracks Border Punch or (Shop Canada | Shop Australia)
- Embossed Locomotive, Campfire & Airplane Punches or (Shop Canada | Shop Australia)
- 2-Way Corner Rounder or (Shop Canada | Shop Australia)
- Original Border Maker System with On the Road & Clouds Border Maker Cartridge or (Shop Canada | Shop Australia)
- Custom Cutting System with Oval & Circle Patterns or (Shop Canada | Shop Australia)
- 12-inch Trimmer with Straight, Stamping & Scallop Blades or (Shop Canada | Shop Australia)
- All-Purpose Scissors or (Shop Canada | Shop Australia)
- Repositionable Tape Runner or (Shop Canada | Shop Australia)
- Foam Squares or (Shop Canada | Shop Australia)
On the Road Border
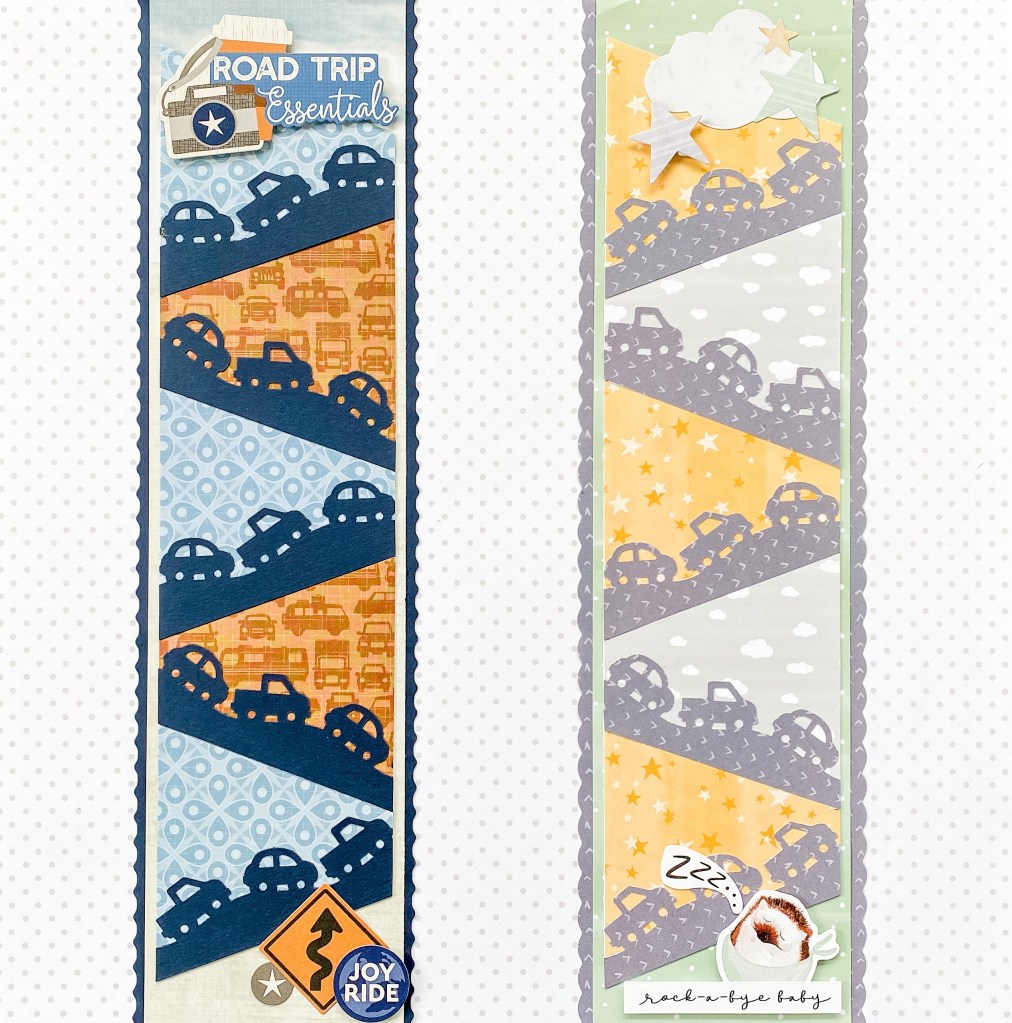
Step 1: Cut a 3-1/4″ x 12″ strip of cardstock (using a decorative blade if desired) to make the base. Cut a 3″ x 12″ strip of designer paper and mount it on the base.
Step 2: Cut a piece of scrap cardstock to measure 2-3/4″ x 12″. Cut two 2-3/4″ x 12″ strips of designer papers. Mark along one long edge at 3″ from the left side. On the opposite long edge, mark at 1″ and at 2″. Cut at an angle from the bottom left corner to the 1″ mark and at the bottom 3″ mark to the 2″ mark to create a triangle-like shape. Use this shape as a pattern to cut two more shapes from that piece of paper and two from the other strip to make five shapes total. Adhere these to the scrap strip as shown. Trim off the top and bottom edges flush with the angled shapes.

Step 3: Using the On the Road Border Maker Cartridge, punch two borders with the same paper used for the base. Apply Repositionable Adhesive to the entire back side of each strip. Adhere a section of three cars to one angle. Trim off excess from each side. Continue in this way along the next four angles as shown. Adhere this strip to the border.
Step 4: Add stickers and embellishments as desired.
Locomotive Border
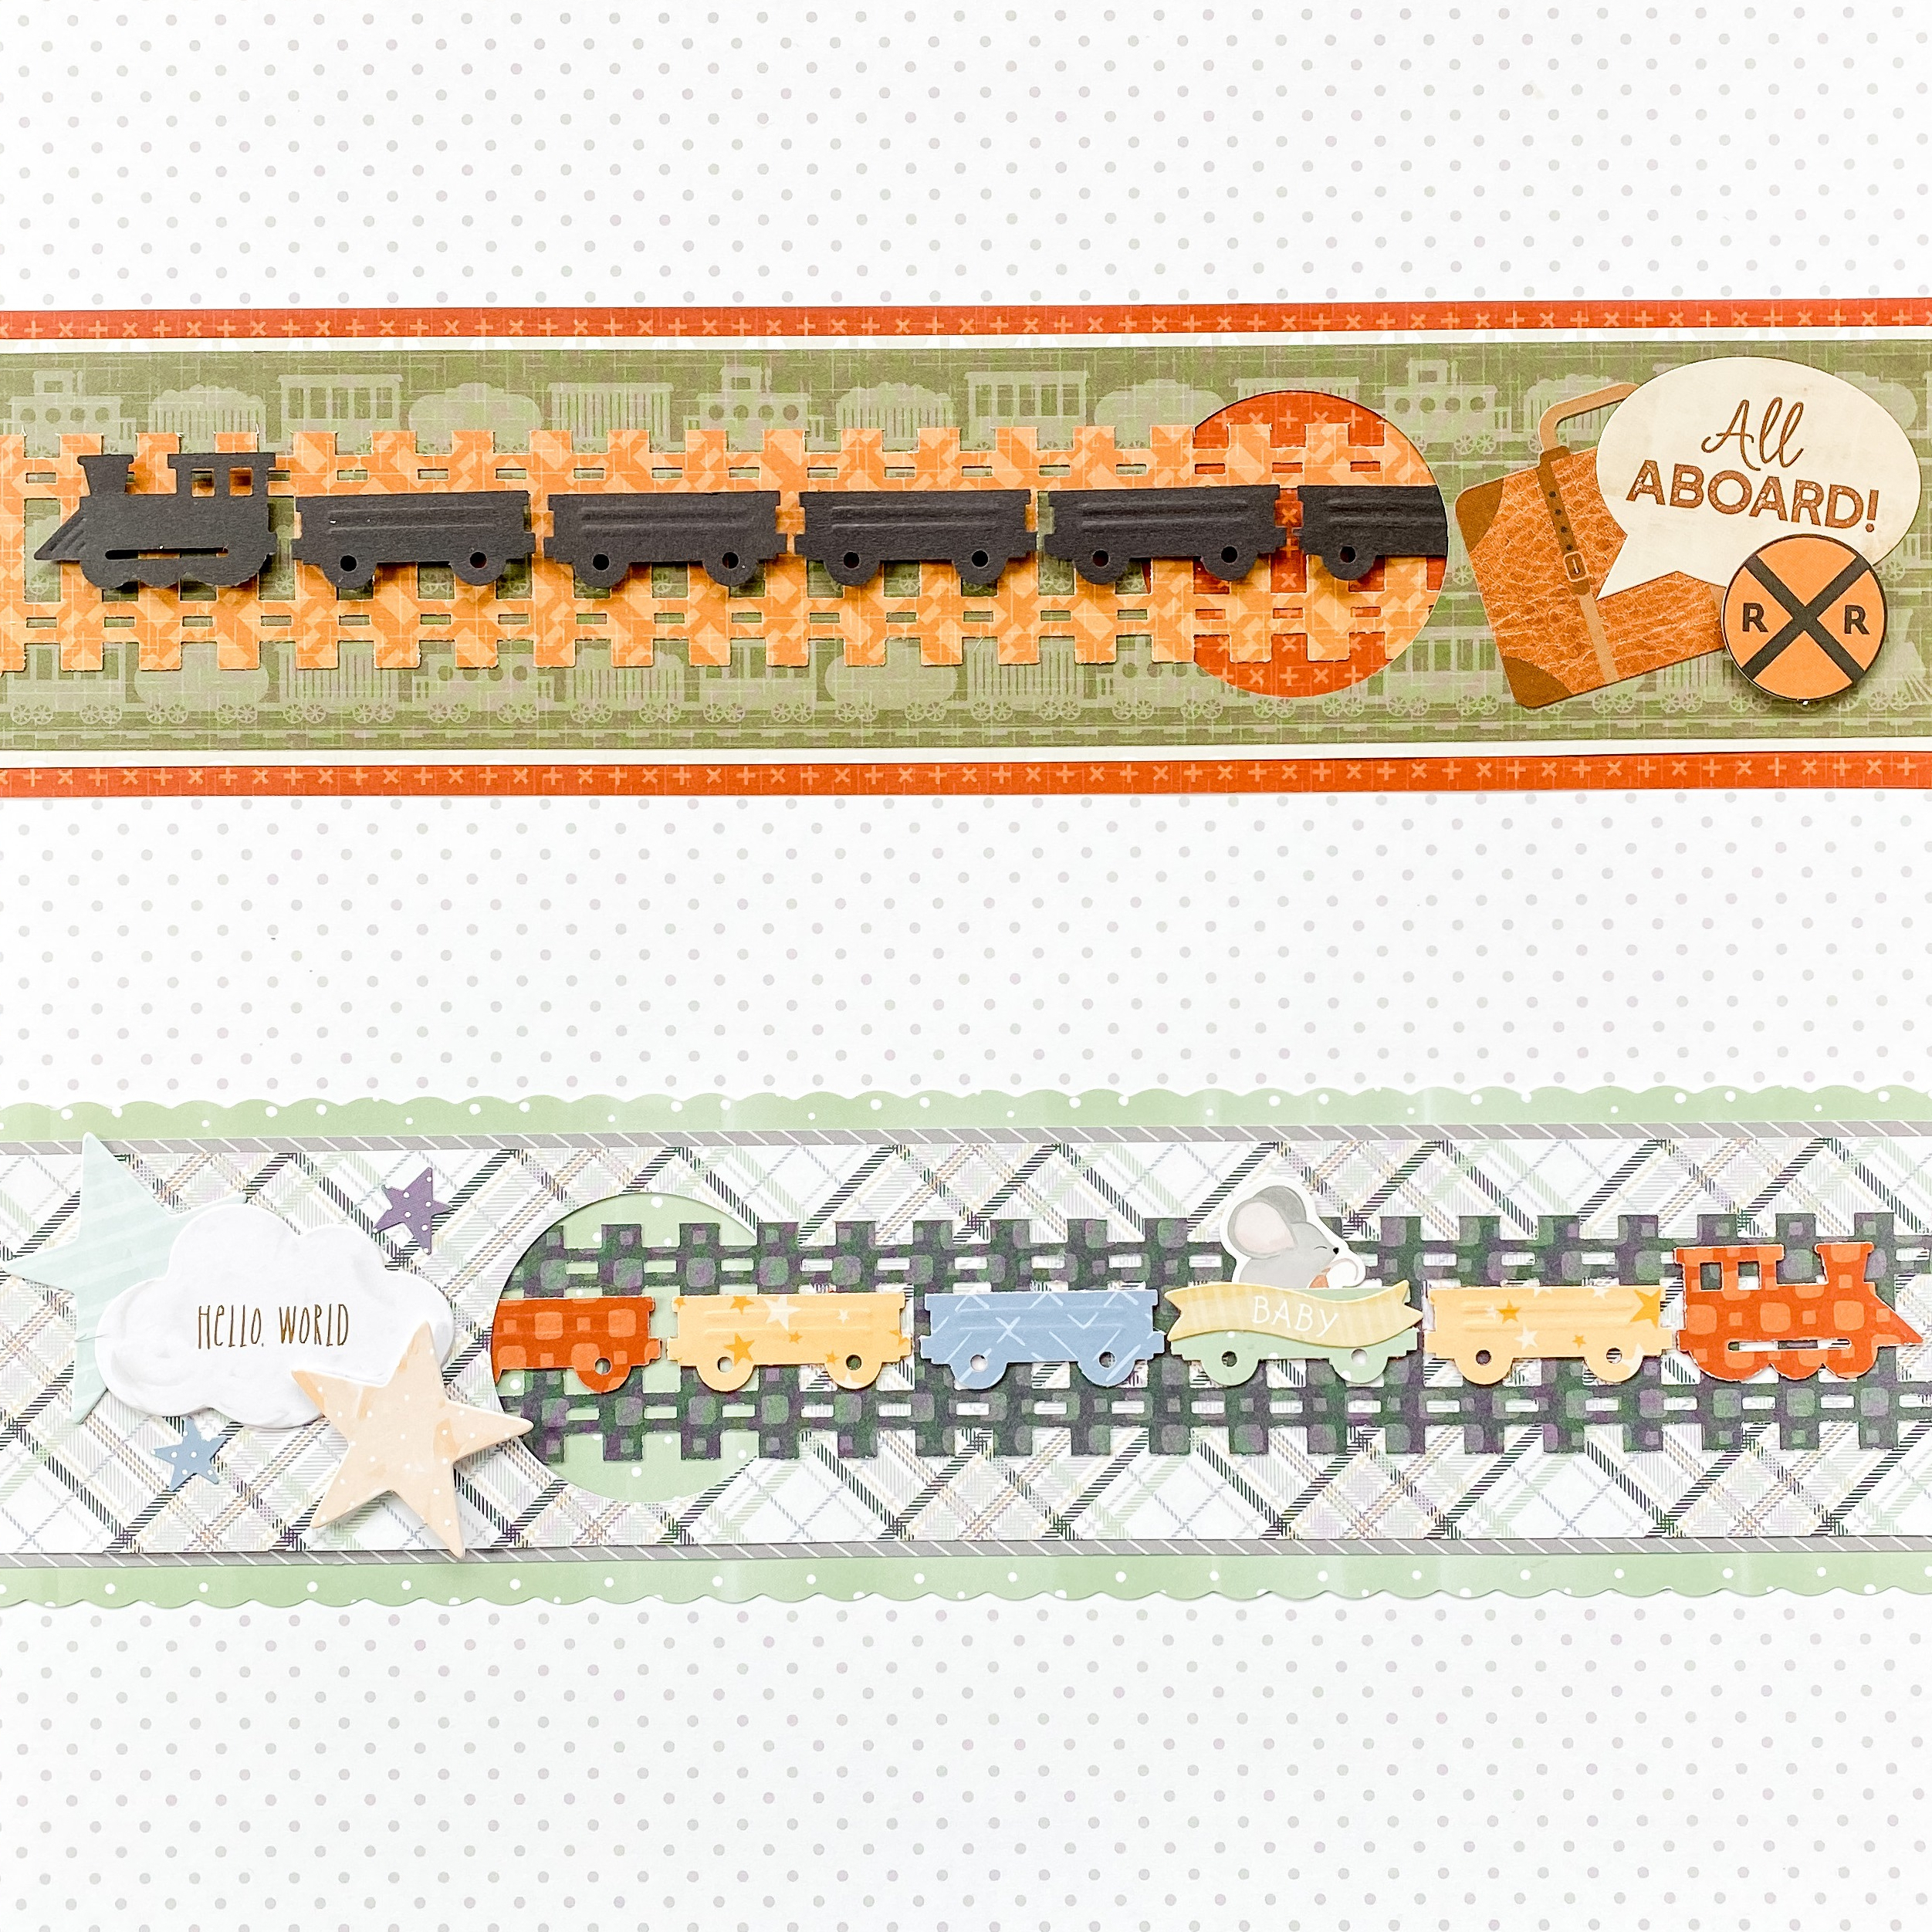
Step 1: Cut a 12″ x 3″ strip of paper for the base (using a decorative blade if desired).
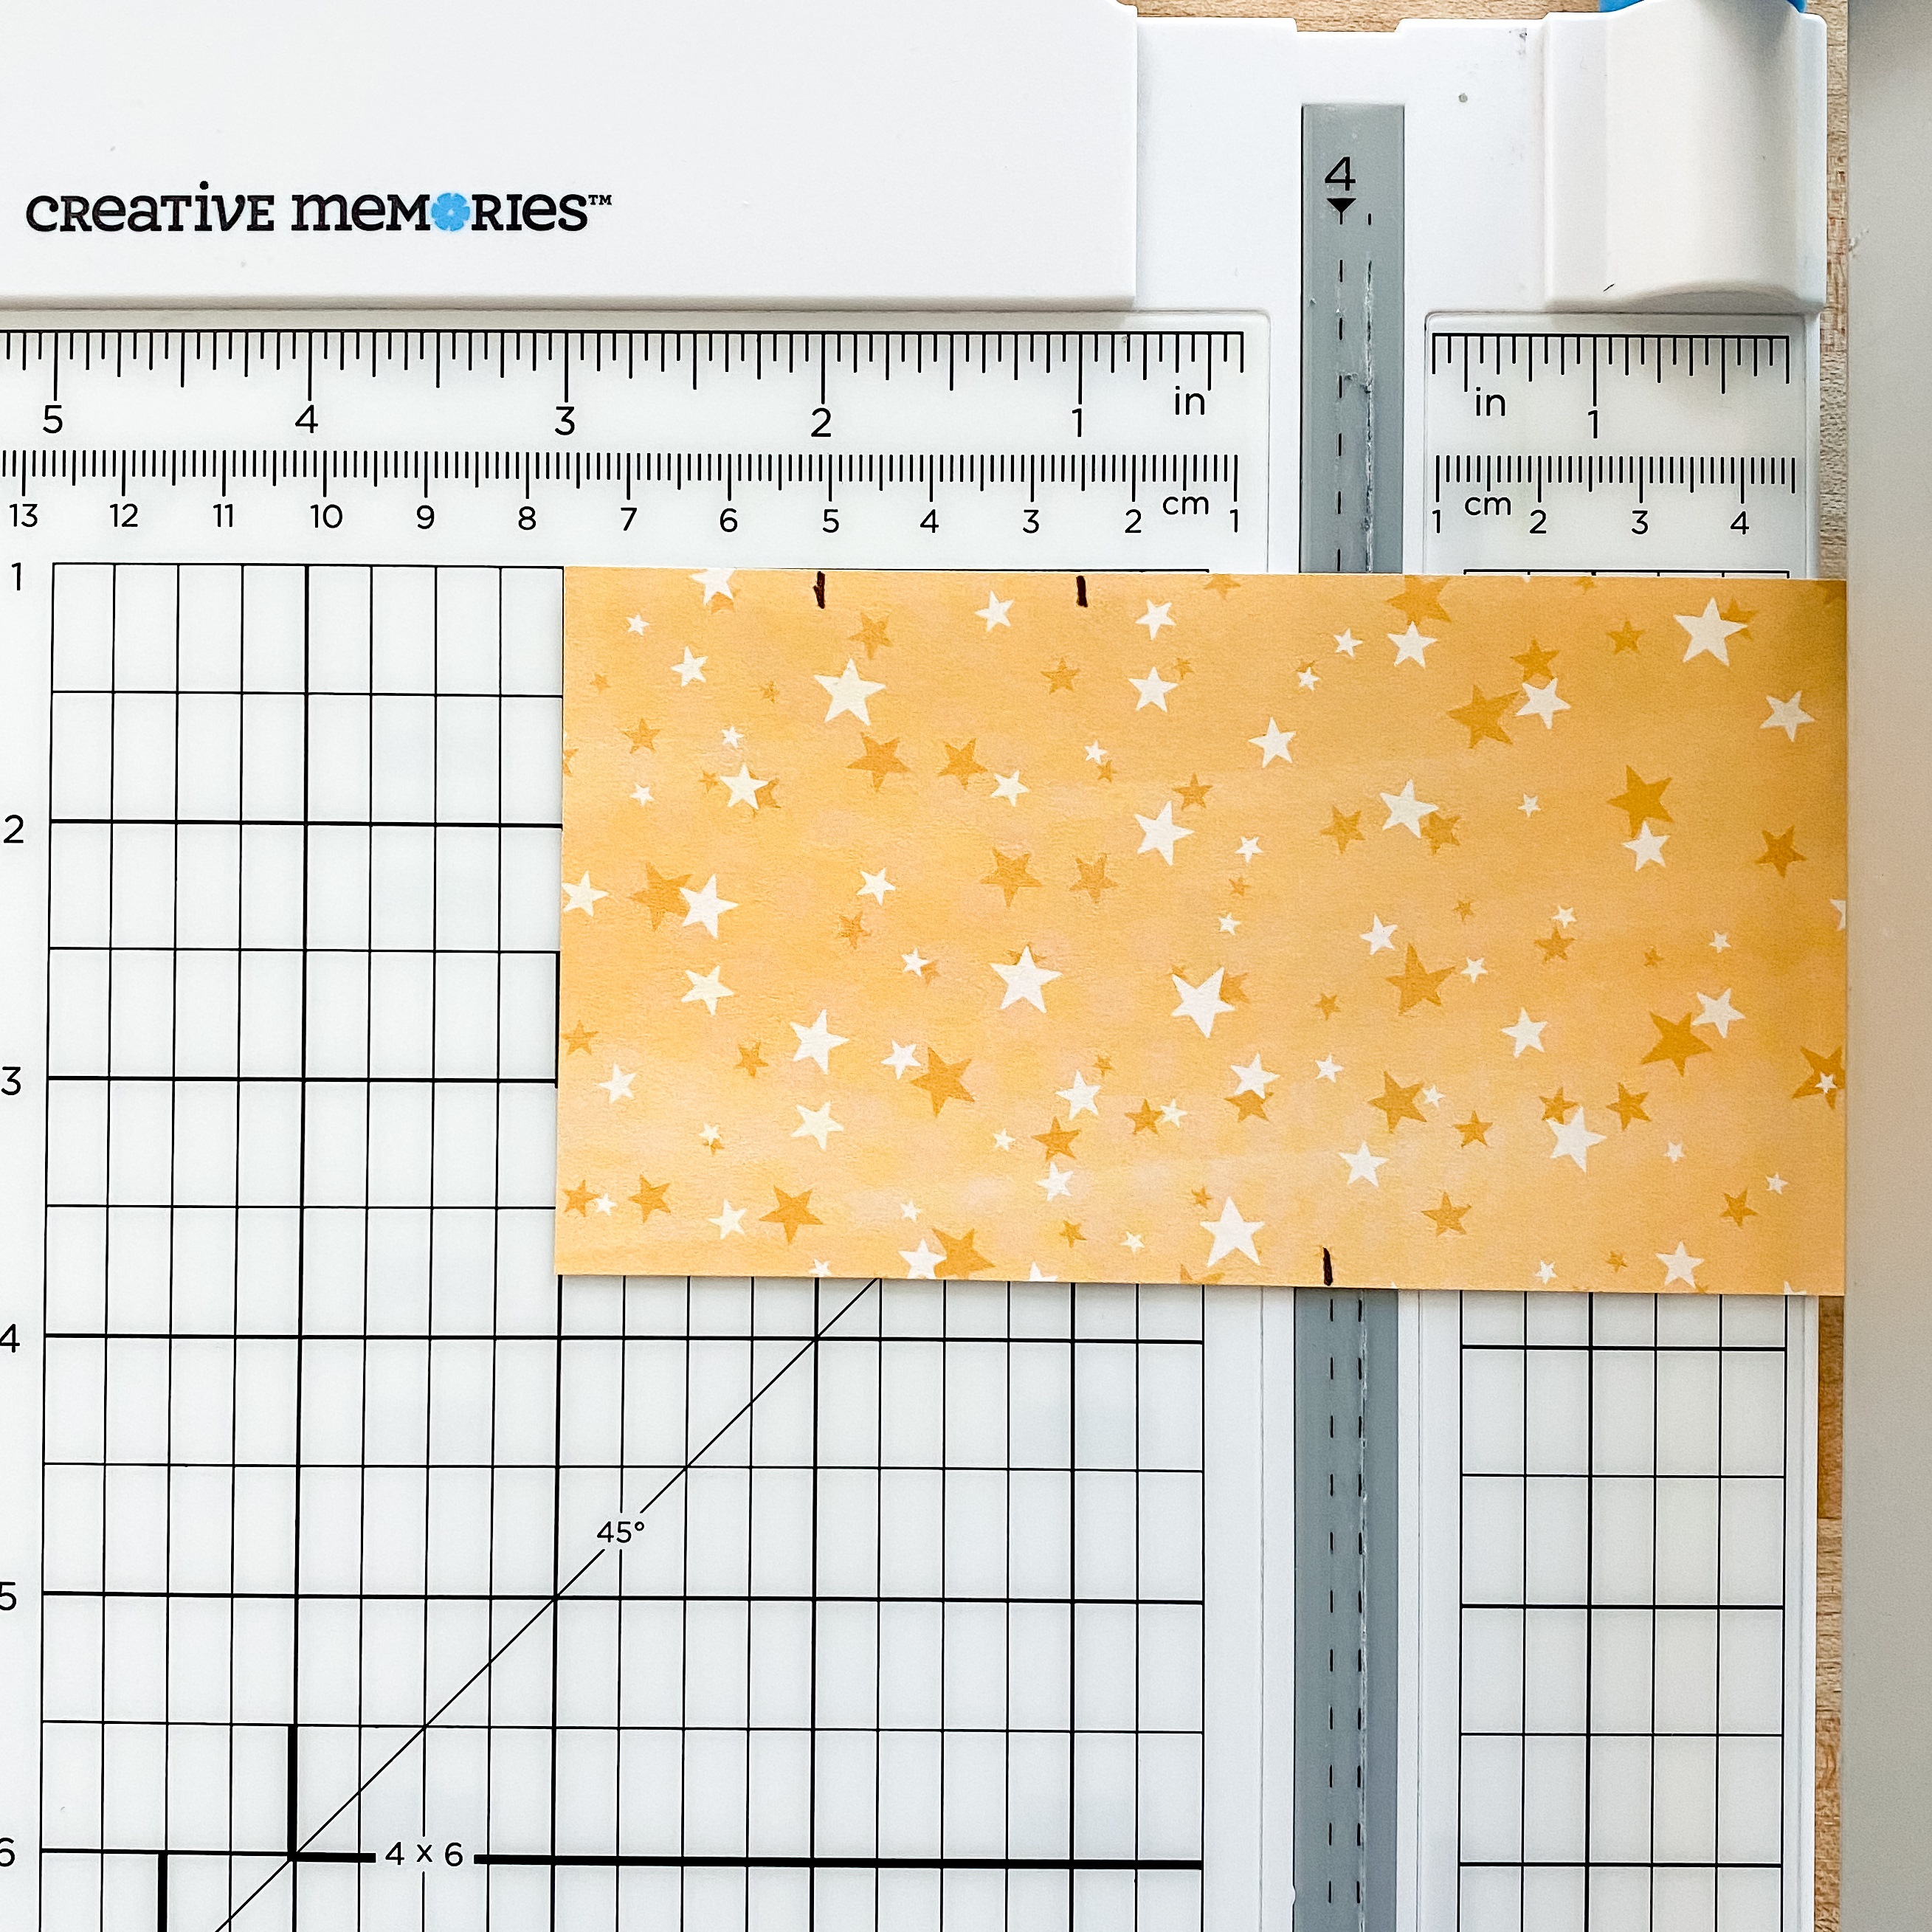
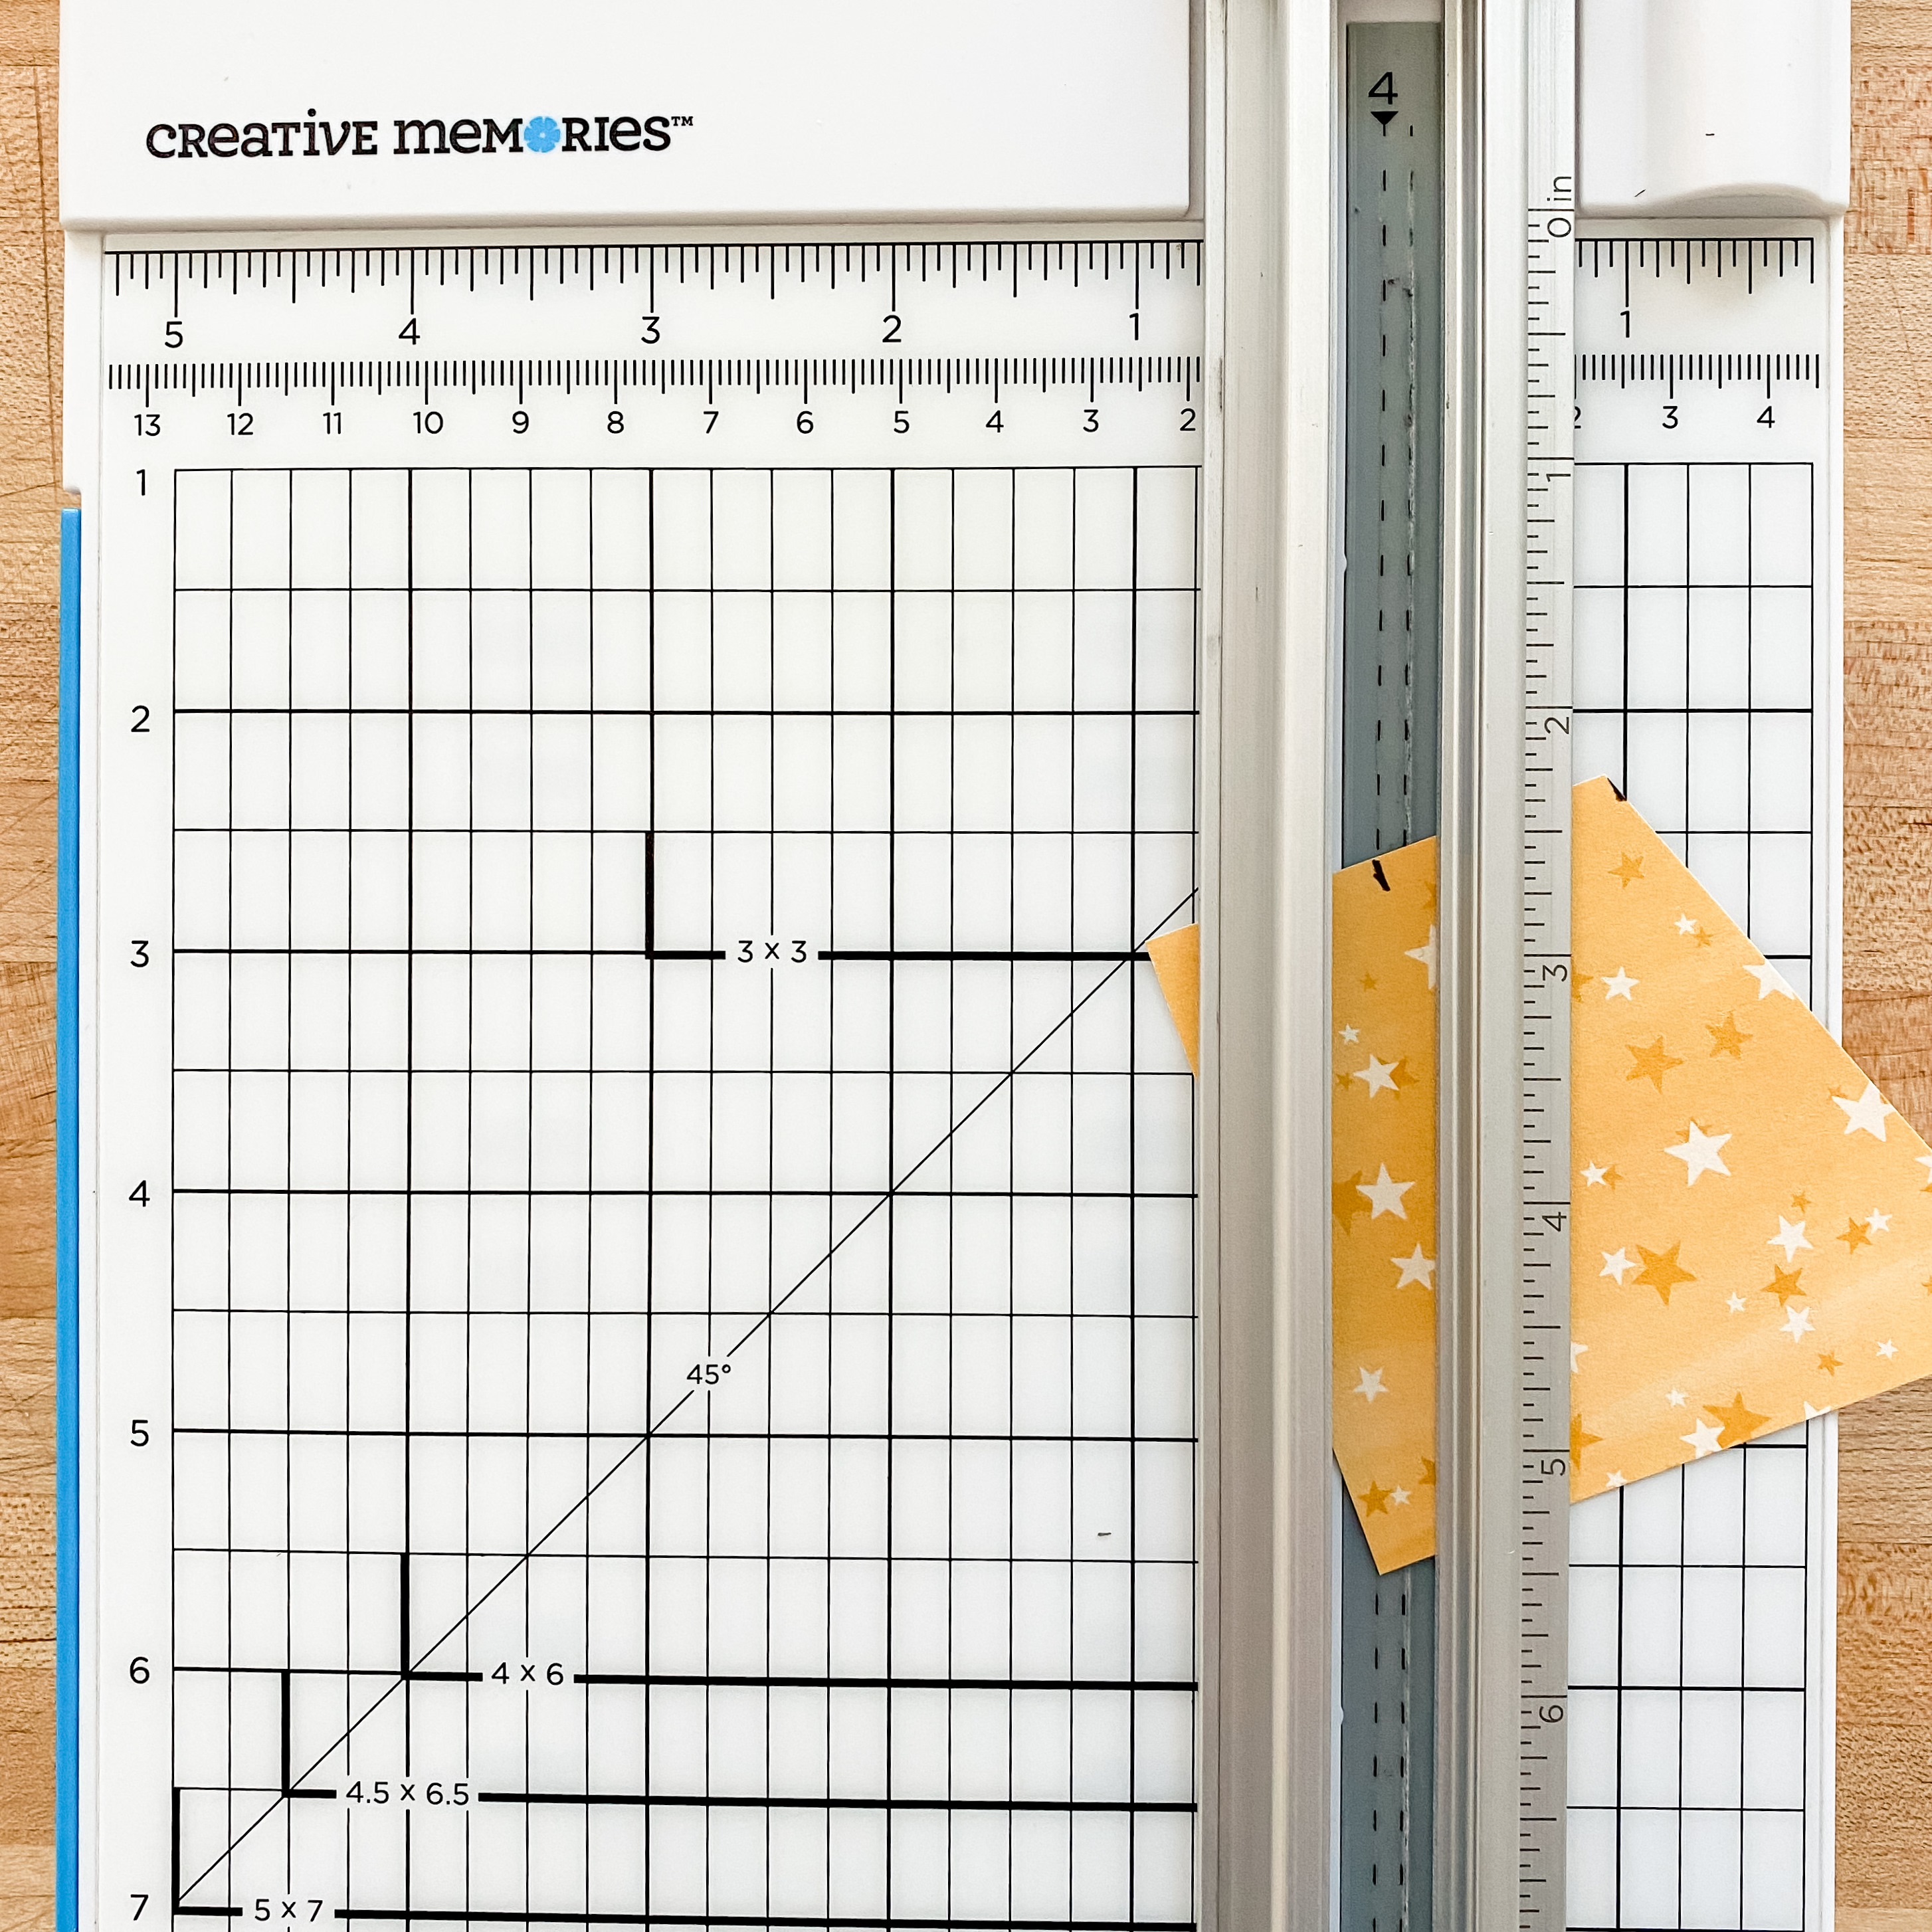
Step 2: Cut a 12″ x 2-3/8″ strip of paper and adhere it on a 12″ x 2-5/8″ strip of paper. Using the inside of the medium-sized Custom Cutting System Circle Pattern and the Blue Blade, cut a circle from the middle of the two layers about one-third in from either the left or right side of the strip. Lightly adhere the strip to the base.
Step 3: Punch a border using the Train Tracks Border Punch, apply Repositionable Tape Runner and adhere to the border, tucking one end into the “tunnel” as shown.
Step 4: Punch using the Embossed Locomotive Punch, making one engine and five cars. Adhere along the train tracks with the fifth car emerging from the “tunnel.”
Step 5: Add stickers and embellishments as desired.
Clouds Border
Step 1: Using the Clouds Border Maker Cartridge, punch a border from a piece of patterned paper. Trim to measure 12″ x 2-3/4″ to create your base.
Step 2: Punch another border using the Clouds Border Maker Cartridge from another patterned paper. Trim to measure 12″ x 2-1/8″ and mount on the base. Lastly, punch a border using the Clouds Border Maker Cartridge from White Cardstock. Trim to measure 12″ x 3/4″ and mount on the border.
Step 3: Place a border sticker along the lower edge of the white cloud piece. Top with stickers and/or embellishments, popping some up with Foam Squares for added dimension.
Windows Border

Step 1: Cut a 2-3/4″ x 12″ strip of patterned paper for the base. Cut a 2-3/8″ x 11-5/8″ strip of a cardstock and mount on top. Cut a 2-1/8″ x 11-3/8″ strip of a third paper and adhere on top.
Step 2: To make the windows for the campfire border, use the inside of the second smallest Custom Cutting System Oval Pattern and the Red Blade to cut four ovals with patterned paper. Using the inside of the third smallest Custom Cutting System Oval Pattern and the Blue Blade, cut one oval with patterned paper — this is the middle window. To the make airplane windows, cut five 1-1/2″ x 1-3/4″ rectangles with patterned paper. Round the corners with the Two-Way Corner Rounder. Adhere windows, evenly spaced, along the border.
Step 3: Punch four times using the Campfire Punch with Goldenrod Cardstock, Scarlet Cardstock and Graham cracker patterned paper. Punch five times using the Airplane Punch using Blue Cardstock. Adhere inside the windows as shown.
Step 4: Add stickers, popping some up with Foam Squares for added dimension.
Which one of these scrapbook border ideas do you like the most? Comment below and let us know!


These are so cute. i want to change some of my old travel pages.
Love these borders.
These borders are great!! Love how you shiwed them in 2 different ways.
Love the car border with the Little Dreamer – Car Nap! Oh, how many times have I taken my youngest Grand Daughter on a car trip so she’d nap.
I love them all but especially the train going in and out of the tunnel!
So creative and cute, Krislyn! Love the versatility of all the borders and showing in multiple collections. Great job as always!
Love them all! Great job & thanks for the inspiration!
What cool ideas…you could do this with scrap pieces of paper too!
Awesome job and ideas.
Thanks for Sharin g
Great Border ideas! thanks for sharing
These borders are great but I am trouble finding more train borders and layouts. Any suggestions?