April 11, 2021
Virtual Crop Weekend Special: Order Now to Get Your Journal Jive Bundle
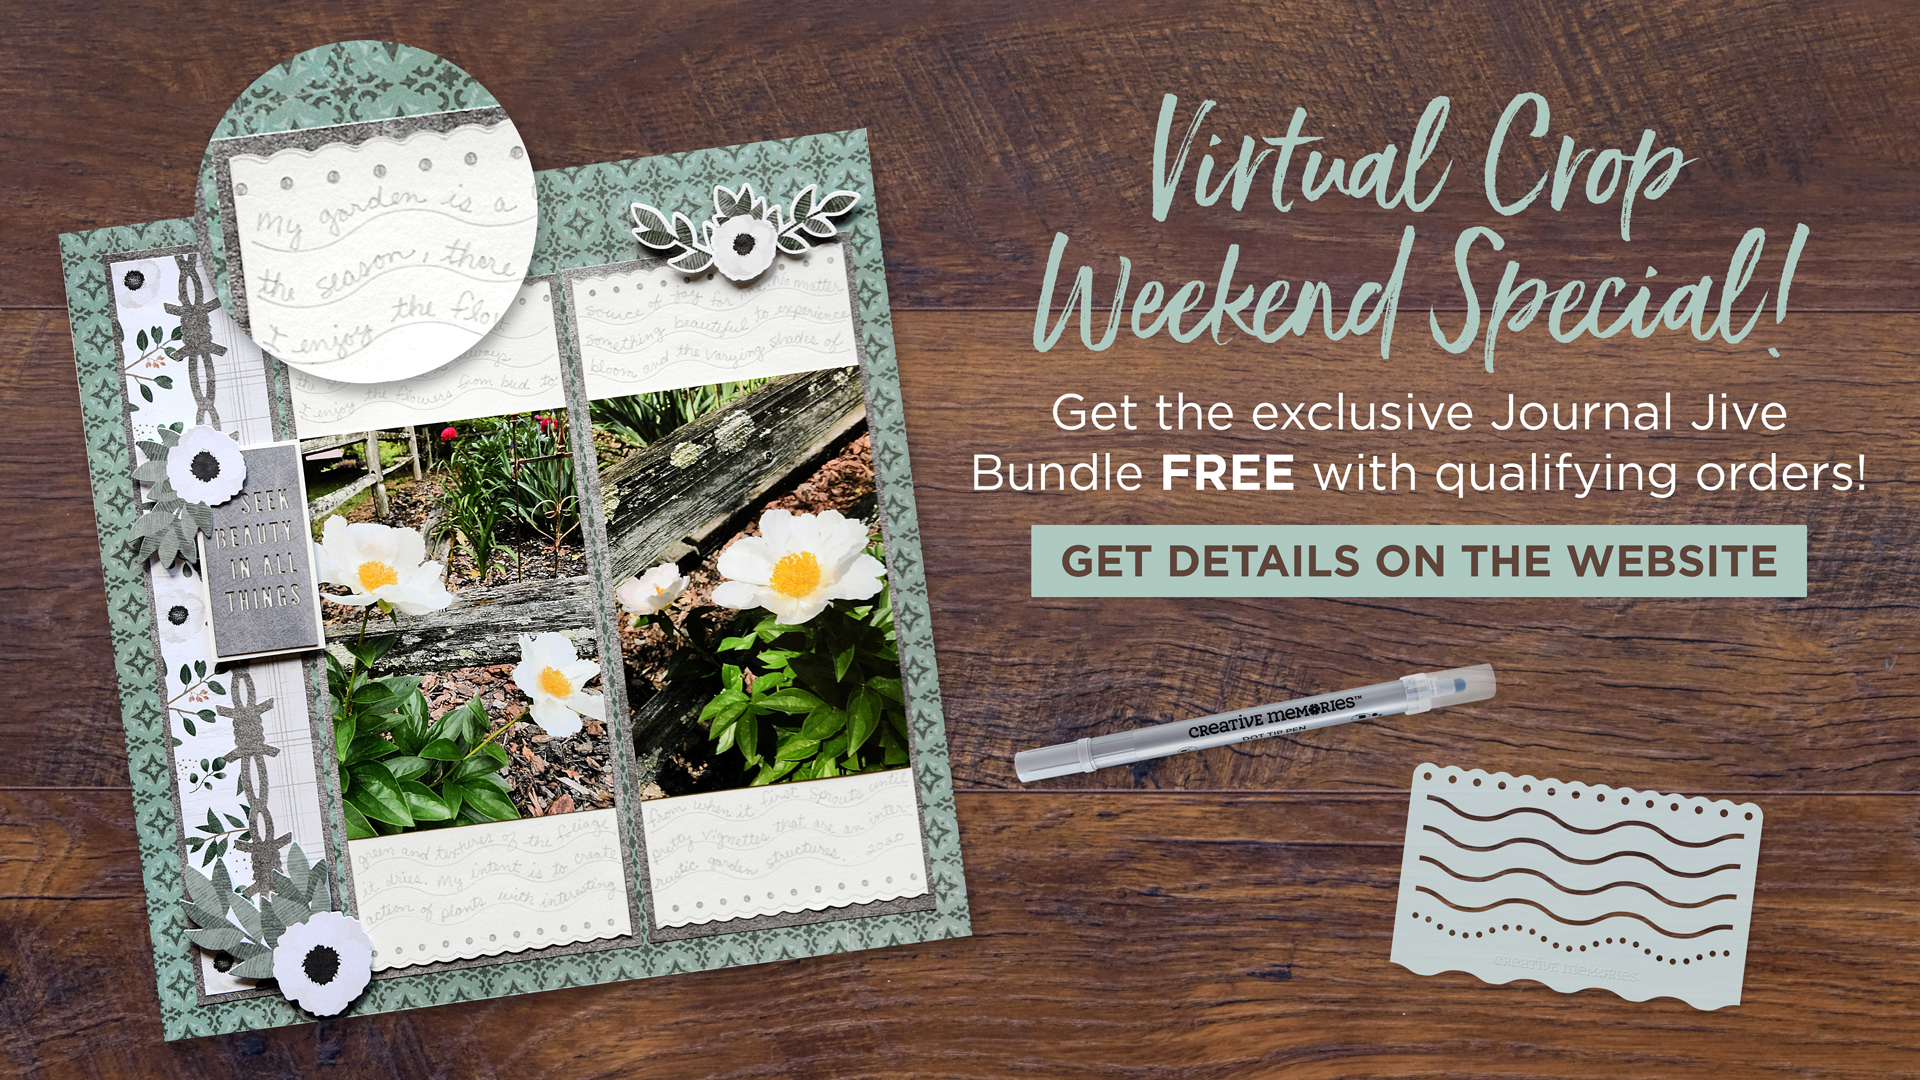
Good times and journal vibes are waiting for you! Why’s that? Because of the Virtual Crop Weekend Special, that’s why! This pop-up promo is your doodling, dotting, drawing and dabbling opportunity to get the Journal Jive Bundle FREE! Yes, FREE! All you have to do is make a qualifying purchase on CM products from now until April 12 at noon CT (AU: 13 April at 3am AET) and you’ll get the exclusive Wavy Mini Journal Template (perfect for making creative journal lines and decorating layouts, cards and other crafts!) and Light Gray Dot Tip Pen! Want to see how it jives a cool presence onto your pages? Take a look below with these three awesome layouts! (Hint: You’re going to love them!)
For the Virtual Crop Weekend Special details, visit: US | CA | AU
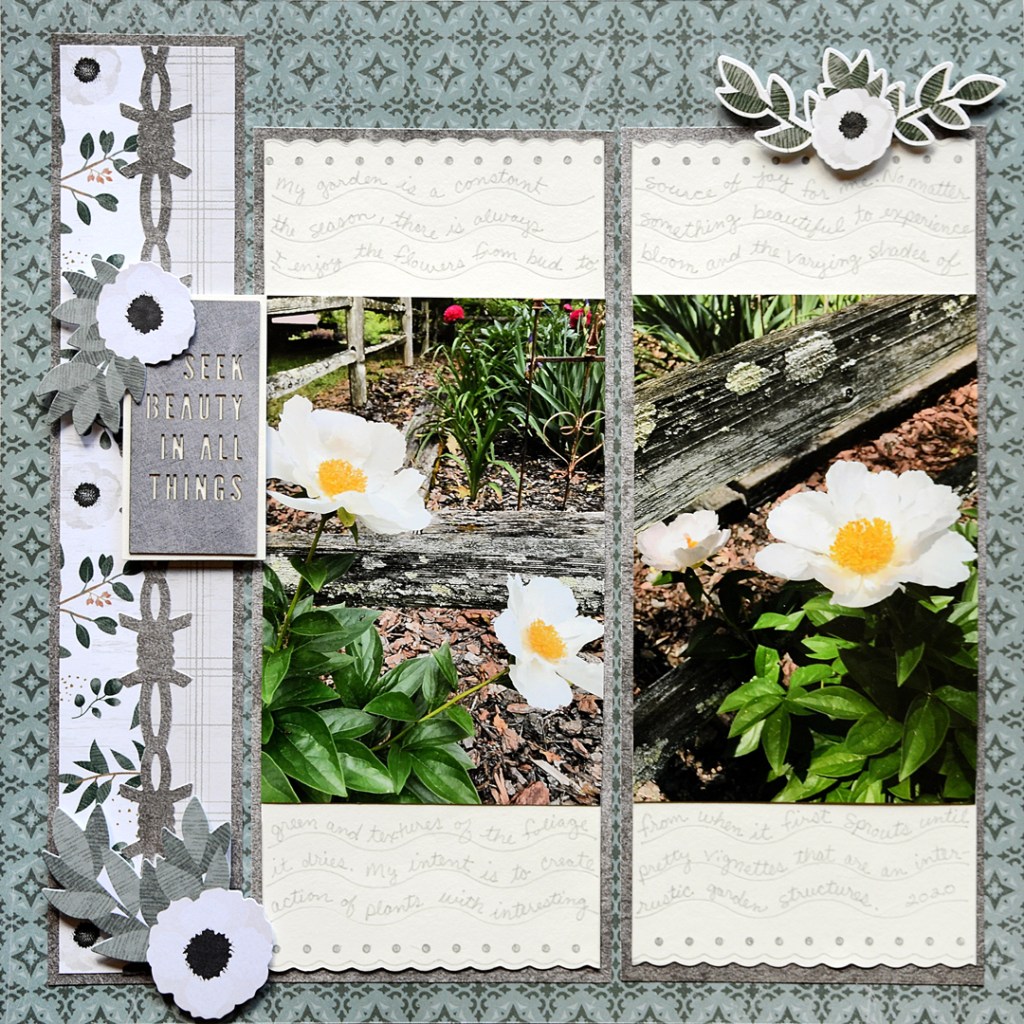
Seek Beauty in All Things Layout
To create this layout you will need:
- Homestead Paper Pack or (Shop Canada | Shop Australia)
- Homestead Laser Cut Embellishments or (Shop Canada | Shop Australia)
- Homestead Stickers or (Shop Canada | Shop Australia)
- White Solid Cardstock or (Shop Canada | Shop Australia)
- 12-inch Trimmer with Straight & Scallop Blades or (Shop Canada | Shop Australia)
- Original Border Maker System with the Barbed Wire Chain Border Maker Cartridge or (Shop Canada | Shop Australia) — Cartridge expected in May
- Journal Jive Bundle or (Shop Canada | Shop Australia)
- Tape Runner or (Shop Canada | Shop Australia)
- Foam Squares or (Shop Canada | Shop Australia)

Step 1: From a piece of brushed metal paper, cut a 2-1/4″ x 11″ strip.
Step 2: Cut 1″ x 10-3/4″ strips from the anemones and greenery paper and the plaid paper, and adhere the strips side by side on top of the brushed metal strip to make a border.
Step 3: Use the Original Border Maker System with the Barbed Wire Chain Border Maker Cartridge (or any Border Maker Cartridge) to punch a border from the brushed metal paper. Trim to measure 10-3/4″ and adhere to the middle of the border.
Step 4: From brushed metal paper, cut two strips that measure 4-1/4″ x 10″ each.
Step 5: From an 8″ x 5″ piece of White Solid Cardstock, use the 12-inch Trimmer with the Scallop Blade to cut a small amount off of the top and bottom 8″ edges.

Step 6: Cut the piece in half at 4”, and cut the pieces in half again at approximately 2-1/2”.
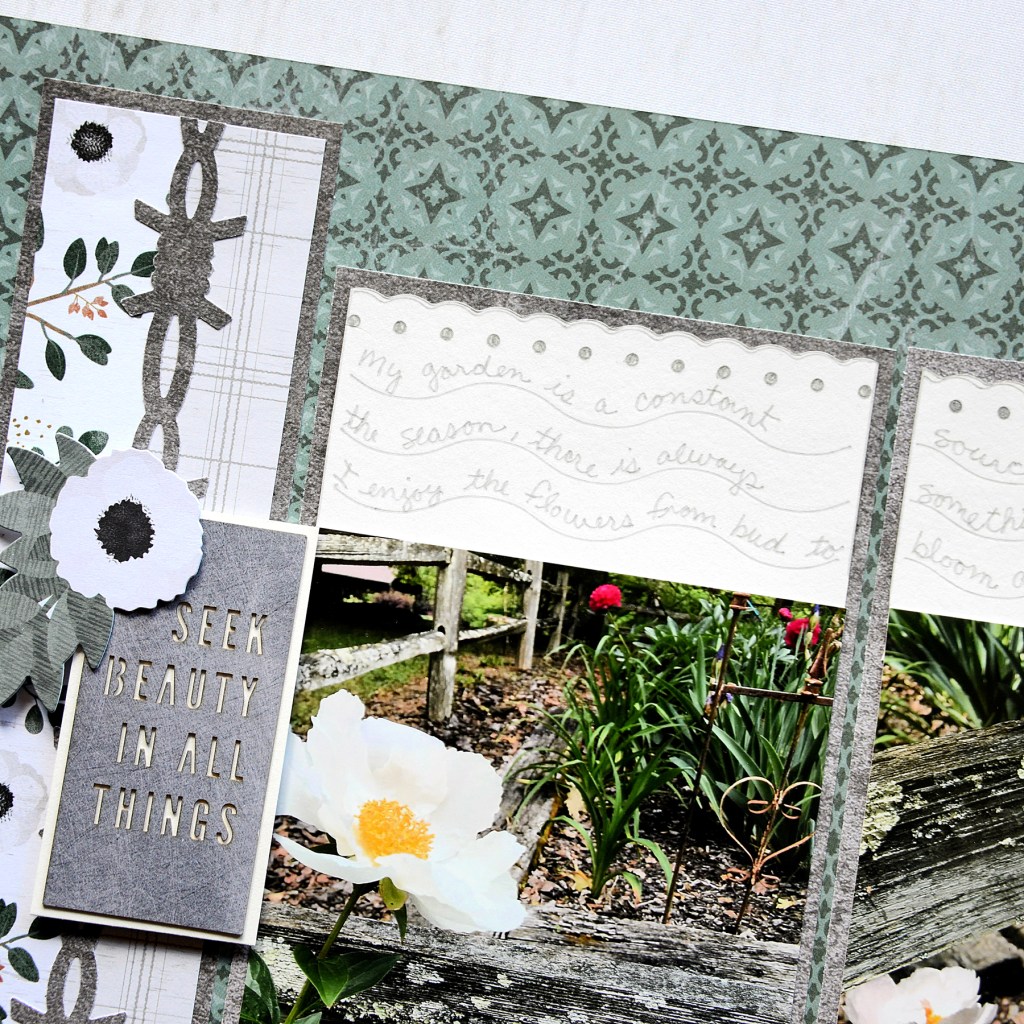
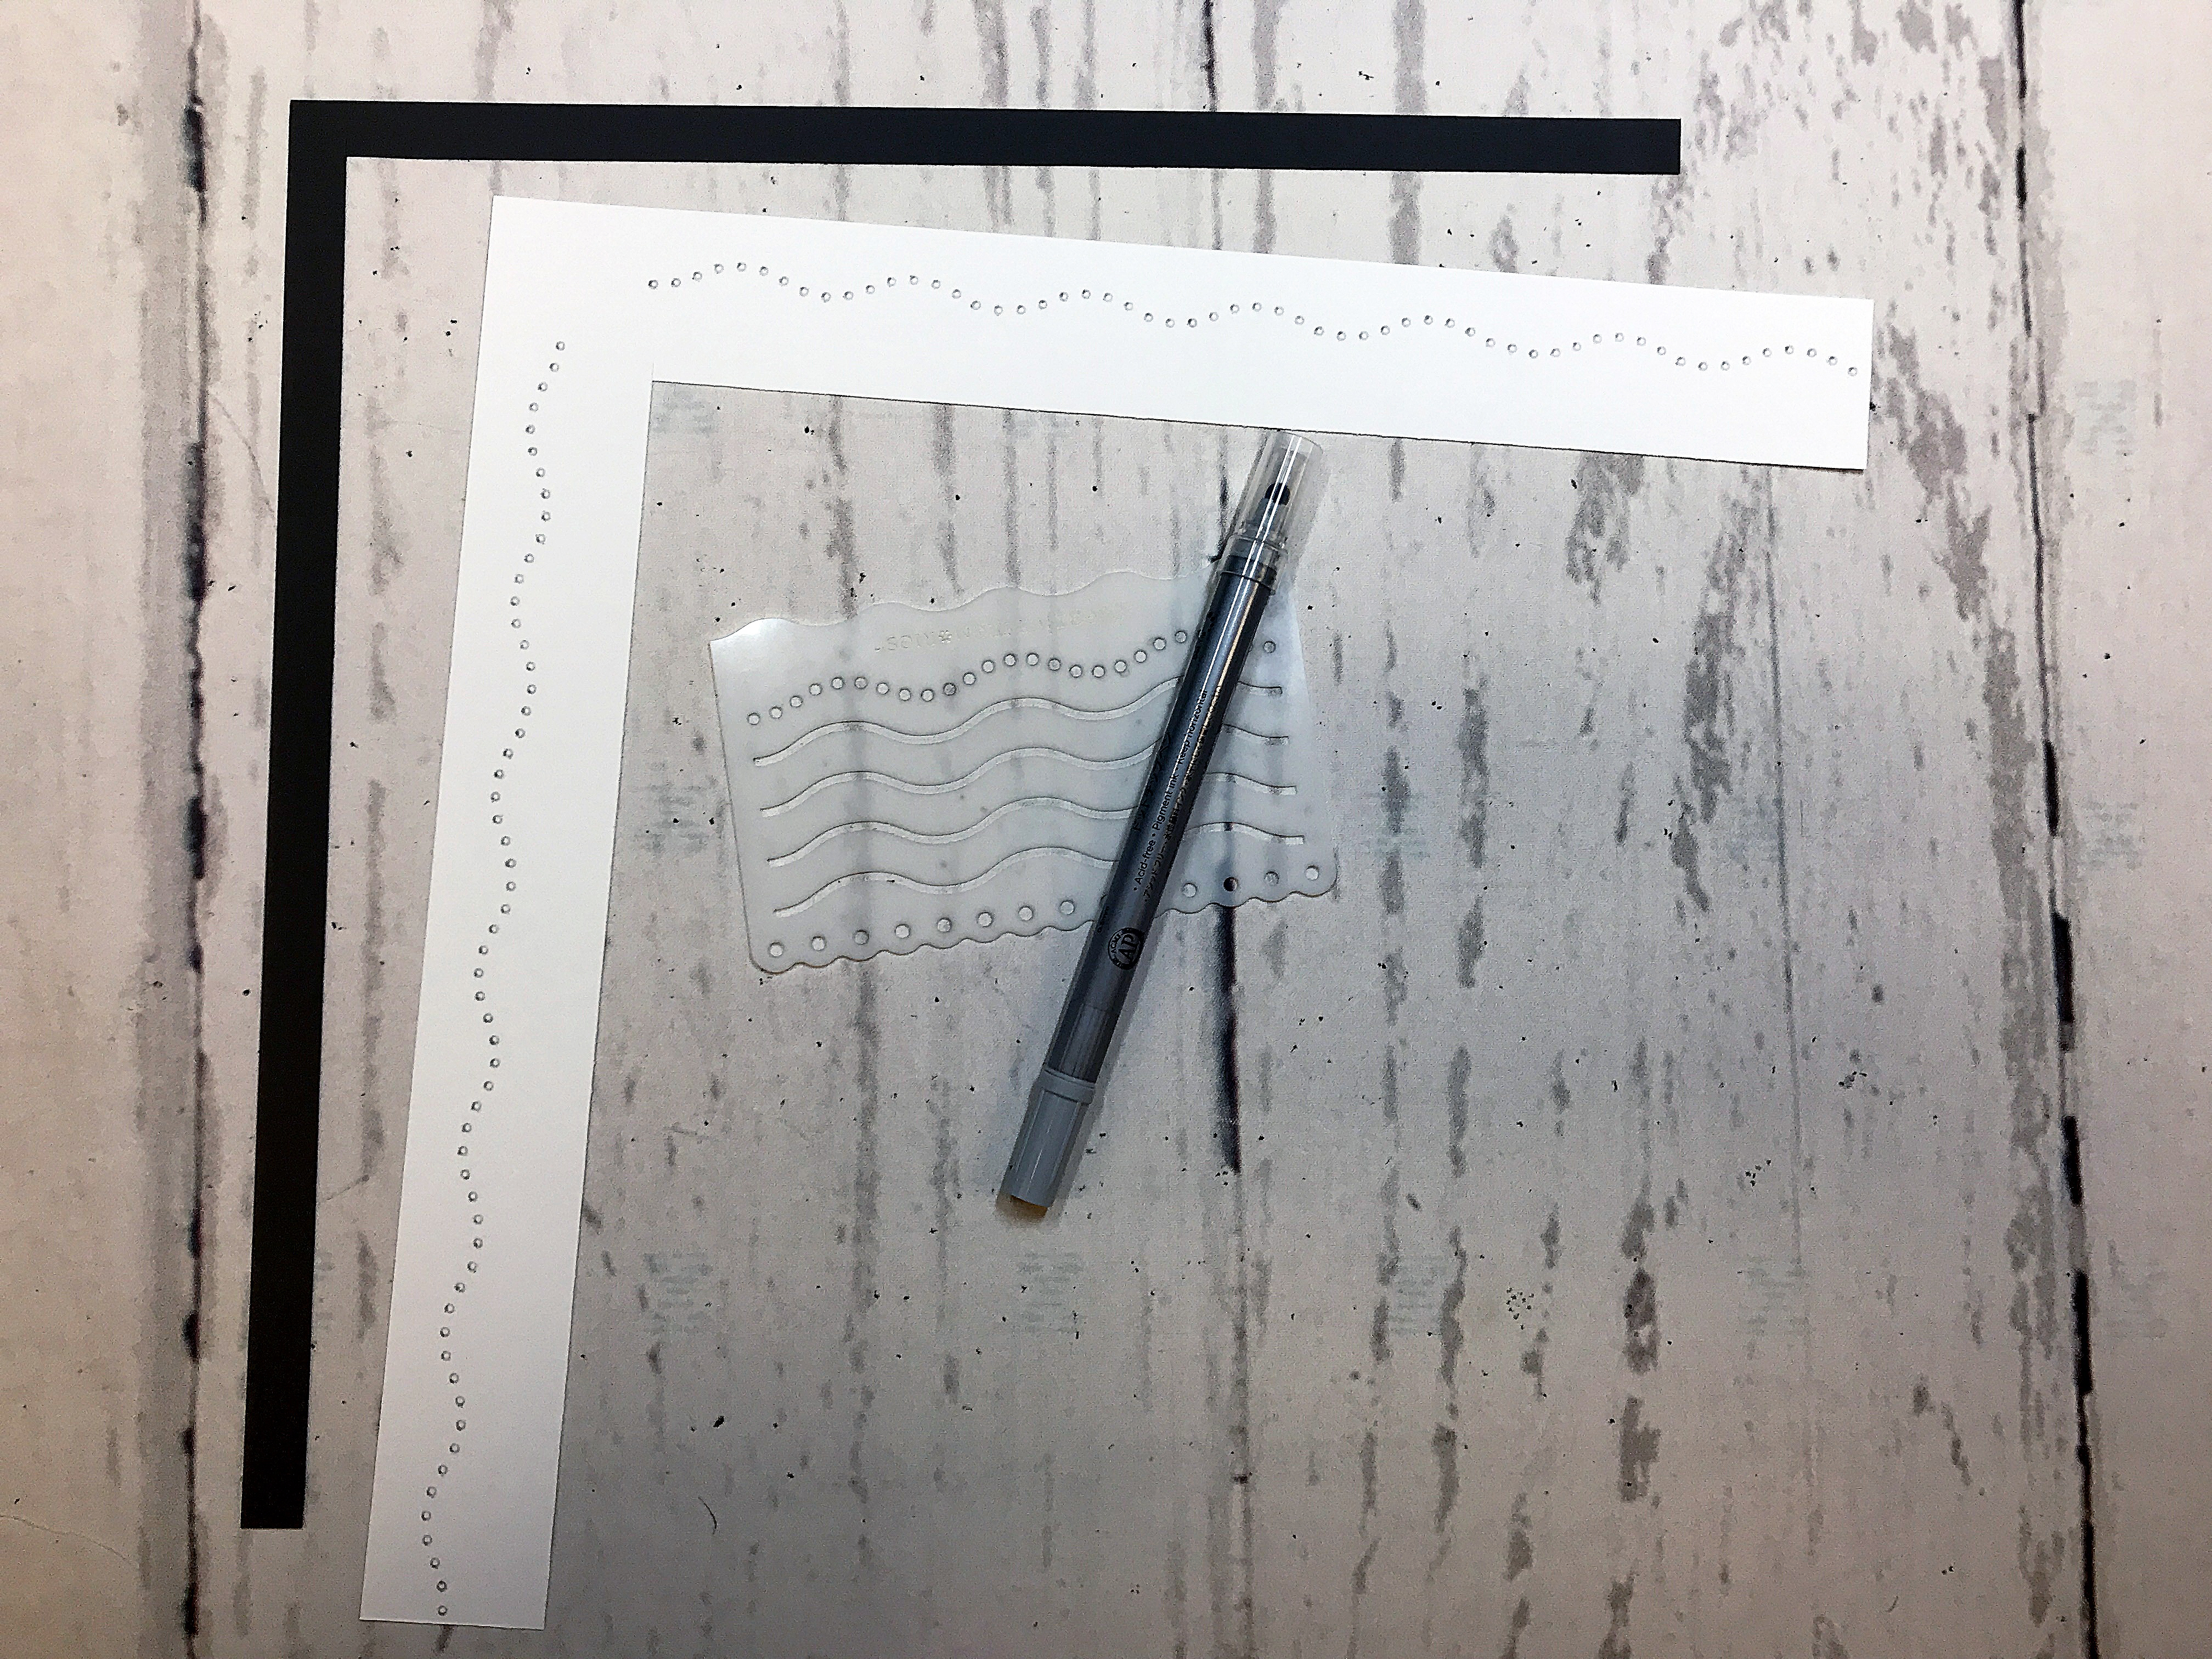
Step 7: Use the Wavy Mini Journal Template and Light Gray Dot Tip Pen to trace a scallop edge and dots on the cut scallop edges, as well as wavy journal lines.
Step 8: Rub the thicker dot tip point of the pen over the edges of the White Solid Cardstock pieces. Adhere the pieces to the tops and bottoms of the brushed metal strips.
Step 9: Adhere 4” x 6” photos in the middle of the brushed metal pieces.
Step 10: Add embellishments and stickers adhering with Foam Squares.
Step 11: Journal as desire with Light Gray Dot Tip Pen.
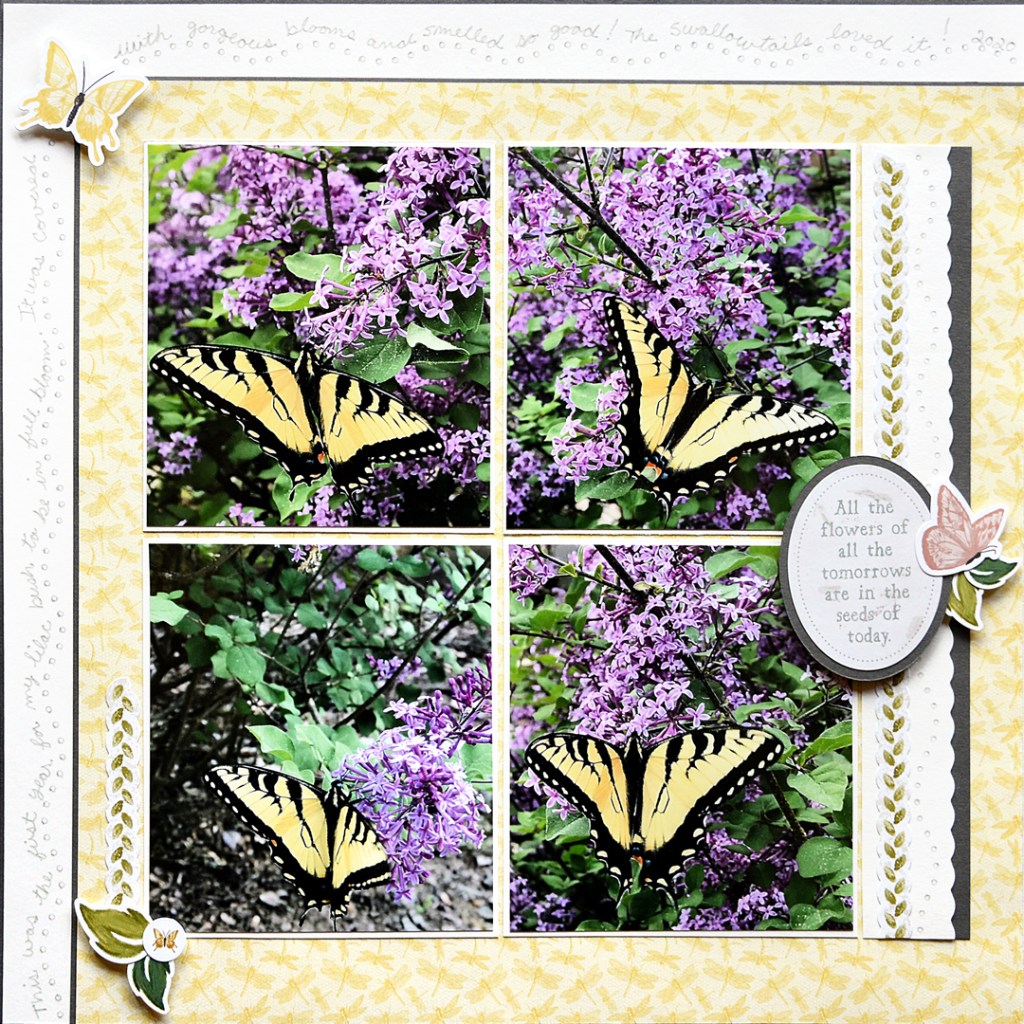
Butterfly Layout
To create this layout you will need:
- Spring Cottage Paper Pack or (Shop Canada | Shop Australia)
- Spring Cottage Stickers or (Shop Canada | Shop Australia)
- Charcoal & White Solid Cardstocks or (Shop Canada | Shop Australia)
- 12-inch Trimmer with Straight & Scallop Blades or (Shop Canada | Shop Australia)
- Custom Cutting System with Oval Patterns or (Shop Canada | Shop Australia)
- Journal Jive Bundle or (Shop Canada | Shop Australia)
- Tape Runner or (Shop Canada | Shop Australia)
- Foam Squares or (Shop Canada | Shop Australia)
Step 1: From a sheet of 12×12 Charcoal Solid Cardstock, cut a 1-1/2″ wide L-shape piece.
Step 2: From a sheet of 12×12 White Solid Cardstock, cut a 1″ wide L-shape piece. Adhere this to the Charcoal Solid Cardstock piece, leaving an 1/8″ edge of Charcoal Solid Cardstock.

Step 3: Use the Wavy Mini Journal Template and the Light Gray Dot Tip Pen to trace a dotted scallop design on the white L-shaped piece. Journal on top of the traced designs.
Step 4: Cut yellow dragonflies paper to 11″ x 11″ and adhere to the L-shaped piece, leaving an 1/8″ of Charcoal Solid Cardstock.
Step 5: Crop four photos to measure 4″ x 4-1/2″ and mat with four 4-1/8″ x 4-5/8″ pieces of White Solid Cardstock.
Step 6: From White Solid Cardstock, cut a 1″ x 9-1/4″ strip and trim one long edge with the 12-inch Trimmer with the Scallop Blade. Use the Wavy Mini Journal Template and Light Gray Dot Tip Pen to trace a dotted scallop design near the scallop edge of the strip. Cut a 1/2″ x 9-1/4″ strip from Charcoal Solid Cardstock and adhere behind the white scalloped piece. Trim and add a leaves border sticker.
Step 7: Use Custom Cutting System with the second-largest Custom Cutting System Oval Pattern and Red Blade on the instead edge to cut an oval from Charcoal Solid Cardstock. Adhere a title sticker to the oval.
Step 8: Add stickers as shown adhering with Foam Squares.
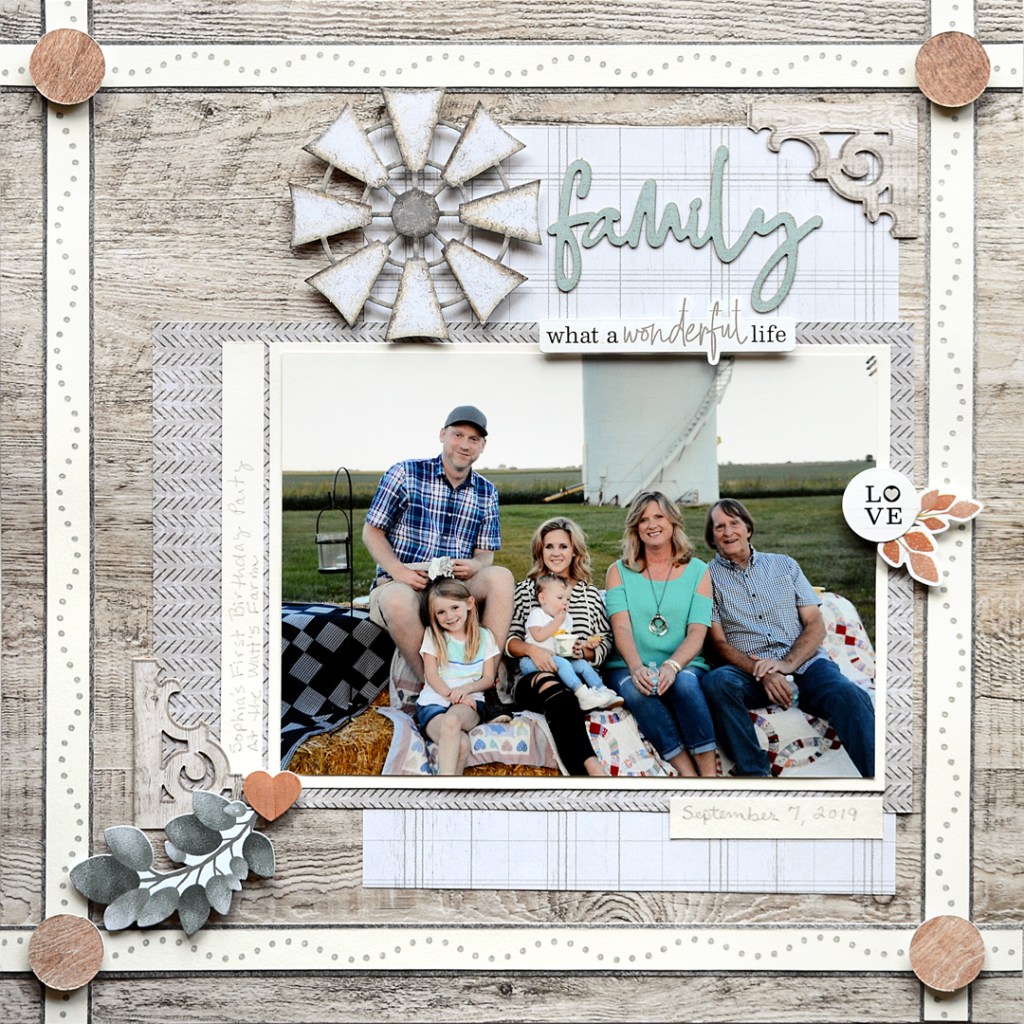
Family Layout
To create this layout you will need:
- Homestead Paper Pack or (Shop Canada | Shop Australia)
- Homestead Laser Cut Embellishments or (Shop Canada | Shop Australia)
- Homestead Stickers or (Shop Canada | Shop Australia)
- Homestead Variety Mat Pack or (Shop Canada | Shop Australia)
- White Solid Cardstock or (Shop Canada | Shop Australia)
- 12-inch Trimmer or (Shop Canada | Shop Australia)
- Custom Cutting System with Circle Patterns or (Shop Canada | Shop Australia)
- Tape Runner or (Shop Canada | Shop Australia)
- Foam Squares or (Shop Canada | Shop Australia)
Step 1: From a piece of brushed metal paper, cut four 5/8″ x 12″ strips.
Step 3: From White Solid Cardstock, cut four 1/2″ x 12″ strips. Use the Wavy Mini Journal Template and Light Gray Dot Tip Pen to trace the wavy dotted design onto the strips. Adhere strips to the brushed metal strips and adhere to the outer edges of a sheet of reclaimed wood paper as shown.
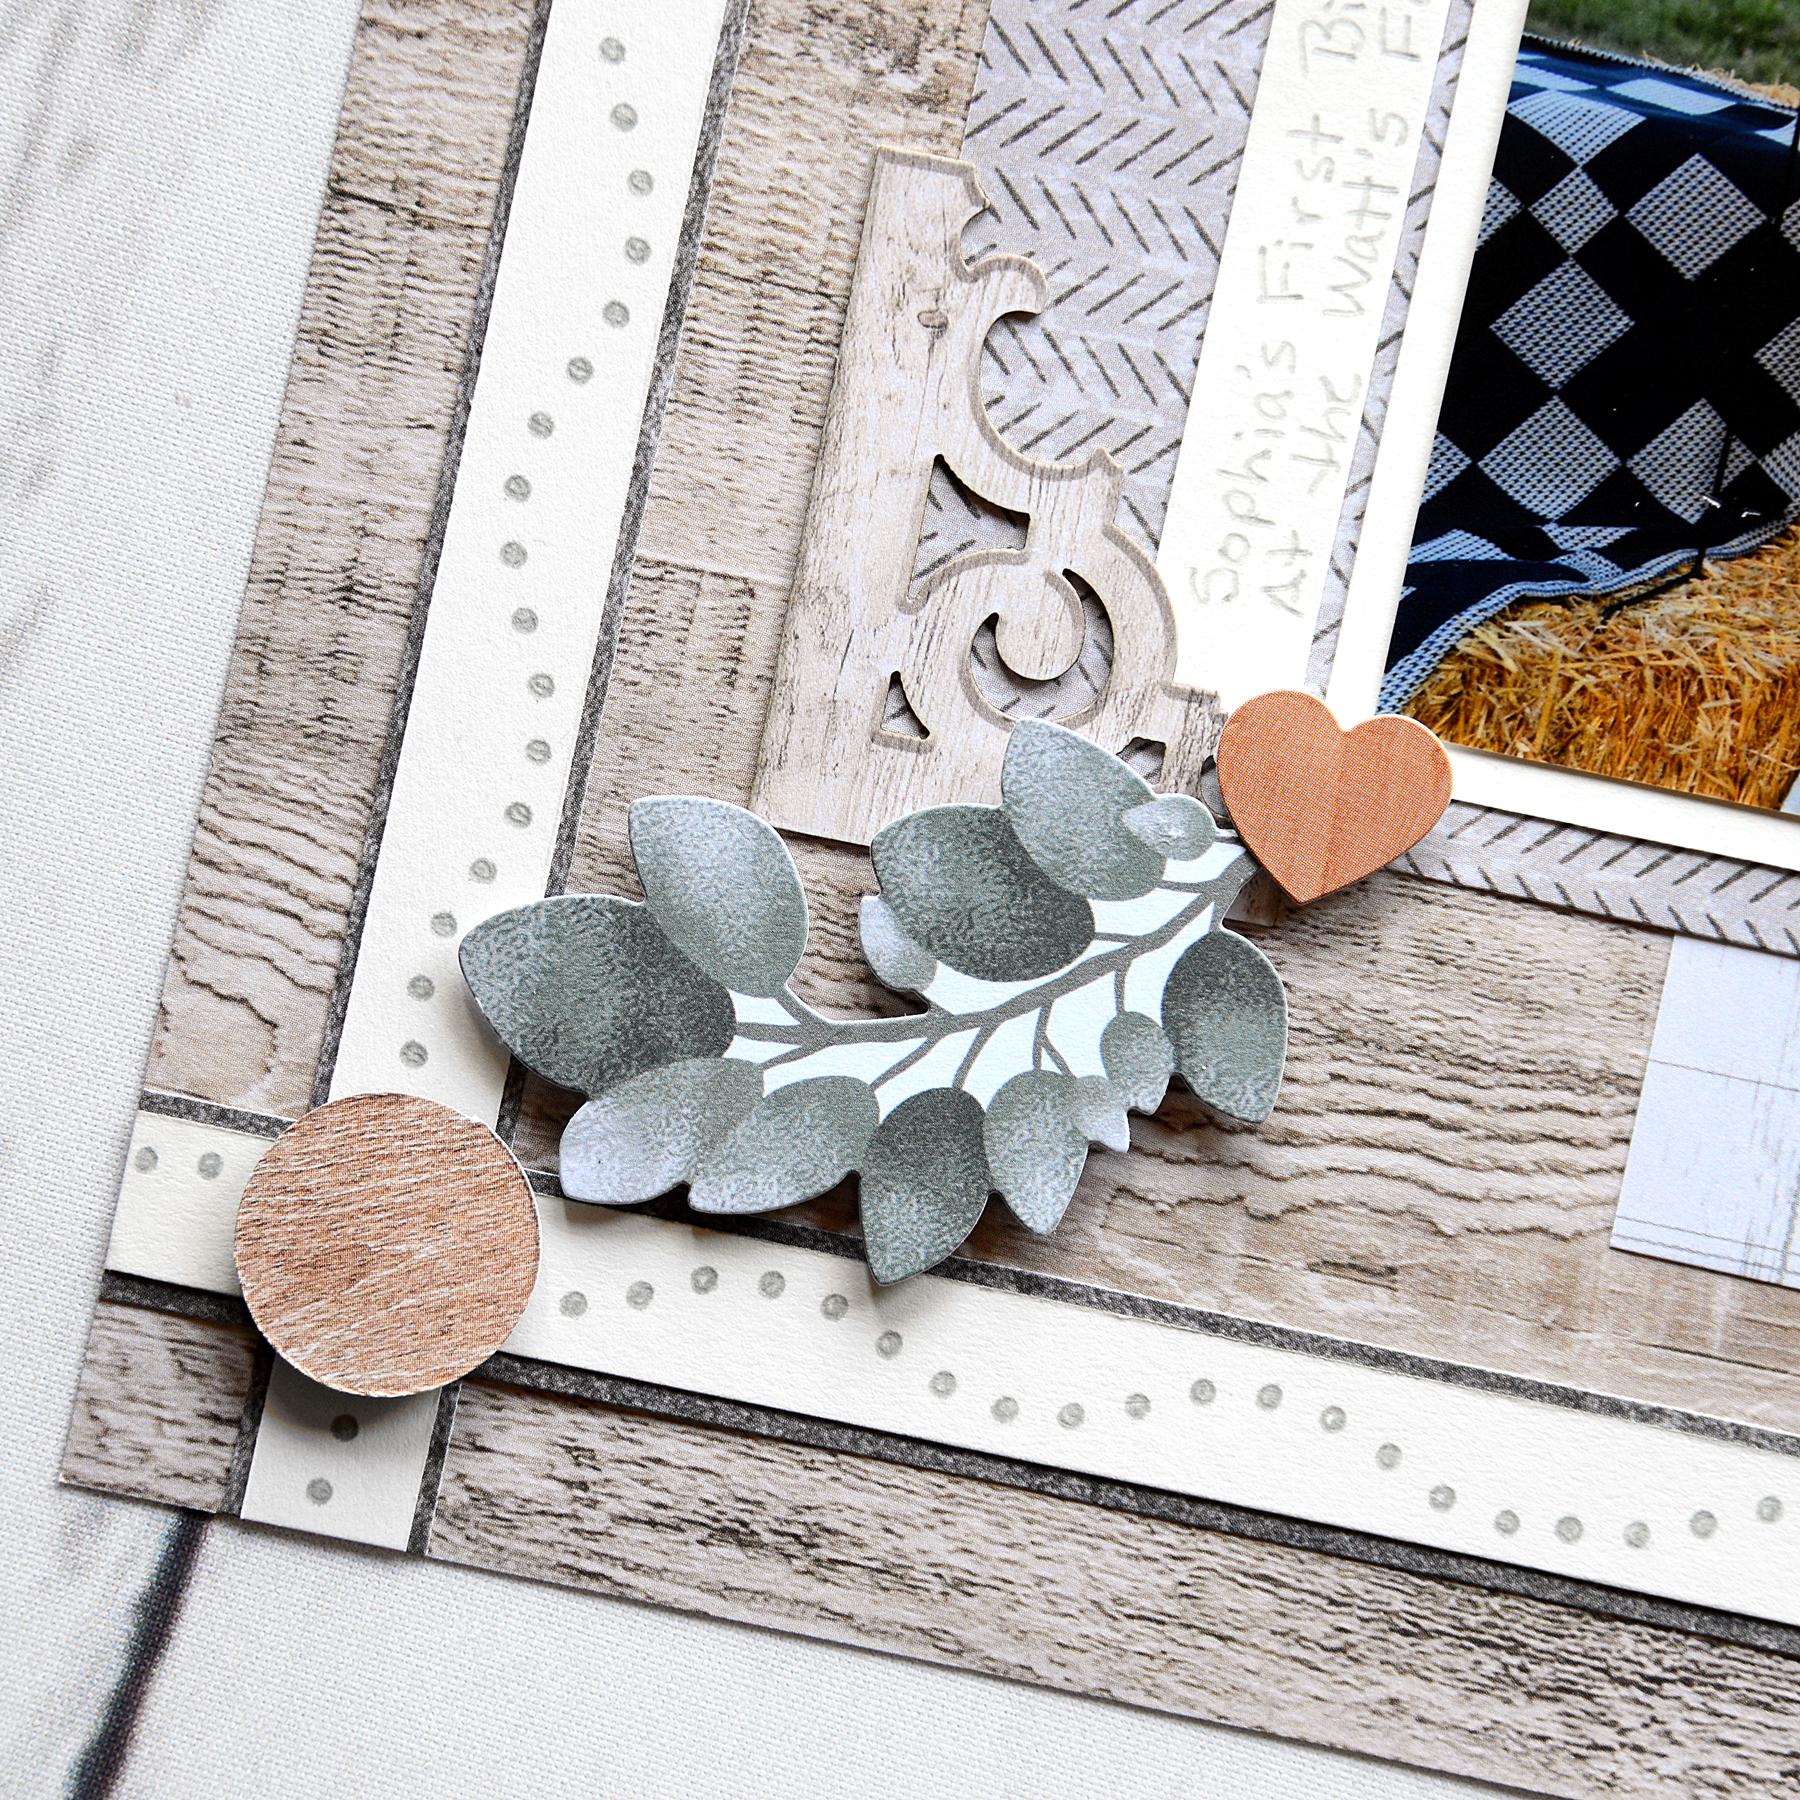
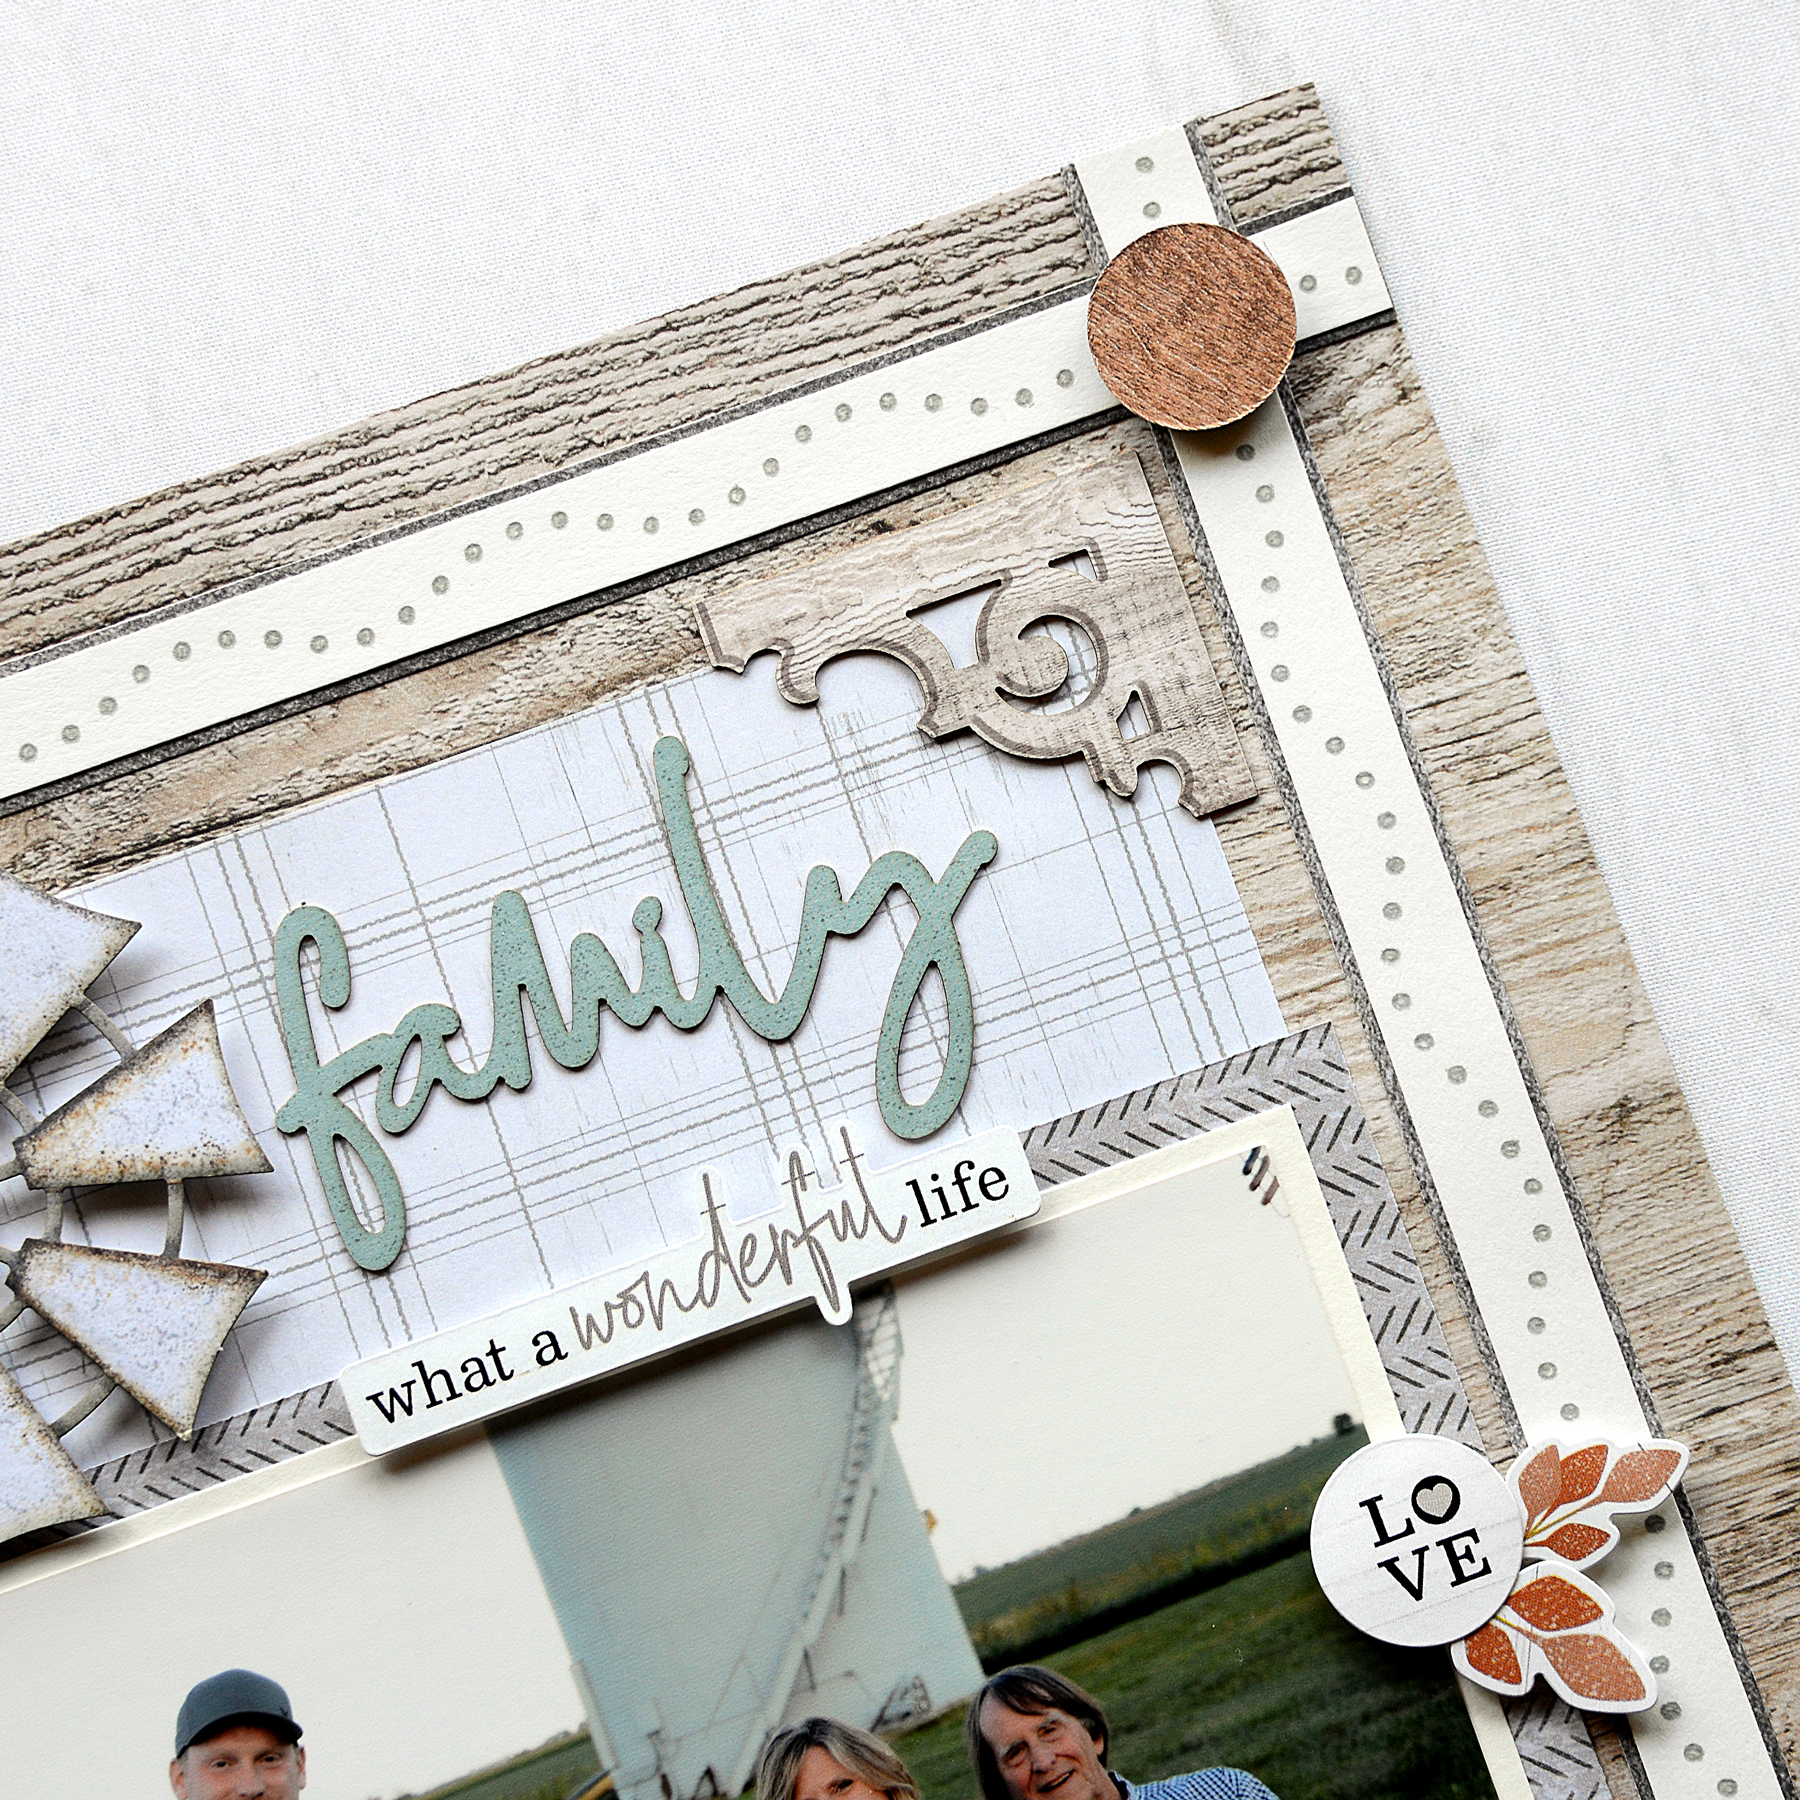
Step 3: Use the smallest Custom Cutting System Circle Pattern and the Blue Blade on the inside edge to cut four circles from a wood grain variety mat. Adhere the circles to the intersections of the four strips with Foam Squares.
Step 4: Cut a 6-1/4″ x 9″ piece from the plaid paper and a 9″ x 5-3/4″ piece from the herringbone paper. Adhere the pieces as shown.
Step 5: Cut a 7-1/4″ x 5-1/4″ piece of White Solid Cardstock for a photo mat and a 1/2″ x 5-1/4″ strip for a journal box. Add to layout as shown.
Step 6: Add embellishments and stickers as desired using Foam Squares to add dimension.
Step 7: Journal with the Gray Dot Tip Pen.
Feeling inspired to do add some journal dimension and doodles to your layouts? Take advantage of this Virtual Crop Weekend Special and get your hands on the Journal Jive Bundle before this pop-up promo ends April 12 at noon CT (AU: 13 April at 3am AET)!
Remember, for the Virtual Crop Weekend Special details, visit: US | CA | AU

Karyn, I always love your layouts and inspiration. Thanks for these beautiful ones!
Thanks so much, Mary Lu! So glad that you like them :)
What makes a “qualifying purchase “?
Hi Barb – You’ll receive the Journal Jive Bundle with a $30 purchase in the US. The promo ends at noon CT today (Monday, April 12th).
[…] Here are two more layouts that I created as a content contributor for Creative Memories also using the Homestead Collection. To see the instructions on how to create these layouts, please see the CM Blog. […]