June 3, 2021
Style Spherical Sensations With This Outer Space Scrapbook Spread
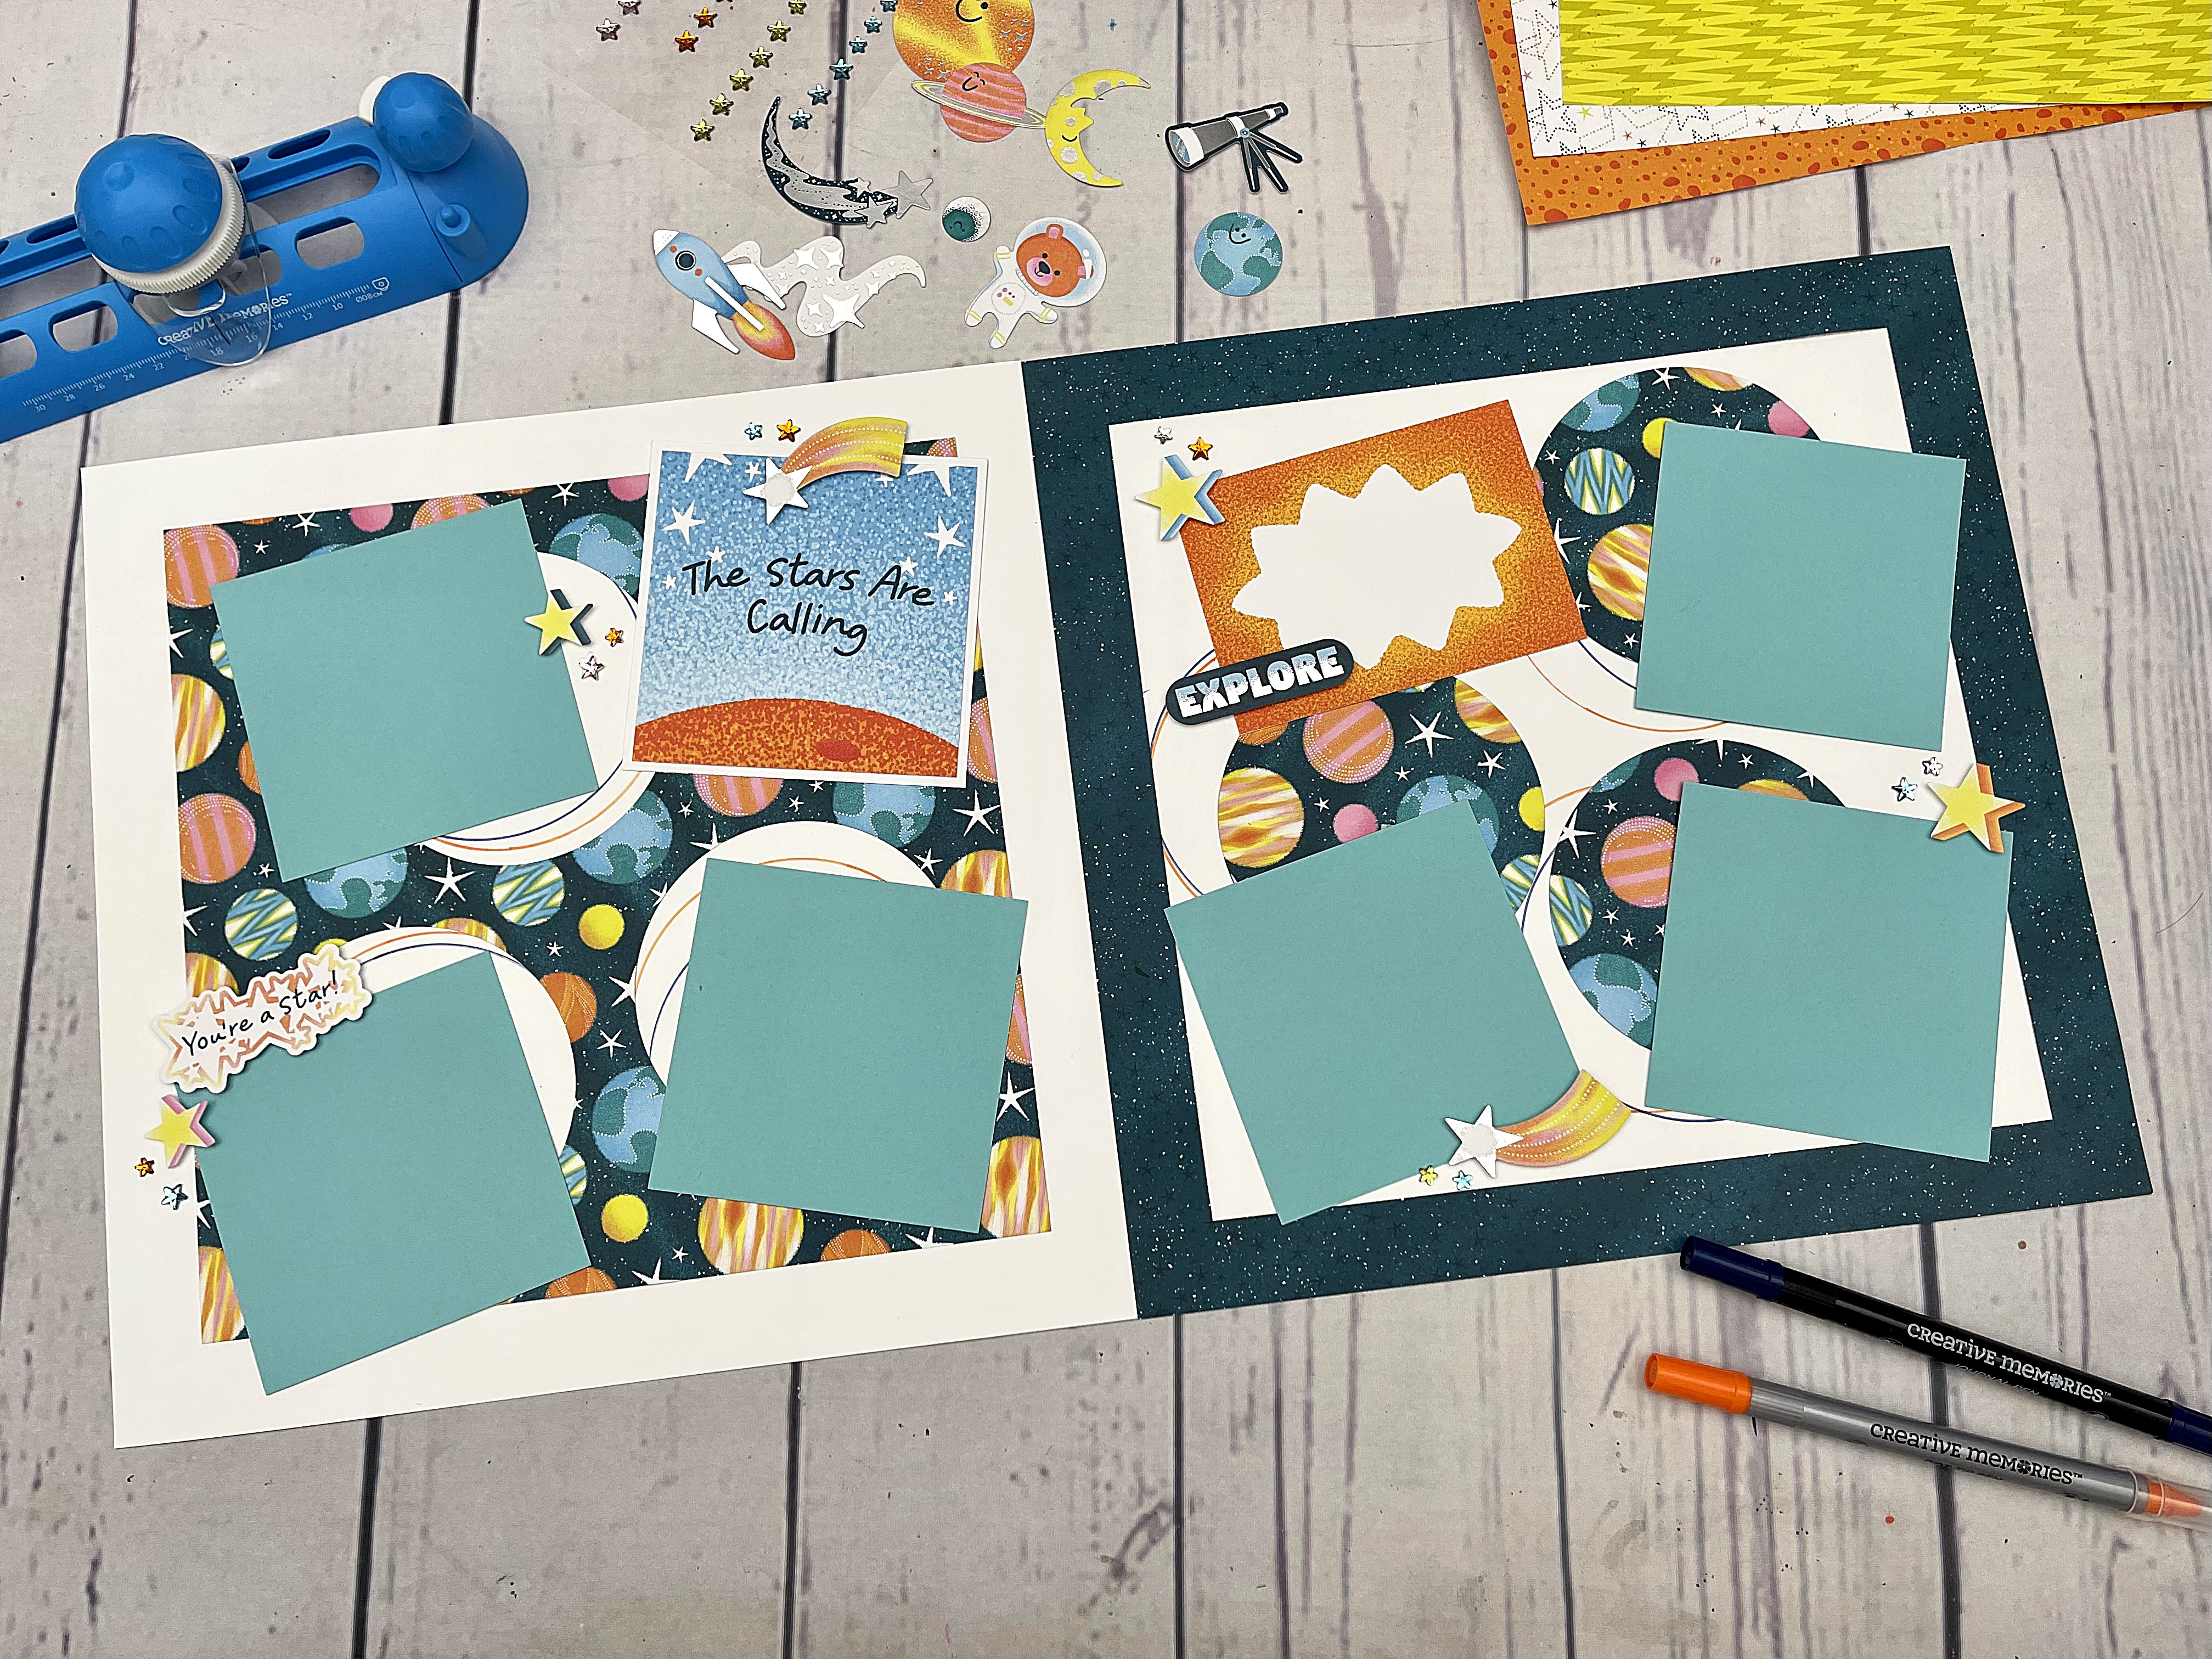
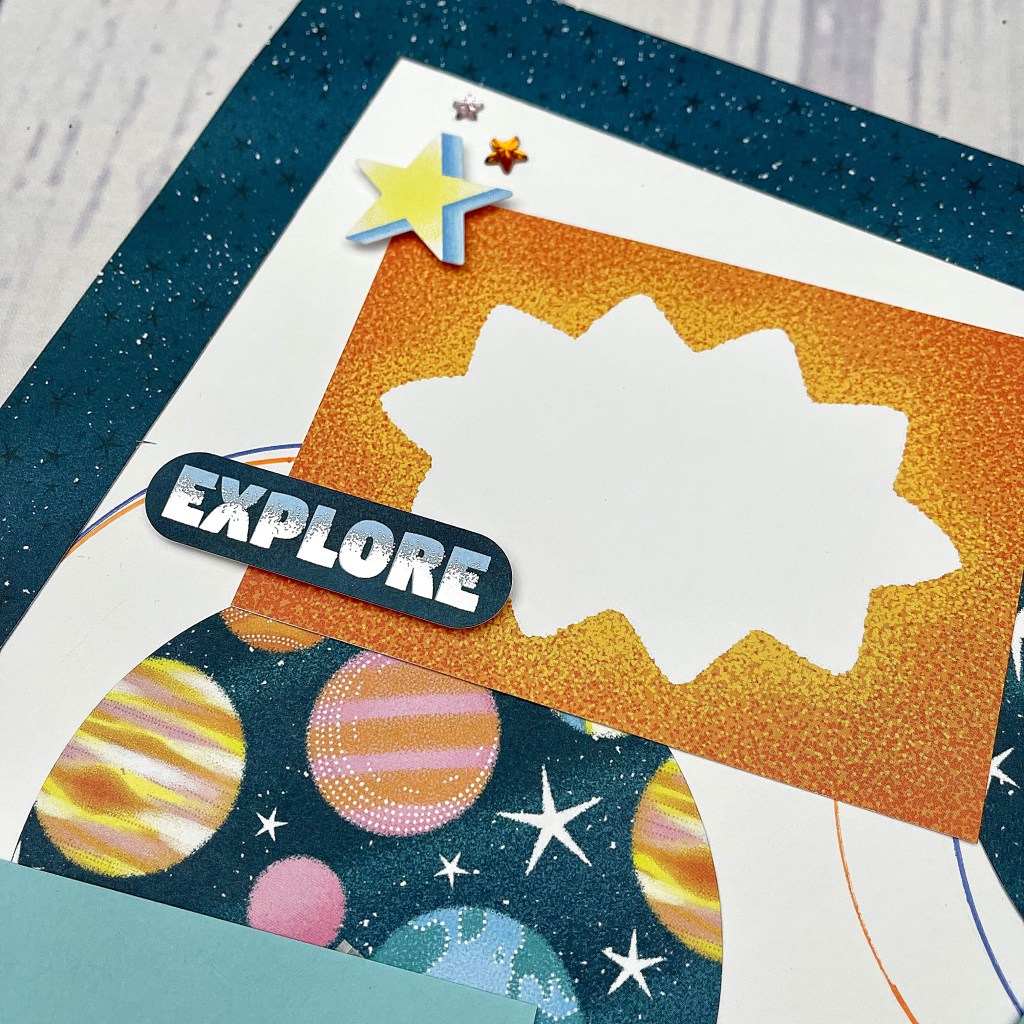
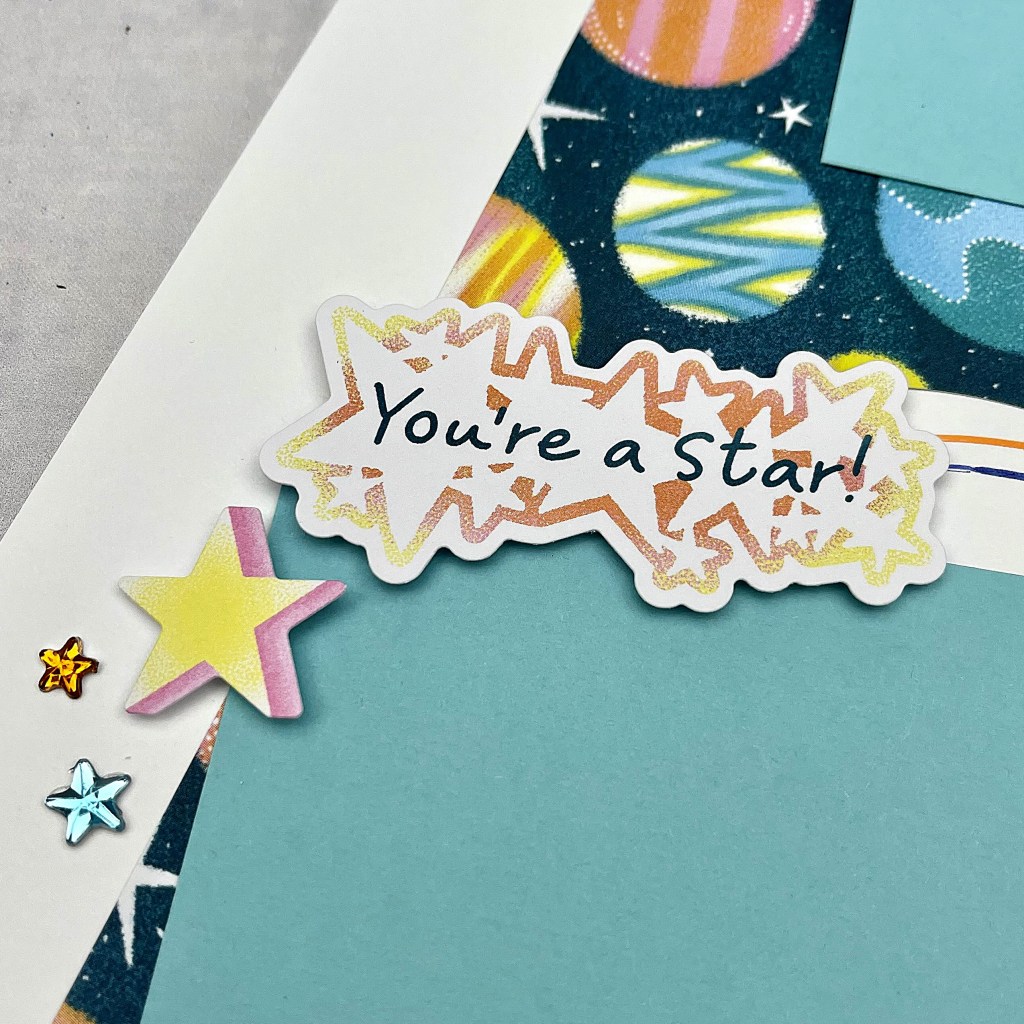
Here’s a fun fact: A planet is round because of gravity — their gravitational field acts as though it originates from the middle of the body and pulls everything toward it (like the spokes of a bicycle wheel). And voilà, we have a spherical celestial orb! While not as complicated as the rocky or gaseous spheres in our atmosphere, the Circle Cutter is an out-of-this-world tool that strives to ring in your creativity (just like Saturn’s rings!) with perfect circles. See how blog contributor Noreen Smith tapped into planetary precision, in tandem with the aptly fit Outta This World collection, to create this outer space scrapbook spread!
To create the layout you will need:
- Outta This World Paper Pack or (Shop Canada | Shop Australia)
- Outta This World Foiled Embellishments or (Shop Canada | Shop Australia)
- Outta This World Variety Mat Pack or (Shop Canada | Shop Australia)
- White Solid Cardstock or (Shop Canada | Shop Australia)
- or White 12×12 Plain Pages or (Shop Canada | Shop Australia)
- Aqua Solid Cardstock or (Shop Canada | Shop Australia)
- 12-inch Trimmer or (Shop Canada | Shop Australia)
- Circle Cutter or (Shop Canada | Shop Australia) — Returning September
- Tape Runner or (Shop Canada | Shop Australia)
- Foam Squares or (Shop Canada | Shop Australia)
- Navy Dual-Tip Pen or (Shop Canada | Shop Australia)
- Orange Dot Tip Pen or (Shop Canada | Shop Australia)
Watch the video to learn how to both cut and draw circles to create this layout that is out of this world!

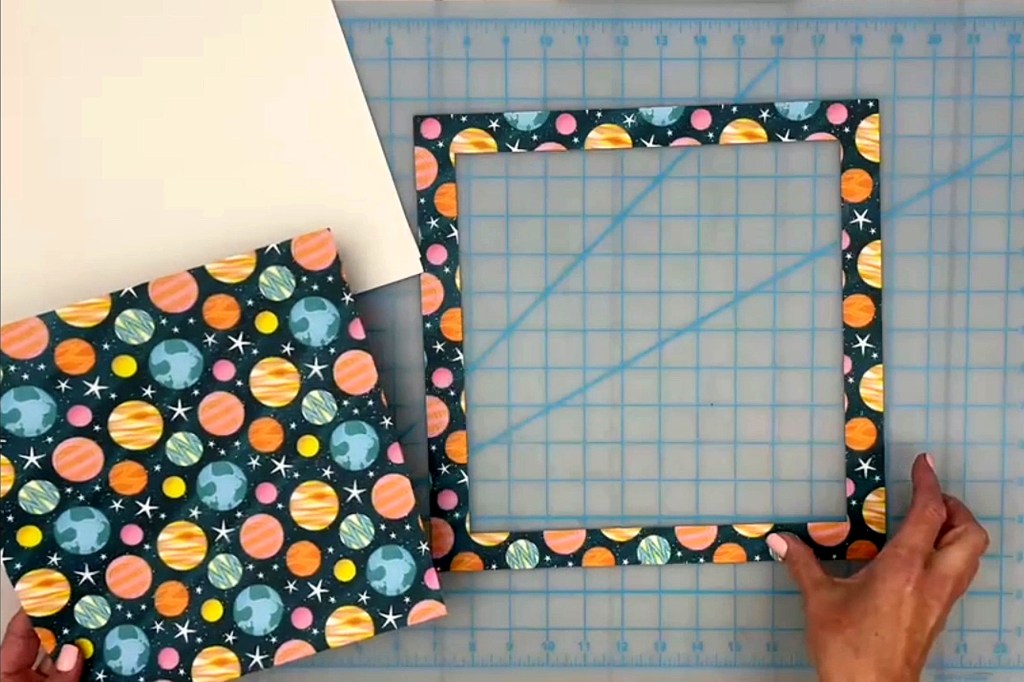
Step 1: Cut a 10″ square from the middle of the planets paper by placing the paper at 1″ in the 12-inch Trimmer, starting the cut at 1″ down and stopping 1″ from bottom edge. Turn paper and repeat on other three sides. Set aside the leftover frame, which will measure 1″ wide all the way around.
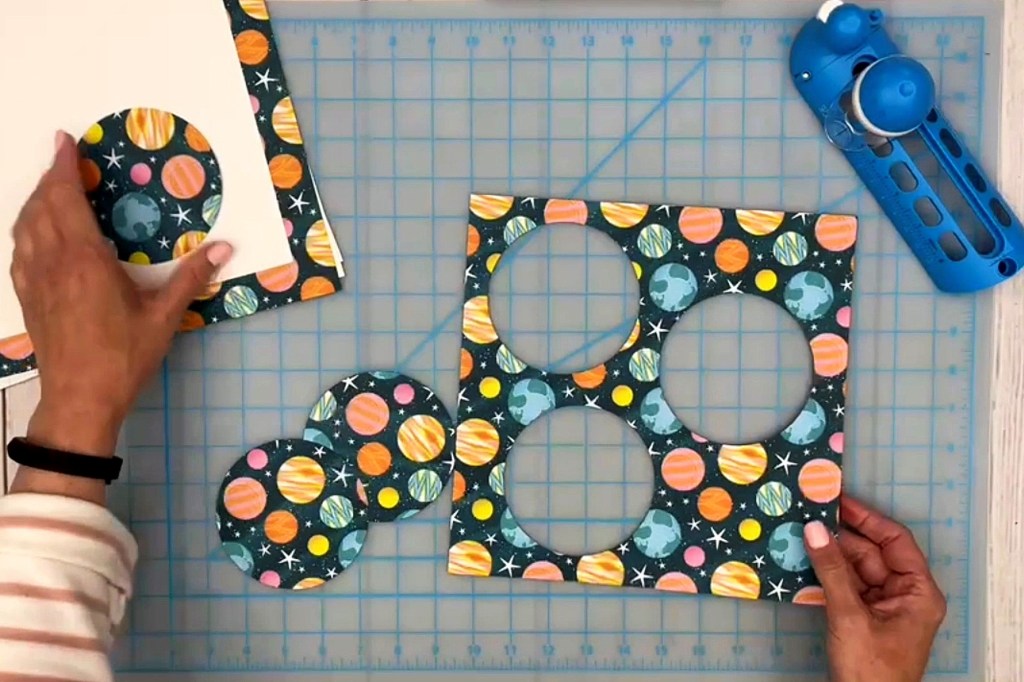
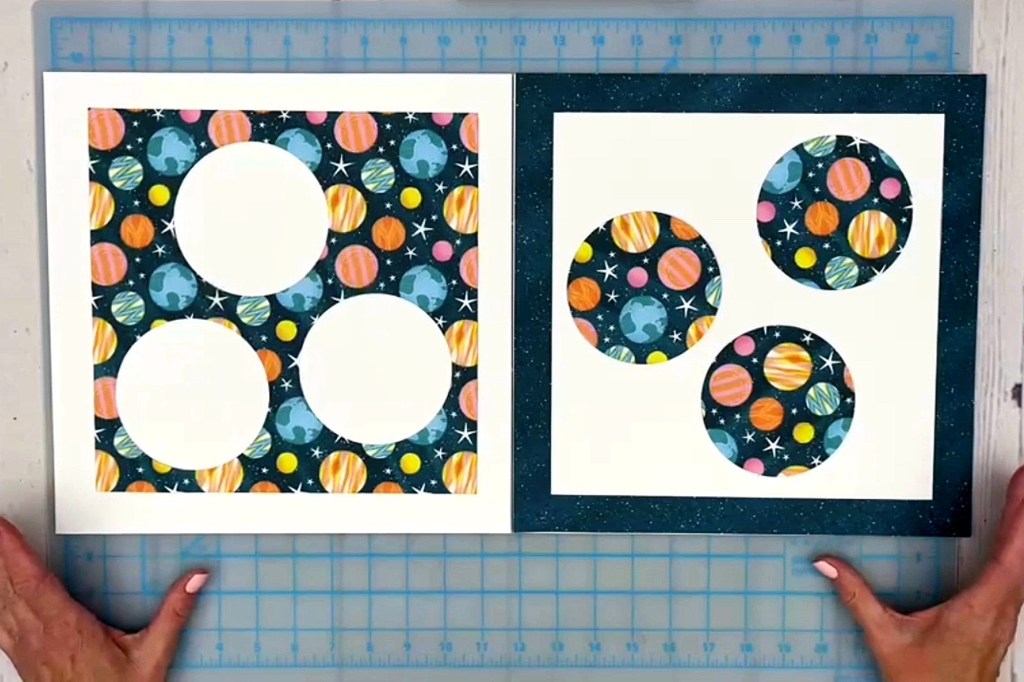
Step 2: Use the Circle Cutter to cut three 4″ circles from the 10″ square. The 10″ square with circular “holes” and all three circles will be used in the layout.
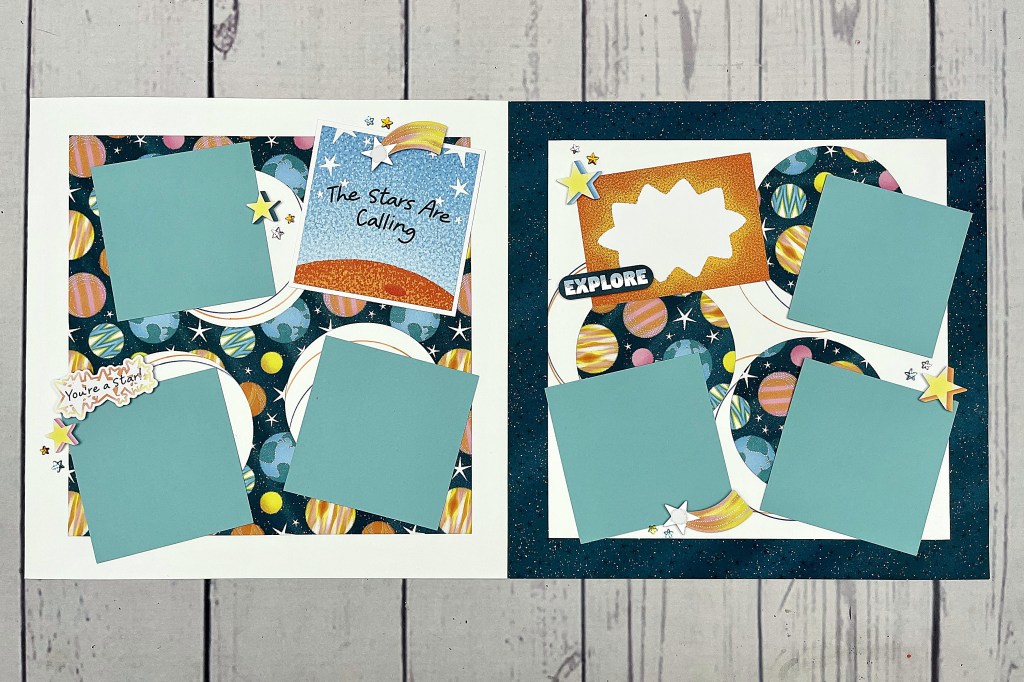
Step 3: Use two pieces of White Solid Cardstock or two White Plain Pages for the base of layout. Place the 10″ square in the middle of the left-hand page, and the 1″ frame showing the reverse pattern on the right-hand page. Arrange the three individual circles on the right-hand page as shown or desired.
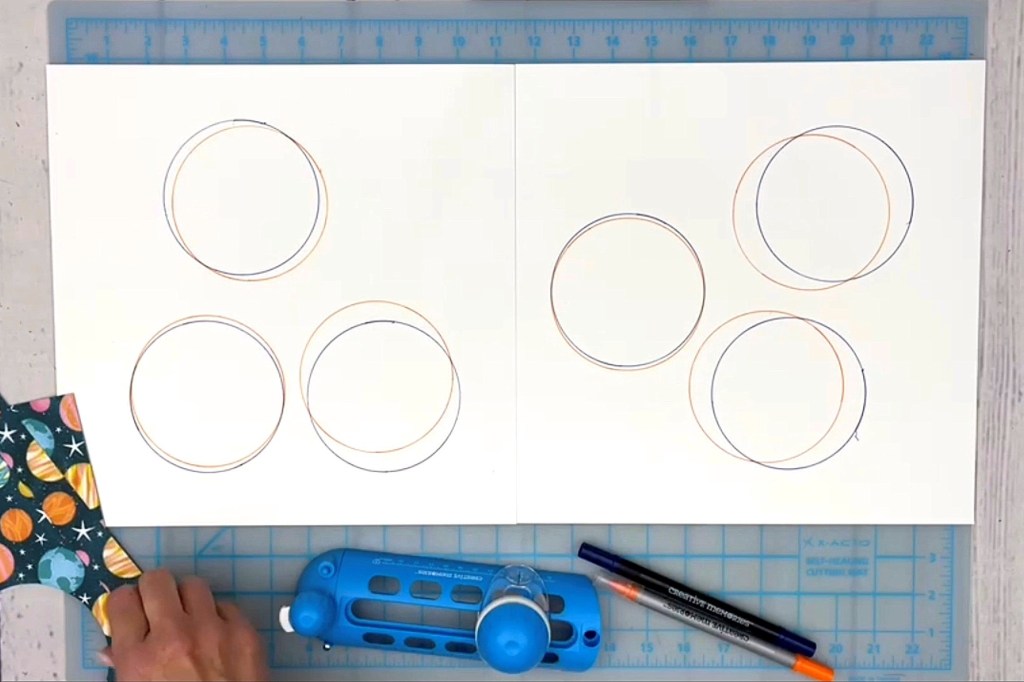
Step 4: Note the placement of the circles by lightly tracing around them with a pencil. Use the Circle Cutter with the fine-tip end of the Navy Dual-Tip Pen and the Orange Dot Tip Pen to draw 4″ circles that are slightly offset from the place where each circle will be adhered. Erase any pencil lines.
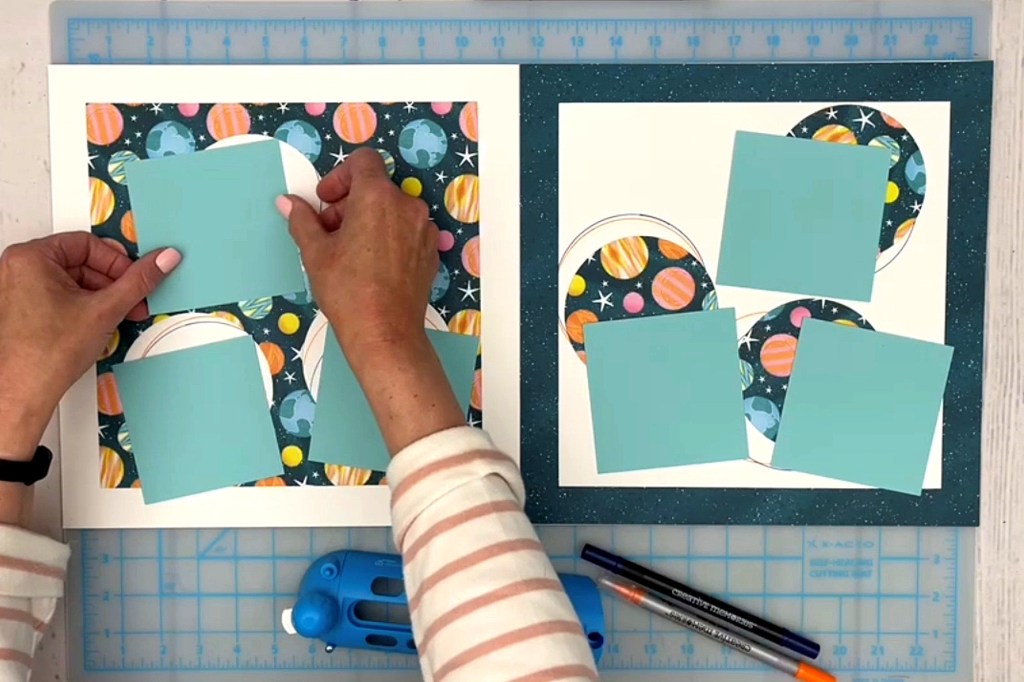
Step 5: Adhere the 10″ square, the frame and the three circles to the base pages. Add six 4″ x 4″ photos (or photo mats cut from Aqua Solid Cardstock as shown).
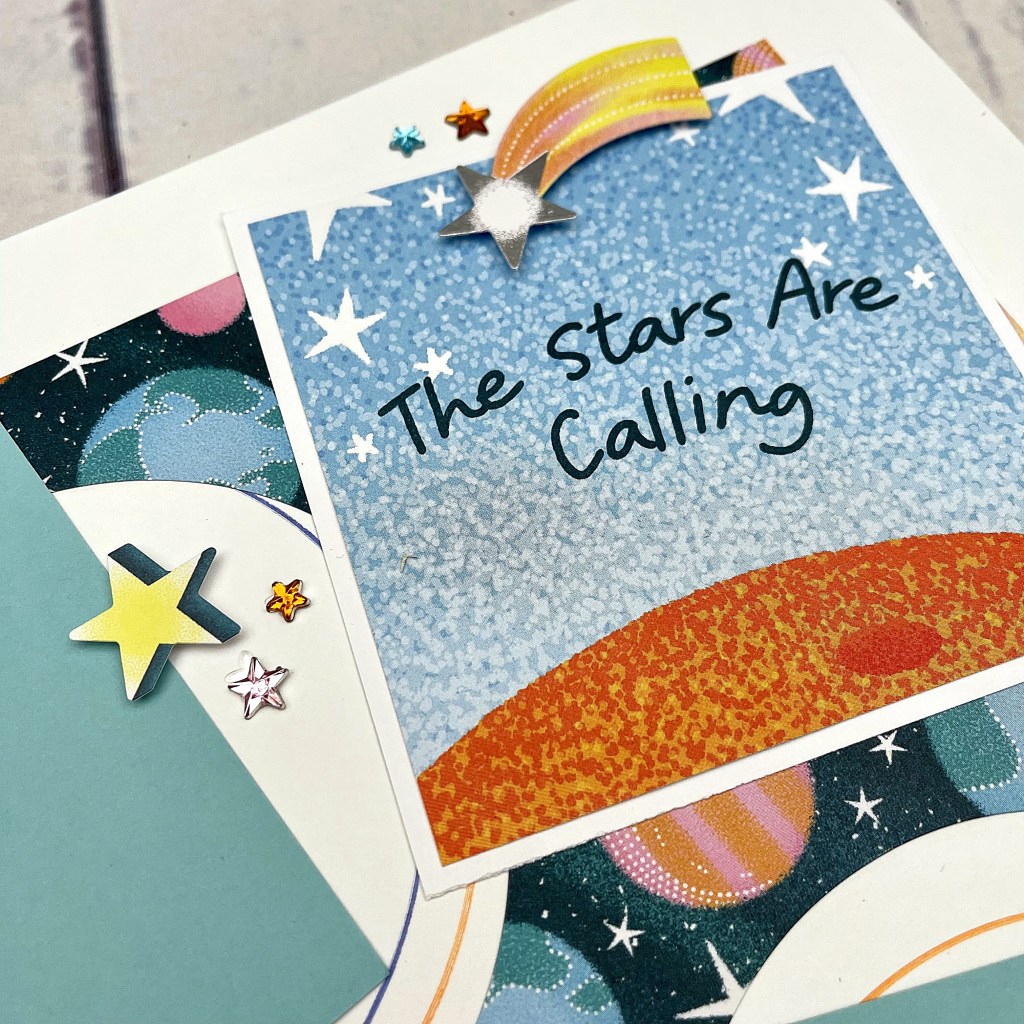
Step 6: Cut one mat to 4″ x 4″ to use as a title and cut one of the larger mat cards to half its size to use as a journal box. Adhere. Journal, add foiled embellishments with Foam Squares and arrange self-adhesive star gems to complete layout.
Have you tested out the spherical drawing and cutting sensations of the Circle Cutter? What do you like about this outer space scrapbook spread that Noreen made? Give a shout-out in the comments!

Love this! What a great idea to use the “negative” space side of the circles too!!
Simple but so inciteful, Noreen! Fun layout. Thanks for seeing and sharing what does not always come easily to me.