June 14, 2021
Soak Up the Sun with this Summer Scrapbook Layout
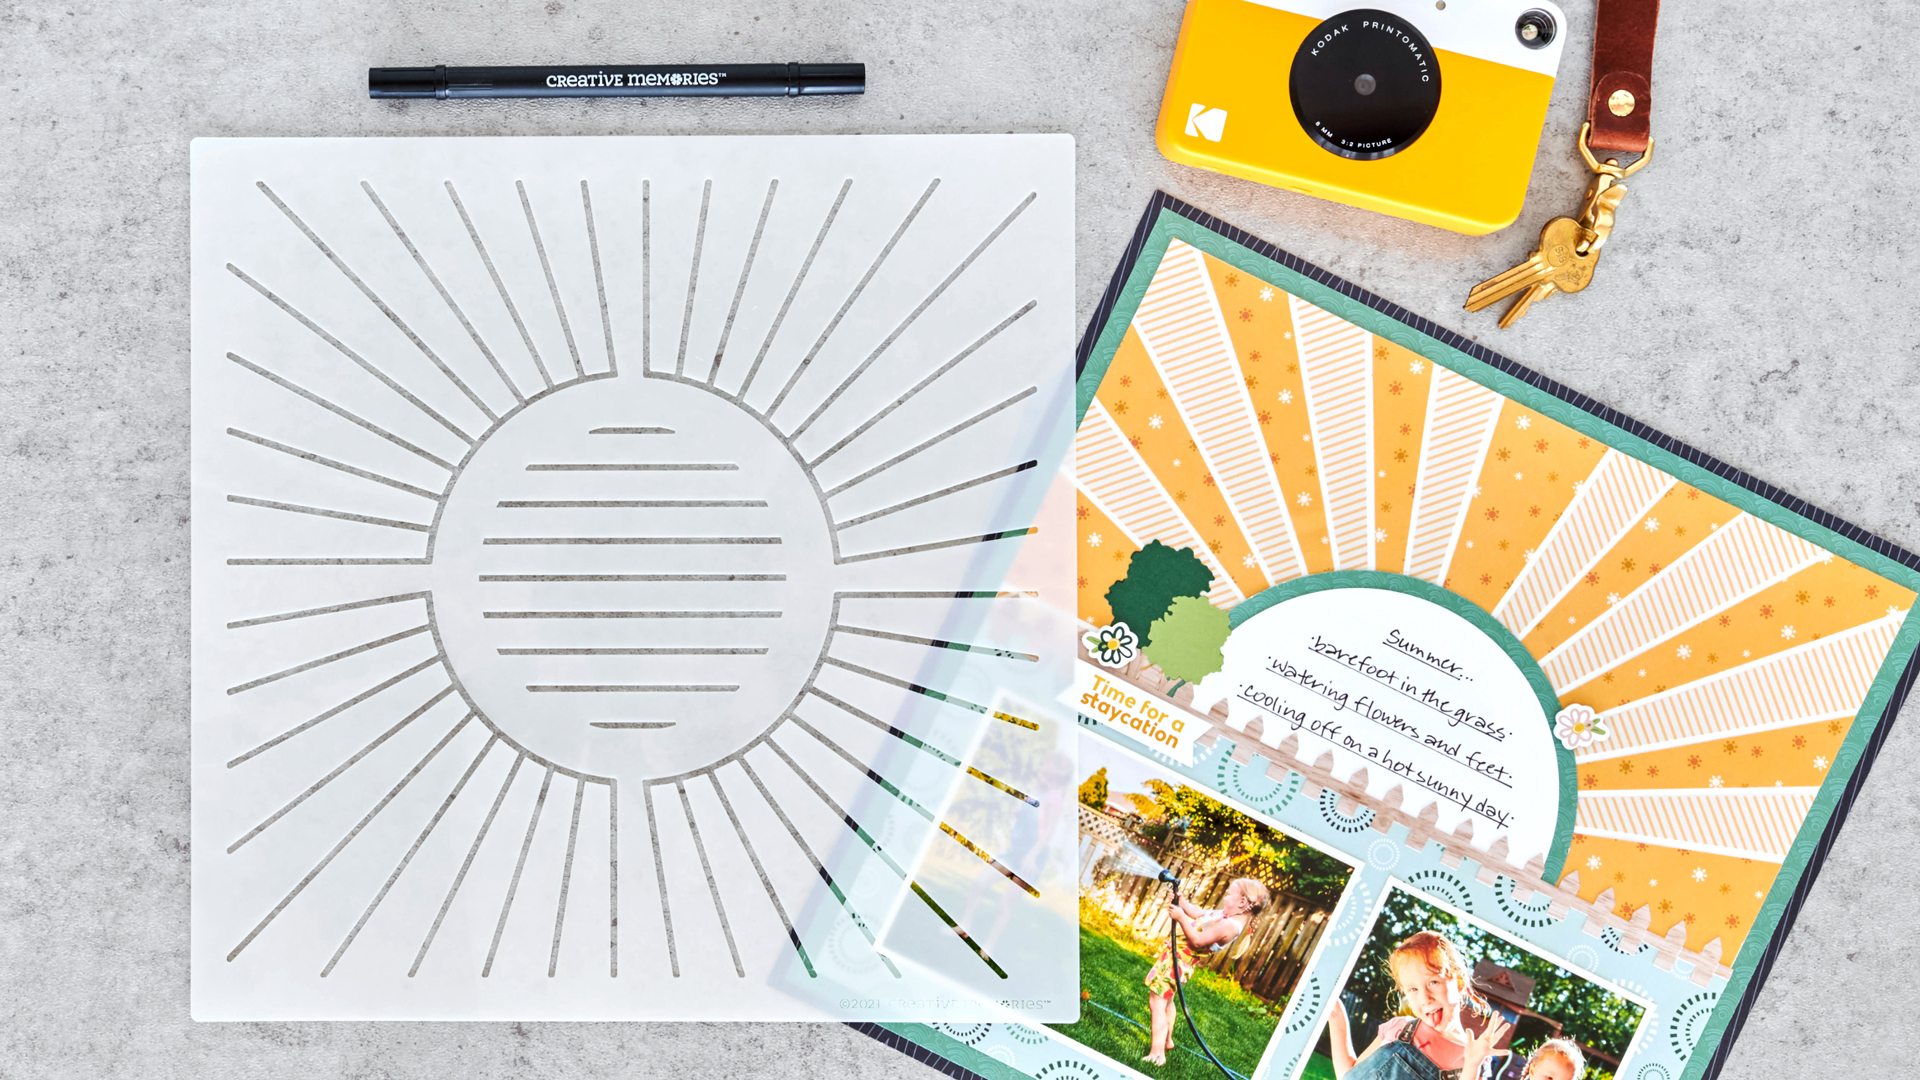
The Sunny Days Journal Template is a great way to add interest to your projects and layouts with sun and sun rays shapes — it’s the perfect way to share your sun-sational stories this summer! Take a look at this summer scrapbook layout that’s made with the Sunny Days Journal Template and start thinking of how you can rays your creative standard this summer!

To create these layout you’ll need:
- Staycation Paper Pack or (Shop Canada | Shop Australia)
- Staycation Stickers or (Shop Canada | Shop Australia)
- White Solid Cardstock or (Shop Canada | Shop Australia)
- Sunny Days Journal Template or (Shop Canada | Shop Australia)
- Custom Cutting System with Circle Patterns or (Shop Canada | Shop Australia)
- 12-inch Trimmer or (Shop Canada | Shop Australia)
- Micro-Tip Scissors (Shop Canada | Shop Australia)
- Tape Runner or (Shop Canada | Shop Australia)
- Repositionable Tape Runner or (Shop Canada | Shop Australia)
- Foam Squares or (Shop Canada | Shop Australia)
- Black Dual-Tip Pen or (Shop Canada | Shop Australia)
- Pencil
Want to load up on all of these ingredients? From now until Friday, you can get a coupon code — with no minimum spend — to use on savings for one (1) order! Head to the CM website now to place your order and/or get promo details below!
View Coupon Code Details: US | CA | AU

Step 1: Use a navy designer paper as the base for this layout. Trim a sheet of teal designer paper to measure 11-3/8” x 11-3/8” and mount on top of the base. Tip: to save paper, you may wish to cut out the inside of this piece using the 12-inch Trimmer.
Step 2: Using the Sunny Days Journal Template and a pencil, trace individual sunbeam shapes onto gold and gold striped designer papers, alternating colors, until you have traced half of the template’s rays. Trim out each shape using either Micro-Tip Scissors or the 12-inch Trimmer. Using the template as a guide, lay out and adhere each piece to a sheet of White Cardstock. Trim off 1/2″ from each side of the White Cardstock and mount on the layout.
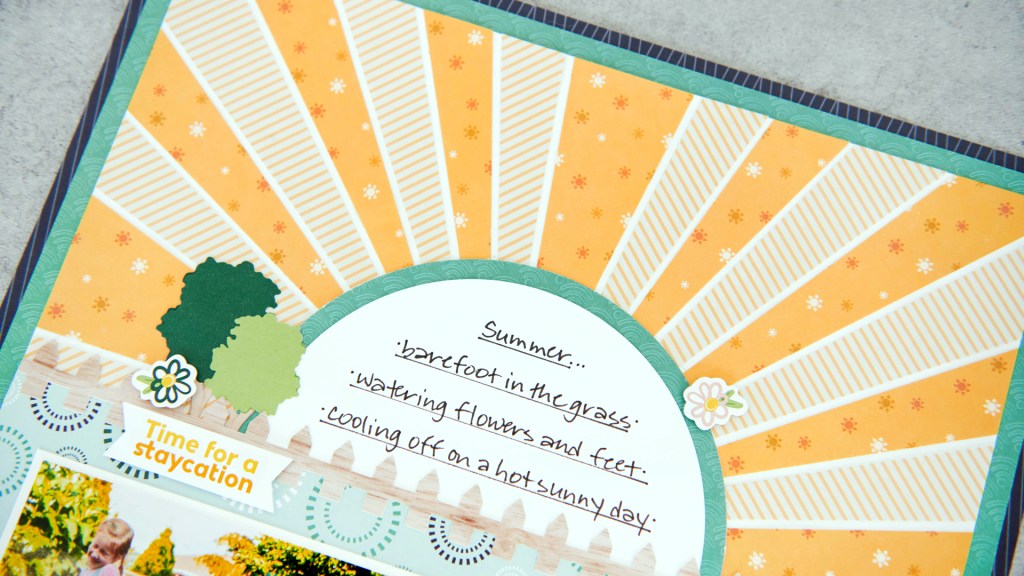
Step 3: Using the outside track of the medium Custom Cutting System Circle Pattern and the Blue Blade, cut a circle from White Cardstock. Using the outside track of the Custom Cutting System Circle Pattern and the Red Blade, cut a circle from teal paper. Mount the white circle on the teal circle and adhere to the center of the layout.
Step 4: Cut an 11” x 5-1/4” piece of teal circle paper. Adhere to the lower half of the White Cardstock. Top with the fence border sticker.
Step 5: Mat a 5-1/4” x 3-3/4” photo with a 5-1/2” x 4” piece of White Cardstock. Mat a 3-3/4” x 3-3/4” photo with a 4” x 4” piece of White Cardstock. Mount on the layout.
Step 6: Add stickers, popping some up with foam squares for added dimension.
Step 7: Using a Black Dual-Tip Pen and the Sunny Days Journal Template, draw journal lines on the white circle. Journal as desired.
What types of summer scrapbook layouts will you put together with the Sunny Days Journal Template? Let us know in the comments below!

How do we access the $20 coupon? It is mentioned above in the blog.
Just put ENJOY20 in the box at checkout where it says coupon codes
Thank you.
This is a beautiful layout! I really haven’t started taking photos, as summer is just getting underway here. But I would like to get some lovely landscape or sunrise/sunset photos.
In step 3 are the papers mixed up? I think the teal paper should be cut with the blue blade and the white should be cut with the red blade since the white circle is matted on top of the teal circle
Sharylene, oops! You’re correct. Thanks for the catch!
Love this design and its fun playful elements.
Love this layout, I am not understanding how the white base shows through? does it automatically show through since you need to flip the yellows and they don’t quite fit together after cutting. Just asking because I do not wish to waste paper on the designer paper and it is not making sense to me.. thank you