August 31, 2021
This Trendy With Tags Scrapbook Layout is Too Cool for School

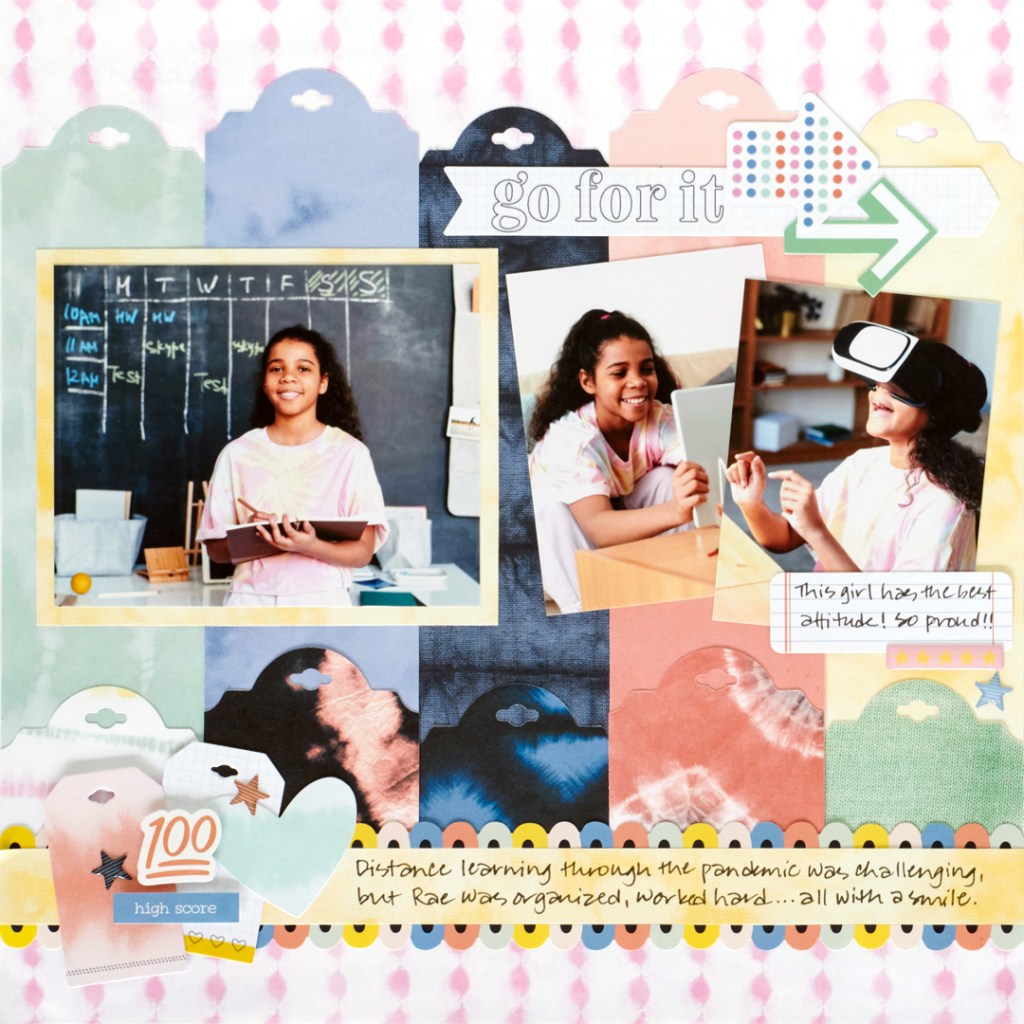
Many people have their own heartwarming, personal memories and flashbacks of school. From choir concerts to science fairs, adrenaline-filled sporting events and lunchtime hangouts with friends, there are so many wonderful events and activities to chronicle this passage of time. And when you add a bit of tie-dye flair and totally lit punched out labels to the mix, you get a trendy with tags scrapbook layout!
To create this layout you will need:
- Tie-Dye Paper Pack or (Shop Canada | Shop Australia)
- You Got This Embellishments or (Shop Canada | Shop Australia)
- You Got This Laser Cut Borders or (Shop Canada | Shop Australia)
- You Got This Stickers or (Shop Canada | Shop Australia)
- 3-in-1 Bevel Tag Punch or (Shop Canada | Shop Australia)
- 12-inch Trimmer with Straight & Scoring Blades or (Shop Canada | Shop Australia)
- Tape Runner or (Shop Canada | Shop Australia)
- Repositionable Tape Runner or (Shop Canada | Shop Australia)
- Foam Squares or (Shop Canada | Shop Australia)
- Black Dual-Tip Pen or (Shop Canada | Shop Australia)
Check out the 3-in-1 Bevel Tag Punch in action in the video below!

Step 1: Use a piece of taffy pink polka dot lines tie-dye paper as the base for this layout.
Step 2: Cut 2-1/2″ x 12″ strips of ombré green, blue, dark navy, melon red and lemon yellow tie-dye papers. Using the 12-inch Trimmer with the Scoring Blade, score all five strips at 9-1/2″. Punch both ends of each strip using the 3-in-1 Bevel Tag Punch. Fold each along the scored lines. Place the ombré green, dark navy and lemon yellow tie-dye strips evenly across the width of the base, about 1-1/4″ from the top with the shorter folded ends on the bottom. Layer and adhere the blue and melon red tie-dye strips in between, about 3/4″ from the top.
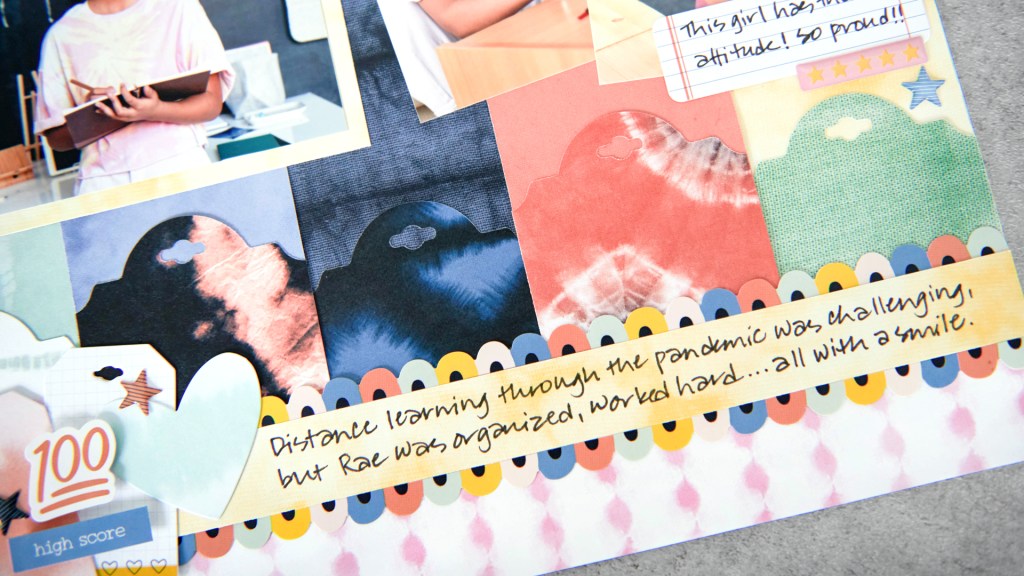
Step 3: Cut a 12″ x 1″ strip of lemon yellow tie-dye paper. Adhere it across the bottom edges of the folded strips, about 1-1/4″ from the bottom edge. Grab two rainbow scalloped border stickers and place along both long edges.
Step 4: Cut a 5-1/2″ x 4-1/2″ piece of lemon yellow tie-dye paper. Crop a photo to 5″ x 4″ and mount on top. Crop two photos to 3″ x 4″ and mount to the layout.
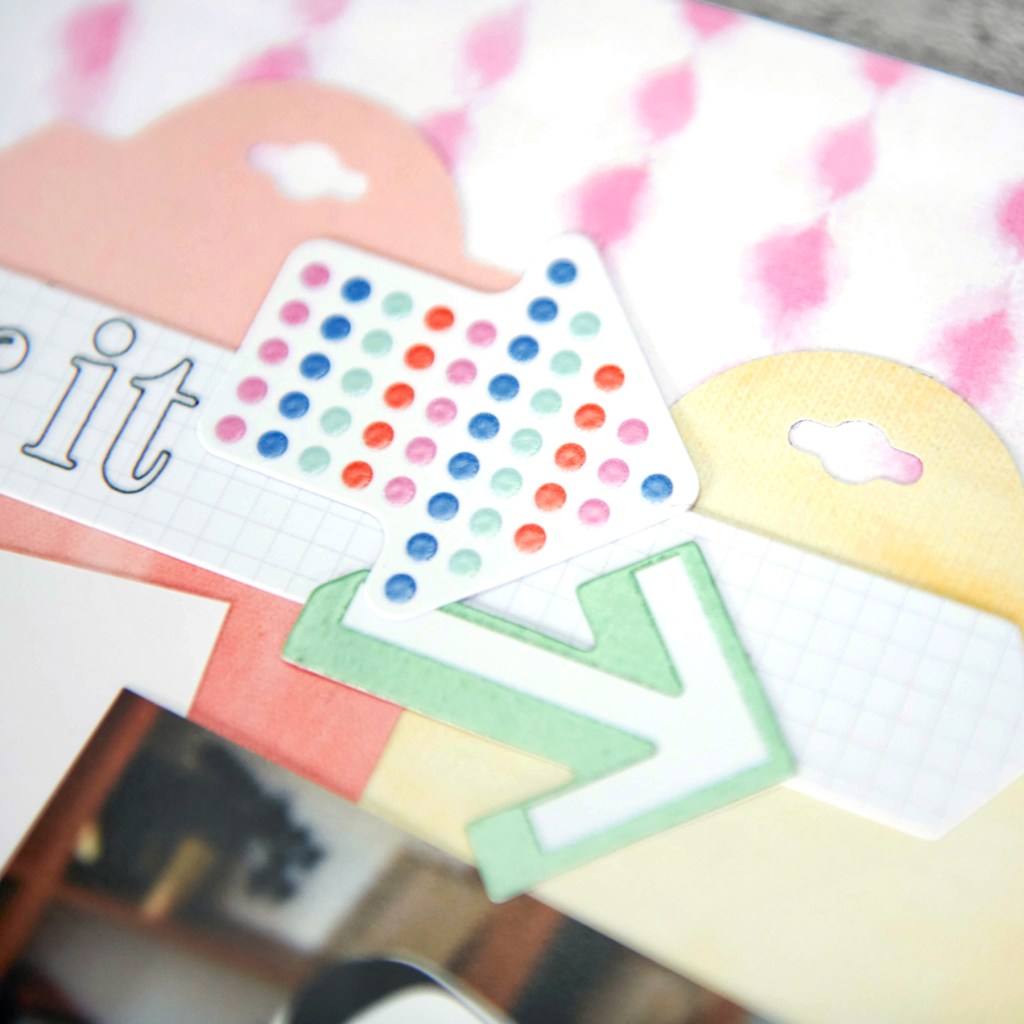
Step 5: Adhere embellishments and stickers, popping some up with Foam Squares for added dimension.
Step 6: Journal as desired.
What do you like most about this totally trendy with tags scrapbook layout? What memories would you show off on this project? Share your thoughts with us and fellow scrappers down below!

For those of us who are color coordinating challenged, what coordinating cardstocks would you recommend to go with this Tie Dye Designer Paper pack?