September 2, 2021
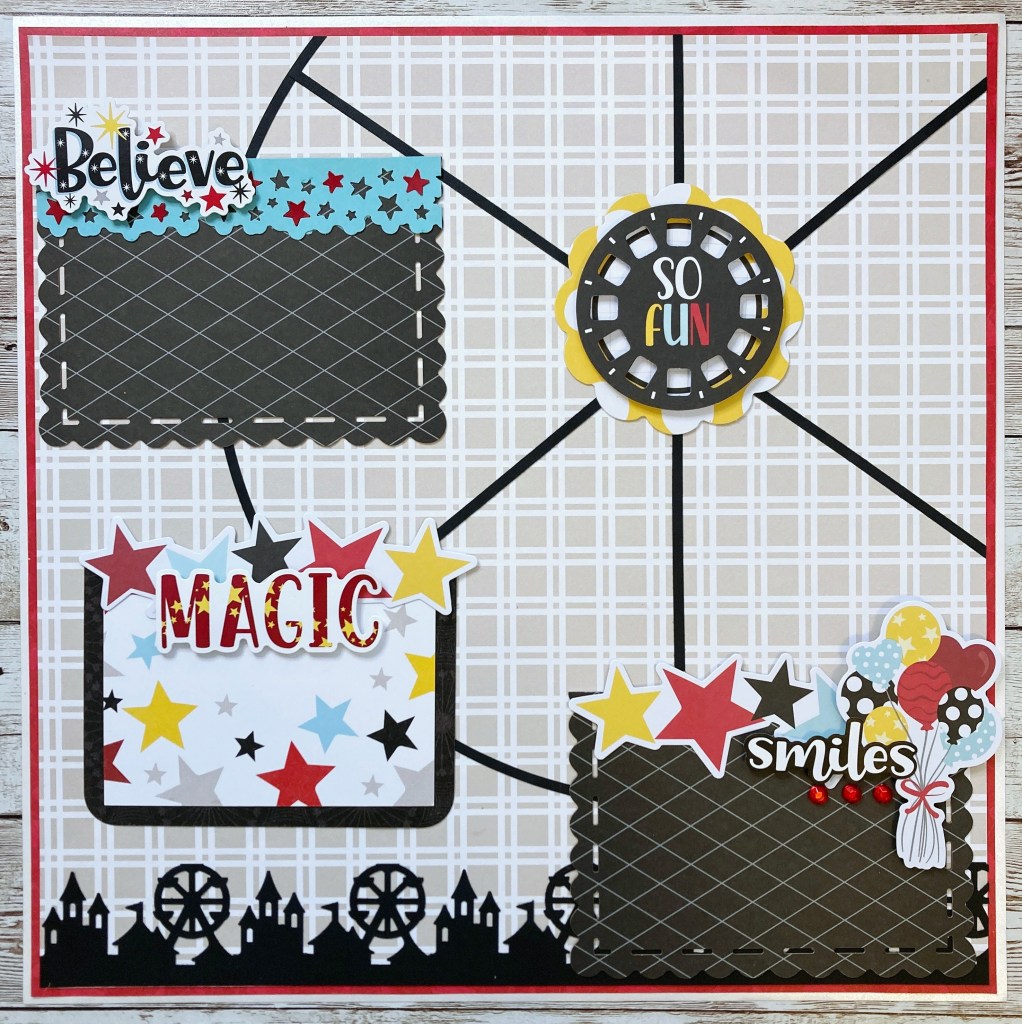
Ferris Wheel Craft: Make a Scrapbook Layout with Pockets

Originally the American answer to the Eiffel Tower, the Ferris wheel has been a hallmark of summertime fun since 1893. Ferris wheels truly are icons at county and state fairs, amusement parks and some boardwalks with their aerial panorama and dazzling neon lights. Blog contributor Sachiyo Omitsu had this high-in-the-sky ride (the best ride, in her opinion!) on her mind, so she created a Ferris wheel craft that took her memories to great heights! (Plus, the gondolas or passenger cars of the Ferris wheel are actually pockets!) Round up your supplies and make this scrapbook layout today — this is your ticket to creativity!
Sachiyo’s Inspiration
Do you remember the first roller coaster ride in your life? I still remember when I first rode a roller coaster. The ride looked so innocent from the outside that I thought it would become a fun magical ride… and just like that, my roller coaster phobia started! I still love to go to an amusement park with my family but the only “ride” I enjoy is a Ferris wheel. Are you a roller coaster enthusiast or not a big fan of thrilling rides?

To create this layout you will need:
- Sparks of Magic Paper Pack or (Shop Canada | Shop Australia)
- Sparks of Magic Tone-on-Tone Paper or (Shop Canada | Shop Australia)
- Aqua, Black, Cranberry, Goldenrod & White Shimmer Solid Cardstocks or (Shop Canada | Shop Australia)
- Sparks of Magic Stickers or (Shop Canada | Shop Australia)
- Sparks of Magic Embellishments or (Shop Canada | Shop Australia)
- Sparks of Magic Laser Cut Mats or (Shop Canada | Shop Australia)
- Sparks of Magic Variety Mat Pack or (Shop Canada | Shop Australia)
- Fairgrounds Border Punch or (Shop Canada | Shop Australia)
- Original Border Maker System with the Starry Border Maker Cartridge or (Shop Canada | Shop Australia)
- Custom Cutting System with the Jumbo Circle Pattern or (Shop Canada | Shop Australia)
- 2-Way Corner Rounder or (Shop Canada | Shop Australia)
- 12-inch Trimmer or (Shop Canada | Shop Australia)
- All-Purpose Scissors or (Shop Canada | Shop Australia)
- Tape Runner or (Shop Canada | Shop Australia)
- Repositionable Tape Runner or (Shop Canada | Shop Australia)
- Precision Point Adhesive Pen or (Shop Canada | Shop Australia)
- Foam Squares or (Shop Canada | Shop Australia)

Step 1: Use a piece of White Shimmer Solid Cardstock as the base of this layout. Cut the red hearts designer paper to measure 11-3/4″ x 11-3/4″ and mount on top of the base. Cut the cream plaid tonal paper to measure 11-1/2″ x 11-1/2″ and add to the page.
Step 2: Punch a border using the Fairgrounds Border Punch with Black Solid Cardstock and add near the bottom of the page. Trim the excess.

Step 3: Cut a ring using the outside edge of the Custom Cutting System Jumbo Circle Pattern with the Blue and Green Blades from Black Solid Cardstock. Add it to the page.
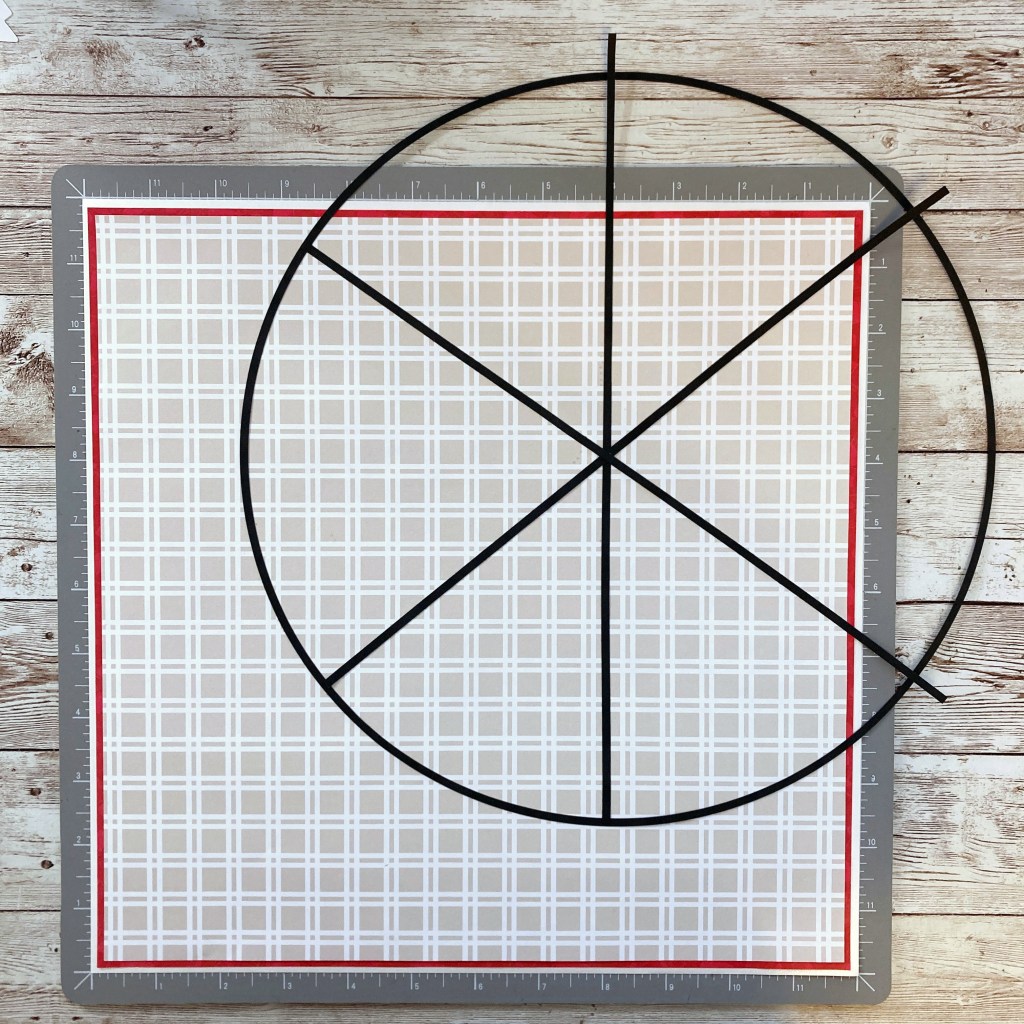
Step 4: Cut three strips from Black Solid Cardstock to measure 1/8″ x 12″. Add to the cut-out ring and trim the excess.
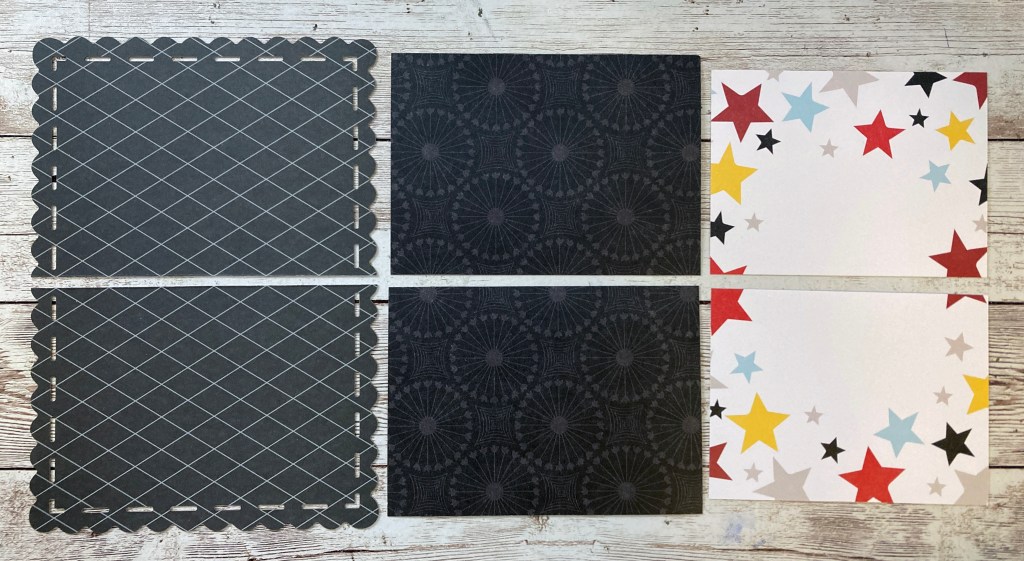
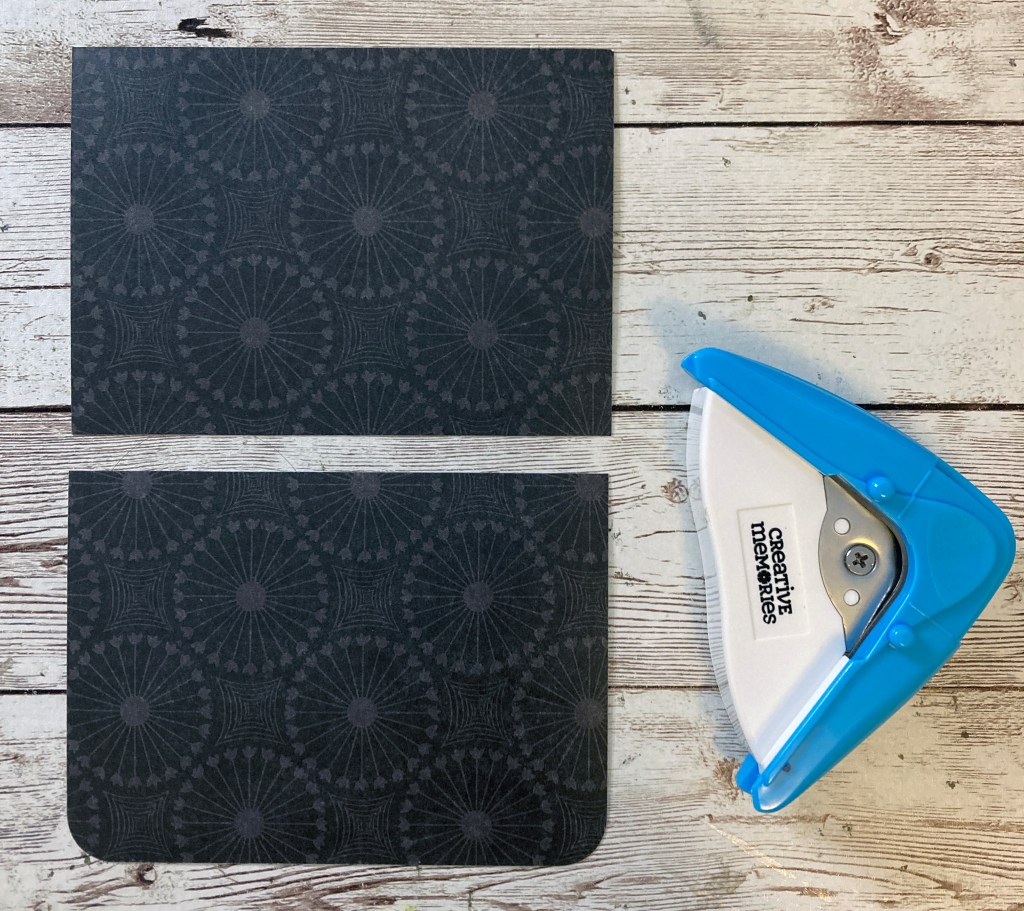

Step 5: Cut the black diagonal lines laser-cut mat and two variety mats — one large black variety mat and one small stars variety mat — in half. Using the 2-Way Corner Rounder, round the corners of the black variety mat as shown. Adhere the smaller stars variety mat along the top edge of the black variety mat. Using the Precision Point Adhesive Pen, apply glue on three edges of each mat to make a “gondola” pocket as shown. Add three gondola pockets to the page.
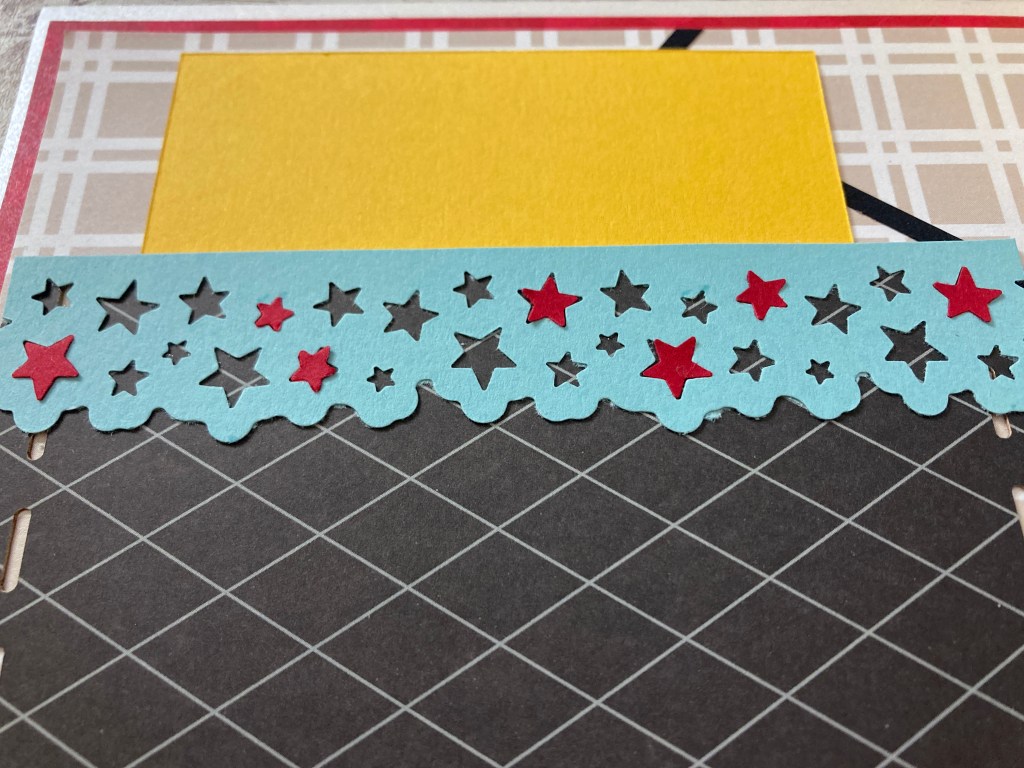
Step 6: Punch a border using the Starry Border Maker Cartridge with Aqua and Cranberry Solid Cardstocks. Cut the aqua border to measure 1″ x 4-7/8″ and adhere along the top edge of a gondola pocket. Randomly add cranberry cut-out stars to the border as shown.
Step 7: Cut three photo mats from Goldenrod Solid Cardstock to measure 3-1/2″ x 4″. Insert a mat to each gondola pocket.

Step 8: Adhere stickers and embellishments, using Foam Squares on some for added dimension.
Will you be making this Ferris wheel craft — and do you like riding Ferris wheels? What do you like most about this scrapbook layout? Feel free to drop your comments below!

Love this page!! Too pretty to cover up with photos!!
Very cute! I created a ferris wheel layout a while ago when I went to Disneyland it was so fun using the jumbo circle!
I love it!
I love the idea of using pockets. However I have a question: do you cover it with a page protector? If so, how do you retrieve the photo from the pocket?