January 7, 2022
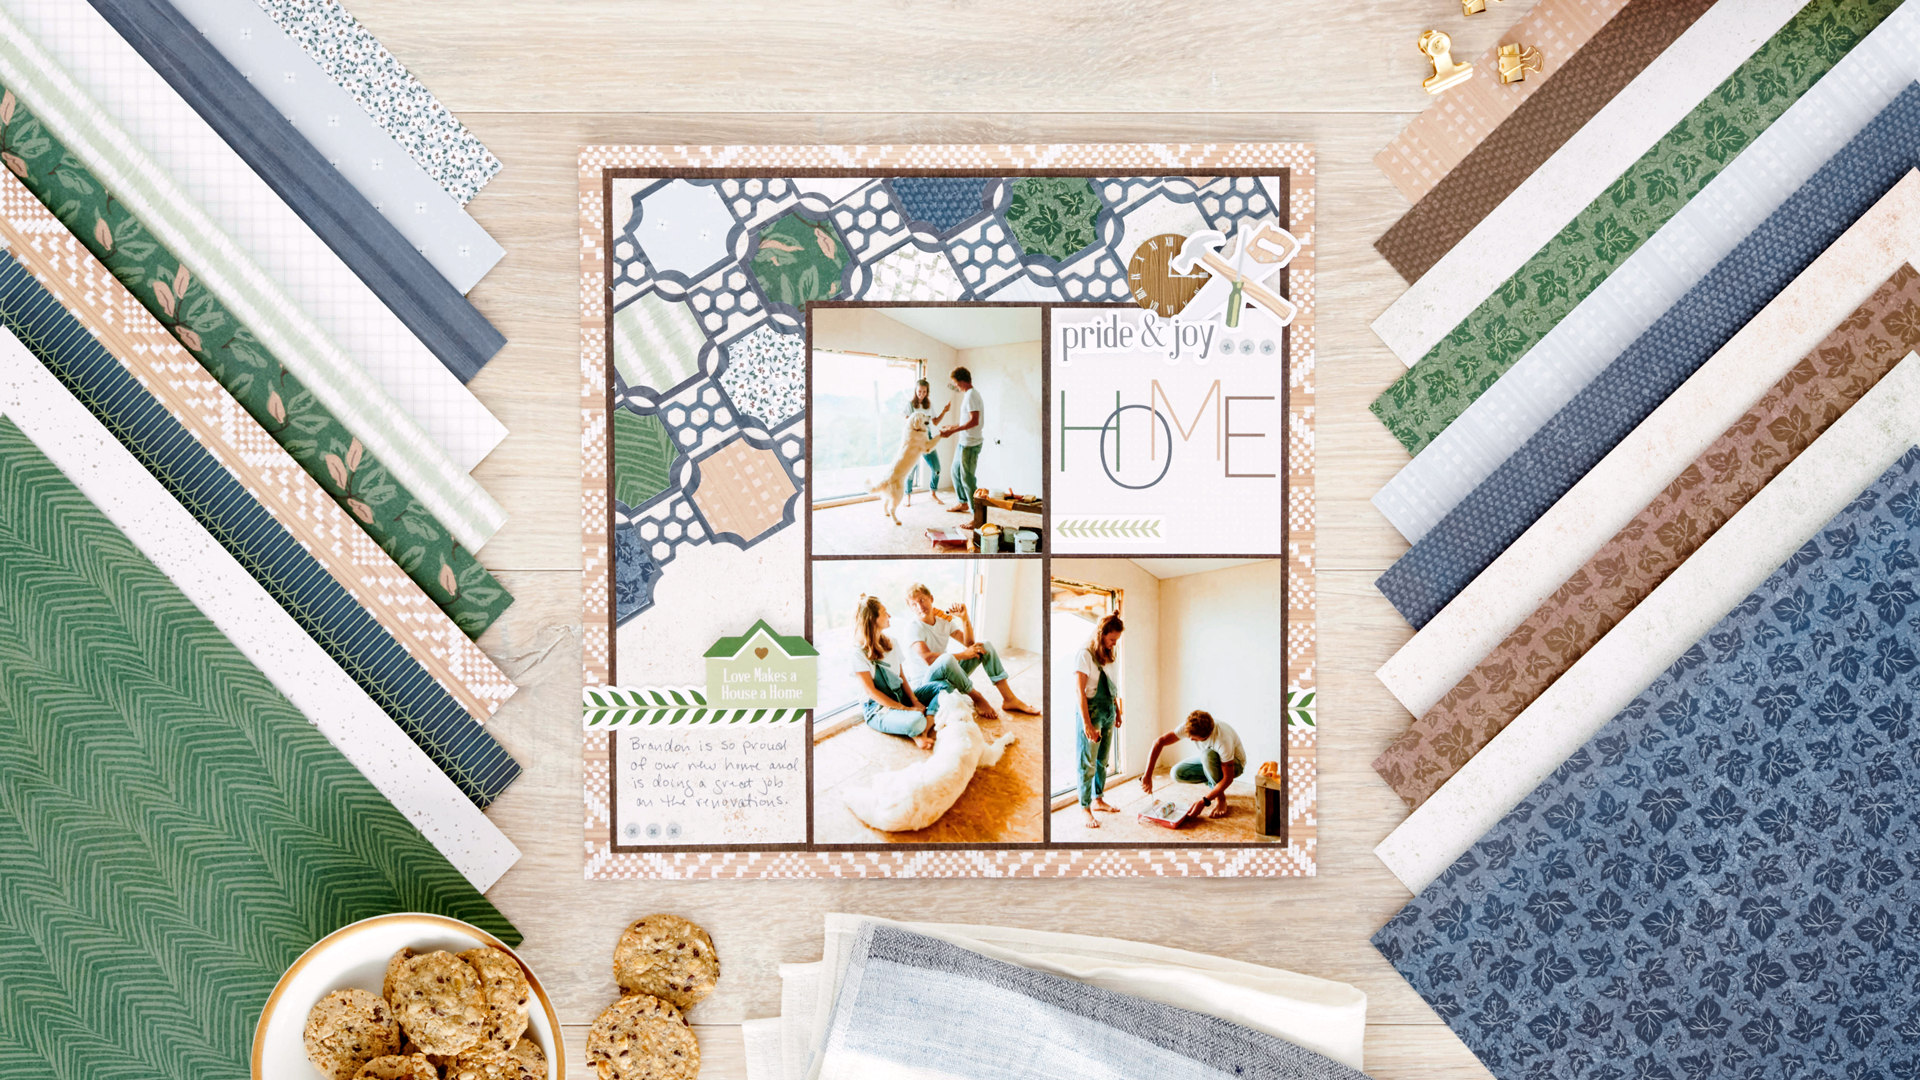
Open to a Warming and Welcoming Backdrop With This Home Scrapbook Layout
SOLD.
Whether it’s your first home or your 10th, purchasing a house is a big, exciting investment full of a thousand different processes and emotions. But a home is more than just walls and a roof over your head — it’s a place where your family and furry friends will reside, a place of comfort and heartwarming memories, a place to call and make your own. And if you want to make a home scrapbook layout that is your own to celebrate this milestone, then check out this beauty below! We’re sure you’ll be sold on it!

To create this layout you will need:
- Welcome Home Paper Pack or (Shop Canada | Shop Australia)
- Welcome Home Tone-on-Tone Paper Pack or (Shop Canada | Shop Australia)
- Welcome Home Variety Mat Pack or (Shop Canada | Shop Australia)
- Welcome Home Stickers or (Shop Canada | Shop Australia)
- Welcome Home Foiled Embellishments or (Shop Canada | Shop Australia)
- 12-inch Trimmer or (Shop Canada | Shop Australia)
- Original Border Maker System with Honeycomb Chain Border Maker Cartridge or (Shop Canada | Shop Australia)
- 2-Way Corner Rounder or (Shop Canada | Shop Australia)
- Micro-Tip Scissors (Shop Canada | Shop Australia)
- Repositionable Tape Runner or (Shop Canada | Shop Australia)
- Foam Squares or (Shop Canada | Shop Australia)
- Blue-Gray Dual-Tip Pen or (Shop Canada | Shop Australia)

Step 1: Cut the woodgrain designer paper to measure 11-1/8″ x 11-1/8″. Cut the tan faded speckles tonal paper to measure 10-7/8″ x 10-7/8″. Adhere the smaller piece to the larger piece.
Step 2: Using the Honeycomb Chain Border Maker Cartridge, punch three borders from navy blue brushstrokes designer paper.
Step 3: Cut (15) 1-3/4″ x 1-3/4″ squares from navy blue brushstrokes designer paper. Use the 2-Way Corner Rounder to notch the four corners of each square.
Step 4: Cut (15) 1-1/2″ x 1-1/2″ squares from various papers. Use the 2-Way Corner Rounder to notch the four corners of each square. Adhere to the larger navy blue brushstrokes squares.
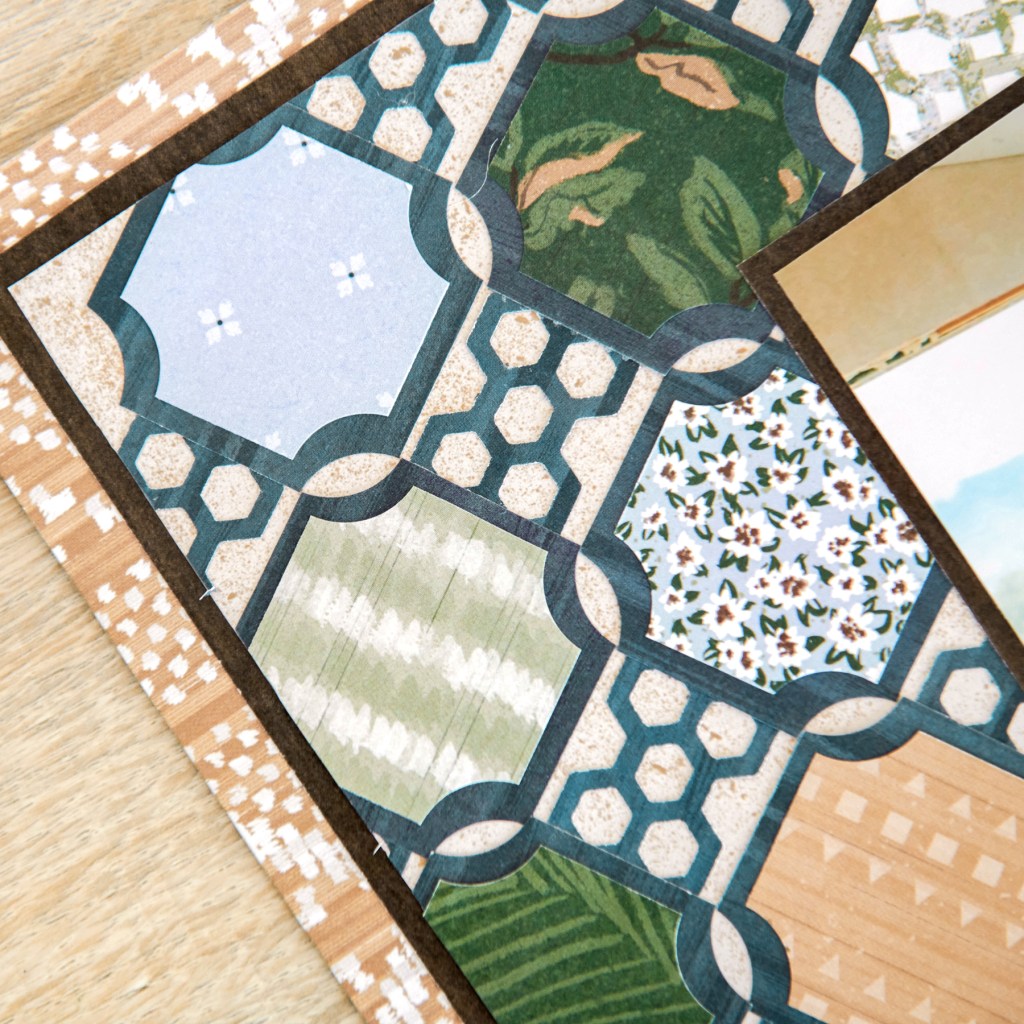
Step 5: Adhere the layered squares to the honeycomb borders as shown.
Step 6: Arrange and adhere the border strips to the tan faded speckles piece at an angle as shown. Use Micro-Tip Scissors or 12-inch Trimmer to cut off excess.
Step 7: Adhere the layered pieces to a sheet of basketweave designer paper.
Step 8: Cut a piece of woodgrain designer paper to measure 7-7/8″ x 9″ and adhere to the bottom-right corner of the page as shown.
Step 9: Crop a photo and a variety mat with a title to 3-3/4″ x 4″. Crop two additional photos to 3-3/4″ x 4-3/4″. Adhere title and photos to the woodgrain piece as shown.
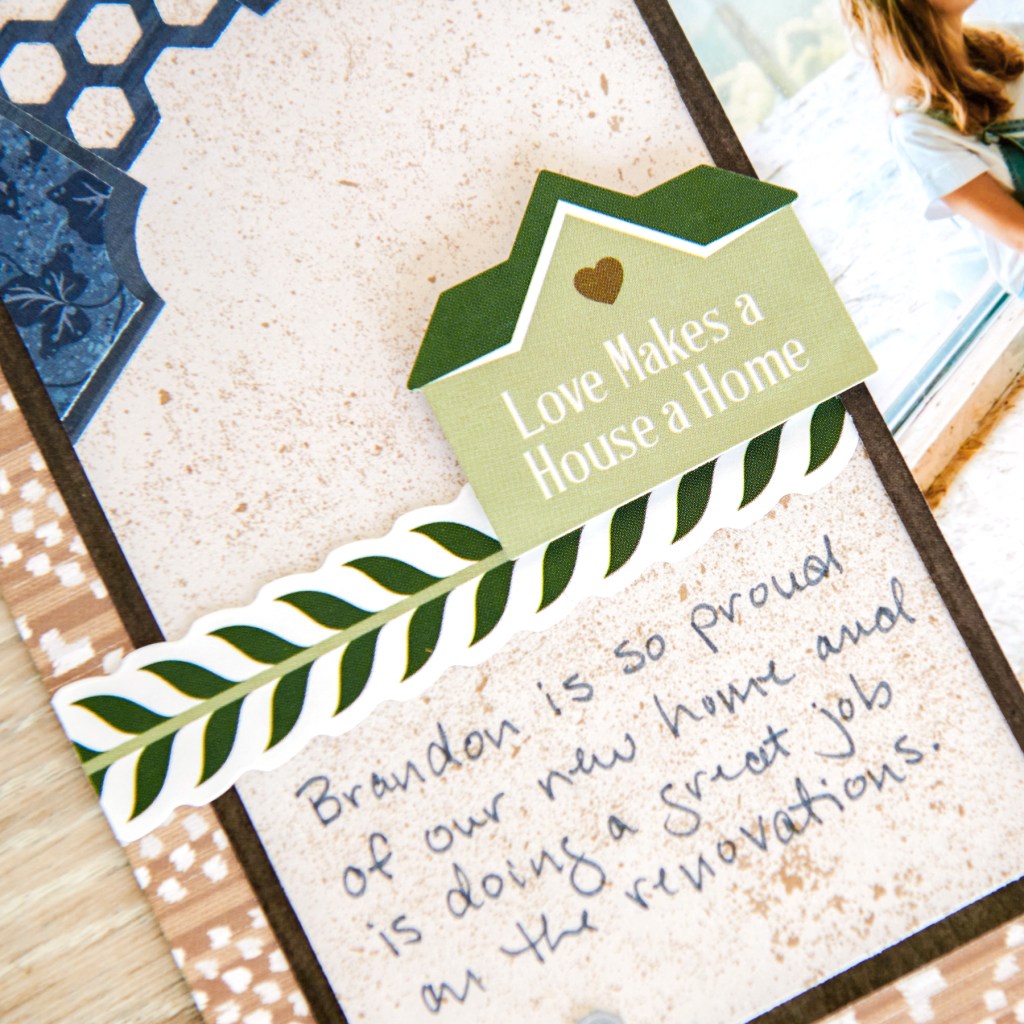
Step 10: Add stickers and embellishments using Foam Squares on some for added dimension. Journal with the Blue-Gray Dual-Tip Pen.
What memories of homeownership or fun at home would you welcome on this home scrapbook page? We’d love to hear from you, so share your thoughts with us and others!

Love this!
Love the color coordination , use of tools to coordinate with the embellishments!
This is an absolute beauty of a scrapbook layout! I hope it isn’t as hard to do as it looks! LOL. I am willing to try it though! Thanks for the inspiration!
Terrific job, I can hardly wait for my order to arrive so I can create my “Home” album !!
[…] take a little more time to create but the results are WORTH IT! You can find the original blog post HERE on the Creative Memories […]