April 19, 2023
Be Bold, Be Blue-tiful: Blue Scrapbook Layout
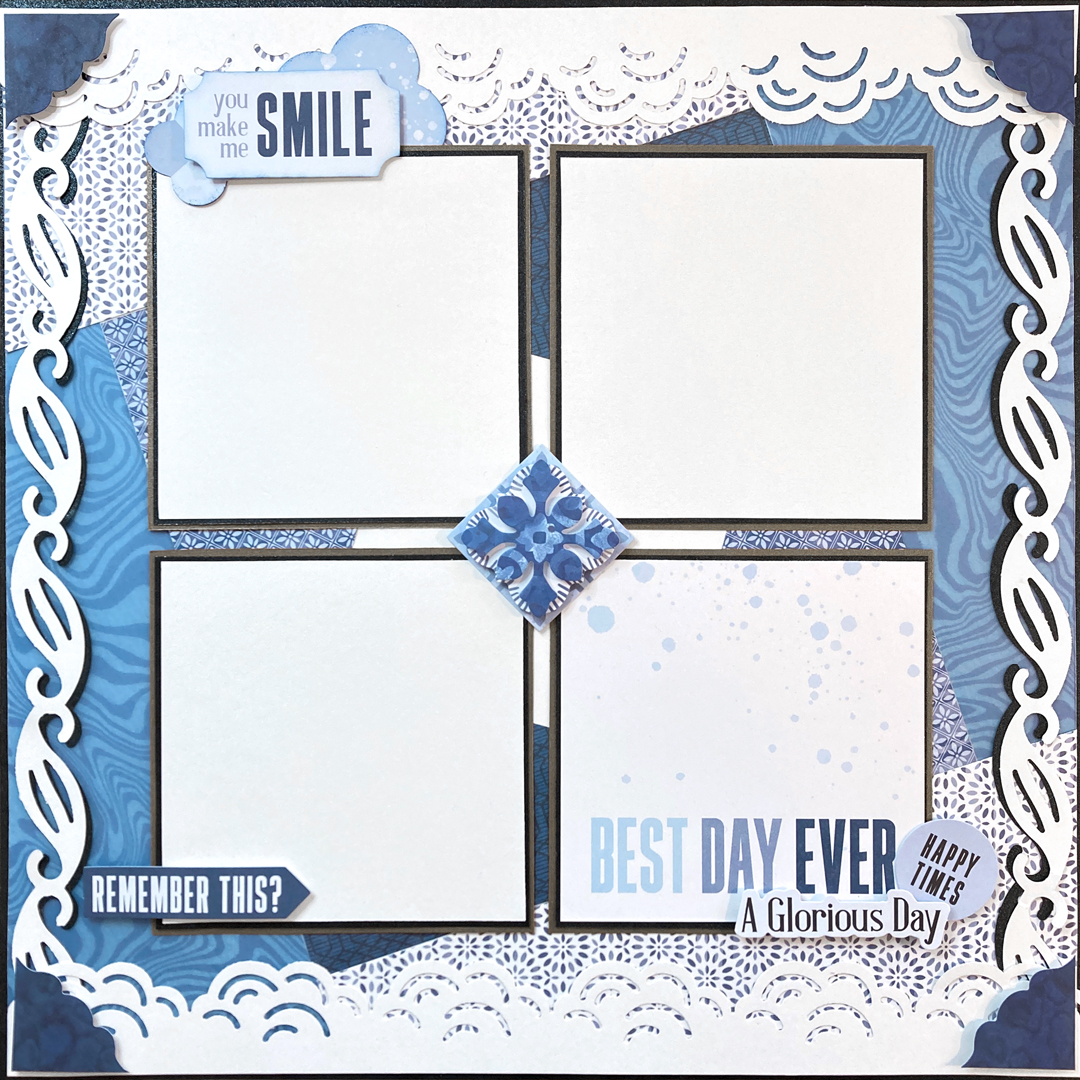
Did you know: Worldwide, blue is people’s most beloved hue? And the shade can represent so much — sky and the sea, open spaces, freedom, intuition, imagination, inspiration, loyalty, faith, intelligence and sensitivity. Well, you can represent your special memories with blue easy with the Cue the Blue collection! See the A-grade shades in this blue scrapbook layout from blog contributor Sachiyo Omitsu.

To create this layout you will need:
- Cue the Blue Paper Pack or (Shop Canada | Shop Australia)
- Cue the Blue Vellum Paper Pack or (Shop Canada | Shop Australia)
- Cue the Blue Embellishments or (Shop Canada | Shop Australia)
- Cue the Blue Variety Mat Pack or (Shop Canada | Shop Australia)
- Black Shimmer, Bronze Shimmer & White Solid Cardstocks or (Shop Canada | Shop Australia)
- Original Border Maker System with Wispy Chain Border Maker Cartridge or (Shop Canada | Shop Australia)
- Cloud Frame Punch — Out of stock
- 12-inch Trimmer or (Shop Canada | Shop Australia)
- All-Purpose Scissors or (Shop Canada | Shop Australia)
- Tape Runner or (Shop Canada | Shop Australia)
- Repositionable Tape Runner or (Shop Canada | Shop Australia)
- Vellum Tape Runner Refill or (Shop Canada | Shop Australia)
- Foam Squares or (Shop Canada | Shop Australia)
- Navy Dual-Tip Pen or (Shop Canada | Shop Australia)

Step 1: Use a piece of Black Shimmer Solid Cardstock as the base of this layout.
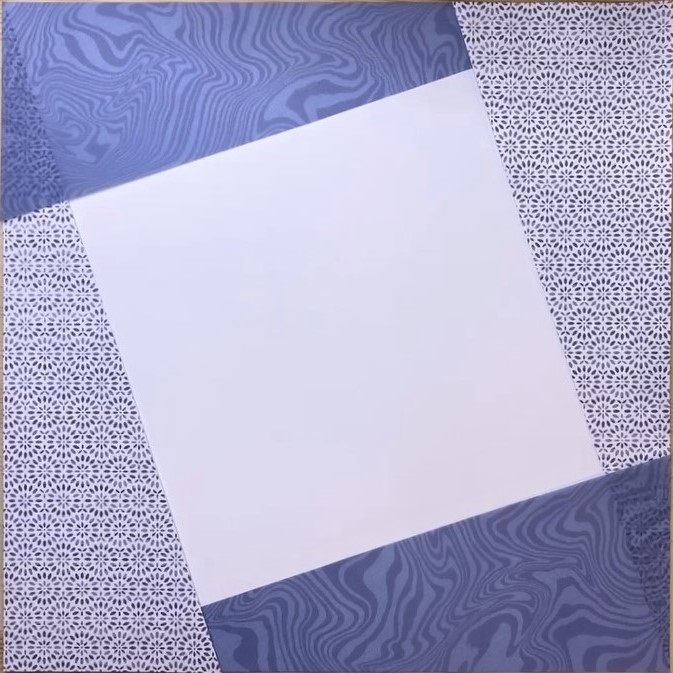
Step 2: Cut the smudges vellum paper and the floral mosaic designer paper to measure 4” x 12”. Stack two pieces together and cut in half diagonally. Adhere the segments to a piece of White Solid Cardstock, overlapping each other as shown above.
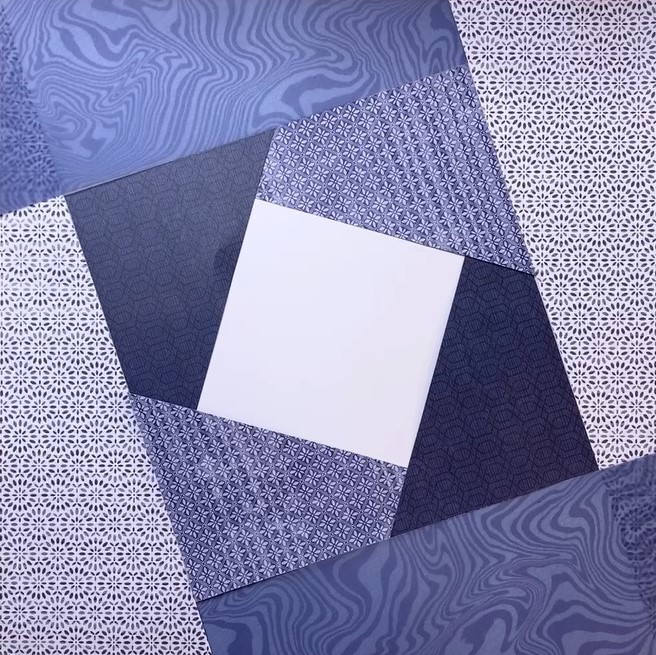
Step 3: Cut two pieces of 4” x 6” from the geometric trellis paper. Flip one of the pieces over and stack two pieces together. Cut them in half diagonally. Add to the page as shown. Trim the page to 11-3/4” x 11-3/4”.
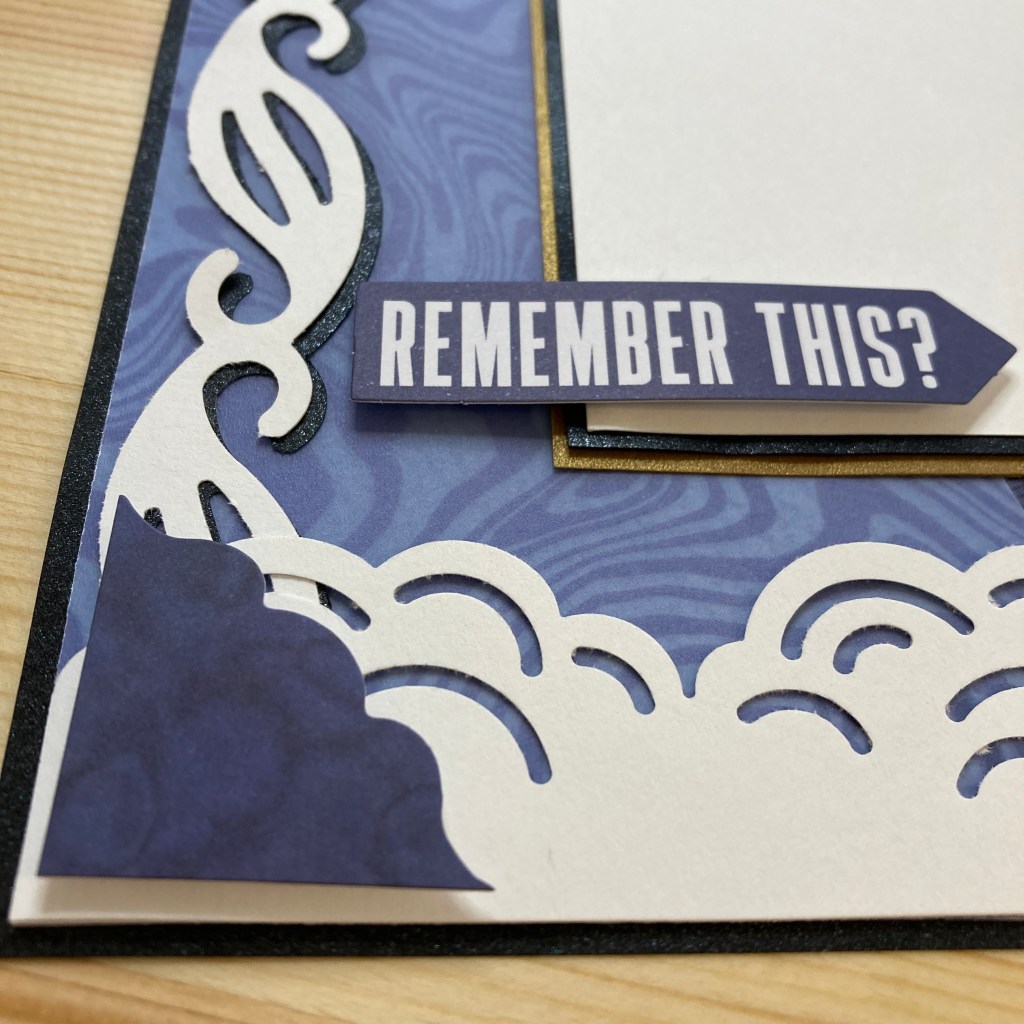
Step 4: Use the Cloud Frame Punch to punch a piece of White Solid Cardstock. Cut the border at 1-1/4” width. Cut two borders in total.
Step 5: Use the Wispy Chain Border Maker Cartridge to punch two borders from a piece of White Solid Cardstock and two borders from a piece of Black Shimmer Solid Cardstock. Adhere the black shimmer borders slightly offset from the white borders so that it looks like a shadow.

Step 6: Adhere the borders to the page and trim the excess.
Step 7: Add the page to the base.

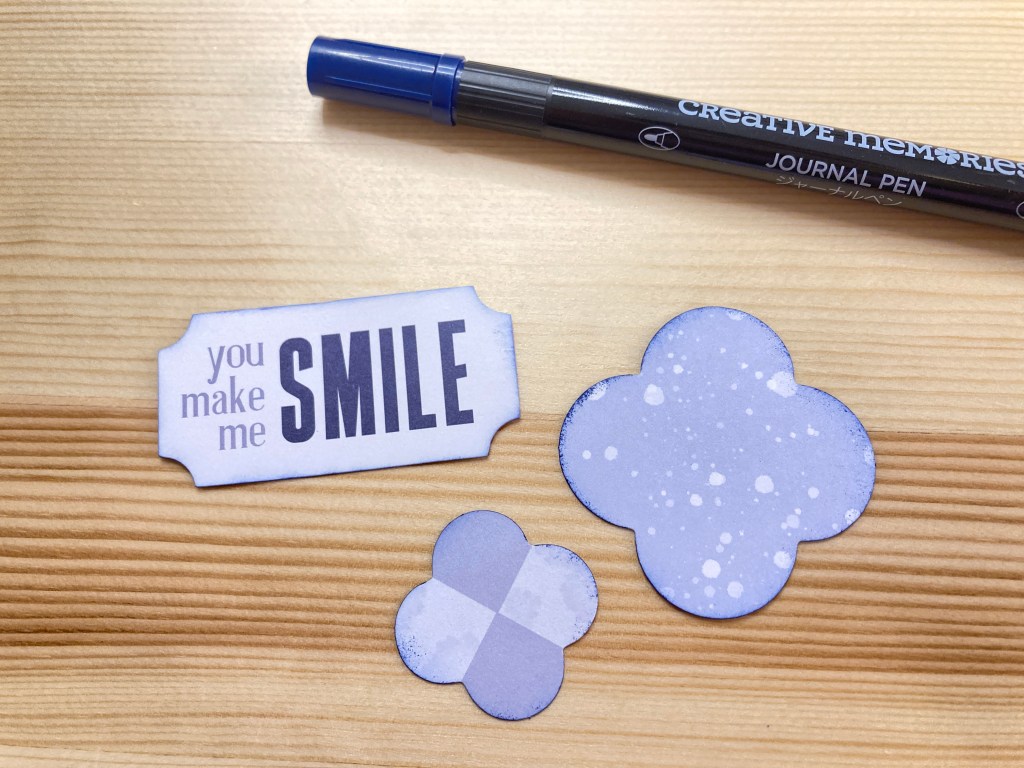
Step 8: Cut an embellishment into fours. Add it to each corner of the page. Ink the edges of some embellishments with the Navy Dual-Tip Pen as shown.
Step 9: Cut four mats to measure 4-1/4” x 4-1/4” from Bronze Shimmer Solid Cardstock, four mats to measure 4-1/8” x 4-1/8” from Black Shimmer Solid Cardstock and three mats to measure 4” x 4” from White Solid Cardstock. Cut the mat “Best day ever” to measure 4” x 4”. Adhere smaller mats to larger mats.
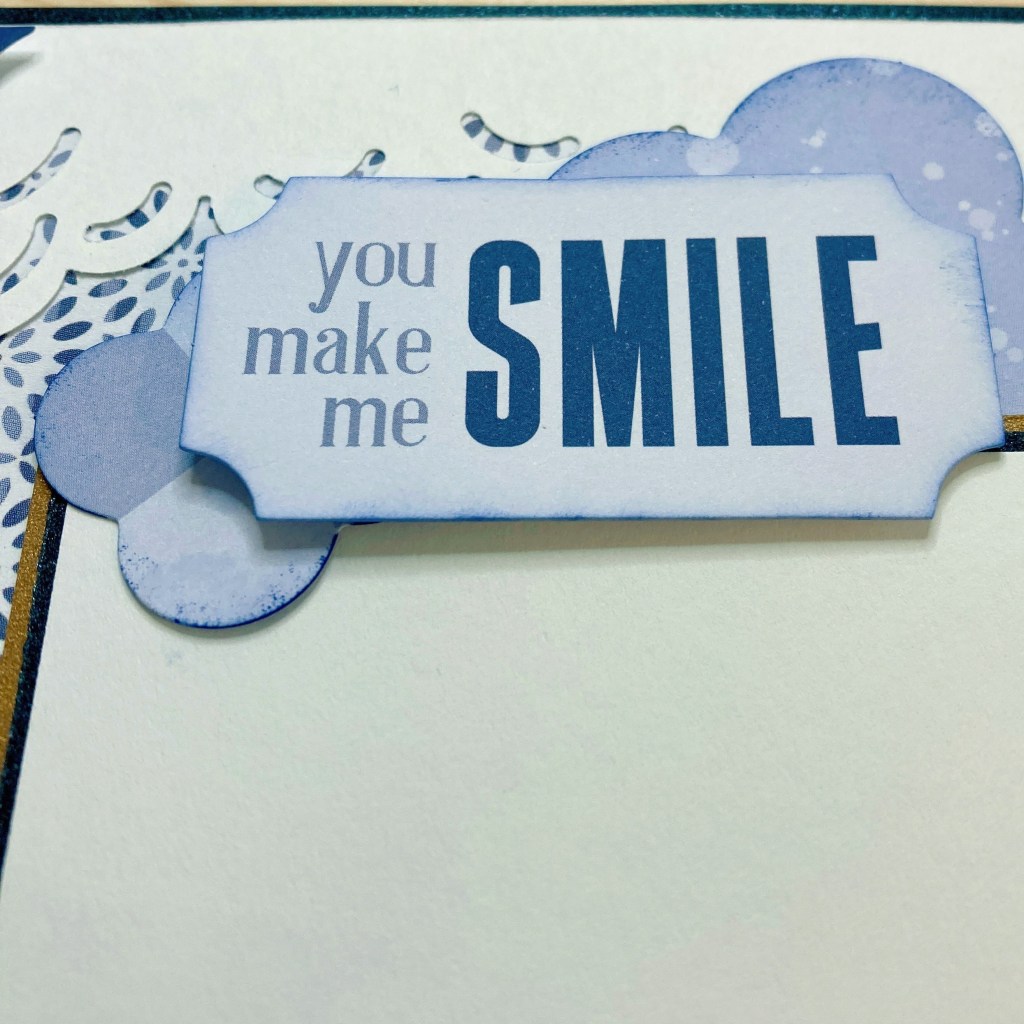

Step 10: Adhere embellishments and mats, using Foam Squares on some for added dimension.
What do you think of this blue scrapbook layout from Sachiyo?
P.S. Are YOU a member of the Virtual Crop Facebook Group? It’s your go-to place for MONTHLY Virtual Crops, MONTHLY Completed Album Challenges, WEEKLY LIVE STREAMING of Fast & Fun Projects with Noreen, LIVE QUARTERLY Secret Box Openings with project tutorials and so much more! We hope you’ll join our community of more than 31,000 fellow memory-keeping enthusiasts — you’ll feel right at home!

Stunning layout.
It’s a shame to cover the stunning background design with photo mats. I plan to use this design WITHOUT photos… as a title page for an album!
It’s blue-tiful, my favorite color ?
Absolutely Beautiful Sachiyo! Very Elegant and Challenging for advanced scrapbookers!
I love the color blue as well !!
Gorgeous!
Very pretty!
Will the cloud frame punch come back?