November 2, 2023
Scatter Joy Like Confetti With These Birthday Scrapbook Borders And DIY Card

From traditional small-flake, boldly hued paper to glittery bits and biodegradable beauties, confetti can turn any living room, restaurant venue, banquet hall and more into “Party Central.” And blog contributor Krislyn Mattei has her party hat on and Confetti Border Maker Cartridge (and other celebratory supplies!) at the ready to celebrate your next big bash with these birthday scrapbook borders and DIY card!

To create thse borders and cards you will need:
- Birthday Bonanza Paper Pack or (Shop Canada | Shop Australia)
- Birthday Bonanza Variety Mat Pack or (Shop Canada | Shop Australia)
- Birthday Bonanza Embellishments or (Shop Canada | Shop Australia)
- White, Dark Sea Green, Kelly Green, Soft Pink, Purple Ice & Eggplant Solid Cardstocks or (Shop Canada | Shop Australia)
- Original Border Maker System with Confetti Border Maker Cartridge or (Shop Canada | Shop Australia)
- Balloons & Stars Border Punch or (Shop Canada | Shop Australia)
- Custom Cutting System with Circle Patterns or (Shop Canada | Shop Australia)
- 12-inch Trimmer with Straight, Scallop & Scoring Blades or (Shop Canada | Shop Australia)
- 12-inch Decorative Trimmer or (Shop Canada | Shop Australia)
- Micro-Tip Scissors or (Shop Canada | Shop Australia)
- 3” x 4” Peekaboo Pockets™
- Tape Runner or (Shop Canada | Shop Australia)
- Repositionable Tape Runner or (Shop Canada | Shop Australia)
- Foam Squares Variety Pack or (Shop Canada | Shop Australia)

Eat Cake & Celebrate Border
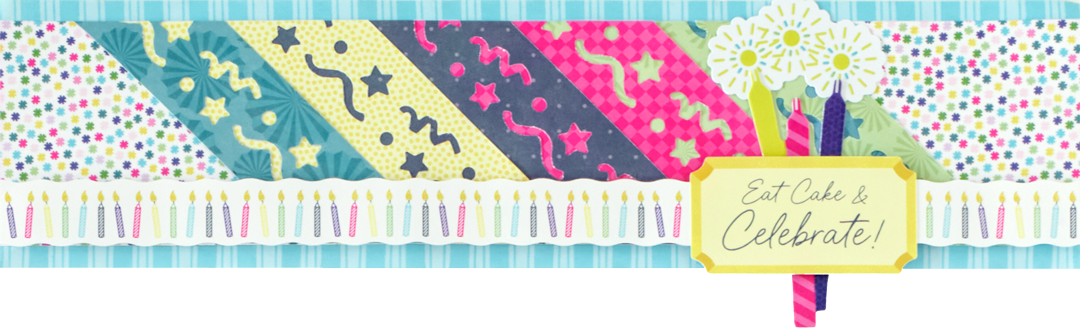
Step 1: Cut a 12” x 3” strip with wavy stripes paper for the base. Cut a 12” x 2-1/2” strip with pom-poms paper and adhere on the base.


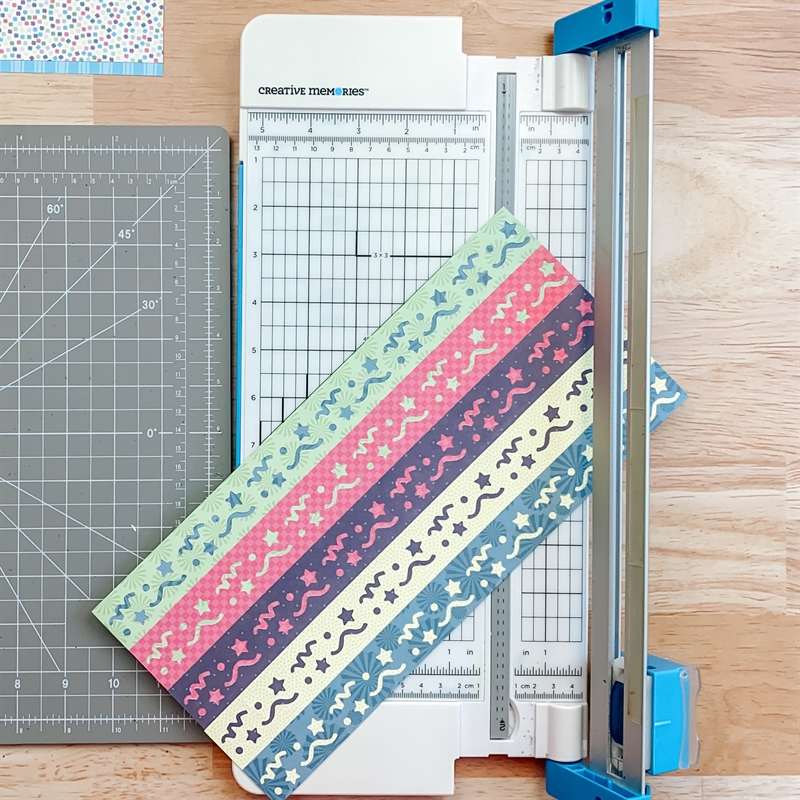

Step 2: Choose five designer papers. Using the Confetti Border Maker Cartridge, punch a border with all five papers. Trim each to 12” x 2-1/8”. Layer and adhere the strips together, overlapping as shown above. Trim off the top-most border (the teal paper fans one) to 1-1/8” and place the cut-off strip behind the bottom border (green paper fans). Place the whole piece on the 12-inch Trimmer so that one long edge is aligned on the 45-degree angle. Trim off the corner. Rotate the piece so that the edge just cut is on the 2-1/2” mark. Cut a strip. Place the strip on the border as shown.
Step 3: Adhere a candles border sticker using Foam Squares for added dimension. Add additional embellishments and stickers as desired.
Hip Hip Hooray! Border

Step 1: Cut a 2-1/2” x 12” strip of zigzag stripes paper for the base. Cut a 1/4″ x 12” strip with wavy stripes paper and adhere on the base, about 1/2″ from the left edge.
Step 2: Using the Confetti Border Maker Cartridge, punch a border with navy polka dots paper. Cut the strip to 1-7/8” x 12” and punch the other side. Cut two 1-3/4” x 2” pieces with wavy stripes paper, then two with magenta checkerboard and two with citrus yellow polka dots. Adhere behind the confetti-punched strip, alternating hues as shown.
Step 3: Using the inside edge of the medium Circle Custom Cutting System Pattern and the Red Blade, cut a circle with wavy stripes paper, then one each with magenta checkerboard and citrus yellow polka dots papers. Cut each circle in half. Adhere the halve behind the confetti-punched strip, as shown. Adhere all on the base.
Step 4: Mount the “Hip hip hooray!” embellishment using Foam Squares for added dimension.
Cheers to You Shaker Card
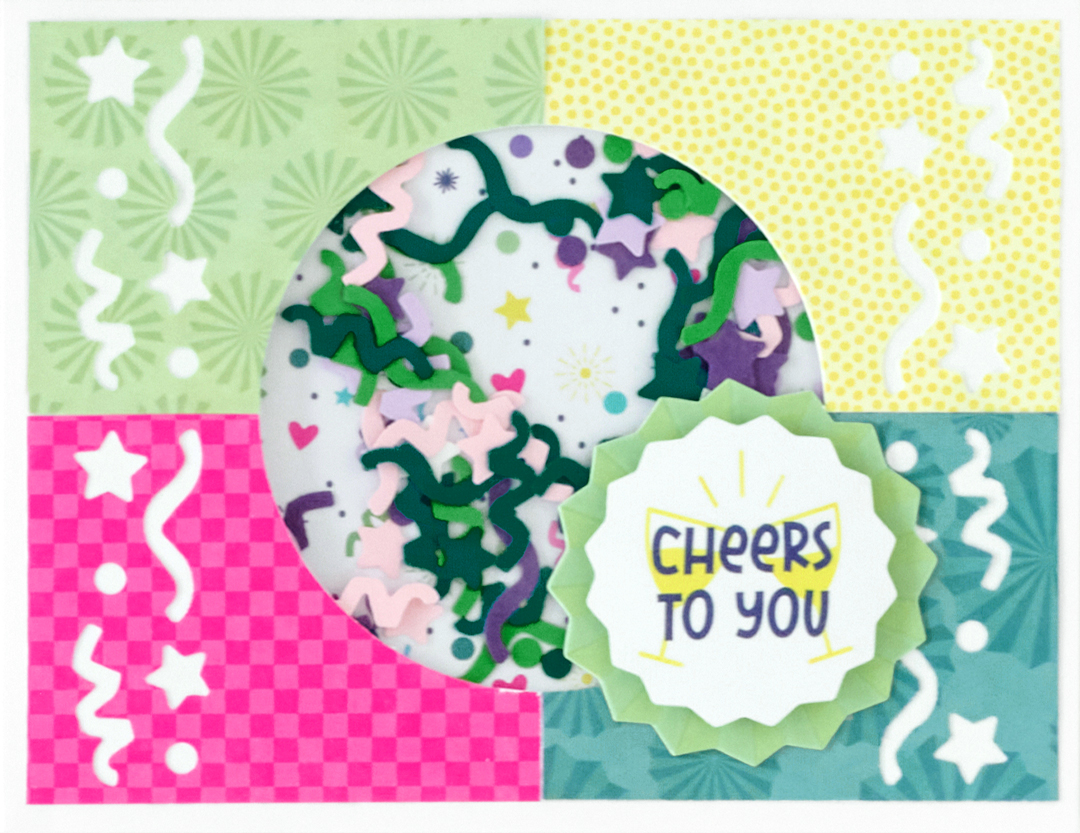
Step 1: Create the card base. Cut an 8-1/2” x 5-1/2” piece with White Solid Cardstock. Using the 12-inch Trimmer and the Scoring Blade, score along the long edge at 4-1/4” and fold in half.
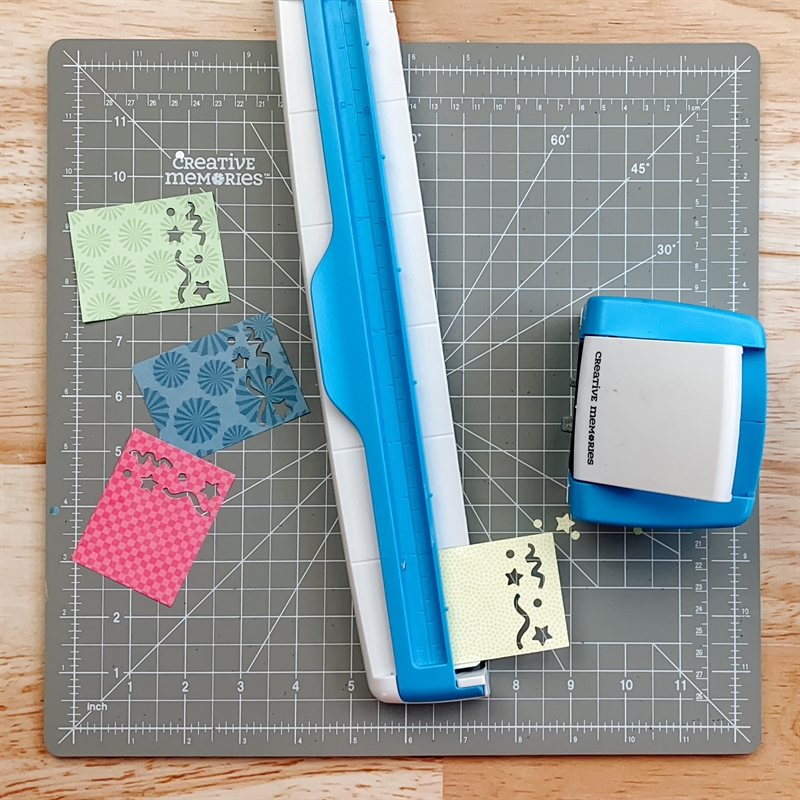

Step 2: Cut a 2-5/8” x 2” piece of green fans, citrus yellow polka dots, magenta checkerboard and teal paper fans papers. Using the Confetti Border Maker Cartridge, punch one 2” side of each piece. Adhere the pieces as shown on the front of the card.
Step 3: Open the card and place on the 13×13 Custom Cutting System Mat. Using the inside edge of the largest Circle Custom Cutting System Pattern and the Blue Blade, cut a circle from the card, placing the pattern so it’s even on the top three sides as shown above.


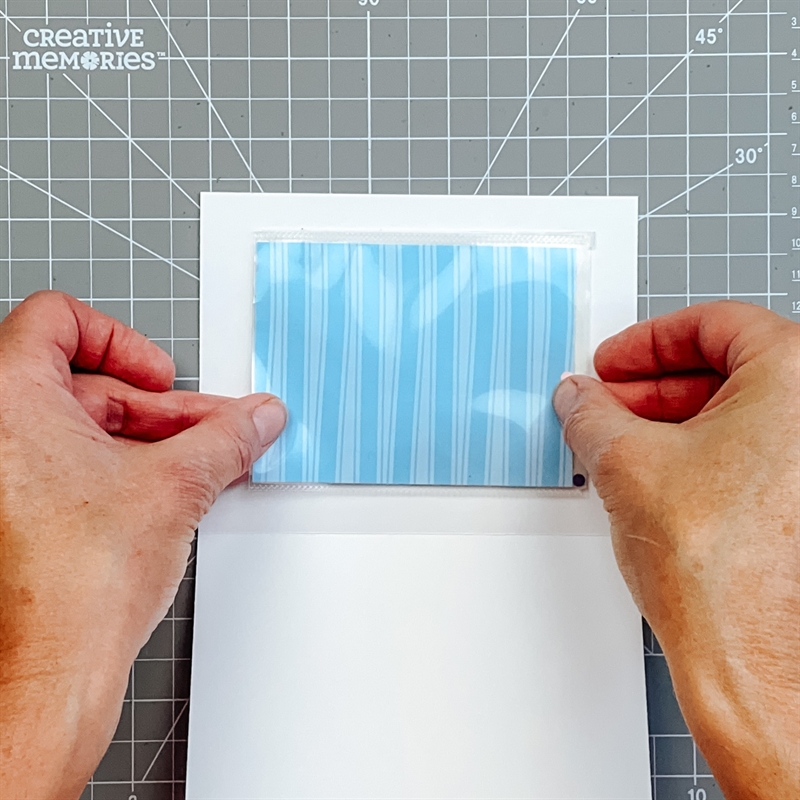
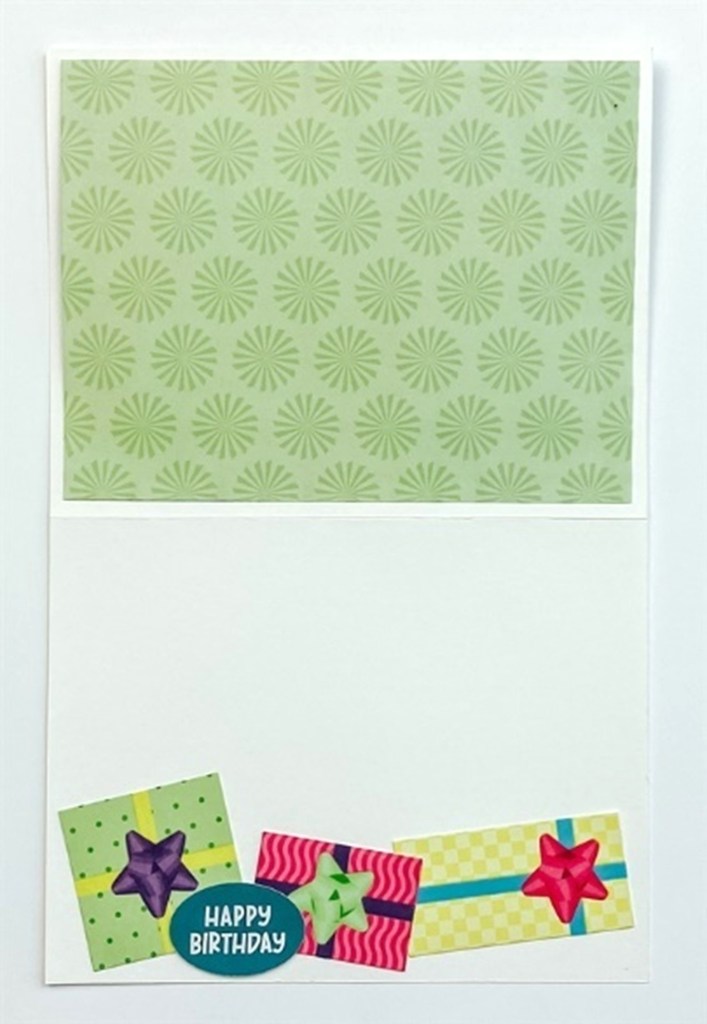
Step 4: Cut a 4” x 3” piece of confetti paper and insert into a 3” x 4” Peekaboo Pocket™ (with the opening on the 3” side). Using the Confetti Border Maker Cartridge, punch borders with several colored cardstock scraps. Scoop up the confetti and pour into the Peekaboo Pocket™. Tape shut. Adhere the pocket on the inside of the card over the circle opening. Cut a 5-1/4” x 4” piece with green paper fans paper and adhere over the pocket on the inside of the card.
Step 5: Adhere embellishments and stickers on the front and inside of the card as desired.
Hooray Border

Step 1: Cut a 12” x 3” strip with zigzag paper for the base. Cut a 12” x 2-1/2” strip with confetti paper and adhere on the base.
Step 2: Using the wavy edge of the 12-inch Decorative Trimmer, cut a 12” x 1-1/4” strip with navy polka dots paper. Adhere on the border, about 1/2″ from the bottom edge.
Step 3: Using the Balloons & Stars Border Punch, punch a border with each Kelly Green Solid Cardstock, wavy stripes, citrus yellow polka dots and magenta checkerboard papers. Adhere the Kelly green border on the layout as shown. Using Micro-Tip Scissors, trim out balloons from each of the other punched borders. Adhere on the Kelly green piece.
Step 4: Using Confetti Border Maker Cartridge, punch borders from Kelly Green Solid Cardstock, citrus yellow polka dots and magenta checkerboard papers. Apply Repositionable Tape Runner to the “strings” and adhere on the border as shown.
Step 5: Add embellishments and stickers, popping some up with Foam Squares for added dimension.
Do these birthday scrapbook borders and DIY card bring the party to your project area?
P.S. Are YOU a member of the Virtual Crop Facebook Group? It’s your go-to place for MONTHLY Virtual Crops, MONTHLY Completed Album Challenges, WEEKLY LIVE STREAMING of Fast & Fun Projects with Noreen, LIVE QUARTERLY Secret Box Openings with project tutorials and so much more! We hope you’ll join our community of more than 36,000 fellow memory-keeping enthusiasts — you’ll feel right at home!

Absolutely ? love ??? these.