April 19, 2024
Camera Borders To Make Your Photo Ops Pop

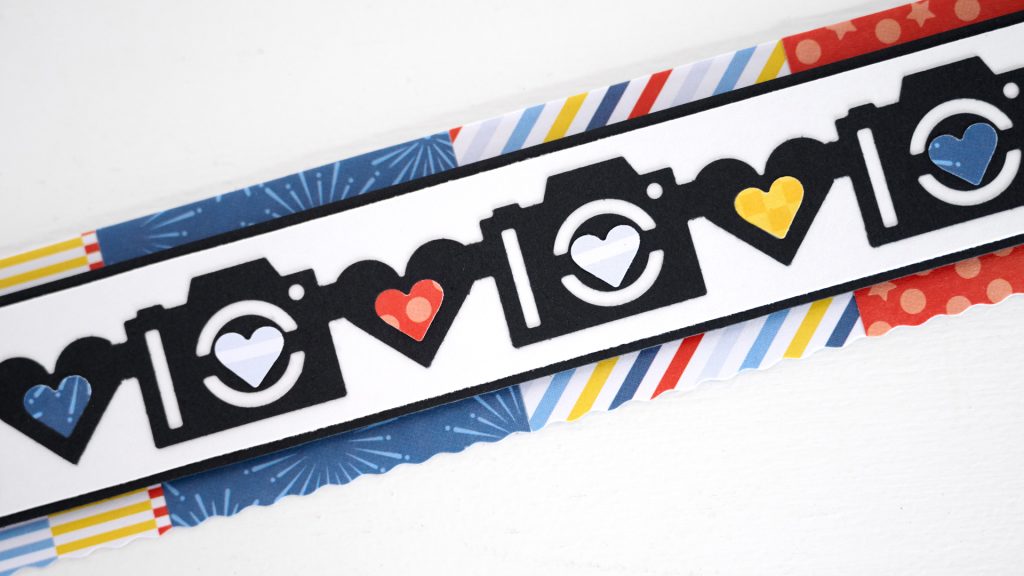
One, two, three, say, “Cheese!” No trip to a theme park is complete without cute photos. And you can give them equally adorable borders as shown by the ones below by using the Original Border Maker System with the Shutter Love Chain Border Maker Cartridge. Keep reading to see three camera borders you can use to make your layouts scream with fun!
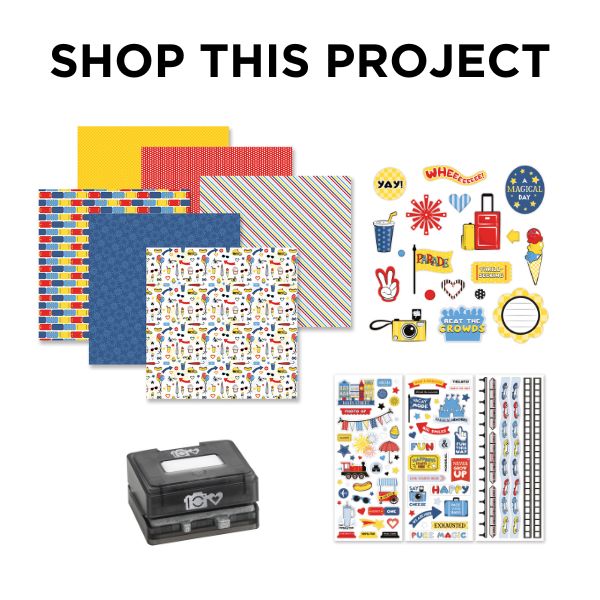
To create these borders you will need:
- Adventure Parks Paper Pack or (Shop Canada | Shop Australia)
- Adventure Parks Stickers or (Shop Canada | Shop Australia)
- Adventure Parks Embellishments or (Shop Canada | Shop Australia)
- Black, White & Canary Solid Cardstocks or (Shop Canada | Shop Australia)
- Original Border Maker System with Shutter Love Chain Border Maker Cartridge or (Shop Canada | Shop Australia)
- 12-inch Trimmer with Straight & Wave Blades or (Shop Canada | Shop Australia)
- Custom Cutting System with Circle Patterns or (Shop Canada | Shop Australia)
- Circle Punch or (Shop Canada | Shop Australia)
- Micro-Tip Scissors or (Shop Canada | Shop Australia)
- Tape Runner or (Shop Canada | Shop Australia)
- Repositionable Tape Runner or (Shop Canada | Shop Australia)
- Foam Tape or (Shop Canada | Shop Australia)
- Precision Point Adhesive Pen or (Shop Canada | Shop Australia)

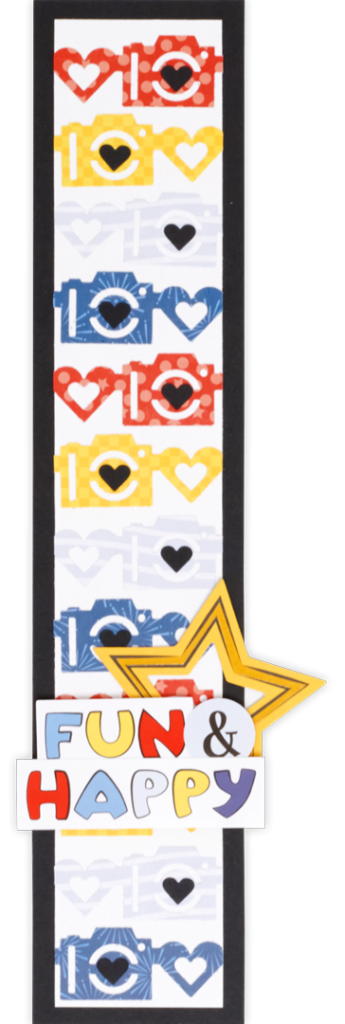
Fun & Happy Border
Step 1: Cut a piece of Black Solid Cardstock to measure 2-1/2” x 12” for the base of the border.
Step 2: Cut a piece of White Solid Cardstock to measure 2” x 11-1/2”.
Step 3: Using the Original Border Maker System with the Shutter Love Chain Border Maker Cartridge, punch a border from the red dots and stars, checkered yellow, light blue wavy lines and blue fireworks papers. Cut a 2” segment from the borders. Adhere on the White Solid Cardstock strip. Adhere the white piece to the top of the Black Solid Cardstock base. (Set the punched heart pieces aside for the next border.)
Step 4: Using the Shutter Love Chain Border Maker Cartridge, punch two borders from Black Solid Cardstock. Set the borders aside. Using the punched hearts, adhere them to the middle of the cameras.
Step 5: Adhere stickers and embellishment to the border, using Foam Squares on some for dimension.
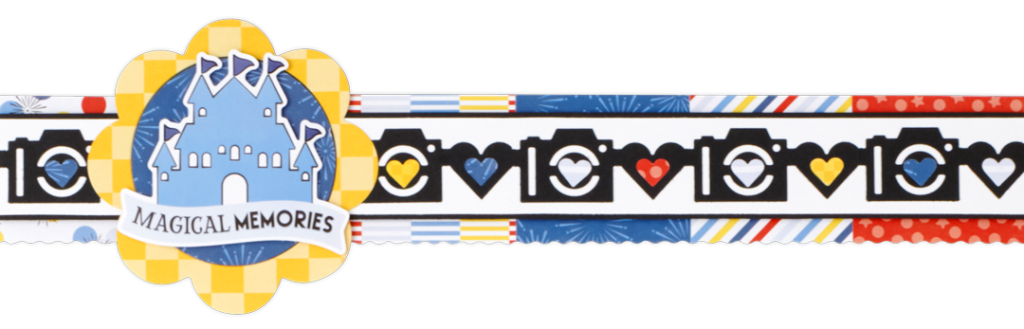
Magical Memories Border
Step 1: Cut a piece of any cardstock to measure 12” x 2” for the base of the border.
Step 2: Cut six pieces of paper from a variety of patterns to measure 2” x 2”. Adhere to the top of the cardstock base.
Step 3: Using the 12-inch Trimmer and the Wave Blade, cut 1/4” off the bottom edge of the border.
Step 4: Cut a piece of Black Solid Cardstock to measure 12” x 1-1/4”. Cut a piece of White Solid Cardstock to measure 12” x 1-1/8” and adhere to the black strip.
Step 5: Adhere one of the Black Solid Cardstock punched borders from the Fun & Happy Border to the top of the White Solid Cardstock strip.
Step 6: Use the hearts that were punched and set aside from the Fun & Happy Border and adhere them to the middles of the hearts and cameras using the Precision Point Adhesive Pen.
Step 8: Adhere this black and white cardstock strip to the base of the border using Foam Tape.
Step 9: Using the inside edge of the medium Circle Custom Cutting System Pattern and the Red Blade, cut a circle from blue fireworks paper. Adhere to the middle of the yellow flower embellishment.
Step 10: Adhere castle and title stickers, then adhere to the border.
Happiness Starts Here Border

Step 1: Cut a piece of Black Solid Cardstock to measure 12” x 2-3/8” for the base of the border.
Step 2: Cut a piece of Canary Solid Cardstock to measure 12” x 1”. Adhere close to the bottom of the border, leaving about 1/8” from the edge.
Step 3: Using the Original Border Maker System with the Shutter Love Chain Border Maker Cartridge, punch a border from the blue fireworks paper. Use a scissors to cut out a 3” segment from the middle of the border. Adhere the remaining border strips to the Canary Solid Cardstock strip as shown.
Step 4: Using the Circle Punch, punch four circles from red dots and stars paper. Cut the circles in half. Adhere the circle halves along the top edge of the Canary Solid Cardstock strip.
Step 5: Cut a piece of the blue fireworks paper to measure 12” x 1/4”. Adhere about 1/8” from the top edge of the border.
Step 6: Using the Shutter Love Chain Border Maker Cartridge, punch a border from red dots and stars paper. Adhere the punched-out hearts to the middle of the blue hearts on the border using the Precision Point Adhesive Pen.
Step 7: Cut a piece of Black Solid Cardstock to measure 2-5/8” x 1-1/2”. Adhere the “Happiness Starts Here” title sticker to the top of the cardstock, then adhere to the border using Foam Squares.
Step 8: Adhere enamel dots.
Do you like going to amusement parks? Which camera border was YOUR favorite?
P.S. Are YOU a member of the Virtual Crop Facebook Group? It’s your go-to place for MONTHLY Virtual Crops, MONTHLY Completed Album Challenges, WEEKLY LIVE STREAMING of Fast & Fun Projects with Noreen, LIVE QUARTERLY Secret Box Openings with project tutorials and so much more! We hope you’ll join our community of more than 39,000 fellow memory-keeping enthusiasts — you’ll feel right at home!

I love this idea thanks
Love it!
I love the ideas!! I love anything to do with cameras! Keep them coming!