May 1, 2024
Congratulate The Graduates With These Cards
It’s May, which means graduation season is quickly approaching! Give those graduating in your life something they’ll cherish as they enter the next stage of their lives: a homemade card. Below, find instructions for three different graduation cards using materials from the You Graduated! collection.
To create these cards you will need:
- You Graduated! Paper Pack or (Shop Canada | Shop Australia)
- You Graduated! Foiled Embellishments or (Shop Canada | Shop Australia)
- Black Solid Cardstock or (Shop Canada | Shop Australia)
- Gold Shimmer Solid Core Paper Pack or (Shop Canada | Shop Australia)
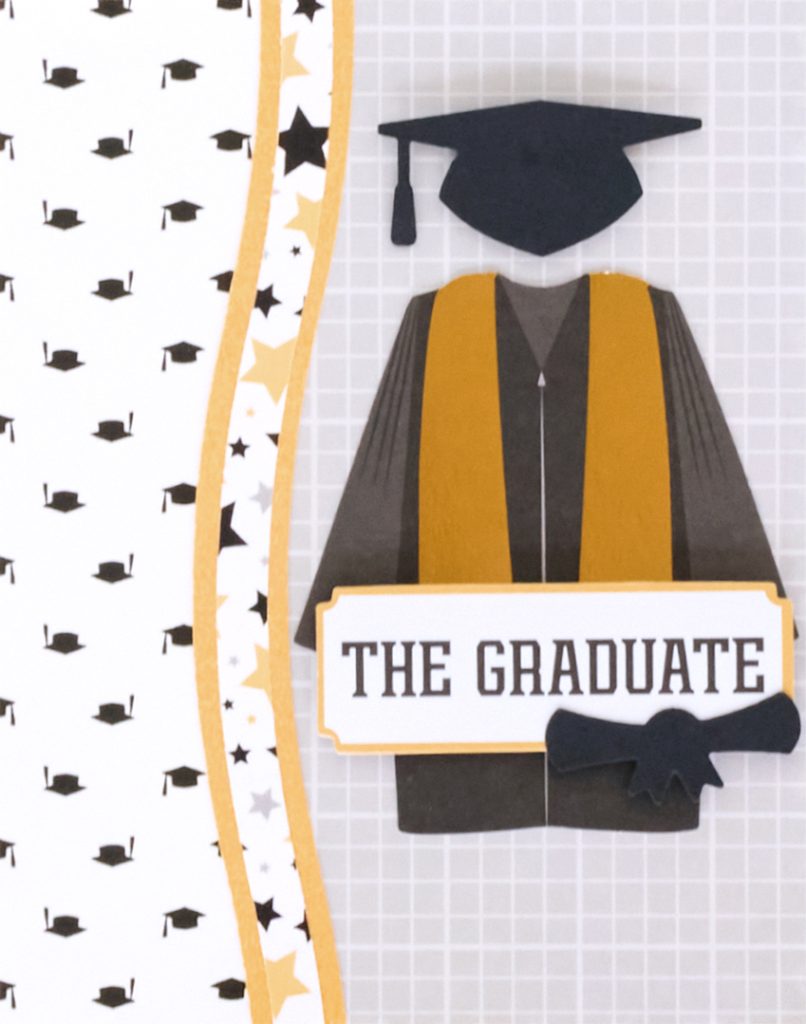
- Cap & Diploma Punch or (Shop Canada | Shop Australia)
- White Cards & Envelopes (15/pk) or (Shop Canada | Shop Australia)
- 12-inch Trimmer or (Shop Canada | Shop Australia)
- 12-inch Decorative Trimmer or (Shop Canada | Shop Australia)
- Custom Cutting System with Circle Patterns or (Shop Canada | Shop Australia)
- Tape Runner or (Shop Canada | Shop Australia)
- Repositionable Tape Runner or (Shop Canada | Shop Australia)
- Foam Squares Variety Pack or (Shop Canada | Shop Australia)


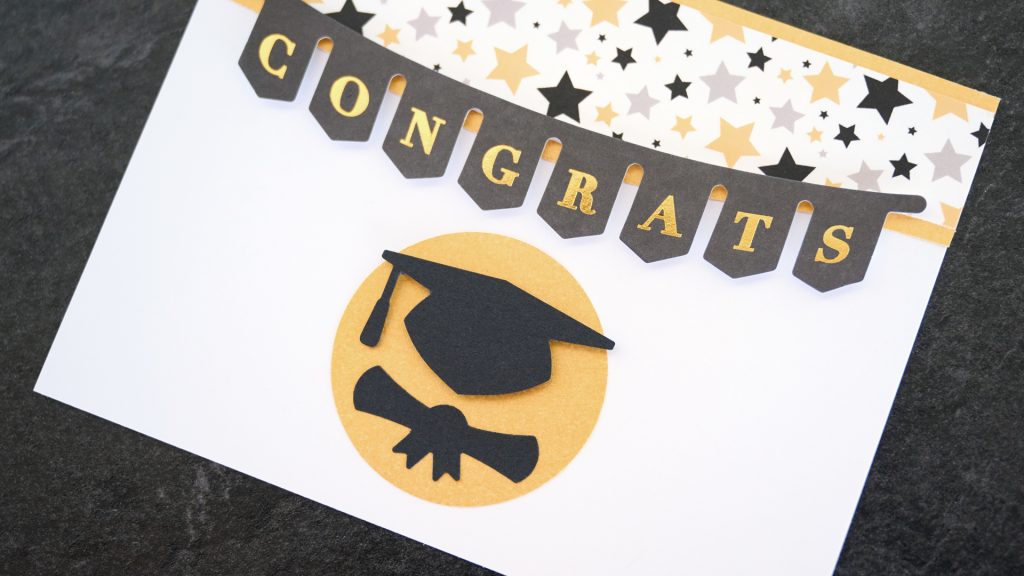
The Graduate Card
Step 1: Cut grid paper to 4-1/4? x 5-1/2? and adhere to a blank white card.
Step 2: Cut caps paper to 1-1/2? x 5-1/2? and adhere to the left edge of the card.
Step 3: Use the 12-inch Decorative Trimmer to cut a 1/2? x 12? strip of Gold Shimmer Solid Core Paper from the wavy side of the trimmer. Cut a 1/4? x 12? strip from stars paper. Align and adhere the stars border to the gold border. Cut to 5-1/2? in length and adhere to the seam of the caps and grid papers.
Step 4: Adhere the graduation gown embellishment.
Step 5: Use the Cap & Diploma Punch to punch pieces from Black Solid Cardstock. Adhere the cap with Foam Squares above the gown.
Step 6: Adhere the title embellishment with Foam Squares and use the Repositionable Tape Runner to adhere the punched diploma to the title.
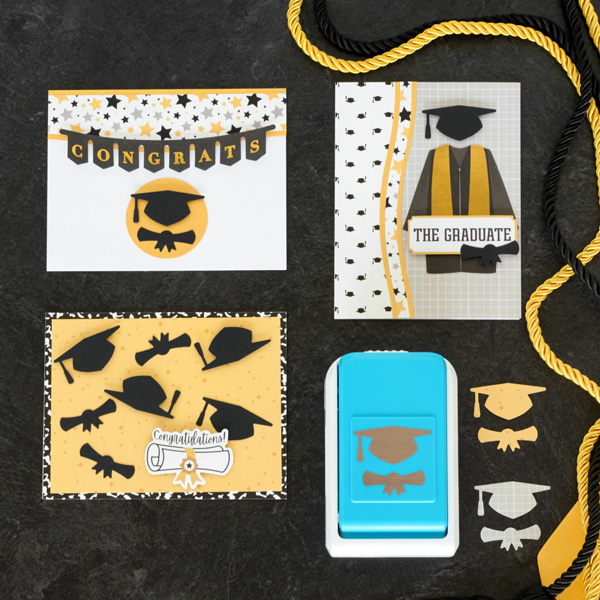
Congrats Card

Step 1: Cut 1-1/2? x 12? strip from Gold Shimmer Solid Core Paper using the swell side of the 12-inch Decorative Trimmer on one side of the strip. Cut a 1-1/4? x 12? strip from stars paper. Layer and adhere the pieces together, and cut to 5-1/2?. Adhere to the top edge of a blank white card.
Step 2: Using the inside edge of the medium Circle Custom Cutting System Pattern and the Blue Blade, cut a circle from Gold Shimmer Solid Core Paper. Adhere to the bottom middle of the card.
Step 3: Use the Cap & Diploma Punch to punch pieces from Black Solid Cardstock. Adhere the cap to the gold circle with Foam Squares and use the Repositionable Tape Runner to adhere the diploma to the gold circle.
Step 4: Adhere the banner embellishment using Foam Squares.
Congratulations Card

Step 1: Cut composition paper to 5-1/2” x 4-1/4” and adhere to a blank white card.
Step 2: Cut sparkles paper to 5-1/4” x 4” and adhere to the middle of the card.
Step 3: Use the Cap & Diploma Punch to punch three sets of pieces from Black Solid Cardstock. Adhere the caps with Foam Squares as shown. Adhere the diplomas with Repositionable Tape Runner as shown.
Step 4: Adhere the title embellishment with Foam Squares.
How many graduation cards did you make? Which one did you like best?
P.S. Are YOU a member of the Virtual Crop Facebook Group? It’s your go-to place for MONTHLY Virtual Crops, MONTHLY Completed Album Challenges, WEEKLY LIVE STREAMING of Fast & Fun Projects with Noreen, LIVE QUARTERLY Secret Box Openings with project tutorials and so much more! We hope you’ll join our community of more than 39,000 fellow memory-keeping enthusiasts — you’ll feel right at home!

Where is the sheet with the graduation gowns on it? I didn’t see it in the products to buy to make the cards, especially the one with the gowns or the silhouette graduates.
The gowns and silhouettes are part of the Foiled Embellishments
Loved making these cards. Perfect for a graduation gathering being held this weekend. Thank you for the inspiration.