August 20, 2026
Die-Cutting & Embossing Machine FAQ: Your Questions, Answered
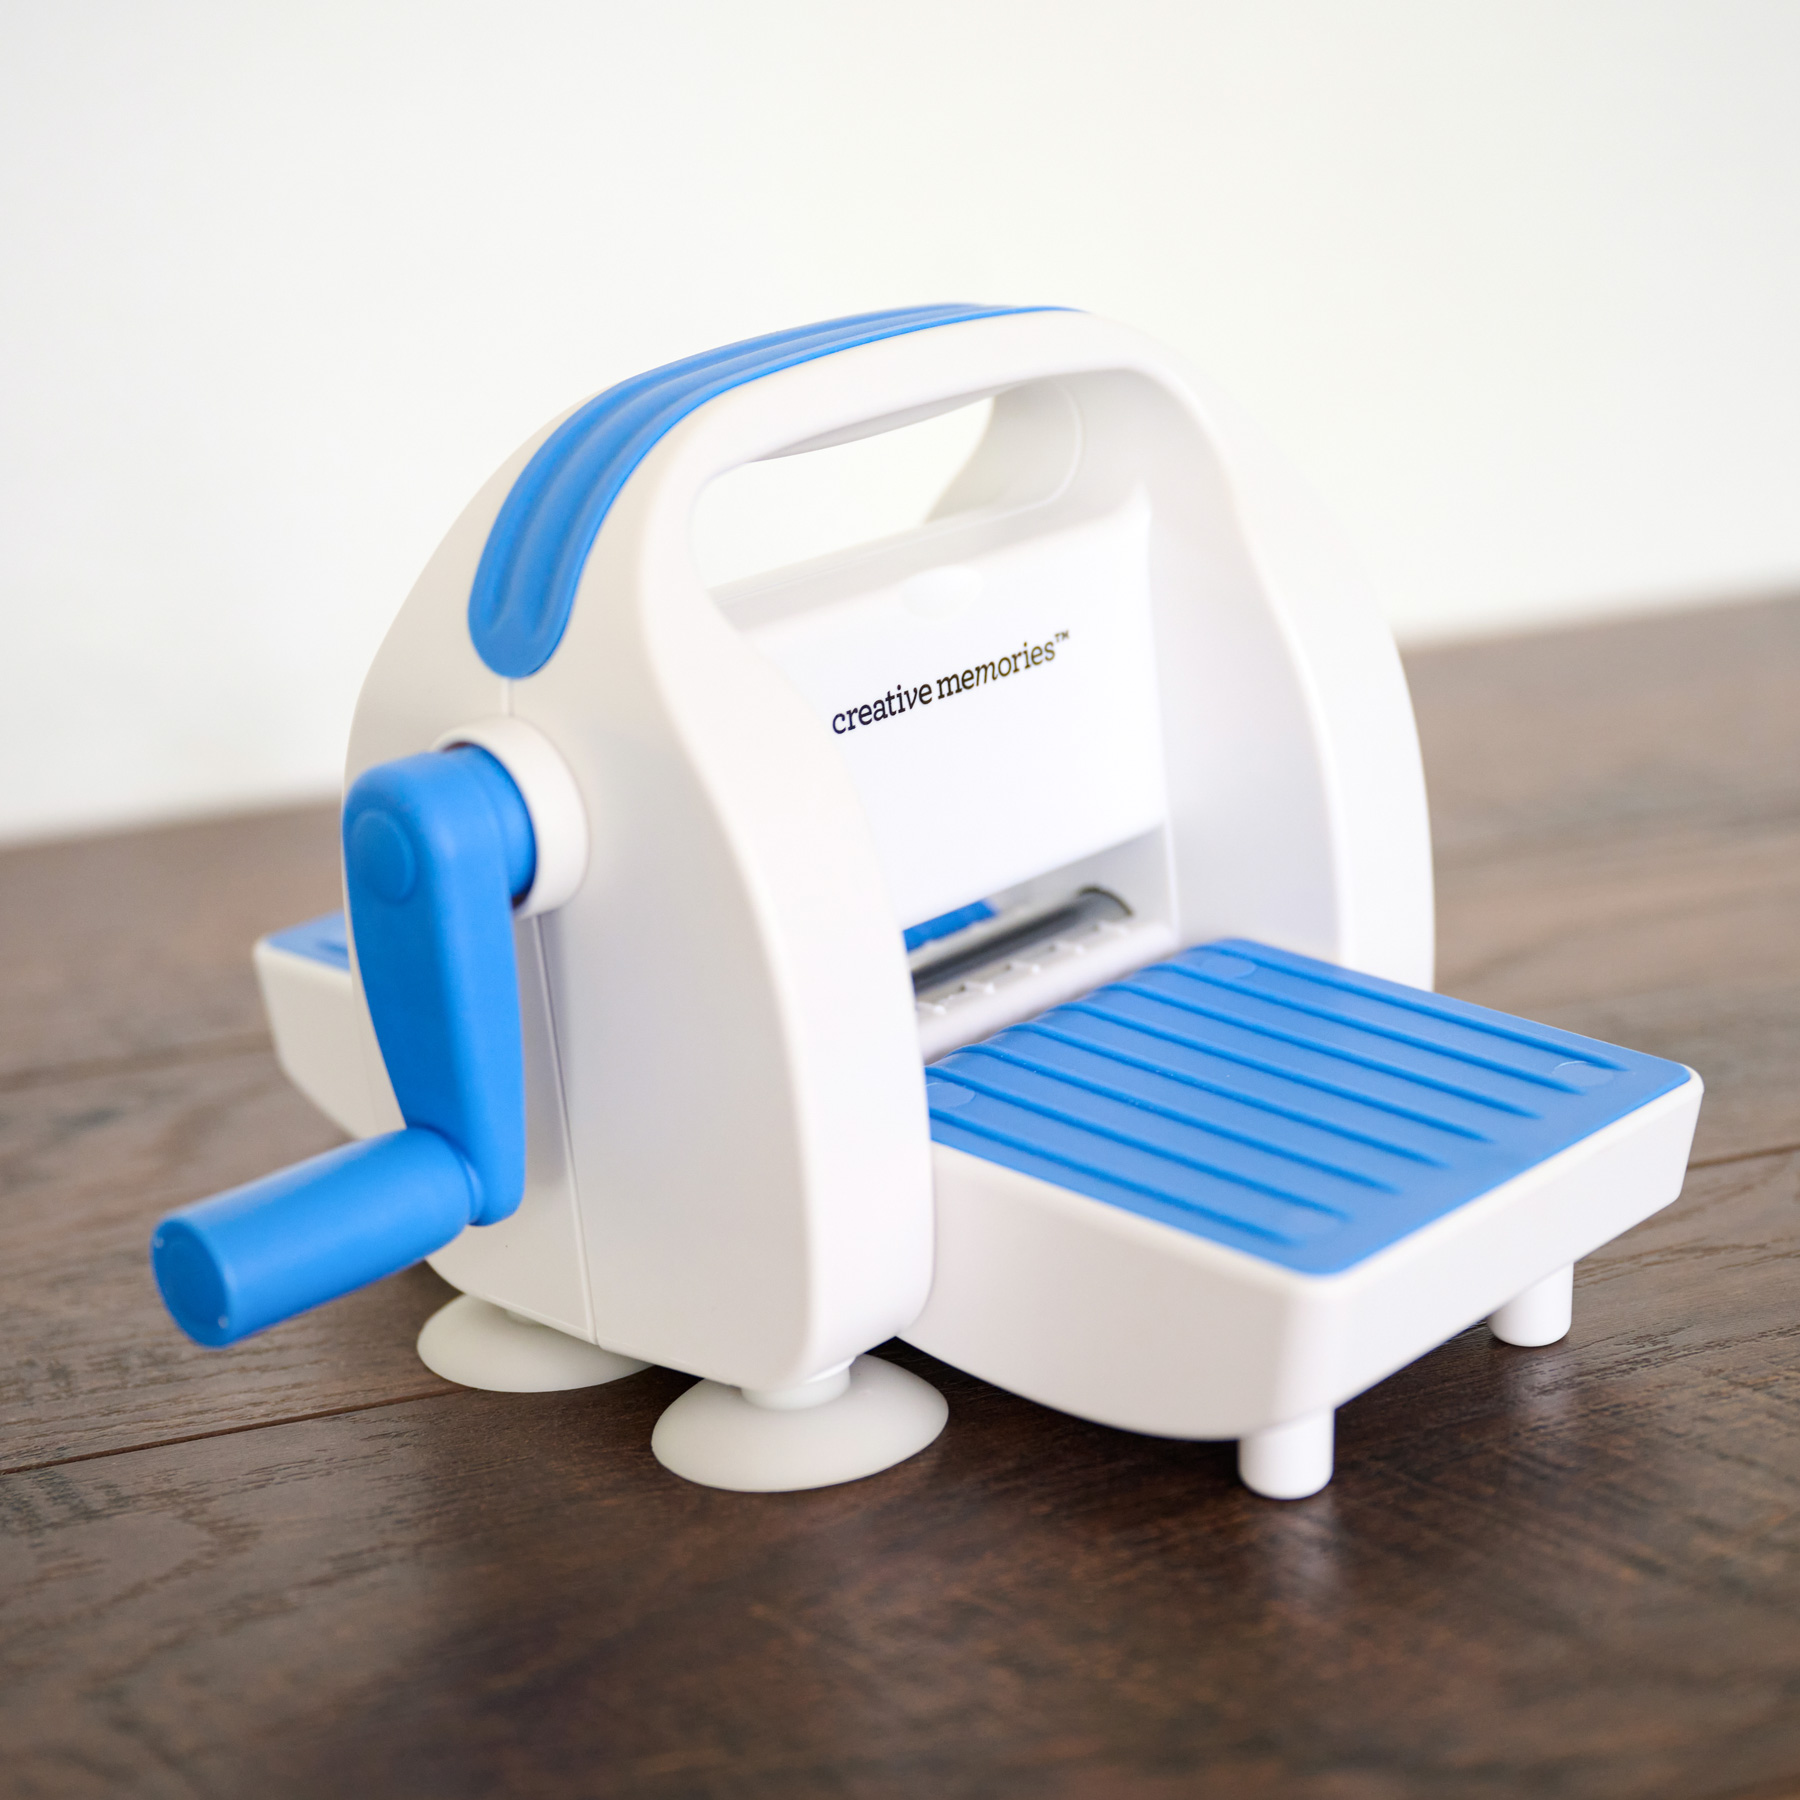
Getting started with die-cutting and embossing? We’ve gathered answers to common questions about the Creative Memories Die-Cutting & Embossing Machine, from compatible papers and plate configurations to troubleshooting, care and storage.
Use the sections below to find the information you need, whether you’re learning the basics or looking for a quick answer while working on a project.
Understanding Die-Cutting & Embossing
What’s the difference between die-cutting and embossing?
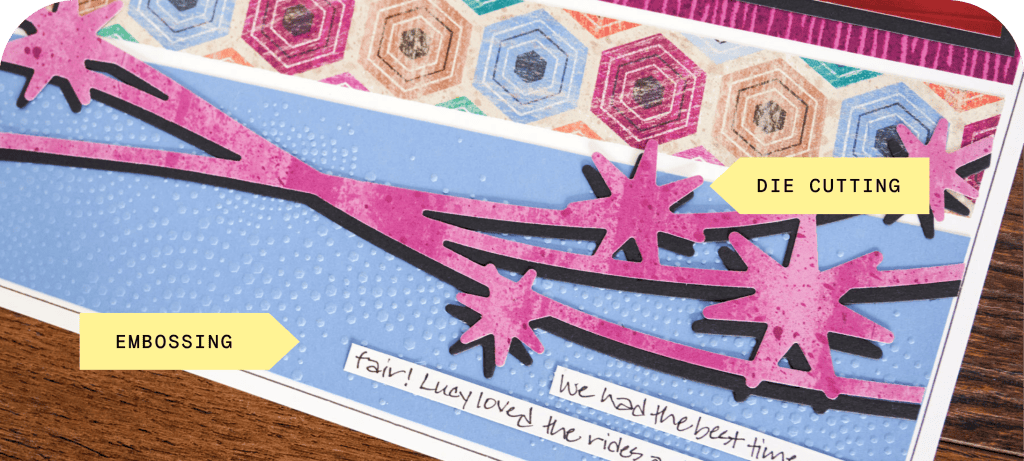
While they use the same machine, die-cutting and embossing create two different results. Die-cutting cuts shapes and designs from paper using a metal die. Embossing presses a design into paper to create embossed or debossed dimension and texture.
Why use a Die-Cutting & Embossing Machine instead of scissors?
Scissors are great for simple cuts, but a Die-Cutting & Embossing Machine opens up a much wider range of shapes and designs.
A machine makes it possible to:
- Create intricate designs that may be difficult to cut by hand
- Achieve clean, consistent results
- Create multiple cuts of the same design
- Cut longer and larger designs that aren’t limited by the size of a punch
- Create more detailed or layered designs
Why use a Die-Cutting & Embossing Machine if I already have Punches and the Border Maker System?
You don’t have to replace the tools you already love. The Die-Cutting & Embossing Machine is another creative tool that expands what’s possible on your pages.
Punches and the Border Maker System make it easy to create beautiful designs quickly. Die-cutting gives you additional flexibility when you want more intricate details, larger designs or elements that coordinate exactly with your project.
With the Die-Cutting & Embossing Machine, you can:
- Create intricate and highly detailed designs
- Cut larger designs that aren’t limited by the size of a punch
- Create borders with non-repeating and more intricate patterns
- Cut the same design from the Creative Memories paper of your choice
- Layer multiple die cuts to create dimension
- Create titles, icons, alphas, numbers and other coordinating elements
- Add embossed texture and dimension using Embossing Folders
Think of these tools as complementing one another. Each gives you a different way to add design, detail and personality to your pages.
Paper, Dies & Compatibility
Can I use my existing Creative Memories paper with the machine?
Yes! Many Creative Memories papers are well suited for die cutting, including:
- Cardstock
- Designer Paper
- Vellum
- Shimmer Paper
Results can vary depending on the paper’s thickness, texture and finish, so you may find that certain papers work better for particular designs.
Can I use metal dies or Embossing Folders from other brands?
While some dies and Embossing Folders may work with the Die-Cutting & Embossing System, for best results and product longevity, we recommend using only Creative Memories Die-Cutting & Embossing products with the system.
Which Creative Memories dies work with the machine?
The Die-Cutting & Embossing Machine is designed to work with Creative Memories die-cutting collections, including:
- Titles & Icons
- Alphas, Numbers & Punctuation
- 12″ Borders
Use the appropriate plate size and sandwich configuration for the metal die you are using.
What plate sizes do I use for Titles + Icons and Alphas?
Creative Memories recommends using the 6.5-inch Universal Top Plate and Cutting Base Plates for Titles & Icons and Alphas, Numbers & Punctuation.
Which Creative Memories Embossing Folders work with the machine?
The Die-Cutting & Embossing Machine is designed to work with Creative Memories Embossing Folders using the 12.5-inch Embossing Base Plate (E) and 12.5-inch Universal Top Plate (T).
Which plate size do I use for 12″ Borders and Embossing Folders?
Creative Memories recommends using the 12.5″ Universal Top Plate and Cutting Base Plates for 12.5″ Borders and Embossing Folders.
Can I cut multiple sheets of paper at once?
For the cleanest and most consistent results, die-cut one sheet at a time. Cutting multiple sheets at once is not recommended.
Getting a Clean Cut
How do I get the best die-cutting results?
A few simple steps can help you get a clean, consistent cut:
- Use Creative Memories designer paper, shimmer paper or Cardstock. These papers have been tested with the Die-Cutting & Embossing Machine to help provide consistent results.
- Make sure you’re using the correct plate and sandwich configuration.
- Position the metal die with the raised cutting edge facing down into the paper and the Cutting Base Plate.
- Use Place & Peel Tape when needed to help secure your metal die to the paper, preventing it from shifting when rolled through the machine
- Keep your plates clean and rotate and flip the Cutting Base Plate regularly for more even wear.
- Use the Dual-Tip Die-Cutting Tool to help release paper from the metal die and remove small pieces of paper from the metal die.
- Use Reverse Grip Tweezers to help pick up and position small or detailed die-cut pieces onto your projects.
- Add a paper shim when needed to provide additional pressure for a clean cut. A shim is simply a thin piece of paper placed on top of the Universal Top Plate.
Why didn’t my metal die cut all the way through?
If your design doesn’t cut completely, start by checking these three things:
1. The sandwich: Make sure you’re using the correct die-cutting sandwich: Cutting Base Plate → Paper → Metal Die (cutting edge facing down into the paper) → Universal Top Plate
2. The paper: Thickness, texture and finish can all affect cutting results.
3. The plates: Heavily worn or warped plates may eventually affect cutting performance.
My die-cut is stuck in the metal die. What should I do?
Die-cut pieces sometimes need a little help releasing from the metal die. That’s what the release holes are for.
1. Turn the metal die over and locate the small release holes.
2. To gently push out the die-cut design, insert the pointed end of the Dual-Tip Die-Cutting Tool into the release holes.
3. Use the tool to remove any small pieces of paper remaining inside the metal die.
4. Avoid pulling or forcing delicate pieces, which could cause them to tear.
My paper tore when I removed it from the metal die. What happened?
Intricate or detailed die-cuts can be delicate, especially when working with thinner papers. Instead of pulling the design from the metal die, use the release holes and Dual-Tip Die-Cutting Tool to gently release it.
Getting the Most From Embossing
Can I emboss a design after die-cutting it?
Yes! Die-cutting and embossing can be used together to add detail, texture and dimension to your projects. Try embossing a die-cut shape to give it additional texture, or emboss your paper before die-cutting it to create a textured embellishment.
Keep in mind: Some combinations of metal dies, embossing folders and paper will work better together than others. Results may vary, so we recommend testing your technique on a piece of scrap paper first.
Why is my embossing light?
First, double-check that you’re using the correct embossing sandwich: Embossing Base Plate → Embossing Folder with Paper → Universal Top Plate
If your sandwich is correct, embossing results can vary depending on the paper’s thickness, texture and finish. For best results, Creative Memories recommends Cardstock and Shimmer Paper.
My designer paper shows the white core when I emboss it. What happened?
Some designer papers may show the white core of the paper when embossed, depending on the paper and the depth or detail of the embossing design. For the most consistent embossing results, Creative Memories Cardstock and Shimmer Paper are recommended.
Machine Care & Troubleshooting
Are my Cutting Base Plates supposed to get scratched?
Yes. Cut marks and scratches on the Cutting Base Plate are completely normal and expected with use. The plate is designed to show wear over time, so scratches don’t necessarily mean it needs to be replaced.
My Cutting Base Plate is starting to bow. Is something wrong?
No. Slight bowing can occur with regular use. Rotate and flip your Cutting Base Plate regularly to promote more even wear and help extend its usable life.
How long do Cutting Base Plates last?
Cutting Base Plates are consumable accessories and will eventually need to be replaced. Their lifespan varies depending on how frequently they are used and the types of projects being created. Replace your plate when wear or warping begins to affect die-cutting performance.
How do I clean my plates?
Wipe plates with a clean, soft cloth to remove paper pieces, dust and debris.
How can I extend the life of my plates and machine?
A few simple habits can help:
- Rotate and flip Cutting Base Plates regularly for more even wear.
- Keep plates clean and free of paper debris.
- Use the correct plate and sandwich configuration for your project.
- Never force a sandwich through the machine.
My machine is difficult to crank. Is that normal?
Some resistance while rolling a sandwich through the machine is normal. However, it should never need to be forced. If the machine feels unusually difficult to crank, stop and double-check that you’re using the correct plates and sandwich configuration before continuing.
My machine is making a popping or cracking sound. Did I break something?
Not necessarily. Some popping or cracking sounds are normal as the plates and metal die move through the machine under pressure, especially when die-cutting.
The sandwich should still roll through the machine without being forced. If it feels unusually tight or difficult to roll, stop and double-check your plate and sandwich configuration before continuing.
Storing Your Machine & Accessories
How do I store or transport the machine?
Fold in both platforms for compact storage and transport. The Creative Memories Card POD Case can also be a helpful storage option for protecting and transporting your Die-Cutting & Embossing Machine.
How do I store my metal dies, plates and Embossing Folders?
Keep metal dies and embossing folders clean, dry and organized when not in use. Creative Memories metal dies come with a magnetic backer that can be kept for convenient and secure storage. For additional organization, we recommend:
- Titles, Icons & Alpha Dies: POD Case – Large & Dividers
- 12″ Border Dies, 12″ Embossing Folders & Plates in both sizes: Organizer Case – Slim & Dividers
What Can You Create?
What can I create with my Die-Cutting & Embossing Machine?
There are plenty of ways to use the features of your Die-Cutting & Embossing Machine beyond a single embellishment. Try creating:
- Scrapbook layouts
- Borders
- Titles, words and phrases
- Layered embellishments
- Frames
- Cards
- Tags
- Gift packaging
- Textured backgrounds and accents
And don’t overlook what remains after you make a cut. Negative pieces can make excellent stencils or become part of another project.
How can I get more creative with my die-cuts?
Once you’re comfortable with the basics, try a few simple techniques:
Layer It: Cut the same metal die design from two different cardstock colors and layer the pieces to add color, contrast and dimension.
Use the Negative: Use the negative space as a stencil with ink or chalk, or incorporate it directly into another project.
Add Texture: Emboss plain cardstock before die-cutting it to create textured embellishments and added dimension.
Save Your Scraps: Small pieces of leftover paper are perfect for creating smaller die-cuts, testing placement or adding coordinating accents.
Mix + Match: Combine die-cut titles, icons, borders and embossed elements on the same project.
Make It Your Own: Cut your favorite metal die designs from different Creative Memories papers and colors to create embellishments that coordinate with your project.
Ready to Create?
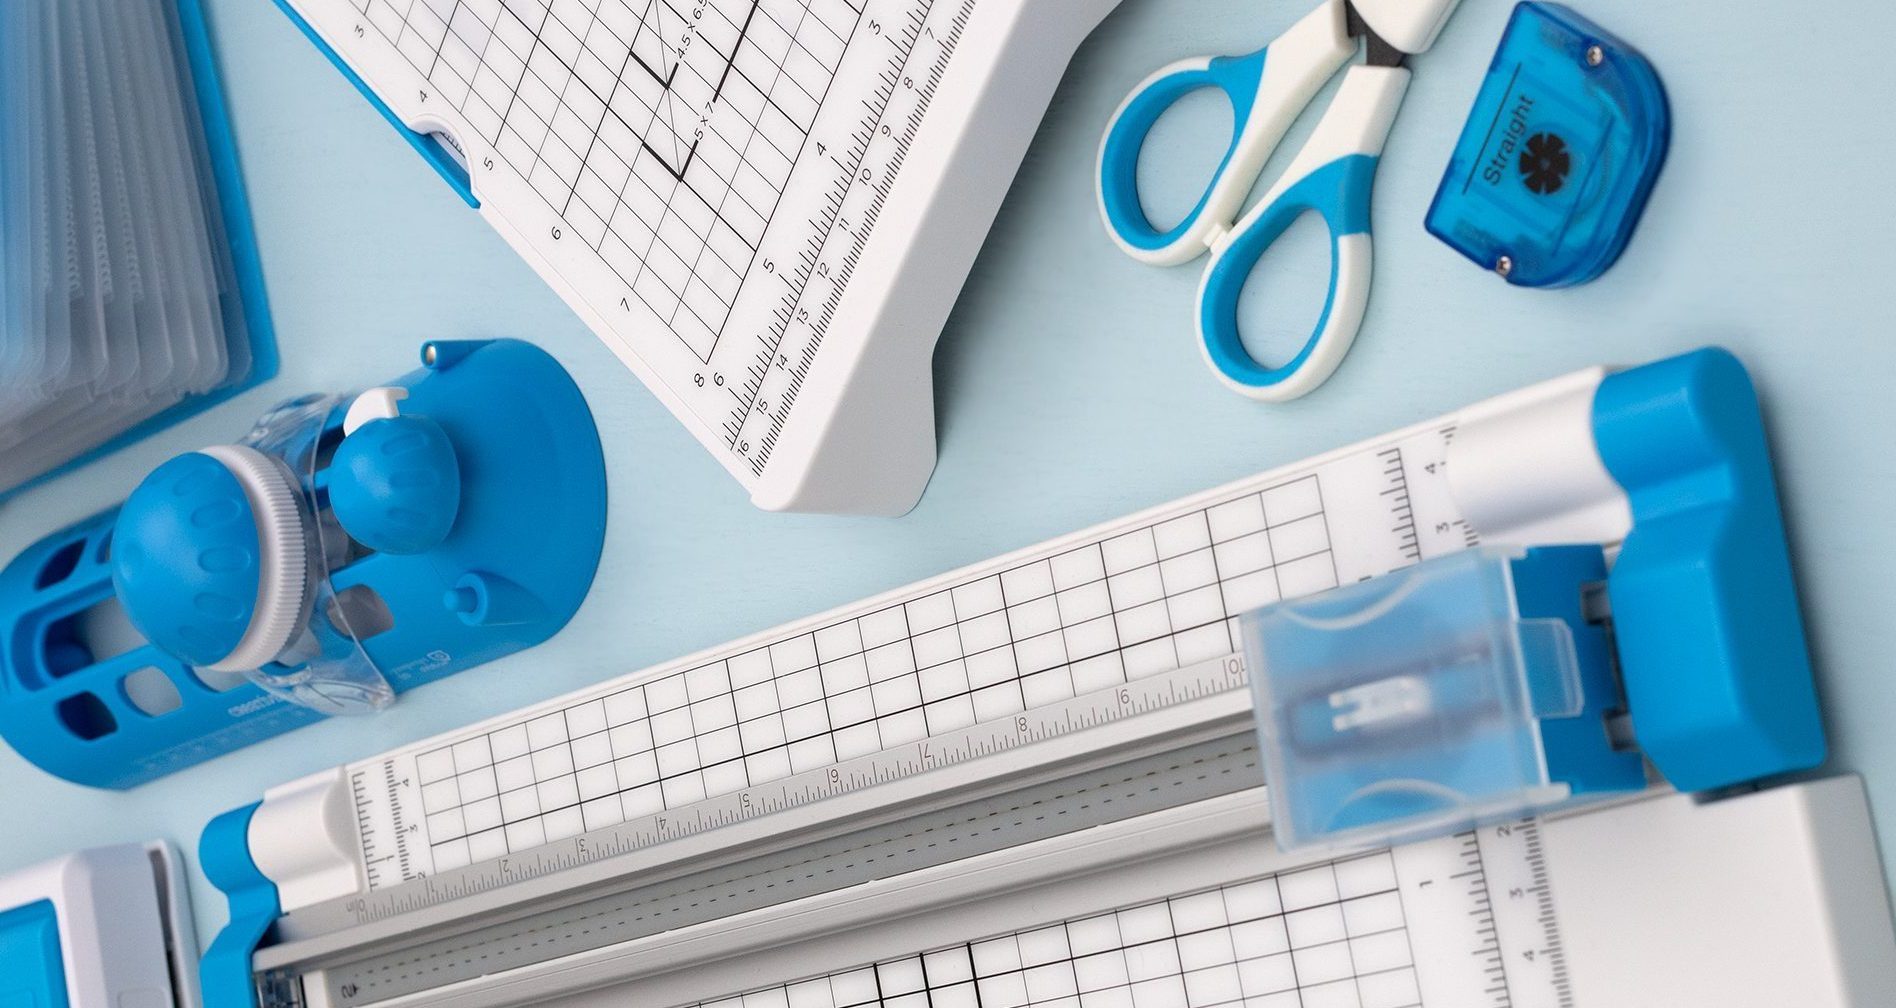
Explore the Die-Cutting & Embossing Machine and coordinating accessories to start creating with more detail, dimension and possibilities.
